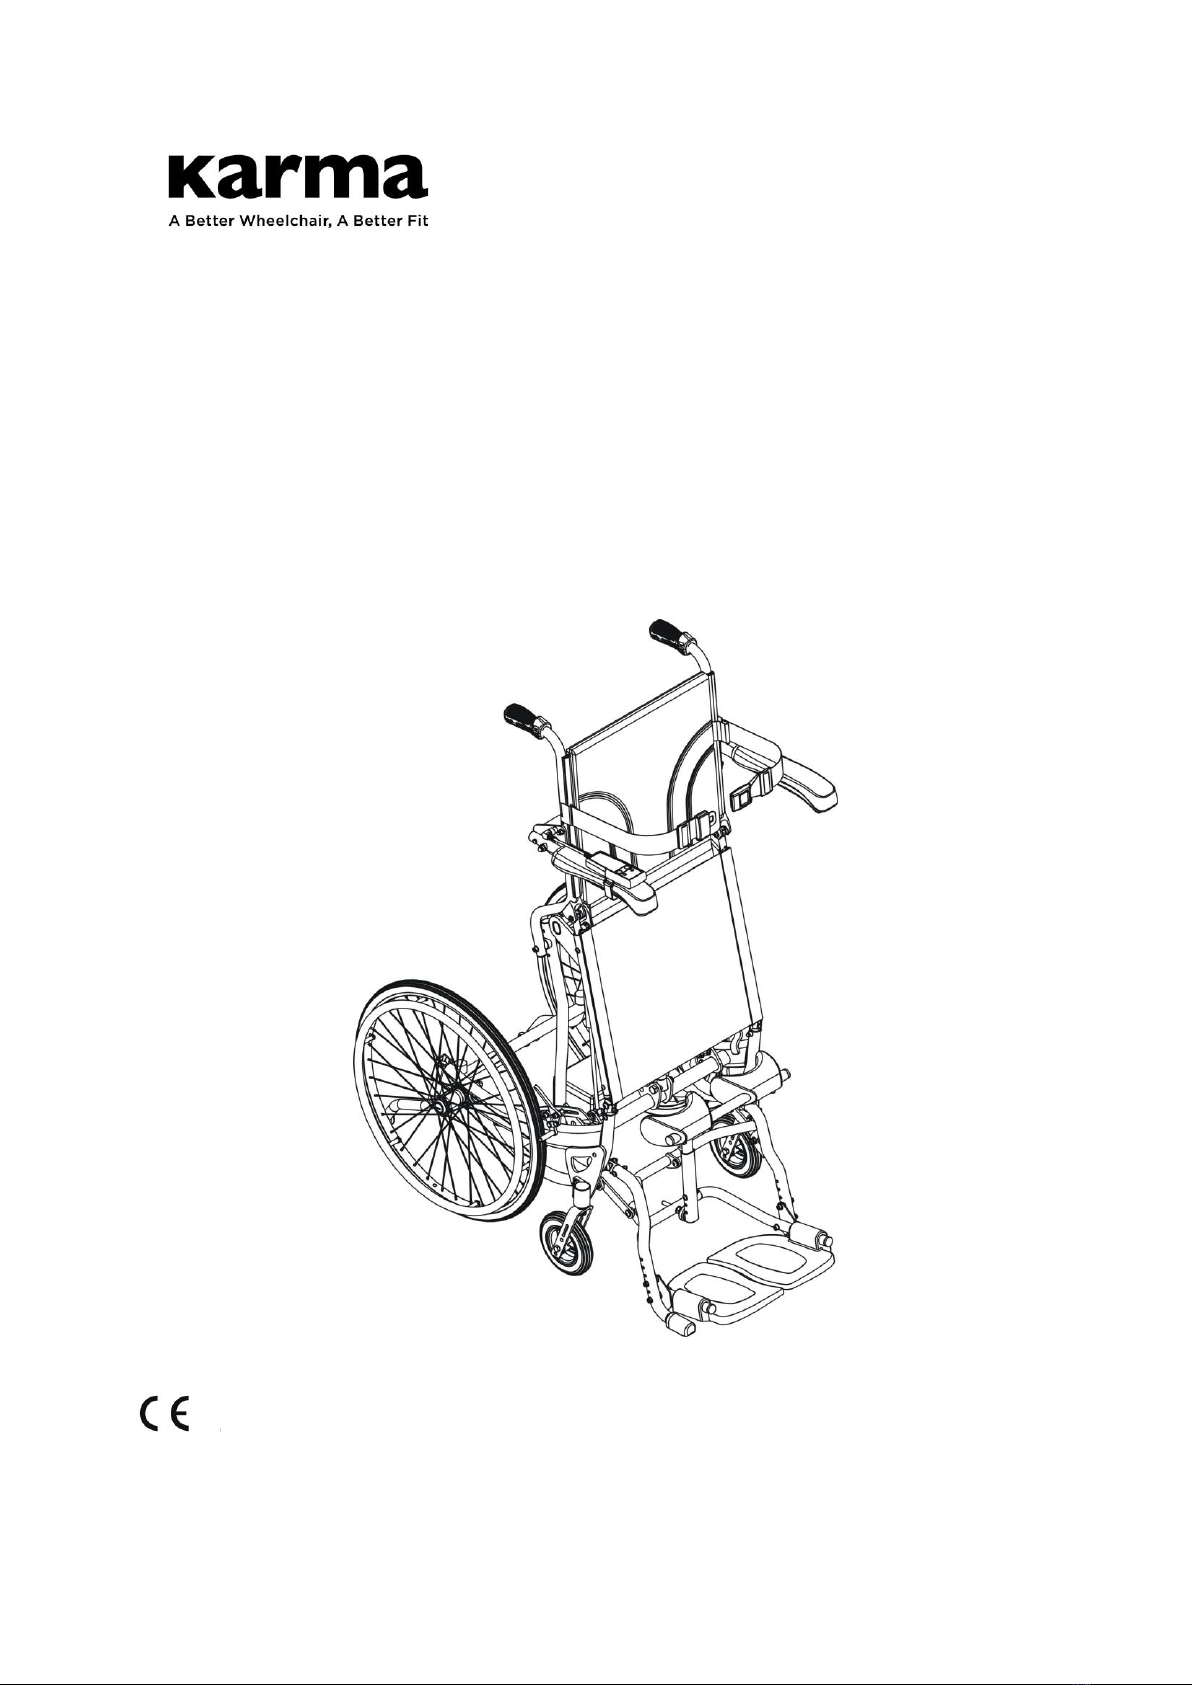
Karma SME Series User manual

Manual Wheelchair Owner's Manual
SME Series


i
GENERAL WARNING
WARNING:
Use of this product requires a clinician's diagnosis of suitability with
non-obstructed hip joint and stable lower extremities and good bone status.
DO maintain your chair well, in particular check the tyre(tire) pressure since this
affects the efficiency of the brakes.
DO make sure both brakes are applied before getting in or out of the chair.
DO make sure both brakes are applied when the chair is not being pushed or
used.
DO take care when climbing kerbs(curbs) or turning on slopes.
DO avoid steep or uneven surfaces that may cause the chair to tip over.
DO avoid soft surfaces because the castors(casters) may become bogged down.
DO travel smoothly in all conditions.
DO look well ahead to anticipate hazards such as furniture, doors, potholes, etc.
DO make sure that both feet are safely on the footrests and that clothing is safely
tucked out of the way so that it cannot get caught in the wheels.
DO take care when traveling up or down or across inclines.
DO keep both hands on the push handles to control the chair, if you are the
attendant.
DO pay attention to keep the chair balanced.
DO check the frame and components regularly and refer to this user guide
during and after the warranty period.
DO tie-up the upholstery or replace which with a new one when it becomes
loose.
DO lubricate bearings regularly.
DO equip with anti-tippers to avoid falling backwards.
DO equip with a seat belt designed for disabled people.
DO equip with "ankle supports" for disabled people.
DO clean both hands after oiling the wheelchair.
DO tighten the screws of headrest tubes.
DO NOT overload the chair in any circumstance.
DO NOT hang anything heavy on the back of the chair that could cause the chair
to become unstable, particularly when negotiating inclines.
DO NOT allow more than one user at a time.
DO NOT use with an unconscious patient.
DO NOT use other transport to pull the wheelchair.
DO NOT do "wheelies", as you my fall or tip over backwards and suffer a severe
injury.
DO NOT sit in a wheelchair within a moving vehicle unless it has affixed the
labels of hook mark.
DO NOT go too fast or turn too quickly.
DO NOT stand on the footplates when getting in or out of the chair.
DO NOT go down steps forward, whether solo or with an attendant.
DO NOT attempt to lift the wheelchair by any removable (detachable) parts.
Lifting by means of any removable (detachable) parts of the wheelchair may
result in injury to the user and/or assistant or damage to the wheelchair.

ii
YOU AND YOUR KARMA SERVICE PROVIDER
No tools are required for assembly. Your wheelchair should be assembled by
your authorized Karma dealer. Your authorized Karma dealer is also your
service provider. Unauthorized repairs, upgrades and add-ons will negate your
warranty. Anything wheelchair related that requires tools should be done by
your authorized Karma service provider. Your Karma service provider has the
necessary service/maintenance owner’s(manual) for your wheelchair.
If you have any defective parts or lose any parts, please contact your dealer for
repair and/or replacement. Please only use parts authorized by Karma. Use of
parts that are not authorized by Karma will negate your warranty.
Part numbers are listed on our bill of materials (explosion drawings), which we
give to our authorized dealers and service providers. Customers should order
parts through their dealer as well as all repairs and scheduled maintenance.
Customers should go to their dealership for all service needs to guarantee their
warranty is not nullified. Always go to an authorized service provider.
Unauthorized repairs will nullify your warranty. Procedures other than those
described in this owner’s(manual) must be performed by a qualified technician.
They also have the service owner’s(manual) with a complete list of maintenance
required to keep your Karma wheelchair in top performance. Check the
warranty section of this owner’s(manual) to find out what Karma guarantees and
what maintenance and parts you will have to pay for.
Karma does not have an official list of service providers at this time. Please
contact your dealer for service. If you cannot contact your dealer, please
contact another authorized Karma dealer for service. If all else fails, contact
Karma directly via our website or give us a call and we can refer you to your new
service provider.
CE MARKING
This wheelchair complies with the requirements of the Medical Devices Directive
93/42/EEC.
CAUTION:
Before purchasing and using Karma wheelchairs, please consult qualified
professionals so as to ensure that you choose suitable products and use them
correctly as well. For safety reasons, if there is any risk due to the user’s movement
in the wheelchair or other environmental factors that might cause the wheelchair to
tip or the person on the wheelchair to fall off, Karma recommends that you install
anti-tippers, safety belt, or other additional safety accessories.

TABLE OF CONTENTS
1. PREFACE ............................................................................................... 1
2. SAFETY .................................................................................................. 2
3. INTENDED USE & PARTS.................................................................. 5
3.2 PARTS DESCRIPTION ...................................................................... 6
4. OPERATION.......................................................................................... 7
4.3STAND-UP UNIT.................................................................................11
5. INSPECTION AND MAINTENANCE ............................................. 18
6. OPTIONS AND ACCESSARIES ....................................................... 20
7. TROUBLESHOOTING ...................................................................... 21
8. SPECIFICATIONS.............................................................................. 22
9. CLEANING & RECYCLING ............................................................ 23
10. WARRANTY ...................................................................................... 24

1
1. PREFACE
Please carefully read this owner's(manual) before using the wheelchair. Improper
use of the wheelchair could result in harm or injury. Therefore, for safe and
enjoyable use of the wheelchair, please read this owner's(manual).
This owner's(manual) includes operation instructions for the aspects of the
wheelchair, unfolding/folding instructions, and instructions on how to deal with
possible accidents.
This owner's(manual) is written for Karma wheelchair: SME series.
The symbols used in this owner’s(manual) are explained below. Pay special
attention to the parts marked with these symbols.
WARNING:
Improper use could lead to serious injury or death.
CAUTION:
Improper use could lead to serious injury and/or damage
to your wheelchair.
SUGGESTION:
Follow these instructions to keep the wheelchair in good
condition.
This owner’s(manual) includes the repair and maintenance chart as well as the
warranty.
If someone else uses the wheelchair, make sure that you give him or her this
owner's(manual) for his or her reference.
As designs change, some illustrations and pictures in this owner’s(manual) may
not correspond to the wheelchair that you purchased. We reserve the right to
make design modifications without further notice.

2
2. SAFETY
2.1 Doorways
The safest way to operate the chair is on level floors that are free of obstacles.
Whenever possible use a ramp to enter or exit a facility. Keeping your hands on
the push rims will allow you to maintain maximum balance. Do not try to force
yourself over an obstruction by propulsion and never use the sides of a doorway to
pull yourself through a passageway.
2.2 Leaning
Do not lean over the side of your wheelchair since such an action may cause you to
lose balance and fall. (See Figure 2.1)
2.3 Navigating Inclines
Never turn on a hill due to the danger of tipping.
When assisting, go straight up a slope. If user needs to go down midway, walk
backwards until user is on level ground. (See Figures 2.2 and 2.3)
Avoid stopping on an incline; it can potentially cause you to lose control of the
chair.
Do not use the brakes to slow down or stop the wheelchair; this could cause it to
seize up, causing you to lose control or fall out of the chair.
Whenever possible, utilize help from an assistant/attendant while navigating
inclines.
2.4 Kerbs(Curbs)
Whenever possible get help from an assistant/attendant (if you have assistance
make sure that your chair is equipped with push handles).
Avoid hard impacts when descending a kerb(curb). A hard impact could
adversely affect the chair.
Never try to scale or descend kerbs(curbs) that exceed a normal height.
(30-50mm)
Always be careful when climbing kerbs(curbs) and never move up or down a
kerb(curb) in reverse without an assistant.
2.5 Stairs
Always use two or more assistants.
Never go down steps forwards.
Never use an escalator for transport, use an elevator.
2.6 Streets
Always use extreme caution when crossing streets. Reflective tape on the chair
and/or your clothing will make you more visible to drivers.
Avoid potholes and rough terrain that might cause the castors(casters) to
become stuck.(See Figure 2.4)
2.7 General
Always make sure BOTH brakes are applied before getting in or out of the chair.
Never stand on the footplates when getting in or out of the chair.
Never carry more than one passenger. Karma wheelchairs are limited to one
user.
Use caution to assure your clothing doesn't get tangled with the wheels.

3
2.8 Upholstery
When cleaning the upholstery, use warm water and a mild soap.
Upholstery cleaner/foam can also be used, but avoid other cleaning solvents.
2.9 Anti-tippers
Please purchase anti-tippers and always use them to avoid personal injury. (See
Figure 2.6)
2.10 Maximum User Weight Limit
Refer to "Max. User Weight" in section 8. SPECIFICATIONS. Loads exceeding
maximum capacity can damage your wheelchair and cause malfunctions yielding a
safety hazard. The warranty does not cover damage caused by improper
operation of the wheelchair.
2.11 Avoid General Misuse
Please note that our "Owner's(Manual)" contains a number of cautions -- any
vehicle can cause injury if misused -- use within our guidelines and with
reasonable care and your safety will be increased. Your wheelchair will give
years of safe use if used sensibly and carefully. Be aware that careless use
endangers your own safety as well as that of others. ALWAYS follow the
Highway Code when outdoors and the guidelines written in this owner’s(manual).
Do not let children stand or play on the wheelchair. (See Figure 2.5)
Figure 2.1
Figure 2.2
Figure 2.3
Figure 2.4
Figure 2.5
Figure 2.6

4
2.12 Labeling
Please carefully read all the labeling on the wheelchair before driving it. Do not
remove them. Protect them for future reference.

5
3. INTENDED USE & PARTS
3.1 Intended Use
The SME series is a self-propelled or transit wheelchair. That is, it can either be
propelled by an attendant(transit) or by the user(self-propelled).
These wheelchairs are suitable for users up to 120kg in weight. Hand brakes
are provided for both rear wheels and are connected to a duel attendant brake
located on the left push handle.
It has an extremely durable aluminum alloy frame with tough accessories and
does not suffer in dramatic extremes of temperature (neither user nor attendant
need touch metal parts in normal use).
This chair is designed for both indoor and outdoor use.
The castors(casters) have solid tyres(tires) for greater durability; pneumatic
castors(casters) are available on request.
When prescribing wheelchairs for use by full or partial amputees (above or below
knee, single or double) or other conditions that affects the users natural center of
gravity, we suggest contacting your therapist or dealer as well as attaching
anti-tippers.
The stand-up function operates exclusively on a flat surface, away from any
stairs, access ramp or slope.

6
3.2 Parts Description
1. Backrest Upholstery
2. Chest Strap
3. Armrest
4. Seat Upholstery
5. Knee Support
6. Footplate
7. Push Handle
8. Controller
9. Brake
10. Rear Wheel
11. Castor (caster)
12. Stand-up Actuator
13. Stand-up Strut
14. Battery Tray
15. Anti-tippers

7
4. OPERATION
4.1 Preparing For Use
4.1.1 Open the box by the top and remove the chair and its components.
(See Figure 4.1and4.2)
4.1.2Assembling the rear wheel
Press the button and pull out the axle from the frame(see Fig4.3), and then put
the axle into the hub.
First ensure that the brake is in the off position. Take up the assembled wheel
and axle and press the button in the center of the axle, as Fig.4.4. This retracts
the locking balls that allow you to push the axle into the wheel bracket that is
located on the lower rear frame of the wheelchair. When you remove your thumb
from the button on the axle, the locking balls should be visible protruding from
the axle at the back of the wheel bracket. This will secure the wheel safely in the
frame.
Figure 4.1
Figure 4.2
Figure 4.3
Figure 4.4
4.1.3 Assembling the backrest
Straighten up the backrest until the fitting holes of the backrest tube match with
the pre-assembled screws on the lower seat tube.(see Fig 4.5,4.6)
Reassemble the screw as shown in Fig 4.7

8
Figure 4.5
Figure 4.6
Figure 4.7
Figure 4.8
Figure 4.9
4.2 Adjustments
4.2.1 Seat Depth(3 different positions)
In order to obtain a good and comfortable standing position, the seat depth can be
adjusted to end-user’s thigh length. To process with the adjustment, remove the
three bolts fitting the upper seat tube and the bolt fitting the lower seat tube to the
backrest. Adjust and replace the bolts in the holes corresponding to the desired seat
depth(see Fig 4.8,Fig 4.9). A well adjusted seat depth means 4 to 5 cm distance
between the popliteal and the front edge of seat.
CAUTION:
Once the seat depth is adjusted, double check that the hole adjustment in the
upper seat depth tube corresponds to the one in the lower seat depth tube.
And the rear wheel position should correspond to the seat depth. It means that
the rear wheel at the very last hole correspond to the deepest seat position.
4.2.2 Footrest
A. Height Adjustment (4 different positions)
Remove the screws from the front tube of frame, put the footrest on the desired
height that according to the length of the end-user and put back the screws.(see
Fig. 4.10) Tighten securely

9
B. Swing Outward
In order to transfer in or out easy, the separate footrest can be lift up separately.
(see Fig.4.11)
Figure 4.10
Figure 4.11
Figure 4.12
Figure 4.13
CAUTION:
When adjust foot lengths, be sure user’s thigh is safety on the seat upholstery
smoothly. And inner knee doesn’t hit the front edge of seat upholstery. (See the
Figure 4-12& 4-13)
Adjusting the footrest at the right height means a better pressure relief along the
thigh in a seated position.
4.2.3 Armrest
A. Height adjustments (5 different height possibilities):
Remove the screws from the armrest fitting tube, adjust to the desired height and
put back the screws. Tighten securely. (See Figure 4.14)
B. Swing backwards:
To make side transfers easy, the chair is equipped with swing away armrests. Lift
and swing backwards to remove. (See Figure 4.15)
Figure 4.14
Figure 4.15
4.2.4 Knee Support
Before standing, it is important to adjust the knee support in depth and height and to
adjust the u-formed knee-supports in the angle and width.
A. Adjustment in the depth:
Screw or unscrew the adjusting bolt until you have reached the desired depth.
Keep 3 to 4cm between the knee of the end-user and the knee-support. (See Fig.
4.16)
B. Adjustment in height (3 different heights possible):

10
To adjust, remove bolt, slide knee support to desired height and put the bolt back.
Tighten securely. The upper edge of the knee support has to be below the patella.
(See Fig. 4.17)
C. Angle adjustment:
Loosen the fitting screws from the knee-supports and proceed with angle
adjustment according to the morphology of the user. (See Fig. 4.18)
Once adjusted, tighten up the screws securely.
D. Adjustment in the width:Loosen up the fitting screws from the knee-supports and
proceed with width adjustment right and left within the tube limits. (See Figure
4.19) Once adjusted, tighten up the screws securely.
CAUTION:
These adjustments will have to be optimized after a progressive standing
session.This will enable to avoid exaggerated pressure on the knees and to
guarantee a good alignment of the limbs.
Figure 4.16
Figure 4.17
Figure 4.18
Figure 4.19
Figure 4.20
4.2.5 Back Upholstery
When upholstery is loose, you can tighten which by pulling and re-attaching the
Velcro. (See Figure 4.20)
4.2.6 Chest strap height
The chest strap can be fitted at two different height between the upholstery fastening
strip and backrest tube.
To adjust height, remove the screw, put the chest strap to the desired height and put
the screw back. Tighten securely (see Fig.4.21)
Secure the trunk with chest strap and safety buckle. The chest strap is adjustable
according to the morphology of the end user. ( see Fig.4.22)

11
Figure 4.21
Figure 4.22
Figure 4.23
WARNING:
1.Make sure that the chest strap does not get caught in the spokes when it release.
2.This chest strap is not to be used as a safety belt in a vehicle.
3..The chest strap should be fitted below the armpit and should not loop the arm
over trunk in order to avoid the hazard causing by the trunk slipping down. (See
Figure 4.23.)
4.3Stand-up Unit
4.3.1 Wiring Diagram
Figure 4.23

12
4.3.2 Stand-up Function
1.Press the power button on. (red button
on the battery cover)
2.Push the up-button to access to the
standing position.
3.Push the down-button to access to
the seating position.
1.Charger socket
2. Breaker
3. Controller joint
These two batteries (2x2.7 Ah) have
autonomy of 120 stand-up cycles
(seat/stand/seat).
Should the battery level indicate to red
area, indicating that the batteries need
charging. From there on, the autonomy is
down to 10 cycles. We recommend to the
end user to come back to seating and
recharge the batteries before using this
function again.
To charge the batteries, press the power
button on, insert the charger plug into the
socket and charger into a 110/220 Volts
plug socket. The light signal on the
charger shows an orange light while on
charge. Once the batteries are full, the
charger will indicate a green light.
Remove the charger from the plug socket
first and then from the charger socket.
To fully charge the batteries takes 4 to 5
hours.
2.Power Button
1.Battery Indicator

13
CAUTION:
1. Be sure during charging, charger plug must be inserted into the socket before
connecting with a 110/220 Volts plug socket. If the process is reversed, it may
cause the contact spark.
2. The stand-up function exclusively on a flat surface, away from any stairs, access
ramp or slope.
3. Before operation the stand-up function , please ensure the chest strap and knee
support have fit securely and the wheelchair has been locked.
4. Do not use the stand-up function while charging.
5. If you do not use the stand-up function, please turn off the power by pressing the
power button and then the battery level will indicate to the red end.
4.4Transporting and Storing
SUGGESTION:
Please store the wheelchair in a location where it is out of direct sunlight, rain and
dew. For more details, consult your Karma dealer.
Caution:
Don't put anything on the wheelchair while it is in storage.
Storing goods on a folded wheelchair will cause damage
and is not covered under warranty. (See Right Figure)
4.5 Transferring In and Out
4.5.1 Transferring In
Engage both hand brakes.
Turn the footplates up and swing them to the side.
The user lowers himself/herself into the seat using the armrests for support.
Turn the footplates back down, so that the user can place his feet on them.
Release both hand brakes.
Caution:
Always ensure that the front castors(casters) are in line with the rear wheels and
pointing forwards and that the back of the chair is secure either against a wall or
firmly held by an attendant.
4.5.2 Transferring Out
Make sure that the chair is near your final destination.
Back the chair sufficiently to ensure that the castors(casters) are pointing forward,
i.e. in line with the rear wheels and usually with the castor(caster) forks pointing
forward. Ensure that, where possible, the rear of the chair is against a wall or, if not,
it must be firmly held by an attendant.
Engage both hand brakes.

14
Turn the footplates up and swing them to the side.
Slide forwards on the seat.
Place one foot firmly on the ground with the knee at a right angle and the other foot
slightly apart and further back.
Place your hands on the front of the armrests and moving your weight forward, bring
your head and shoulders up over your knees as you push yourself up.
CAUTION:
Never stand on the footplates when getting into (or out of) the chair. (See Figure
4.24)
When getting in and out of the wheelchair please use the hand brakes. The hand
brake is the lever at the side of the wheelchair.
Please ensure that neither the tread on your tyres(tires) nor the brake block has
become too worn. If pneumatic tyres(tires) are fitted, please maintain at the
recommended tyre(tire) pressure for the same reason.
Please ensure that occupant's fingers do not get caught in the brake.
When transferring in and out of the chair, make sure that the brakes are applied to
prevent the chair from sliding away. Also see that the footplates are flipped up for
ease of entering or exiting. (See Figure 4.25)
4.6 General Use
4.6.1 Attendant Pushing and Self-propelled
Do ensure that the brakes are always locked when the chair is not being pushed.
(See Figure 4.26)
Always make sure that both feet are safely on the footplates and that clothing is
safely tucked out of the way and cannot get caught in the wheels. (See Figure
4.27)
Always use both hands on the push handles to control the chair. (See Figure 4.28)
Always avoid steep or uneven surfaces because the chair may tip over. (See Figure
4.29)
Always avoid soft surfaces because the castors(casters) may get bogged down.
(See Figure 4.30)
Always be careful not to go too fast or turn too quickly and try to achieve a smooth
steady ride.
Before crossing the tracks, please stop completely and look both ways.
Cross the tracks perpendicular to avoid your wheels getting stuck.
Do not drive at full speed over railroad tracks.
Be careful going through a doorway that your hands and arms do not get injured.
PLEASE keep in contact with the person in the chair. If you stop to look in shop
windows or talk to people, remember to turn the chair so that the person in the chair
does not have to turn.
WARNING:
NEVER lock the brakes too suddenly as this may tip the user out of the chair.

15
Figure 4.24
Figure 4.25
Figure 4.26
Figure 4.27
Figure 4.28
Figure 4.29
Figure 4.30
Figure 4.31
4.6.2 Tilting by the Attendant
Make sure both the user's feet are on the footplates and will not slip off. Make sure
the handgrips are secure and cannot slip off.
Release both brakes.
Grasp both push handles firmly.
Put your stronger foot on the relevant tipping lever at the back of the chair.
Tell the person in the chair that you are about to tilt the chair backwards.
Pull back with both hands and push down and forwards with the foot. This will
bring the chair onto the back wheels. (See Figure 4.31)
CAUTION:
When a chair is tilted to about 25 degrees it will balance on it's rear wheels and be
easy to hold. If it is tilted further back it will be difficult to hold and the person in the
chair will feel unsafe.
Lower with a straight back; keep your foot on the anti-tipper and lower the chair
slowly forwards softly to the ground.
This manual suits for next models
1
Table of contents
Other Karma Wheelchair manuals

Karma
Karma Ergo Lite KM-2501 User manual

Karma
Karma VIP 505 User manual

Karma
Karma BLAZER User manual

Karma
Karma MORGAN User manual

Karma
Karma Leon F Kameleon User manual

Karma
Karma KP-31 User manual

Karma
Karma Flexx Series User manual

Karma
Karma STAR Series User manual

Karma
Karma S-Ergo 105 User manual

Karma
Karma SOMA ECON 800 SERIES User manual

Karma
Karma KM-BT10 User manual

Karma
Karma MVP 502 Series User manual

Karma
Karma KP-80 User manual

Karma
Karma Morgan Series User manual

Karma
Karma KP-10.3 User manual

Karma
Karma KP-20 Series User manual

Karma
Karma KM-8020 User manual

Karma
Karma KP-45.3 User manual

Karma
Karma KM 7520 User manual

Karma
Karma Ergo Lite User manual