BACK
REPLACING BACK UPHOLSTERY
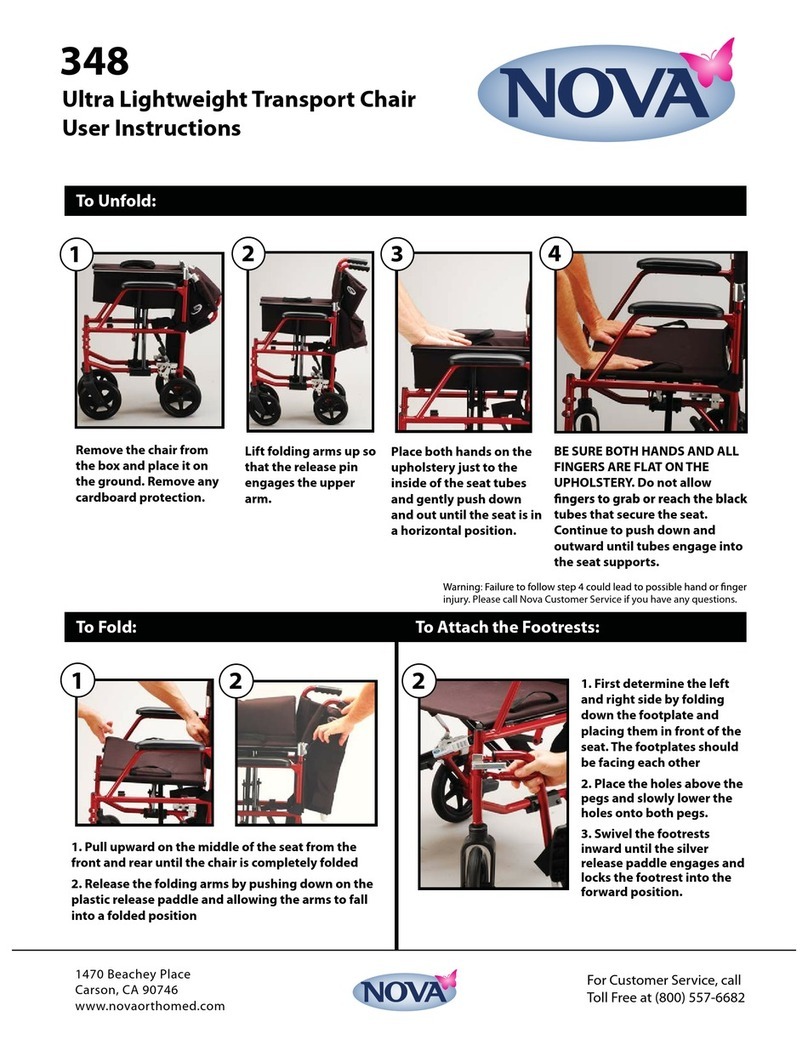
1 - Raise arms into flip back position
2 - Unscrew height adjustment knobs and remove screws. These are located near the bottom of the back
upholstery.
3 - Unscrew the screw at the top of the back upholstery
4 - Remove the back from the chair frame and slide the upholstery off back upholstery bars.
5 – Place new upholstery onto back upholstery bars, insert screws, and re-attach the back to the
wheelchair frame.
ADJUSTING BACK UPHOLSTERY HEIGHT
1 - Raise arms into flip back position
2 - Unscrew height adjustment knobs and remove screws. These are located near the bottom of the back
upholstery.
3 - Adjust the back upholstery to the desired height. Replace screws being sure to fit the screw hex head
into the hex cut out in the frame. Tighten adjustment screws to secure the back into position.
4 - Wheelchair upholstery may require added support in higher positions. Use the nylon ties to secure the
bottom corners to the chrome frame directly below the seat upholstery.
WHEELS
Solid rubber tires need minimal maintenance, but should be cleaned occasionally with a damp cloth.
Replace if tires become severely worn or cracking appears.
REPLACING TIRES
DO NOT ATTEMPT – Please see a dealer or qualified technician.
REMOVING AND REPLACING REAR WHEELS
1 - Remove dust cap (if any).
2 - Remove attachment bolt and related hardware (washer, spacers) that hold the wheel in place.
3 - If replacing wheel, reverse above steps, and then continue with step 4.
4 - Tighten attachment bolt with torque wrench, to 40 ft.-lbs.
5 - Adjust wheel locks to ensure proper wheel lock function.
6 - Rotate (or spin wheel) to ensure proper fitting and alignment. Wheel should not wobble, grind, or
catch.
REPLACING HAND RIM
1 - Remove the rear wheel from the wheelchair before attempting to replace hand rim, see Removing and
Replacing Rear Wheels, above.
2 - Remove the mounting screws and washers that secure the hand rim to the rear wheel, and remove
the hand rim.
3 - Align new hand rim so that the holes in hand rim line up with the holes in the rim, and replace
mounting screws and washers.
REMOVING AND REPLACING FRONT WHEEL
DO NOT change wheel sizes. Your product is design for a specific size wheel, and your forks will not
safely accommodate larger or smaller wheels.
1 - Remove attachment bolt and attachment hardware (washer, locknut, spacer, etc).
2 - Remove old wheel.
3 - Line up new wheel to ensure that you use same frame holes as the old wheel used.
4 - Replace attachment bolt and attachment hardware (washer, locknut, spacer, etc).
5 - Rotate (or spin wheel) to ensure proper fitting and alignment. Wheel should not wobble, grind, or
catch.
REPLACING TIRES
DO NOT ATTEMPT - Please see a dealer or qualified technician.


