Keba KeContact P30 b Series Parts list manual

KeContact P20 / P30
b-series / c-series
Authorization functions
RFID & Key

Document:V 4.00
Document no.: 96169 (Basic languages)
Pages:112
© KEBA AG 2015-2017
Specifications are subject to change due to ongoing technical development. No guarantee is offered in respect of any of the specifica-
tions given here. All rights reserved.
All intellectual property, including trademarks and copyrights, are the property of their respective owners. Any unauthorized use
thereof is strictly prohibited.
KEBA AG, Postfach 111, Gewerbepark Urfahr, A-4041 Linz, www.keba.com/emobility

en - 3/112
Language
Deutsch.................................................................................................................................................... 5
English..................................................................................................................................................... 12
Français................................................................................................................................................... 19
Italiano ..................................................................................................................................................... 26
Español.................................................................................................................................................... 33
Dansk ....................................................................................................................................................... 40
Português................................................................................................................................................ 47
Nederlands.............................................................................................................................................. 54
Norsk ........................................................................................................................................................ 61
Svensk ..................................................................................................................................................... 68
Suomi ....................................................................................................................................................... 75
Polski........................................................................................................................................................ 82
ελληνικά................................................................................................................................................... 89
Türkçe ...................................................................................................................................................... 96
中国 ........................................................................................................................................................... 103


Inhalt
de - 5/112
Inhalt
1 Autorisierungsfunktionen ...................................................................................................... 6
1.1 Zu diesem Handbuch.....................................................................................................6
1.2 Begriffserklärungen........................................................................................................ 6
1.3 RFID Autorisierung ........................................................................................................8
1.4 Zylinderschloss wechseln (optional) ............................................................................ 10

Autorisierungsfunktionen
6/112 - de
1 Autorisierungsfunktionen
1.1 Zu diesem Handbuch
VORSICHT!
Dieses Handbuch ist eine Erweiterung des „Benutzerhandbuchs“. Alle Anweisungen und
Sicherheitshinweise im Benutzerhandbuch sind unbedingt zu beachten!
Führen Sie die Installation der Ladestation laut „Installationshandbuch“ durch.
Gültigkeit
Dieses Handbuch ist gültig für spezielle Varianten der Geräteserien:
● KeContact P30 b-series
● KeContact P30 c-series
Zuordnung mittels Produktcode (vom Typenschild):
KC-P30-XXXXXXX-XX
= 1...b-series, 2...c-series, 3...c-series
= R...RFID, K...Keyswitch
Firmware-Version
Hinweis
Führen Sie für den Erhalt des vollen beschriebenen Funktionsumfangs bei Bedarf bitte ein Firm-
ware-Update durch. Zusätzliche Infos, Anleitungen und die Firmware finden Sie unter:
↪
http://www.keba.com/de/emobility/service-support/downloads/downloads
1.2 Begriffserklärungen
Autorisierung
Spezielle Gerätevarianten bieten die Möglichkeit, das Starten einer Ladesitzung
von bestimmten Voraussetzungen abhängig zu machen. Folgende Varianten ste-
hen zur Verfügung:
● Freigabe über Schlüsselschalter.
● Freigabe über SmartHome Schnittstelle.
● Freigabe über externen Eingang [X1].
● Benutzeridentifizierung mittels RFID Karte.

Autorisierungsfunktionen
de - 7/112
Schlüsselschalter
In speziellen Varianten der KeContact P30 ist ein Zylinderschloss verbaut, das nur
Benutzern mit passendem Schlüssel das Starten eines Ladevorgangs erlaubt.
Der Schlüsselschalter [S] dient zur Autorisierung eines Benutzers mit einem
Schlüssel.
Externer Freigabeeingang [X1]
Die beschriebenen Gerätevarianten besitzen die Möglichkeit über einen Eingang
(Schließer) durch einen externen, potentialfreien Schalter autorisiert zu werden.
Beachten Sie in diesem Fall speziell die logische Verknüpfung zwischen den Auto-
risierungsvarianten. Die korrekte Installation und Konfiguration entnehmen Sie bitte
dem "Installationshandbuch".
RFID Reader
In speziellen Varianten der KeContact P30 ist ein RFID Lesegerät verbaut, das die
Autorisierung mittels RFID Tags erlaubt.
Der RFID Reader [R] dient zur berührungslosen Autorisierung eines Benutzers mit
RFID-Tags nach ISO14443 und ISO15693.
RFID Whitelist
Liste der RFID Tags, mit denen es bei aktivierter RFID Autorisierung erlaubt ist, ei-
ne Ladesitzung zu starten.
● P30 b-series und c-series erlauben 20 Einträge in der RFID Whitelist.
RFID Master Karte
Erste eingelernte RFID Karte in der Whitelist der Ladestation.
Sie wird zum Starten und Bestätigen des Anlernvorganges aller weiteren RFID
Karten (Slave Karten) verwendet. Zusätzlich dient sie auch zur Autorisierung einer
Ladesitzung.
RFID Slave Karte
RFID Karte in der Whitelist der Ladestation. Sie dient zur Autorisierung einer Lade-
sitzung.
LED Balkenanzeige
Die Anzeige informiert über den aktuellen Betriebszustand der Ladestation. Sie be-
steht aus 4 Segmenten ([S1] bis [S4]), die gemeinsam oder einzeln in unterschied-
lichen Farben leuchten oder blinken können.
Die LED Balkenanzeige ist nur bei aktivierter Stromversorgung sichtbar.
Service-Taster
Der Service-Taster [Service] befindet sich im Anschlussfeld der Ladestation. Für
den Zugriff darauf müssen das Designcover und die Anschlussfeldabdeckung ent-
fernt werden.

Autorisierungsfunktionen
8/112 - de
1.3 RFID Autorisierung
Master/Slave Betrieb (Ladenetzwerk)
Ist die Ladestation Teil eines Ladenetzwerks (P30 c-series als Slave in einer Master/Slave-Installation), so
müssen alle RFID Karten auf der Master-Ladestation (P30 x-series) eingelernt werden. Die Aktivierung oder
Deaktivierung der Autorisierungsfunktion und die Whitelist für das gesamte Ladenetzwerk werden am Master
verwaltet. Entnehmen Sie die Informationen zu dieser Installationsvariante bitte dem spezifisch beiliegenden
„Konfigurationshandbuch“.
Visualisierung LED Balken
● Ist keine Autorisierung für eine Ladesitzung erforderlich, blinken alle 4 Segmente der LED Balkenan-
zeige der Ladestation im Idle Zustand (=Leerlauf) grün.
● Ist eine Autorisierung für eine Ladesitzung erforderlich, blinken alle 4 Segmente der LED Balkenanzei-
ge der Ladestation im Idle Zustand (=Leerlauf) blau. (Autorisierung entweder mittels Schlüsselschalter,
RFID Karte oder externem Eingang notwendig).
● Permanentes, oranges Leuchten des LED Segments [S4] bedeutet, dass das Einlernen einer Slave
Karte durch erneutes Vorhalten der Master Karte bestätigt werden muss.
Akustische Signale
Ansteigende Tonfolge:
RFID Karte wurde gelesen und akzeptiert.
Absteigende Tonfolge:
RFID Karte wurde gelesen und abgelehnt (keine Berechtigung).
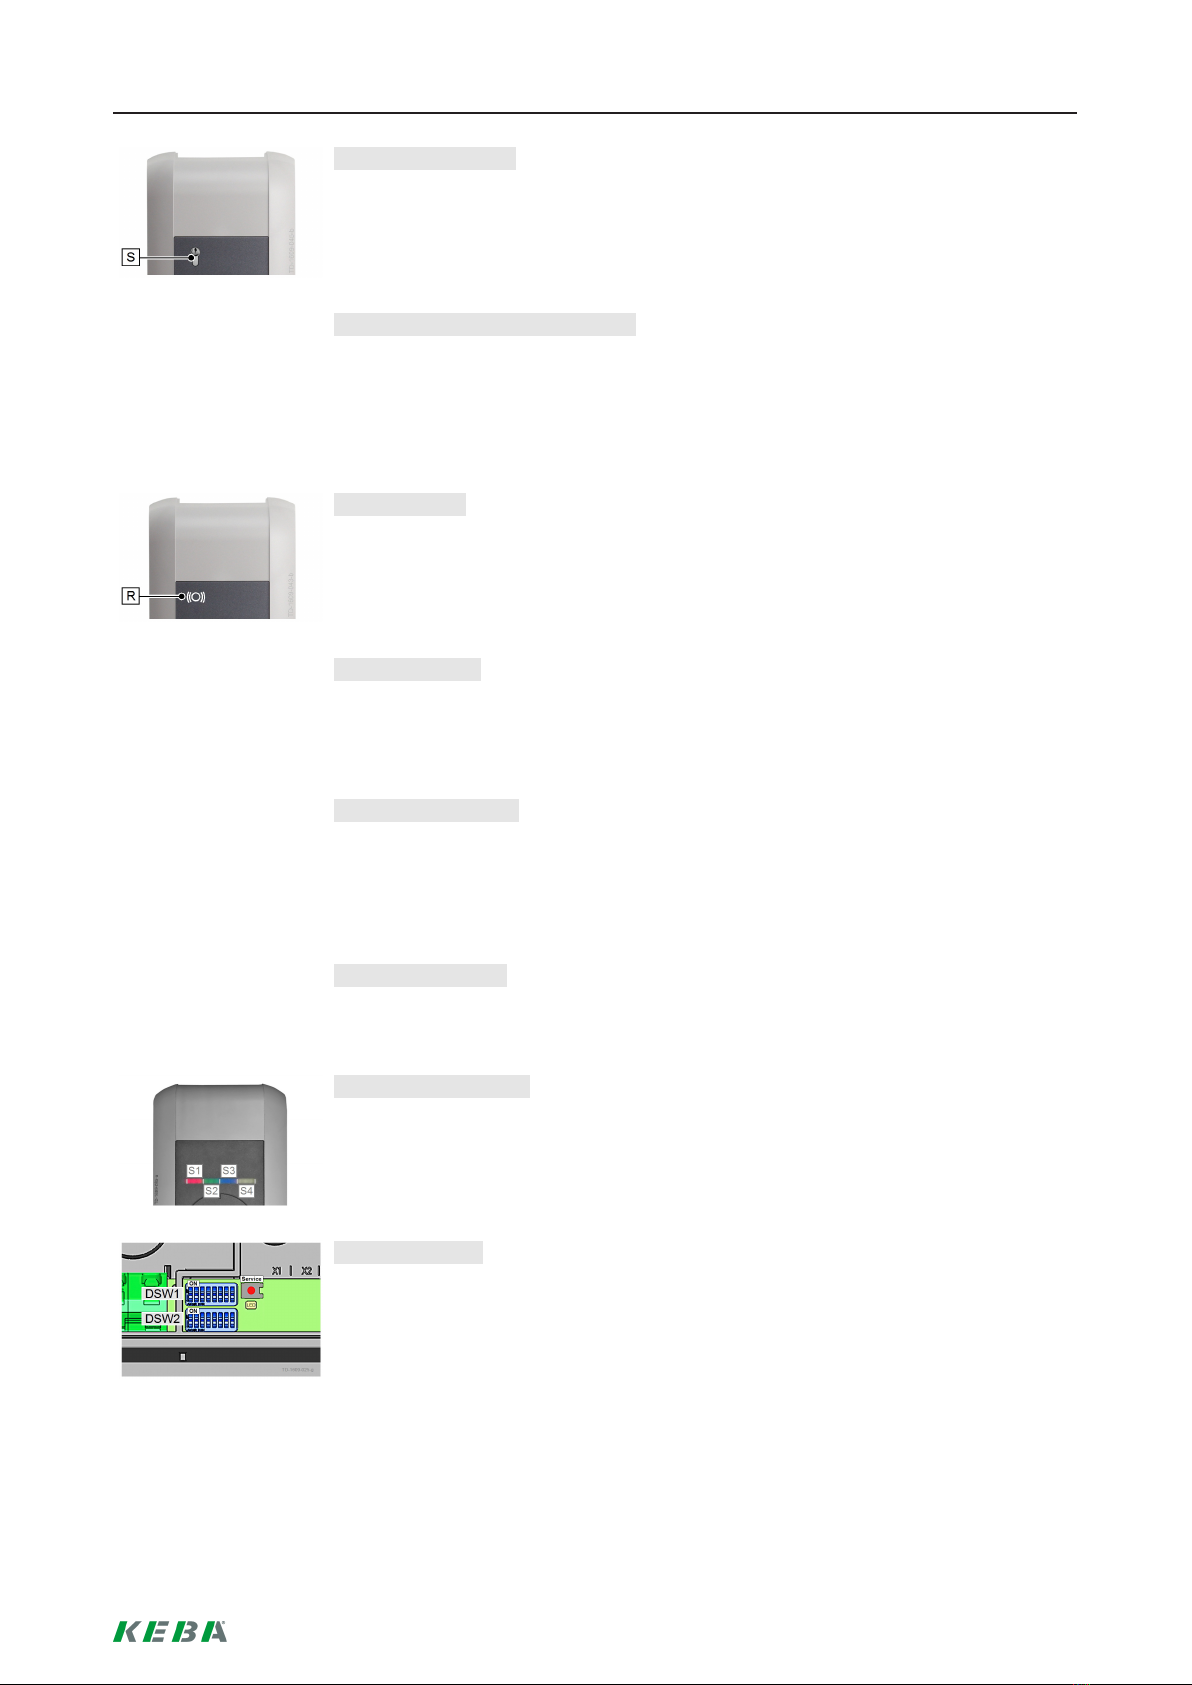
Autorisierung aktivieren/deaktivieren, Whitelist löschen und Master Karte einlernen
Um die Autorisierung zu aktivieren, zu deaktivieren, die Whitelist zu löschen oder eine Master Karte einzuler-
nen, darf keine Ladesitzung aktiv sein und es darf auch kein Fahrzeug an der Ladestation angesteckt sein.
Für den Zugriff auf den Service Taster müssen das Designcover und die Anschlussfeldabdeckung entfernt
werden.
Drücken Sie den [Service] Taster im Anschlussfeld so lange, bis der zweite Signalton ertönt.
Die Ladestation führt nun automatisch einen Neustart durch und löscht dabei die interne RFID Whitelist.
Direkt nach diesem Neustart der Ladestation kann für 60 Sekunden, durch das Vorhalten einer RFID
Karte, die Master Karte angelernt werden. Eine gültige Karte wird mit einem Signalton bestätigt und da-
mit wird die Autorisierungsfunktion aktiviert.
Verstreicht dieses Zeitintervall ohne das Einlernen einer Master Karte, dann wird die RFID Autorisie-
rungsfunktion der Ladestation deaktiviert.
Hinweis
Nach dem Anlernen der Master Karte blinkt die Ladestation noch für 60 Sekunden grün und es
kann eine, durch den Master autorisierte, Ladesitzung gestartet werden. Danach wechselt die La-
destation in den nicht autorisierten Idle Zustand und blinkt blau.

Autorisierungsfunktionen
de - 9/112
Slave Karte einlernen (Benutzerkarte zur Whitelist hinzufügen)
Für das Einlernen einer Slave Karte darf keine Ladesitzung aktiv sein und es darf auch kein Fahrzeug an der
Ladestation angesteckt sein. Die Autorisierungsfunktion der Ladestation muss aktiviert sein. Die LED Bal-
kenanzeige der Ladestation blinkt im Idle Zustand blau.
Halten Sie die RFID Master Karte vor den RFID Reader und warten Sie den Signalton ab.
Halten Sie nun innerhalb von 3 Sekunden die neu einzulernende Slave Karte vor den RFID Reader. Ein
unterstütztes Kartenmodell wird durch eine ansteigende Tonfolge angezeigt.
Bestätigen Sie den Einlernvorgang innerhalb von 3 Sekunden durch erneutes Vorhalten der Master Kar-
te. Der Vorgang wird durch eine weitere ansteigende Tonfolge abgeschlossen. Die Ladestation befindet
sich anschließend im nicht autorisierten Idle Zustand und blinkt blau.
Start eines Ladevorgangs mit aktivierter RFID Autorisierung
Bei aktivierter Autorisierung der Ladestation blinkt die Balkenanzeige im Idle Zustand blau.
Stecken Sie das Fahrzeug an der Ladestation an.
Halten Sie eine RFID Karte aus der Whitelist vor den RFID Reader.
Eine gültige Karte aus der Whitelist wird mit einem Signalton bestätigt und eine Ladesitzung kann vom
Fahrzeug gestartet werden.
Hinweise
●Vor-Autorisierung:
Wird die Ladestation ohne angestecktes Fahrzeug autorisiert, kann für 60 Sekunden ein Fahr-
zeug angesteckt und damit eine Ladesitzung gestartet werden. Verstreicht dieses Zeitintervall
ohne dass ein Fahrzeug angesteckt wird, wechselt die Ladestation wieder in den nicht autori-
sierten Idle Zustand zurück.
●Freigabeeingang [X1]:
Spezielle Gerätevarianten bieten die Möglichkeit, die Freigabe einer Ladesitzung zusätzlich
von der Beschaltung des Freigabeeingangs abhängig zu machen. Sollten Sie diese Funktion
in den DIP Switch Einstellungen aktiviert haben, benötigt die Freigabe einer Ladesitzung zu-
sätzlich ein korrektes Signal am Freigabeeingang. Weitere Informationen dazu finden Sie im
"Installationshandbuch".

Autorisierungsfunktionen
10/112 - de
1.4 Zylinderschloss wechseln (optional)
Bei Gerätevarianten mit Schlüsselschalter ist serienmäßig ein Zylinderschloss ein-
gebaut. Das Zylinderschloss kann bei Bedarf laut nachfolgender Anleitung ersetzt
werden.
Zylinderschloss ausbauen
Drehen Sie den Schlüssel nach links, bis die Widerstände spürbar überwunden
sind.
Drehen Sie den Schlüssel weiter, bis er sich in vertikaler Stellung befindet. Nun
kann das Zylinderschloss mit leicht erhöhtem Kraftaufwand aus der Halterung
entriegelt und herausgezogen werden.
Zylinderschloss einbauen
Das Zylinderschloss muss folgende Anforderungen erfüllen:
● Profil-Halbzylinder nach EN 1303 bzw. DIN 18252
● Maß A = 30mm (bei A=31mm tritt ein minimaler Überstand am Gehäuse auf).
● Verstellbare Schlossnase
Stellen Sie den Winkel der Schlossnase [S] so ein, dass sie in der Abziehposi-
tion des Schlüssels senkrecht nach oben zeigt.
Die Verstellung des Winkels der Schlossnase erfolgt in der Regel wiefolgt:
Drücken Sie mit einem dünnen Gegenstand den Codierstift hinein und schie-
ben Sie die Schlossnase in die gewünschte Position.
Drehen Sie den Schlüssel um 180°, so dass die Schlossnase nach unten zeigt.
Schieben Sie das Zylinderschloss mit etwas Druck vollständig in das Gehäuse
hinein, bis es hörbar einrastet. Das Zylinderschloss sollte bündig mit der Ge-
häuseoberfläche abschließen.
Drehen Sie den Schlüssel nach rechts, bis die Widerstände spürbar überwun-
den sind und der Schlüssel abgezogen werden kann.
Drehen Sie den Schlüssel nicht über die Position [MAX] hinaus. Der Schlüssel-
schalter ist nun einsatzbereit.


Contents
12/112 - en
Contents
1 Authorization functions ........................................................................................................ 13
1.1 About this manual ........................................................................................................ 13
1.2 Explanation of terms .................................................................................................... 13
1.3 RFID authorization ....................................................................................................... 15
1.4 Changing the cylinder lock (optional)...........................................................................17

Authorization functions
en - 13/112
1 Authorization functions
1.1 About this manual
CAUTION!
This manual is a supplement to the "User manual". You must comply with all instructions
and safety notes in the user manual!
Install the charging station according to the "Installation manual".
Validity
This manual is valid for special versions of the following device series:
● KeContact P30 b-series
● KeContact P30 c-series
Allocation via product code (on nameplate):
KC-P30-XXXXXXX-XX
= 1...b-series, 2...c-series, 3...c-series
= R...RFID, K...Keyswitch
Firmware version
Note
Please run a firmware update as necessary to obtain the full scope of functions described. Addi-
tional information, instructions and the firmware can be found at:
↪
http://www.keba.com/de/emobility/service-support/downloads/downloads
1.2 Explanation of terms
Authorization
Special versions provide the option to make starting a charging session dependent
on certain preconditions. The following versions are available:
● Enabling via keyswitch.
● Enabling via SmartHome interface.
● Enabling via external input [X1].
● User identification via RFID card.

Authorization functions
14/112 - en
Key switch
The special version of the KeContact P30 has a cylinder lock fitted that allows only
users with the corresponding key to start a charging process.
The key switch [S] is used for authorizing a user with a key.
External enabling input [X1]
The described device version has the facility for authorization via an input (N.O.
contact) using an external, potential-free switch. In this case, observe the logical
link between the authorization versions in particular. The correct installation and
configuration process can be found in the "Installation manual".
RFID Reader
The special version of the KeContact P30 has an RFID reader fitted that allows au-
thorization via RFID tags.
The RFID reader [R] is used for contactless authorization of a user via RFID tags
conforming to ISO14443 and ISO15693.
RFID Whitelist
List of RFID tags where it is permitted to start a charging session with activated
RFID authorization.
● P30 b-series and c-series permit 20 entries in the RFID whitelist.
RFID master card
First programmed RFID card in the charging station whitelist.
It is used to start and confirm the programming process for all further RFID cards
(slave cards). It is also used to authorize a charging session.
RFID slave card
RFID card on the charging station whitelist. It is used to authorize a charging ses-
sion.
LED bar display
The display provides information on the current operating status of the charging
station. It consists of 4 segments ([S1] to [S4]) which can light up or flash, together
or individually, in different colors.
The LED bar display is only visible with activated power supply.
Service button
The service button [Service] is located in the connection panel on the charging
station. To access this button, the design cover and the connection panel cover
must be removed.

Authorization functions
en - 15/112
1.3 RFID authorization
Master/slave operation (charging network)
If the charging station is part of a charging network (P30 c-series as slave in a master/slave installation), all
RFID cards must be programmed on the master charging station (P30 x-series). The activation and deactiva-
tion of the authorization function and the whitelist for the entire charging network are managed on the mas-
ter. For information on this installation version, please see the specific "Configuration manual" provided.
LED bar visualization
● If authorization is not required for a charging session, all 4 segments of the LED bar display on the
charging station in idle condition (=no-load) will be green.
● If authorization is required for a charging session, all 4 segments of the LED bar display on the charg-
ing station in idle condition (=no-load) will be blue. (Authorization required either via key switch, RFID
card or external input).
● A continuous, orange light on the LED segment [S4] means that the programming of a slave card must
be confirmed by holding up the master card again.
Acoustic signals
Rising tone sequence:
RFID card has been read and accepted.
Falling tone sequence:
RFID card has been read and rejected (no authorization).
Activating/deactivating authorization, deleting the whitelist and programming the
master card
To activate or deactivate authorization, delete the whitelist or to program a master card, it is not permitted for
any charging session to be active and no vehicle is permitted to be plugged into the charging station. To ac-
cess the service button, the design cover and the connection panel cover must be removed.
Press the [Service] button on the connection panel until the second signal tone is sounded.
The charging station will then automatically perform a restart, deleting the internal RFID whitelist in the
process.
Directly after restarting the charging station, the master card can be programmed in by holding up an
RFID card for 60 seconds. A valid card is confirmed with a signal tone, and this activates the authoriza-
tion function.
If this time interval elapses without a master card being programmed in, the RFID authorization function
on the charging station is deactivated.
Note
After programming in the master card, the charging station flashes green for a further 60 seconds
and a charging session authorized by the master can be started. The charging station then
changes to the non-authorized idle condition and flashes blue.

Authorization functions
16/112 - en
Programming in a slave card (adding a user card to the whitelist)
To program in a slave card, it is not permitted for any charging session to be active and in addition it is not
permitted for any vehicle to be plugged in to the charging station. The authorization function of the charging
station must be activated. The LED bar display on the charging station flashes blue in idle condition.
Hold the RFID master card in front of the RFID reader and wait for the signal tone.
Then hold the new slave card for the programming process in front of the RFID reader within 3 seconds.
A supported card model is indicated by a rising tone sequence.
Confirm the programming process by holding up the master card again within 3 seconds. The procedure
is concluded by a further rising tone sequence. The charging station will then be in non-authorized idle
condition and flashes blue.
Starting a charging process with activated RFID authorization
With activated authorization of the charging station, the bar display flashes blue in idle condition.
Plug the vehicle into the charging station.
Hold an RFID card from the whitelist in front of the RFID reader.
A valid card from the whitelist is confirmed with a signal tone and a charging session can be started from
the vehicle.
Note
●Pre-authorization:
If the charging station is authorized without a vehicle plugged in, a vehicle can be plugged in
for 60 seconds and this will start a charging session. If this time interval elapses without a vehi-
cle being plugged in, the charging station changes back to non-authorized idle condition.
●Enable input [X1]:
Special device versions provide the additional option of making the authorization of a charging
session dependent on the activation of an enabling input. If you have activated this function on
the DIP switch, enabling a charging session will require a correct signal on the enabling input
in addition. Further information on this can be found in the "Installation manual".

Authorization functions
en - 17/112
1.4 Changing the cylinder lock (optional)
Device versions with key switch have a cylinder lock installed as standard. If
needed, the cylinder lock can be replaced according to the following instructions.
Removing the cylinder lock
Turn the key to the left until you feel the key turn in the lock.
Turn the key further until it is in the vertical position. The cylinder lock can then
be unlocked from the holder using slightly increased force and removed.
Fitting a cylinder lock
The cylinder lock must fulfill the following requirements:
● Profile half cylinder conforming to EN 1303 or DIN 18252
● Dimension A = 30mm (for A=31mm a minimum overhang occurs on the hous-
ing).
● Adjustable lock nose
Adjust the angle of the lock nose [S] so that it faces up vertically when the key
is in the removal position.
The adjustment of the lock nose angle normally occurs as follows:
Use a thin object to press in the code pin and push the lock nose into the de-
sired position.
Turn the key 180° so that the lock nose faces downward.
Use light pressure to press the cylinder lock into the housing completely until it
audibly engages. The cylinder lock should be flush with the surface of the
housing.
Turn the key to the right so that you feel the turn key and the key can be re-
moved.
Do not turn the key past the [MAX] position. The key switch is now ready for
use.


Table des matières
fr - 19/112
Table des matières
1 Fonctions d’autorisation ...................................................................................................... 20
1.1 À propos de ce manuel ................................................................................................ 20
1.2 Terminologie ................................................................................................................ 20
1.3 Autorisation RFID.........................................................................................................22
1.4 Remplacement d'une serrure cylindrique (en option) .................................................. 24

Fonctions d’autorisation
20/112 - fr
1 Fonctions d’autorisation
1.1 À propos de ce manuel
PRUDENCE!
Cette notice complète le Manuel d'utilisation. Respectez impérativement les instructions et
les consignes de sécurité du manuel d'utilisation.
Installez la station de recharge selon les instructions du Manuel d'installation.
Validité
Ce manuel s’applique aux modèles spéciaux des séries d'appareils :
● KeContact P30 b-series
● KeContact P30 c-series
Classification avec le code produit (de la plaque signalétique) :
KC-P30-XXXXXXX-XX
= 1...b-series, 2...c-series, 3...c-series
= R...RFID, K...Keyswitch
Version de firmware
Remarque
Si nécessaire, mettez à jour le firmware pour bénéficier de toutes les fonctions décrites. Pour en
savoir plus, consulter les instructions et obtenir le firmware, accédez à :
↪
http://www.keba.com/de/emobility/service-support/downloads/downloads
1.2 Terminologie
Autorisation
Les modèles d'appareil spéciaux permettent d'associer le démarrage d'une re-
charge à certaines conditions. Les options suivantes sont disponibles :
● Validation par interrupteur à clé.
● Validation par interface SmartHome.
● Validation par entrée externe [X1].
● Identification d'utilisateur par carte RFID.
This manual suits for next models
3
Table of contents
Languages:
Other Keba Automobile Accessories manuals
Popular Automobile Accessories manuals by other brands

Thule
Thule VeloCompact 924 instructions

Dorman
Dorman 741-644 Quick removal & installation guide

Champion Power Equipment
Champion Power Equipment 100124 Owner's manual & operating instructions

Thule
Thule Rapid Fixpoint XT 3001 Fitting instructions

Thule
Thule Rapid 1226 Fitting instructions

Akyga
Akyga AK-EC-03 user manual