manuals.online logo
Brands
  1. Home
  2. •
  3. Brands
  4. •
  5. Kee safety
  6. •
  7. Ladder
  8. •
  9. Kee safety Easi-Dec User manual

Kee safety Easi-Dec User manual

PL010
Issue 01
SAFETY AT THE HIGHEST LEVEL
Panel Lifter.
Assembly Instructions
Easi-Dec Access Systems Ltd.,
Merlin House,
Blaydon Road,
Sandy
SG19 1RZ
Tel: +44 ( 0 ) 1767 691812
Fax: +44 ( 0 ) 1767 691802
E-Mail: [email protected]
Internet: www.easi-dec.com
Copyright © 2012 Kee Safety Ltd. All rights reserved.
PL010
Issue 01
PLEASE BE ADVISED: Before assembling the Panel Lifter for the first time, it is highly recommended
that Installers familiarise themselves with the component parts and carry out a test assembly and
disassembly in a safe area away from the point of final installation. All component parts detailed in the
operating instructions must be used in the assembly of the system. Should a piece be missing or
appear defective do not continue to assemble and contact Easi-Dec Immediately.
Step1 Step 2
Before adjusting for height, unlock the Clutch and release the
spare rope. This will allow the rope to feed through the clutch as
you extend the ladder.
Position the ladder with the stand-off above and central to the
window in order to allow sufficient room for the screen. Where
the soffit board is immediately above the window the stand-off
may be rested against the facia board or onto the roof.
Remember to follow the 4:1 ladder rule for the correct angle
against the wall.
Step 3 Step 4
When the ladder is correctly positioned, the bottom stabilisers
should be positioned. Loosen the black knob and slide the
stabiliser up the ladder stile.
Release the locking pin and rotate the stabiliser towards the
ground, the locking pin will engage when it is set at the correct
angle.
Step 5 Step 6
FIG1. Positioning
Allow the stabiliser to slide down the ladder stile until the foot is
in contact with the ground. Tighten the knob firmly by hand, it
does not have to be over tightened.
Attach the clip to the screen. The ‘pin’ should be positioned
centrally about one third down from the top of the screen. FIG 1.
Push the pin through the hole until the plate is flat against the
screen. Slide the top section of the clip down, in and up to lock
the clip in place.
PL010
Issue 01
Step 7 Step 8
Lock the clutch before attempting to lift the screen
Pull the rope down vertically whilst standing away from the wall.
The clutch will prevent the screen descending.
Step 9 Step 10
Raise the screen to sill level.
Ascend the ladder and push the screen over the window to allow
a second person inside the building to secure the wire ties.
Release the clip.
Step 1 (Lowering) Step 2 (Lowering)
Erect the ladder as described above.
Raise the clip, by pulling on the rope, to about halfway up the
screen. Lock the clutch. Fit the clip to the screen about one third
down from the top as described on above. Descend from the
ladder; take up the slack in the rope.
When the screen is released from inside the building it will hang
clear of the wall ready to be lowered to the ground. Hold the rope
in one hand and take the strain. Gradually release the clutch
lever, this may be used to control the descent of the screen.
Alternatively, fully release the lever and feed the rope hand over
hand to lower the screen.
PL010
Issue 01
STORAGE
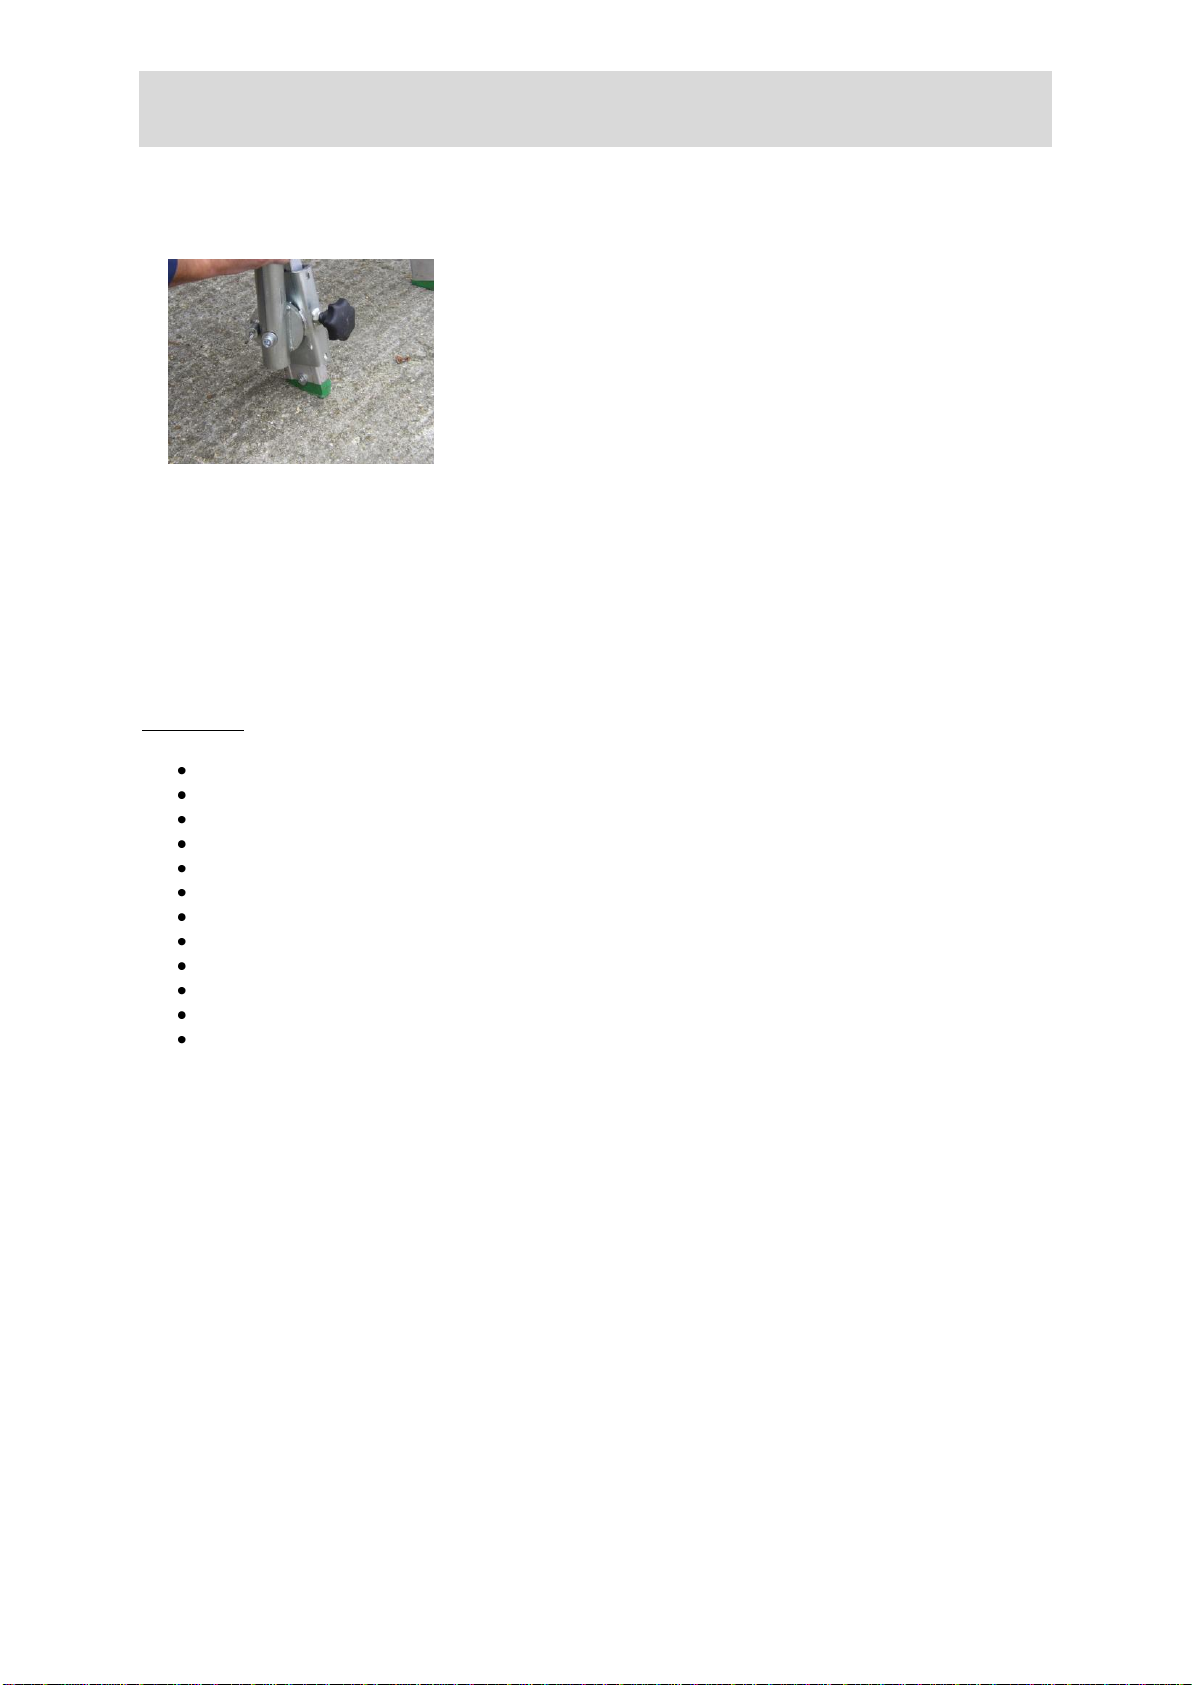
To close the Panel Lifter for storage you must first fold back the
bottom stabilisers. Ensure they are positioned against the lower
stop to allow the ladder to be fully closed.Lower the ladder
sections until fully closed.Pull excess rope through the clutch and
lock the clutch leaving the clip at the top of the ladder, this will
help to keep the rope free of tangle during storage.Coil up the
excess rope and store on the ladder stile in the strap provided.
Never allow the rope to slide through your hands, it will burn you!
REMEMBER
Do not use worn or damaged equipment.
Check fixings, securing pins, and the lifting rope for cuts or fraying.
Check the Clutch is clean and operates properly.
Wear appropriate personal protective equipment, gloves, hardhat and steel toe capped boots.
Follow the 4:1 rule when erecting the ladder.
Always use the bottom stabilisers.
Maintain at least three points of contact when climbing the ladder.
Do not stand beneath the screen whilst it is being lifted or lowered.
Be aware of overhead power cables.
Do not use in high winds.
Max Load is 50Kg for Hoist.
If in doubt ask your Supervisor.

Other Kee safety Ladder manuals

Kee safety easi-dec HFL010 User manual

Kee safety

Kee safety easi-dec HFL010 User manual

Kee safety easi-dec Ladder Stand off User manual

Kee safety

Kee safety easi-dec Ladder Stand off User manual

Popular Ladder manuals by other brands

AGI Westeel Wide-Corr Installation and Storage Instructions

AGI

AGI Westeel Wide-Corr Installation and Storage Instructions

Intex Rondo 126756GN owner's manual

Intex

Intex Rondo 126756GN owner's manual

LADDERSTORE LADDERFIX MICROLITE Instruction leaflet

LADDERSTORE

LADDERSTORE LADDERFIX MICROLITE Instruction leaflet

INNOVAPLAS Lumi-o BILTMOR DECK 5050 manual

INNOVAPLAS

INNOVAPLAS Lumi-o BILTMOR DECK 5050 manual

Würth Scale instructions

Würth

Würth Scale instructions

XtremepowerUS 26508 Owner's manual and safety instructions

XtremepowerUS

XtremepowerUS 26508 Owner's manual and safety instructions

Garelick 19622-61 installation instructions

Garelick

Garelick 19622-61 installation instructions

Mocka Maya Ladder Assembly instructions

Mocka

Mocka Maya Ladder Assembly instructions

Batavia GIRAFFE AIR BT-TL033 operating instructions

Batavia

Batavia GIRAFFE AIR BT-TL033 operating instructions

Bilco BL-Z Installation

Bilco

Bilco BL-Z Installation

Bison VB76 instruction manual

Bison

Bison VB76 instruction manual

Sealey Power Products LAD002 instructions

Sealey

Sealey Power Products LAD002 instructions

Realtree RTLS-314 Instruction & safety manual

Realtree

Realtree RTLS-314 Instruction & safety manual

Zico QUIC-LIFT LAS-775 Parts and instruction manual

Zico

Zico QUIC-LIFT LAS-775 Parts and instruction manual

wibe LPR User instructions

wibe

wibe LPR User instructions

ehleva OPTIMA Assembly instructions

ehleva

ehleva OPTIMA Assembly instructions

MetalTech I-IREX3 OPERATIONAL SAFETY AND ASSEMBLY INSTRUCTIONS

MetalTech

MetalTech I-IREX3 OPERATIONAL SAFETY AND ASSEMBLY INSTRUCTIONS

smirthwaite 4374 Instructions for use

smirthwaite

smirthwaite 4374 Instructions for use

manuals.online logo
manuals.online logoBrands
  • About & Mission
  • Contact us
  • Privacy Policy
  • Terms and Conditions

Copyright 2025 Manuals.Online. All Rights Reserved.