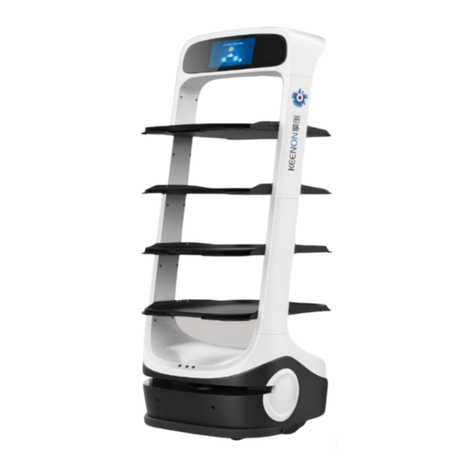
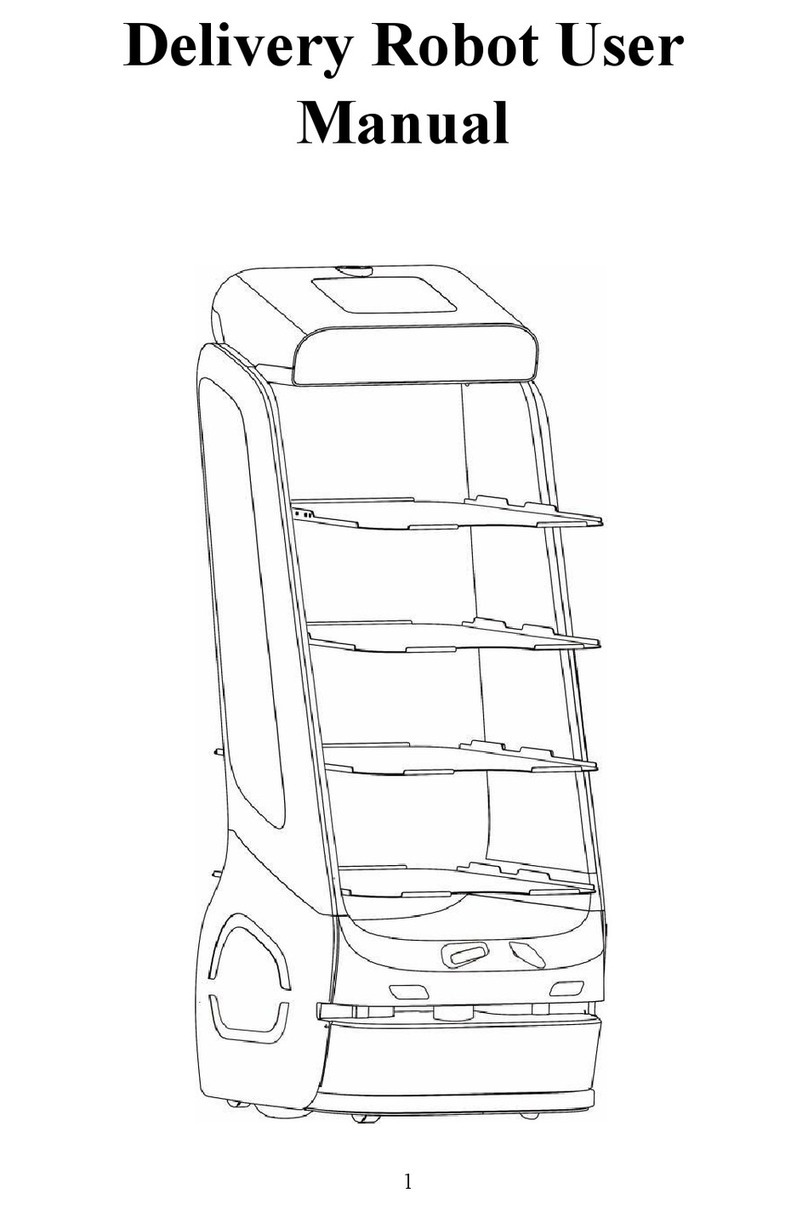
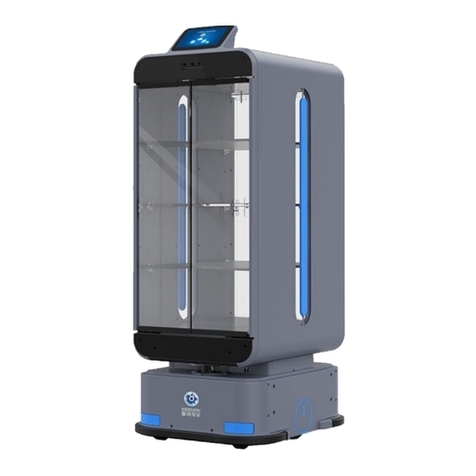
Keenon Robotics T5 User manual

1
Delivery Robot
User Manual

2
Declaration
Copyright © 2019 Keenon Robotics Co., Ltd.
Copyright reserved, all rights reserved
Without the express written permission of Keenon Robotics Co., Ltd., any unit or
individual shall not copy, duplicate, transcribe or translate partial or all contents in
this Manual arbitrarily, nor propagate in any way (electronic, photocopying,
recording, etc.) for profits.
The product specifications and information mentioned in this Manual are for
reference only. If the contents are updated, there won’t be further notice. Unless
otherwise specified, this Manual will be used as the application guide only, and no
statement herein shall constitute any form of warranty.

3
Foreword
Honorable user, welcome to select the Delivery Robot . Before using your robot,
please read this Manual carefully, get familiar with and use your robot gradually
according to the instructions in the Manual.
@Keenon Robotics

4
Brief Introduction to the Manual
This Manual mainly introduces the functional characteristics, methods for
installation and usage and precautions in usage of the Delivery Robot .
This Manual includes the following contents:
1.
Introduction to the robot: This part briefly introduces the basic functional
characteristics of the robot, and displays the structural information of the
robot in detail.
2.
Operation steps: This part introduces the preparatory works and precautions
during the installation and use of the robot.
3.
Appendices: This part introduces the common faults, detailed technical
parameters and safety precautions of the robot.

5
Contents
Declaration..............................................................................................................2
Foreword.................................................................................................................3
Brief Introduction to the Manual.............................................................................4
Introduction to the Robot ........................................................................................7
Main Structure of the Robot....................................................................................8
Operation Steps.......................................................................................................9
Installation.......................................................................................................9
Startup...........................................................................................................10
Setup..............................................................................................................12
Delivery.........................................................................................................17
Charging........................................................................................................18
Emergency.....................................................................................................20
Carrying the robot.........................................................................................21
Appendices............................................................................................................23
List of Abnormities and Fault Clearance.......................................................23
Parameters of Robot......................................................................................25
Safety Precautions.........................................................................................26

6
Note: The figure above is for reference only, the specific appearance and
color of product shall be subject to the material object
Figure 1 Structure Drawing of Delivery Robot
(Front View)
(Side View)
1. Touch area
2. Expression board
3. Stereo vision
4. Laser radar
5. Image module
6. Collision proof edge
7. Driven wheel
8. Driving wheel
9. Touch screen
10. Horn
11. Power switch
12. Manual charging port
13. First floor tray
14. Second floor tray
15. Third floor tray
16. Fourth floor tray
17. Automatic charging port
18. Power Switch
19. Emergency stop switch

7
Introduction to the Robot
⚫
The Delivery Robot operates indoors, and is applicable to public indoor
occasions such as restaurants, hotels, supermarkets, cinemas, KTV and
business offices.
⚫
The Delivery Robot realizes the core functions of fully autonomous
positioning and navigation and intelligent obstacle avoidance through
machine vision and laser radar. It can move with full autonomy indoors, carry
out intelligent voice interactions with people, and provide people with
services such as meal delivery in restaurants, transfer of office files and
express distribution.
⚫
The product described in this Manual is the Delivery Robot of model T5.

8
Main Structure of the Robot
Figure 1 is the main structure drawing of the Delivery Robot . The chassis of the
robot has the two-wheel driving and four-wheel driven structure. It realizes the
autonomous positioning through machine vision and laser radar, and achieves
intelligent obstacle avoidance by integrating touch switch and other sensors. Its touch
screen is for users to operate and use the robot system.
Figure 2 is the structure drawing of charging pile of Delivery Robot . The robot
has the intelligent autonomous recharging function. It can search, match and
contact the charging pile independently, so as to realize automatic recharging.
Figure 2 Structure Drawing of Charging Pile

9
Operation Steps
Please start to use your robot by observing the following operation steps.
Installation
1.
Mapping by the Robot
Before autonomous movement, the robot needs to get familiar with the mobile
environment, stores and identifies the operation environment in the mode of
map. This step is called mapping.
When the robot’s indoor environment has significant changes (for example,
re-decoration, the movement of the robot to a new operation site, or the
rearrangement of indoor items), please contact the customer service via 400-
9651-808 for re-mapping.
2.
Arrangement of Charging Pile
The robot has the automatic recharging function, the charging pile shall be
installed in a location convenient for charging on the operational site, and the
installation of charging pile shall be completed by the technician of the
manufacturer. Once it is fixed, please don’t move it arbitrarily. If the location
of charging pile needs to be changed, please contact the customer service via
400-9651-808 to reset the location of the charging pile.

10
Startup
1.
Power-on/Power-off Button
The power switch is located on the chassis behind the robot. Open the silica
gel cover below the chassis, and a button on the left will be seen, namely the
power switch. Find the position of the power switch as shown in Figure
3,press the power switch with a finger, and the robot will be booted. After the
system is booted, the robot can be used normally after waiting for about 40s.
When the robot needs to be powered off, please turn off the power switch in
the same way. After the power switch is turned off, the robot will be powered
off immediately.
Figure 3 Location Diagram of the Power Switch
2.
Booting of the PEANUTAPP
After booting the power switch, the system desktop will display the
startup LOGO, PEANUT animation and Android desktop in sequence,
and the system booting duration is about 40s.
Under the default setting, the system will start the PEANUT APP
automatically after it is booted. If the system fails to boot the PEANUT
APP, please find the PEANUT icon on the desktop, as shown in Figure 4,
and click this icon to boot the APP.
Note: Firstly, open the silica
gel cover below the chassis,
and press the red button on
the left with a finger
1
2

11
Figure 4 Icon of the PEANUT APP
After the PEANUT APP is booted, you can use the Peanut Robot normally.

12
Setup
Users can carry out relevant setups of the robot through the PEANUT APP, and
the steps for entering the setup page of the robot are as follows: (taking meal
delivery App as an example)
(1)
Enter the user setup page:
① Click the [≡] icon on the upper left corner of main page, and open the
pop-up window on the side;
②Find the [Setup], and click it to enter.
(2)
Enter the super setup page:
①Find the [Know Me] menu in user setup;
② Find the [Manufacturer] column, make three quick clicks, and the super
password page will pop up;
③ Enter the password (contact the supplier to provide the default password)
to pass, and enter the super setup page.
1.
Connect the Wi-Fi
When the robot is used for the first time, please connect the robot to the
network via Wi-Fi, and the setup steps are as follows:
① Enter the user setup page, or enter the super setup page, and find [Wi-Fi
Network];
② Start the WLAN (Wi-Fi) function of the system, and search for the
available Wi-Fi.
③Select the available Wi-Fi, and enter the password.
④Click the [Connect] button until the Wi-Fi connection is successful.

13
2.
Charging Setup
*The operation steps for the setup of [Minimum Electricity Consumption] of
the robot are as follows:
①Enter the super setup page.
② Click the [Power Management] menu and the power management setup
page will be displayed.
③ Slide the page upward, find and click [Minimum Electricity
Consumption].
④Select or input the numerical value, and save it.
Note: If there’s no charging pile, directly skip to [3. Adjust the Volume]
*The operation steps for the setup of [Automatic Recharging Electric
Quantity] of the robot are as follows:
①Enter the super setup page.
② Click the [Power Management] menu, and the power management setup
page will be displayed.
③ Slide the page upward, find and click [Automatic Recharging Electric
Quantity].
④Input the numerical value, and save it.
Within the working period, when the operating electric quantity of the
robot is lower than the [Automatic Recharging Electric Quantity], the robot
will arrive at the designated charging pile for charging automatically; if the
administrator cancels during charging, when the operating electric quantity is
lower than the [Minimum Electricity Consumption], the robot will stop

14
operating and trigger the automatic recharging.
The operation steps for the automatic recharging working time setup of the
robot are as follows:
The robot has the intelligent automatic recharging function, and users
can set the working time of the robot in the PEANUTAPP:
① Enter the user setup page and find [Charging Setup]; or enter the super
setup page and find [Power Management].
② Find the “Working Period” function setup column.
③ Click the working period adding button, and the time setup interface will
pop up.
④ Slide up and down in the pop-up window of time selector, select the start
time and end time separately, and then confirm.
⑤ If the start time and end time are changed, click the displayed time once
again (e.g. 9:00); and it is allowed to add multiple working periods, but not
allowed to set time interleaving.
⑥ The default working days are from Monday to Friday. The robot will
return to the charging pile for charging automatically at the end time of
working every day, and the working days can be added or deleted as
required.
⑦ For the working period having been added for use, it is supported to delete
or close; if the working period is closed, the robot won’t go to the charging
pile for charging automatically at the end time point of working.
3.
Adjust the Volume
If the bottom of screen displays the system menu bar, directly click the

15
volume button to adjust the volume. If the system menu bar isn’t displayed,
operate as follows:
①Enter the user setup page.
② Find the [Volume Adjustment] menu, in which the music volume and
voice volume can be adjusted respectively.
③ Slide towards the right, or click the volume adjustment button on the right,
the volume will increase.
④ Slide towards the left, or click the volume adjustment button on the left,
the volume will decrease.
4.
Hiding Status Bar
①Enter the super setup page.
②Click the [System Setup] menu.
③ Find [Hiding Status Bar], the default switch will be turned on, and the
status bar on the desktop will be hidden; click the switch on the right once
again, the default switch will be turned off, and the status bar will be
displayed.
5.
Setup of Daemon Mode
When the [Daemon Mode] of the robot is booted, the robot will
automatically test whether the PEANUT APP is operating, and boot the
PEANUT APP automatically. The operation steps are asfollows:
①Enter the super setup page.
② Find the [Daemon Mode] of [System Setup], the default switch will be
turned on, i.e. the daemon mode will be booted, and the PEANUT APP will
be rebooted automatically if it is accidentally closed.
③ Click the switch button on the right of the [Daemon Mode] once again,

16
the function of daemon mode will be closed, the PEANUT APP won’t start
automatically after it is closed, and it is necessary to click the APP icon
manually before operating the PEANUTAPP.
6.
The operation steps for the startup self-booting setup:
By default, the system will boot the PEANUT APP automatically. When the
PEANUT APP is without startup self-booting, please set the startup self-
booting of PEANUT APP according to the following operations:
①Enter the super setup page.
② Find and click [Startup Self-Booting] of [System Setup], the default
switch will be turned on, i.e. the startup self-booting function will be started.
After the successful setup, the robot will boot the PEANUT APP voluntarily
when it is started every time.
③ Click the switch button on the right of [Startup Self-Booting] once again,
the startup self-booting will be closed.
7.
The operation steps for the robot name setup are as follows:
①Enter the super setup page.
② Find the [Robot Name] of [System Setup], and enter the name (nickname)
setup page.
③ Complete the name setup, click the [Save] button on the upper right
corner of the page, return to the previous page, and the name will be
displayed.

17
Delivery
The deployment personnel will create the map and corresponding resource
allocation; Then start the PEANUT APP. And the robot will work for you. The
operation steps are as follows:
① The pantry helper will place the items to be delivered on the trays of the
robot;
② On the screen interface at the top, select one or more destination table
numbers, i.e. destinations of a task of meal delivery robot;
③Click [Set Out Immediately].
④ The robot carries the meals and moves towards the destinations,
accompanied by voice reminder.
⑤The robot arrives at the corresponding destination, and prompts the waiter
to pick up meals via voice.
⑥ The waiter takes away the meals, click [Confirm Pickup] on the screen,
and the robot will move towards the next destination or return to the initial
location.

18
Charging
1.
Charging by Adapter (It’s not allowed to operate the robot during the
charging process by adapter)
① Open the silica gel casing outside the [Manual Charging Port] at the back
of the robot, and use the charging plug of adapter to connect the robot.
②After the successful connection, the indicator light of the adapter turns red,
and the screen interface skips to the charging page, indicating that the
charging is in progress.
③ When the indicator light of adapter turns green, it indicates that the
charging is completed. Please disconnect the adapter and tuck back the silica
gel casing outside the charging port of the robot.
2.
Intelligent Autonomous Recharging of the Robot
The robot has the intelligent autonomous recharging function. When the
following three conditions are met, the robot can realize the intelligent
autonomous recharging.
⚫
The user has bought the charging pile, and the charging pile has a fixed
position and favorable energization.
⚫
The electric quantity of the robot is lower than the value of recharging
electric quantity set by the user.
⚫
The robot is outside the working period, and its electric quantity is
lower than 100%.
Please refer to the “Charging Setup” in the setup part of this Manual for the
setup of triggering condition of autonomous recharging.

19
3.
The user triggers the charging of robot manually
The user can trigger and control the automatic recharging of the robot by
operating the PEANUT APP. The specific operation steps are as follows:
① Enter the user setup page and find [Charging Setup], or enter the super
setup page and find [Power Management].
② Click the [Charge Immediately] button, and the robot will set out
immediately to look for the charging pile for charging.
③ After the robot arrives at the location of charging pile, it starts to match
and connect the charging pile autonomously.
④ Charging can be started after the robot has matched and connected the
charging pile.
The user can also push the robot manually to the charging pile for charging,
and the specific operations are as follows:
① Enter the user setup page and find [Charging Setup]; or enter the super
setup page and find [Power Management].
② Click [Push to Charging Pile Manually] below [Charge Immediately], and
the page will skip to the manual charging page.
③The user can push the robot to the location of charging pile manually.
④ Align the back of robot with the charging pile, then push the robot onto
the charging pile, making the automatic recharging port at the bottom of
robot contact with the contact plate of charging pile.
⑤After the contact is successful, the page will display the successful
connection, and the charging can be started.

20
19.Emergency Stop Switch
Emergency
When the robot presents the following situations, the user can shut down the robot
by pressing the emergency stop switch at the back of the robot:
①The user needs to move the robot when it is operating
② The robot is in a state of abnormal operation, which may cause damage and
other situations to the surrounding environment
The position of the emergency stop switch and the operation steps are shown in
Figure 5:
Figure 5 Partial Enlarged Drawing after Opening the External Cover of the Emergency Stop
Switch
The emergency stop switch of the robot is on the top of the robot, i.e. the location
shown by No. ⑧ in the figure. The emergency shutdown of the robot can be
realized by pressing the red emergency stop switch.
Table of contents
Other Keenon Robotics Robotics manuals

Keenon Robotics
Keenon Robotics T5LS User manual

Keenon Robotics
Keenon Robotics PEANUT M2 User manual

Keenon Robotics
Keenon Robotics PEANUT T6 User manual

Keenon Robotics
Keenon Robotics PEANUT T2 User manual

Keenon Robotics
Keenon Robotics PEANUT Owner's manual

Keenon Robotics
Keenon Robotics PEANUT T1 Owner's manual

Keenon Robotics
Keenon Robotics PEANUT User manual

Keenon Robotics
Keenon Robotics PEANUT User manual

Keenon Robotics
Keenon Robotics W3 User manual