FORM NO. 70140A - SelectLine 13, 17, 20, 17 HD, 20 HD, 20 TS - 5
INTRODUCTION
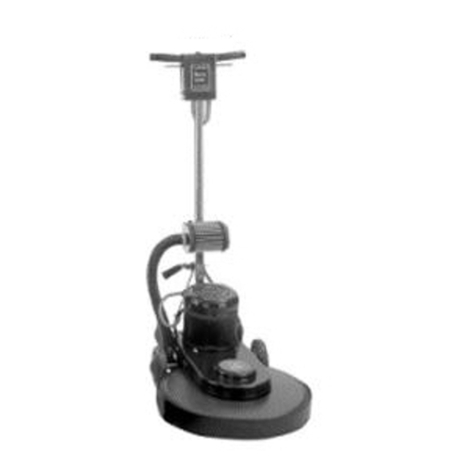
This manual will help you get the most from your KENT floor machine. Read it
thoroughly before operating the machine.
Thisproductisintendedforcommercialuse;polishing,spraybuffing,scrubbing,
stripping and rotary carpet shampooing.
PARTS AND SERVICE
Repairs,whenrequired,shouldbeperformedbyyourAuthorizedKENTService
Center, who employs factory trained service personnel, and maintains an
inventory of KENT original replacement parts and accessories.
CalltheKENTdealernamedbelowforrepairpartsorservice. Pleasespecifythe
Model and Serial Number when discussing your machine.
(Dealer, affix service sticker here.)
NAME PLATE
The Model Number and Serial Number of your machine are shown on the
Nameplate on the bottom of the machine. This information is needed when
ordering repair parts for the machine. Use the space below to note the Model
Number and Serial Number of your machine for future reference.
MODELNUMBER
SERIALNUMBER
UNCRATE THE MACHINE
When the machine is delivered, carefully inspect the shipping carton and the
machine for damage. If damage is evident, save the shipping carton so that it
can be inspected. Contact the KENT Customer Service Department immedi-
atelytofileafreightdamageclaim(phonenumberisprovidedonthebackcover
of this manual).
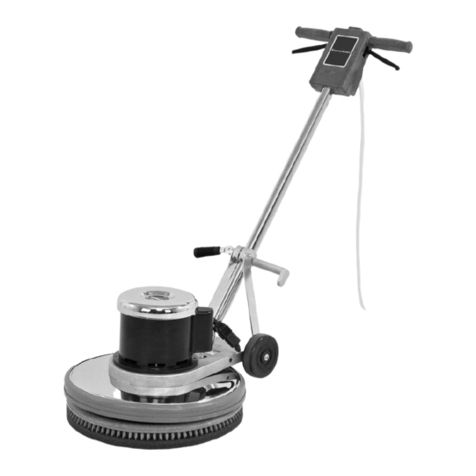
(A)-KNOW YOUR MACHINE
1 Operator Handle Grips
2 Switch Lever Safety Lock Button
3 Switch Levers - Squeeze - ON / Release - OFF
4 Handle Release Compression Lever
5 PowerCord
6 Operator Handle
7 CordHook
WARNING!
Thismachinecontainsmovingparts.Toreducetheriskofinjury,
always unplug the power cord before servicing.
(B)-INSTALLING THE BRUSH OR PAD
HOLDER
Alignthe lugs withthe corresponding slots in the brush or pad holder and turn
thebrushorpadholdercounterclockwise to lockitinplace. Toremovebrush/
pad holder, give it a quick, hard turn clockwise.
CAUTION!
Using the wrong brush or pad on this machine can damage the
floor or overload the motor.
OPERATION
1UnwrapthePowerCord(5)andplugitintoaproperlygroundedoutlet.
2Pull up on the Handle Release Compression Lever (4). Move the
Operator Handle (6) downward until your arms are almost straight.
PushdownontheHandleReleaseCompressionLever (4) tolockitin
place.
3LiftupontheOperatorHandle(6)untilthebrush(orpad)isflatagainst
the floor.
WARNING!
Beprepared to control the machineassoonasthe motor starts.
Just a slight up or down movement of the Handle will make the
machine move from side to side. Raise the Handle to go right.
Lower the Handle to go left.
CAUTION!
Immediatelystartmovingthemachineback andforth. Keepthe
machine moving while the motor is running to avoid damage to
the floor or carpet.
4Hold one of the Operator Hand Grips (1) firmly, push the Safety Lock
Button(2)andthencompresstheSwitchLevers(3)tostart themotor.
NOTE: When the Switch Levers (3) are released, the machine shuts
off immediately.
NOTE: Whenspraybuffing,checkthepadevery15minutesfordirtand
waxbuild-up.Ifthepadisdirty,turnitovertoexposethecleansideor
install a clean pad.
AFTER USE
1Place the Operator Handle (6) in the upright position and unplug the
PowerCord(5). WrapthePowerCord(5)aroundtheOperatorHandle
Grips (1) and the Cord Hook (7).
2Remove the pad holder or brush from the machine. Clean the pad or
brushandhangituptodry.Allowbuffingpadstodrycompletelybefore
using again.
Storebrushesandpadholdersseparatefromthemachine.Neverstore
the machine with the pad holder or brush on the machine.
3Wipetheentiremachinewithaclean,dampcloth.Wipetheunderside
of the brush housing after wet use.
4Inspect the entire machine and all accessories for damage. Perform
any required maintenance or repairs before storage.
5Store the machine in a clean, dry place with the Operator Handle (6)
locked in the upright position.
EN
ENGLISH
