manuals.online logo
Brands
  1. Home
  2. •
  3. Brands
  4. •
  5. Kenwa
  6. •
  7. Door Opening System
  8. •
  9. Kenwa NHN 1600U-M Series User manual

Kenwa NHN 1600U-M Series User manual

Wrench 5mm
9
Opening angle and closing speed adjustment
Combining the main arm to the sliding part in the track and
Latching adj
Latching angle
Closing angle
5
Closing adj
Countersunk screw M5x12L
10
4
Washer
Attach the main arm to the axis of the body
Installation and fixing of the track.
Fixing plate
2
Sliding part
5
Fixing screw M8
Hold open Fixing part
Hold open Spring plate
7
8
6
4Track
3Main arm
NO
1Body
Parts
2
3
QTY
1
2
Sliding part
M5x12
Main arm
3/16"x1"
Hold open Fixing part
Track
M5x15
Hold open Spring plate
M5xp0.8 screws should
The screw holes for the
be chamfer.
Installation and fixing of the body.
1
75 -10
Parts & Assemble
Speed adjustment
Fast Slow
Fast Slow
Fixing screw M8
1
2
3
8
9
10
11
14
15
16
1
1
1
1
1
1
1
1
120°
NO Parts QTY
Wooder screw3/16"x1"L
16
Countersunk screw M5x15L
Countersunk screw M5x8L
Wooder screw3/16"x1"L
14
15
13
Countersunk screw M5x15L
12
11 Washer
4
4
4
4
4
1
17
Cover plate
18
1
1
18
19
3/16"x1"
M5x8
M5x15
Body
Fixing plate
M5x4.1
12
13
7
4
6
5
17
Sliding
Fixing
Loose
open adj.)
Opening angle (Hold
NO. 1600U-M Series CONCEALED DOOR CLOSER INSTALLATION INSTRUCTION
Suitable for RH/LH USE
19 2
Countersunk screw M5x4.1L
Wrench 4mm
and tighten the screw firmly
tighten the fixing screw.
Adjust the hold open fixing part to the desired hold open angle.
Adjust the closing speed by the two valves on the top.
1.Check handing of door and select
correct top side of closer body.
2.Before installing the closer body into the
door please screw in the adjustment
valves at the bottom (which are not
being used) to the ends. These two
valves need to be closed fully.
ACTION TO DO BEFORE INSTALLING
CLOSERBODY INTO DOOR
Valves at the bottom:
Close all the way.
Concealed Door Closer
Right hand openingLeft hand opening
Frame
Door
Frame
Door
Door
Door
Right hand openingLeft hand opening
(Top jamb installation) (Top jamb installation)
Left Right
Left Right
Hinge
210
105 276
260
14
28
287
408
8
2014020
20
72 460
13
8
23.5
70
105
128 14
8
229
23.5
3
8
3
4-M5x15
4-3/16"x1"
4-M5x15
4-3/16"x1"
8
70
28
3
Frame
Door
Frame
Door
Door
Door
Hinge
210
276
260
14
28
72
460
13
8
23.5
70
105
128
14
8
229
23.5
3
8
3
4-M5x15
4-3/16"x1"
4-M5x15
4-3/16"x1"
8
70
28
3
408
8
A A
A - A
140 140
Frame
Door
Door
Hinge
210
105276
260
14
28
287
408
8
276
260
14
28
8
E. & O. E. ©Kenwa Co., Ltd., Osaka Japan 18-05-ll1600UM
2014020
20
140 140
Frame
Door
Door
20 140 20
20
72
460
13
8
23.5
70
105
128
14
8
229
23.5
3
8
3
4-M5x15
4-3/16"x1"
4-M5x15
4-3/16"x1"
8
70
28
3
140140
Frame
Door
Frame
Door
Door
Door
Hinge
210
72
460
13
8
23.5
70
105
128
14
8
229
23.5
3
8
3
4-M5x15
4-3/16"x1"
4-M5x15
4-3/16"x1"
8
70
28
3
408
A
A
A - A
20 140 20
20
140140

Popular Door Opening System manuals by other brands
Assa Abloy Norton PR1601BF installation instructions

Assa Abloy

Assa Abloy Norton PR1601BF installation instructions

Von Duprin XP98 installation instructions
Von Duprin

Von Duprin XP98 installation instructions

Assa Abloy Corbin Russwin PED5600 Series installation instructions

Assa Abloy

Assa Abloy Corbin Russwin PED5600 Series installation instructions
Magenta SmartHome HMIP-SWDO-TK user manual
Magenta SmartHome

Magenta SmartHome HMIP-SWDO-TK user manual

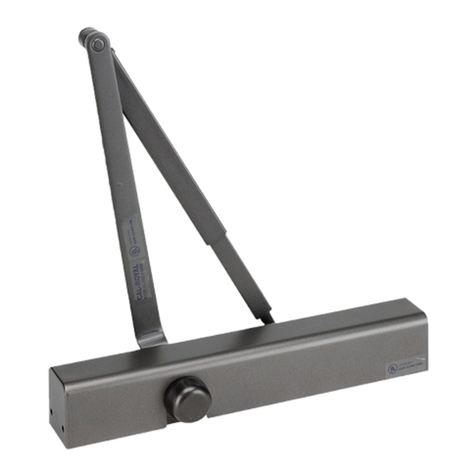
Cal-Royal CR801 Series installation instructions

Cal-Royal

Cal-Royal CR801 Series installation instructions

Yale Tri-Pack 51 installation instructions

Yale

Yale Tri-Pack 51 installation instructions

MOX C40 Series INSTRUCTIONS AND RECOMMENDATIONS FOR THE INSTALLER
MOX

MOX C40 Series INSTRUCTIONS AND RECOMMENDATIONS FOR THE INSTALLER

Dorma ES 200 Mounting instructions and Instruction manual
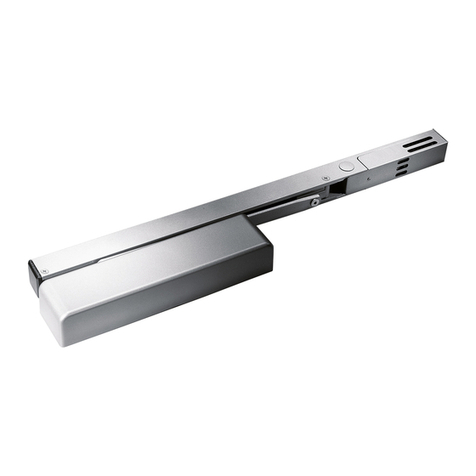
Dorma

Dorma ES 200 Mounting instructions and Instruction manual

Dormakaba G-SR EMR Series Fixing instructions

Dormakaba

Dormakaba G-SR EMR Series Fixing instructions

Assa Abloy Corbin Russwin PED5800 Series installation instructions
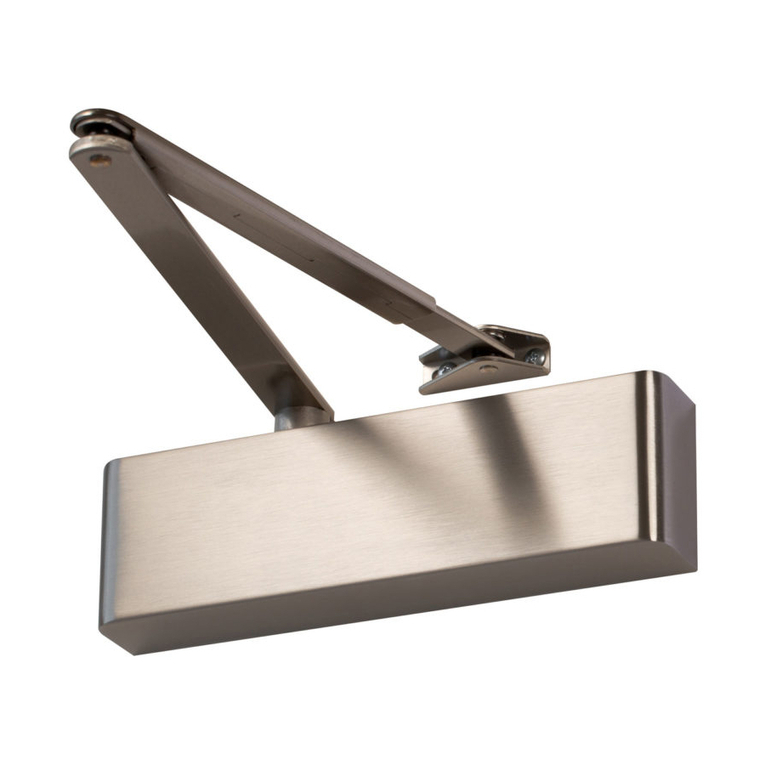
Assa Abloy

Assa Abloy Corbin Russwin PED5800 Series installation instructions

Synergy S800 Series Fixing instructions
Synergy

Synergy S800 Series Fixing instructions

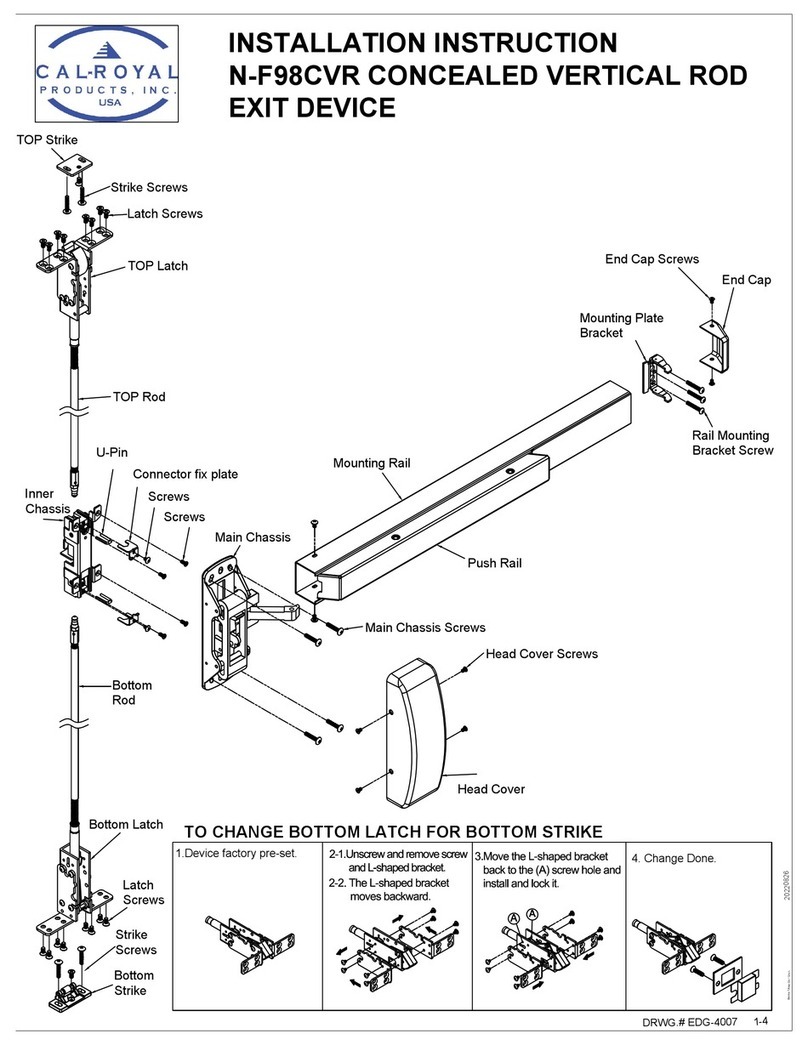
Cal-Royal N-F98CVR installation instructions

Cal-Royal

Cal-Royal N-F98CVR installation instructions

Tormax 2203 Instructions for use

Tormax

Tormax 2203 Instructions for use

Face SW80MC quick start guide

Face

Face SW80MC quick start guide

GEZE ECturn Wiring diagram

GEZE

GEZE ECturn Wiring diagram

Akerstroms Sesam 500 Technical guide

Akerstroms

Akerstroms Sesam 500 Technical guide

BILOBA UNICA 100E10 Instruction of Assembly

BILOBA

BILOBA UNICA 100E10 Instruction of Assembly

EnOcean Omnio FG121 manual

EnOcean

EnOcean Omnio FG121 manual

manuals.online logo
manuals.online logoBrands
  • About & Mission
  • Contact us
  • Privacy Policy
  • Terms and Conditions

Copyright 2025 Manuals.Online. All Rights Reserved.