be ore plugging in
●Make sure your electricity supply is the same as the
one shown on the un ersi e of the appliance.
Important – UK only
●The wires in the cor are coloure as follows:
Green an Yellow = Earth, Blue = Neutral, Brown =
Live.
●The appliance must be protecte by a 13A approve
(BS1362) fuse.
WARNING: THIS APPLIANCE MUST BE
EARTHED.
Note:
●For non-rewireable plugs the fuse cover MUST be
refitte when replacing the fuse. If the fuse cover is
lost then the plug must not be use until a
replacement can be obtaine . The correct fuse cover
is i entifie by colour an a replacement may be
obtaine from your Kenwoo Authorise Repairer
(see Service).
●If a non-rewireable plug is cut off it must be
DESTROYED IMMEDIATELY. An electric shock hazar
may arise if an unwante non-rewireable plug is
ina vertently inserte into a 13A socket outlet.
●This appliance conforms to EC irective 2004/108/EC
on Electromagnetic Compatibility an EC regulation
no. 1935/2004 of 27/10/2004 on materials inten e
for contact with foo .
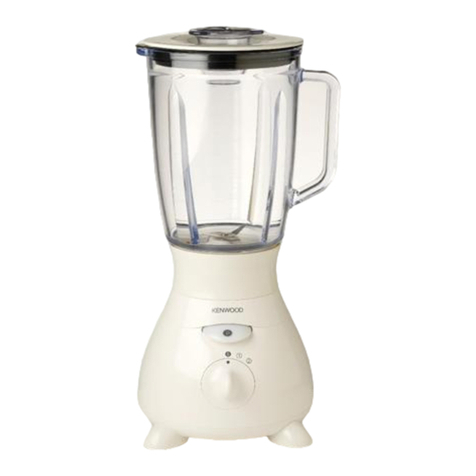
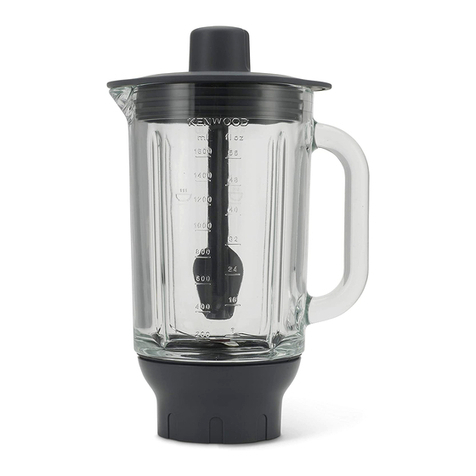
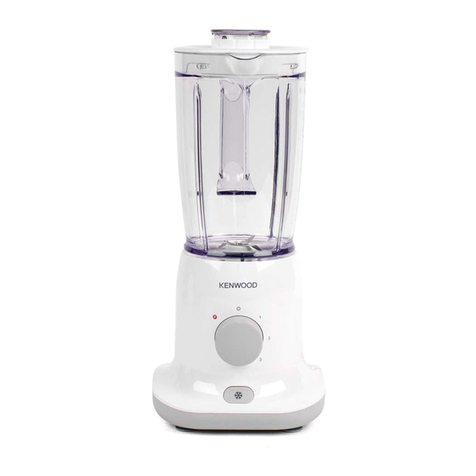
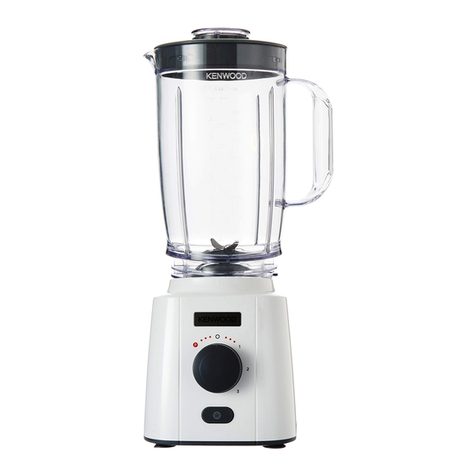
key
1filler cap
2li
3goblet
4sealing ring
5bla e unit
6bla e base
7Power On in icator
8spee + pulse control
9power unit
k rinks programme button
l soups programme button
m ice crush programme button
n fine chop programme button
o coarse chop programme button
p rinse programme button
q vents
r stir stick
s cor storage evice
to use your blen er
1 Fit the sealing ring 4into the bla e unit 5- ensuring
the seal is locate correctly in the groove area. Then
fit the bla e unit into the goblet 3.
●Leaking will occur i the seal is damaged or
incorrectly itted.
2Screw the bla e base 6onto the goblet – ensuring
the bla e assembly is fully tightene . Refer to the
graphics on the si e of the bla e base as follows:
- unlocke position
- locke position
3 Put your ingre ients into the goblet.
4 Fit the filler cap to the li an push own to secure.
5 Fit the li by pushing own until secure.
6 Place the blen er onto the power unit.
●Ensure the cord is ully unwound rom the
cord storage device be ore using the
blender.
●The appliance will not work i the blender is
incorrectly itted.
7 Plug in an the Power On in icator 7will light up.
Note: The Power On in icator will flash if the goblet is
not fitte to the power unit. Select a spee (refer to
the recommen e spee chart).
8 Choose one of the following options:
●Programme buttons:- Turn the spee control to the
‘On’ position an all the buttons will light up. Press
the require programme button an the lights on the
other buttons will go out an the programme will
start. The blen er will switch off automatically at the
en of the programme time. If you wish to stop before
the programme time has elapse , press the selecte
programme button again.
●Manually selecte a spee by turning the spee
control until the require spee is reache . At the en
of blen ing return the spee control to “O” before
removing the blen er.
●Do not remove the goblet until the blades
have stopped rotating and the speed control
is in the ‘O’ position.
●(P) Pulse – operates the motor in a start/stop action.
The pulse will operate for as long as it is hel in
position.
Re er to the troubleshooting section i you
experience any problems with the operation o
the blender.
5

