manuals.online logo
Brands
  1. Home
  2. •
  3. Brands
  4. •
  5. Kinedo
  6. •
  7. Bathroom Fixture
  8. •
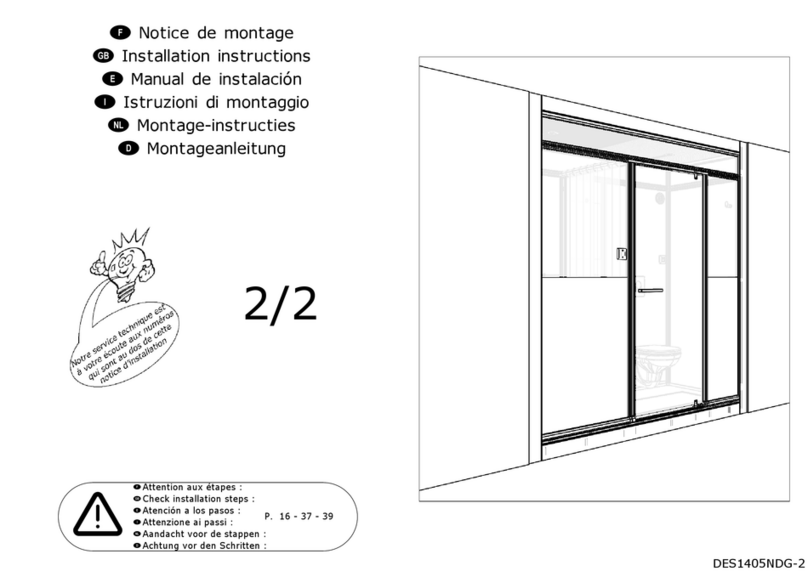
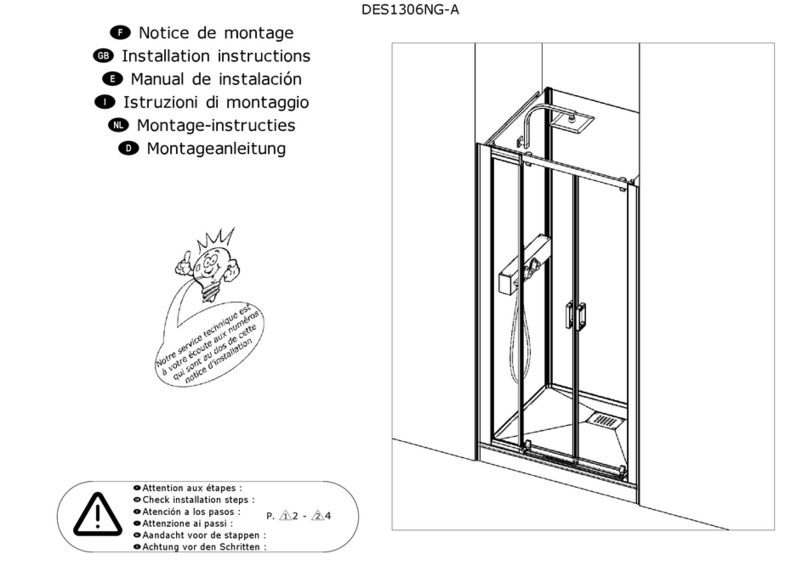
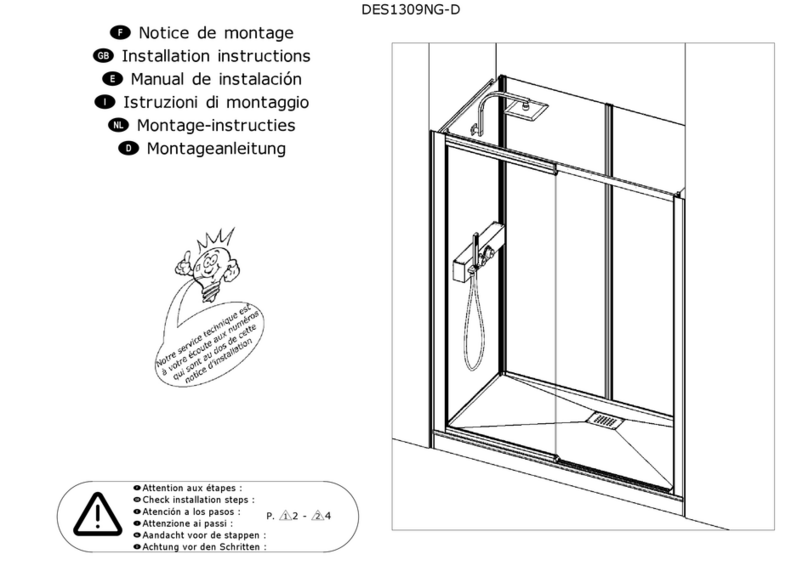
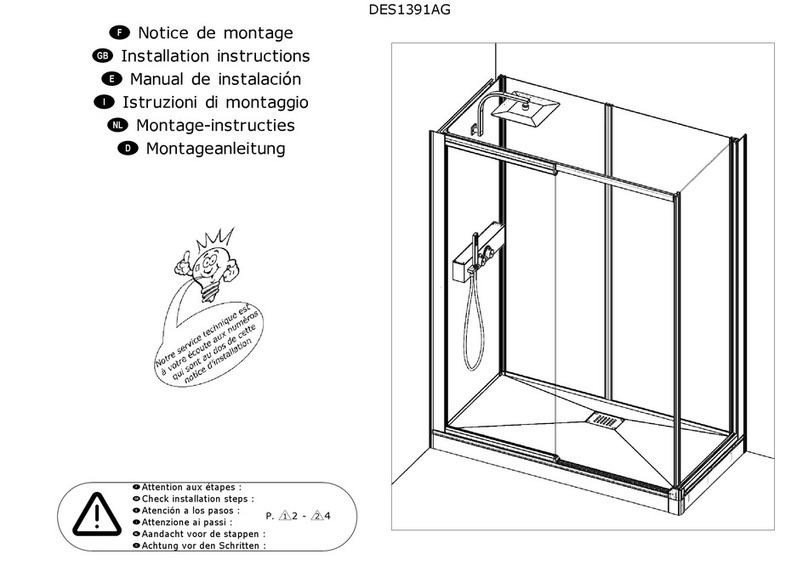
  9. Kinedo KINEMAGIC ROYAL 2 User manual

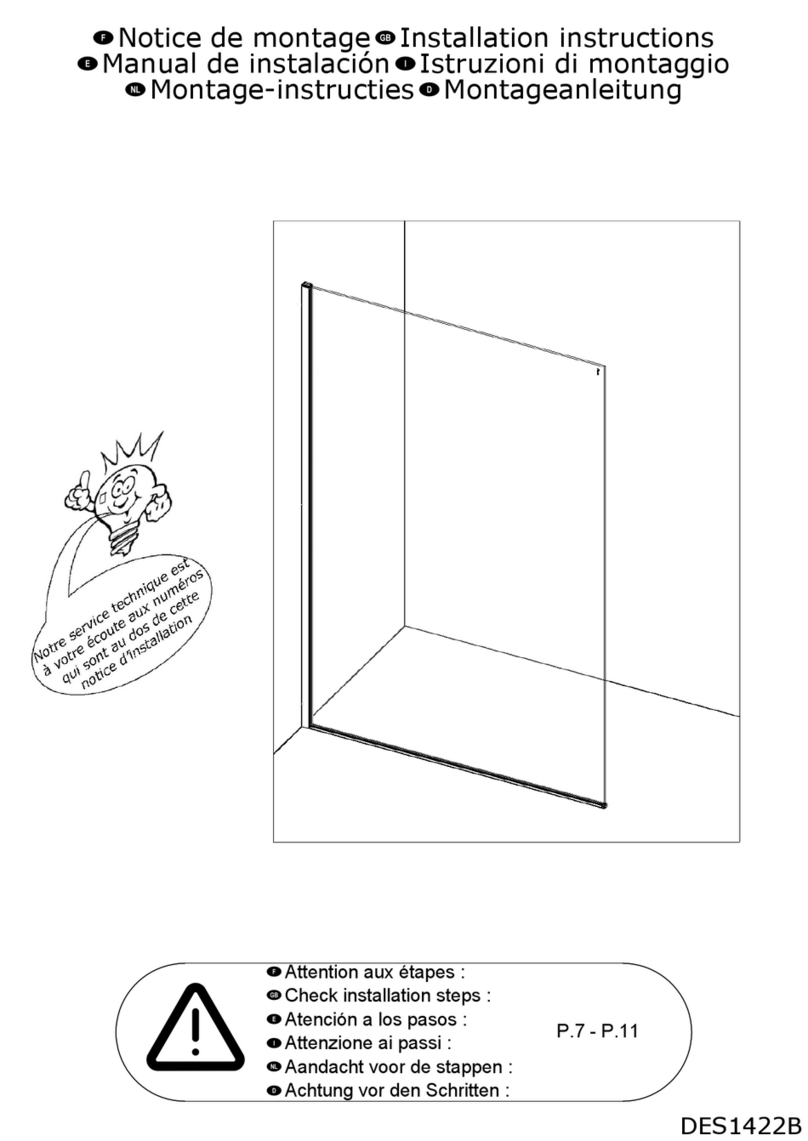
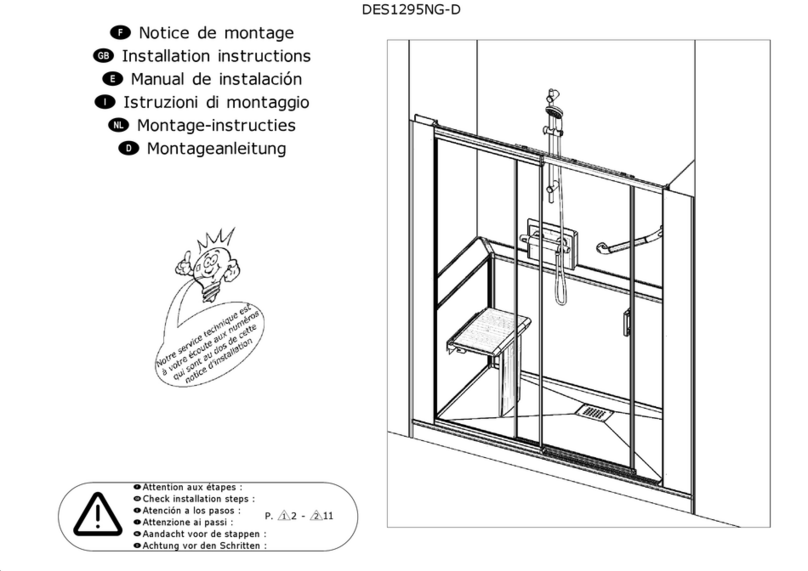
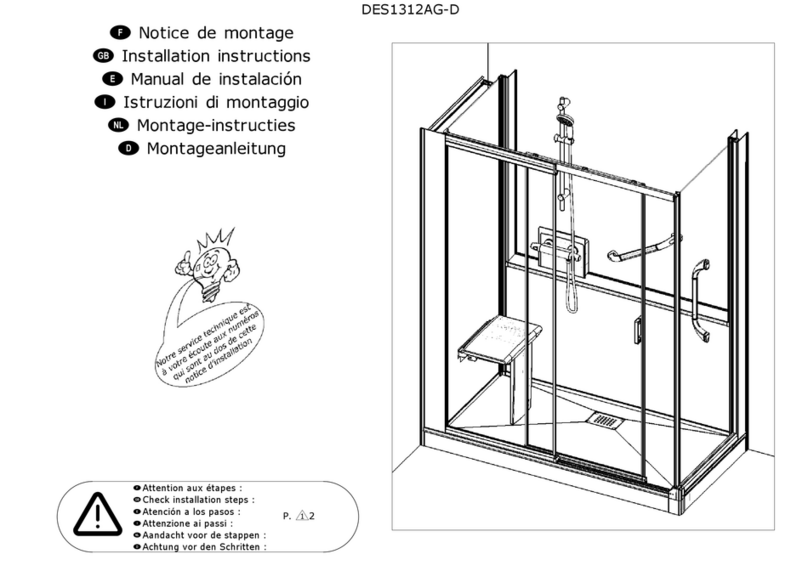
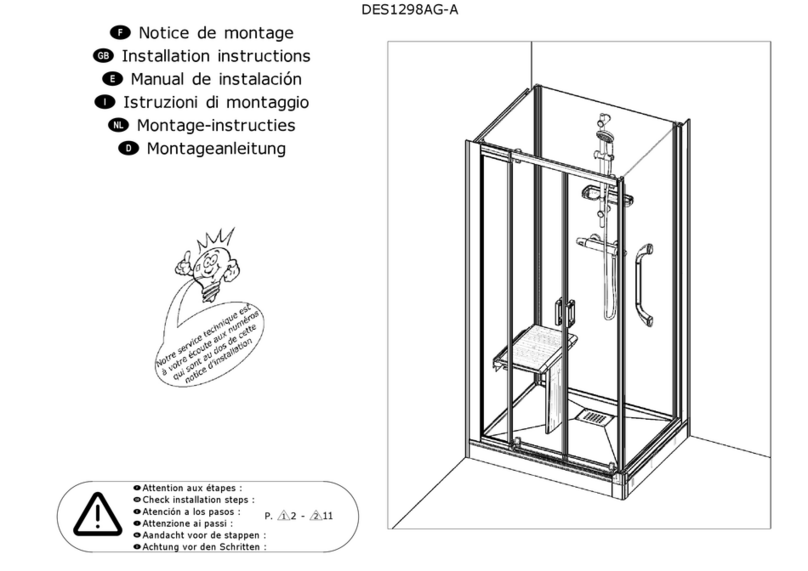
Kinedo KINEMAGIC ROYAL 2 User manual

P.

Istruzioni di montaggio
Manual de instalación
 Notice de montage
 Installation instructions


!
Montageanleitung
Montage-instructies
2
fAttention aux étapes :
gCheck installation steps :
eAtención a los pasos :
iAttenzione ai passi :
nAandacht voor de stappen :
dAchtung vor den Schritten :
DES1315AG-D
Saugen Sie den Boden der Duschwanne vor der Installation ab
!
fAspirer le dessous de votre receveur avant la pose
gVacuum the bottom of the shower tray before installation
eAspirar la parte inferior de su plato de ducha antes de instalarlo
iAspirare la parte sottostante del piatto doccia prima dell'installazione
nStofzuig de bodem van de douchebak voor de installatie
d
!
fD’éventuelles irrégularités de surface sur le dessous de votre receveur
n’empêchent pas une installation conforme aux préconisations de pose.
La colle (polyuréthane ou MS polymère) comblera facilement ces manques lors
du collage.
gAny surface irregularities on the underside of the shower tray have no
influence on the installation according to the installation recommendations.
The adhesive (polyurethane or MS polymer) compensates for these
unevenness when bonding the feet off without any problems.
ePosibles irregularidades de la superficie en la parte inferior del receptor no
impida la instalación de acuerdo con las recomendaciones de instalación.
El adhesivo (poliuretano o polímero MS) rellenará fácilmente estos huecos al
pegar los pies.
iEventuali irregolarità della superficie nella parte sotto della doccia non
impediscono l'installazione in base alle raccomandazioni di montaggio.
La colla (poliuretano o MS polimero) riempirà facilmente queste lacuna quando
si incollano i piedini.
nEventuele onregelmatigheden in de vlakke onderzijde van uw douchebak
vormen geen belemmering voor een installatie conform aan de gestelde
richtlijnen. De lijm (polyurethaan of MS-polymeer) vult eventuele openingen
makkelijk op tijdens het lijmen.
dEventuelle Unregelmäßigkeiten der Oberfläche an der Unterseite Ihrer
Duschwanne haben keinen Einfluss auf die Installation gemäß den
Einbauempfehlungen. Der Klebstoff (Polyurethan oder MS-Polymer) gleicht
diese Unebenheiten beim Verkleben problemlos aus.
DES1315AG-D
1
DES1192AG-H
v
x
Links und rechts dûrfen es zusammen nicht mehr als 385 mm sein
fCôté gauche et droit cumulés ne peuvent pas excéder 385 mm
gLeft and right sides summed must not exceed 385 mm
eLas cuotas agregadas izquierda y derecha no pueden superar 385 mm
iSinistra e destra combinati non possono superare 385 mm
nDe linker- en rechterzijde mogen samen niet groter zijn dan 385 mm
d
A
30mm à 200mm*
30mm à 120mm
(haute 200mm*)
DES1315AG-D
2
100
120 / 140 / 160 / 170
150mm
190mm R180mm
150mm
150mm
110mm150mm
R180mm
270mm
fPose de receveur avec pieds gLaying the tray with adjustable feet
eInstalación del plato con pies iPosa del piatto con piedi
nMontage van douchebak op poten dInstallation der duschwanne mit Füßen
fPose de receveur sans pieds gLaying the tray without feet
eInstalación del plato sin pies iPosa del piatto senza piedi
nMontage van douchebak zonder poten dInstallation der duschwanne ohne Füßen
f
Polyurethan-klebstoff
Colle polyuréthane
gPolyurethane adhesive
ePegamento
de poliuretano
iAdesivo poliuretanico
nPolyurethaan kit
dPolyurethan-klebstoff
fColle polyuréthane
gPolyurethane adhesive
ePegamento
de poliuretano
iAdesivo poliuretanico
nPolyurethaan kit
d
PAPB
AQA
60mm à
110mm
DES1315AG-D
3
g
Cale en bois si nécessaire
Provide support if necessary
eSoporte de madera en caso necesario
iSupporto in legno, se necessario
nGebruik eventueel een houten blokje
dGgf. holzklotz vorsehen
f
QA
fRaccorder votre évacuation à la bonde
gConnect the waste pipe
eConectar el tubo de
evacuación al sumidero
iCollegare il tubo di evacuazione alla piletta
nSluit de afvoer aan op het afvoerputje
dDas abflussrohr an den ablauf anschließen
gEnsure a solid dry surface
eSuelo rígido y sin humedad imprescindibleiIl suolo deve essere ben asciutto e non umido
nDe ondergrond moet volkomen vlak en droog zijn
dUntergrund muss fest und darf nicht feucht sein
fSol rigide et non-humide indispensable
fTracer la position de la bondegMark the position of the waste
eMarcar la posición del desagüe iTracciare la posizione della piletta
nMarkeer de plaats van de afvoerdPosition des ablaufs anzeichnen
f
Prüfen, ob alle Füße sind in Kontakt mit der Duschwanne
d
Controleer of alle voeten in contact staan met de douchebakn
Controllare che tutti i piedi sono in contatto con il piatto doccia
i
Compruebe que todos los pies están en contacto con el plato de ducha
e
Check that all feet are in contact with the shower tray
g
Vérifier que tous les pieds soient bien en contact avec le receveur
n
Adesivo poliuretanico
f
Polyurethaan kit
dPolyurethan-klebstoff
Colle polyuréthane
gPolyurethane adhesive
ePegamento de poliuretano
i
DES1315AG-D
4
12
3
TA
4
DES1315AG-D
5
fTracer gMark
eMarcar iTracciare
nMarkeer dZeichnen
DES1315AG-D
1
DES1229AG-B
DES1315AG-D
2
VA
2
AU
Ø 6 mm
VN
VV
Si <30
Si >30
AU
1
AU
AV
2
VA
Ø 6 mm
VN
VV
1
AV
AVAV AV
AV
x
v
DES1315AG-D
3
1
VS
2
VN VS
Ø 6 mm
VA
VV
DES1315AG-D
4
1865 mm
1
AT
AT
2
VA
VE
VN
Ø 6 mm
AT
DES1315AG-D
1
DES1214AG-D
PAA
PAA
AA
Rückansicht
fVue de derrière gBack view
eVista trasera iVista posteriore
nZicht naar achteren d
PAA PAA
1
2
DES1315AG-D
2
fCas de figure 2
gScenario 2
eEscenario 2
iScenario 2
nScenario 2
dSzenario 2
Szenario 1
d
Scenario 1
n
Scenario 1
i
Escenario 1
e
Scenario 1
g
Cas de figure 1
f
fCas de figure 3
gScenario 3
eEscenario 3
iScenario 3
nScenario 3
dSzenario 3
VQ
TE
VQ
TE
TF
VQ
TE
fCouper si nécessaire
gCut if necessary
eRecortar si necesario
iTagliare si necessario
nSnijden indien nodig
dBei Bedarf zuschneiden
VR
X
VT
X-20mm
DES1315AG-D
3
fSerrer gTighten
eApriete iSerrare
nFestziehen dAandraaien
1
VR
VT
2
VR
DES1315AG-D
4
PAO
v
AC
x
A
C
x
A
C
VE
2
VA
VO
Ø6mm
AS
1
AS
DES1315AG-D
5
ASPAO
JK
Lg 709mm
DES1315AG-D
6
PAA
1
AA
AA
2
2
1
PAA
dRückansicht
Vista posteriore
nZicht naar achteren
fVue de derrière gBack view
eVista trasera i
DES1315AG-D
7
X
VT
X-20mm
1
2
VR
VR
VT
fSerrer gTighten
eApriete iSerrare
nFestziehen dAandraaien
DES1315AG-D
8
AA
JK
Lg 709mm
AY
2
JM
1
AY
=
=
DES1315AG-D
9
AY AS
Y
Richtung beachten
fAttention au sens gAttention to the direction
eAtención a la dirección iAttenzione alla direzione
nLet op het gevoel d
TF
Y
TH
Y
TH
Y
DES1315AG-D
10

Other Kinedo Bathroom Fixture manuals

Kinedo Kinemagic Royal DES1307AG-D User manual

Kinedo

Kinedo Kinemagic Royal DES1307AG-D User manual

Kinedo Modulo Luxus User manual

Kinedo

Kinedo Modulo Luxus User manual

Kinedo Kinemagic Design DES1317AG-D User manual

Kinedo

Kinedo Kinemagic Design DES1317AG-D User manual

Kinedo DES. PW25 User manual

Kinedo

Kinedo DES. PW25 User manual

Kinedo Kinemagic Royal 2 DES1318NG-D User manual

Kinedo

Kinedo Kinemagic Royal 2 DES1318NG-D User manual

Kinedo Kinemagic Design DES1311AG-D User manual

Kinedo

Kinedo Kinemagic Design DES1311AG-D User manual

Kinedo EKINOX P+F User manual

Kinedo

Kinedo EKINOX P+F User manual

Kinedo Modulo XL User manual

Kinedo

Kinedo Modulo XL User manual

Kinedo Sourceo User manual

Kinedo

Kinedo Sourceo User manual

Kinedo Kinemagic Royal DES1310AG-D User manual

Kinedo

Kinedo Kinemagic Royal DES1310AG-D User manual

Kinedo PA90260BBVED User manual

Kinedo

Kinedo PA90260BBVED User manual

Kinedo DES952O User manual

Kinedo

Kinedo DES952O User manual

Kinedo Kinemagic Royal 2 DES1312AG-A User manual

Kinedo

Kinedo Kinemagic Royal 2 DES1312AG-A User manual

Kinedo Kinemagic Design DES1302AG-D User manual

Kinedo

Kinedo Kinemagic Design DES1302AG-D User manual

Kinedo Kinemagic Access DES1427G-A User manual

Kinedo

Kinedo Kinemagic Access DES1427G-A User manual

Kinedo Kinemagic Royal 2 DES1304AG-D User manual

Kinedo

Kinedo Kinemagic Royal 2 DES1304AG-D User manual

Kinedo Kinemagic Royal 2 DES1307NG-A User manual

Kinedo

Kinedo Kinemagic Royal 2 DES1307NG-A User manual

Kinedo Kinemagic Design DES1317NG-D User manual

Kinedo

Kinedo Kinemagic Design DES1317NG-D User manual

Kinedo DUO DES1288B User manual

Kinedo

Kinedo DUO DES1288B User manual

Kinedo Kineprime CA510MDT User manual

Kinedo

Kinedo Kineprime CA510MDT User manual

Kinedo Kinequartz DUO DES1143E User manual

Kinedo

Kinedo Kinequartz DUO DES1143E User manual

Kinedo Kinemagic Design DES1302NG-A User manual

Kinedo

Kinedo Kinemagic Design DES1302NG-A User manual

Kinedo Kinemagic Royal 2 DES1298NG-D User manual
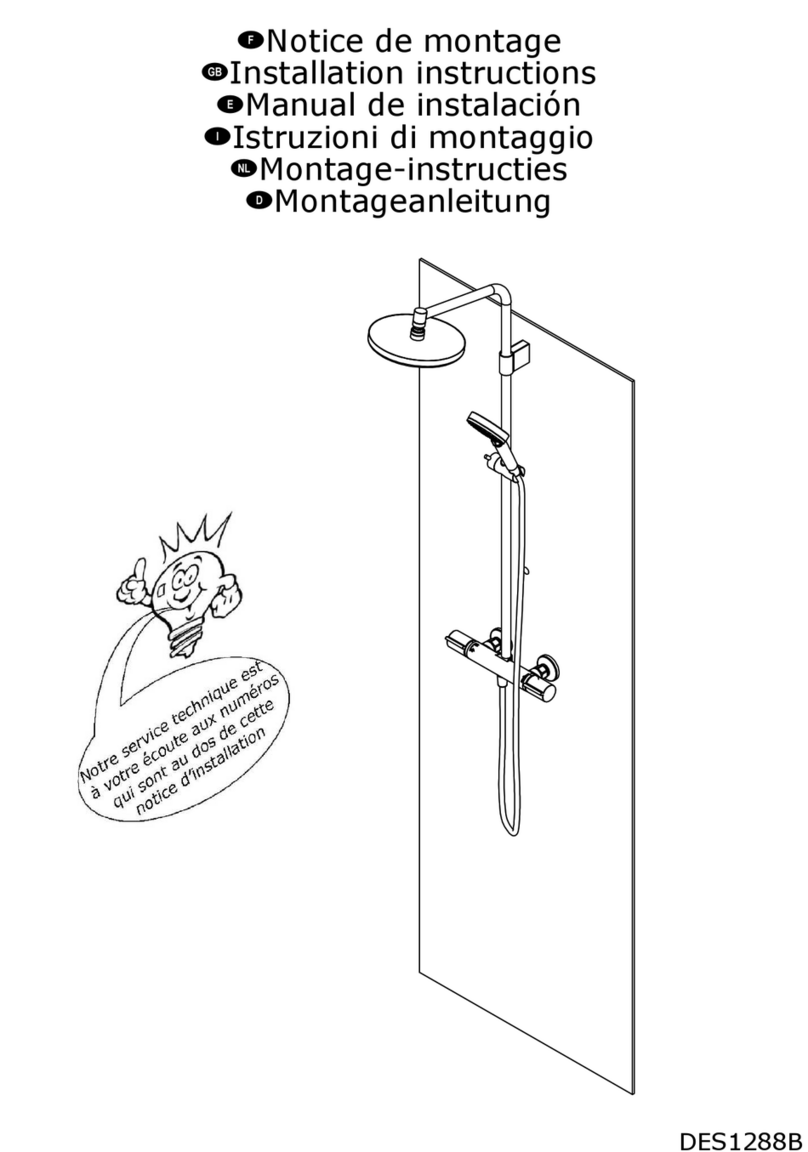
Kinedo

Kinedo Kinemagic Royal 2 DES1298NG-D User manual

Kinedo Smart Design PA90160BBVED User manual

Kinedo

Kinedo Smart Design PA90160BBVED User manual

Popular Bathroom Fixture manuals by other brands

Altair 543060 manual

Altair

Altair 543060 manual

Axent S70.0100.0040.0 Cleaning instruction

Axent

Axent S70.0100.0040.0 Cleaning instruction

Xibu TOWEL hybrid manual

Xibu

Xibu TOWEL hybrid manual

Decor Star PL-035-SS manual

Decor Star

Decor Star PL-035-SS manual

Porcelanosa Noken Arquitect 100122004 N390000041 installation instructions

Porcelanosa

Porcelanosa Noken Arquitect 100122004 N390000041 installation instructions

DURAVIT Happy D.2 Plus HP 4946 Mounting instructions

DURAVIT

DURAVIT Happy D.2 Plus HP 4946 Mounting instructions

Costway OP3553 user manual

Costway

Costway OP3553 user manual

Ridder A0102001 quick start guide

Ridder

Ridder A0102001 quick start guide

Santec HANA 4164TR Series quick start guide

Santec

Santec HANA 4164TR Series quick start guide

Relax 0203-SC2 Assembly instructions

Relax

Relax 0203-SC2 Assembly instructions

Reece METHVEN AURAJET AIO installation instructions

Reece

Reece METHVEN AURAJET AIO installation instructions

Utopia You installation guide

Utopia

Utopia You installation guide

Samo OMEGA Series Assembly instructions

Samo

Samo OMEGA Series Assembly instructions

Winsome house WHIF631 instruction manual

Winsome house

Winsome house WHIF631 instruction manual

Speakman S-1498-LH instructions

Speakman

Speakman S-1498-LH instructions

Orbital Systems R3 OS8733-E Installation

Orbital Systems

Orbital Systems R3 OS8733-E Installation

Bradley S19-315FPBF Installation

Bradley

Bradley S19-315FPBF Installation

Teuco KO40 Assembly instructions

Teuco

Teuco KO40 Assembly instructions

manuals.online logo
manuals.online logoBrands
  • About & Mission
  • Contact us
  • Privacy Policy
  • Terms and Conditions

Copyright 2025 Manuals.Online. All Rights Reserved.