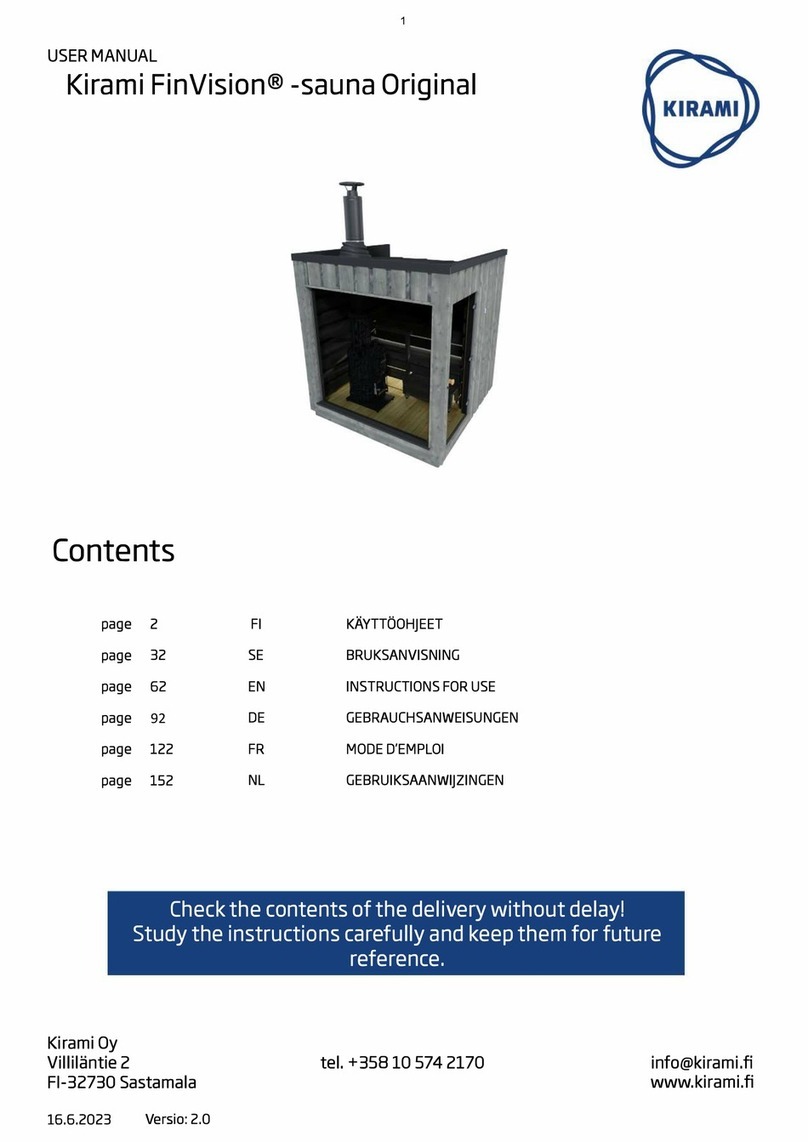
KIRAMI FinVision User manual

Kirami Oy
Villiläntie 2 tel. +358 10 574 2170 info@kirami.fi
FI-32730 Sastamala fax +358 3 513 5561 www.kirami.fi
INSTRUCTION MANUAL
Kirami® FinVision Sauna
Check the contents of the delivery without delay!
Study the instructions carefully and keep them for future reference.

2/ 25
INSTRUCTION MANUAL: Kirami FinVision sauna

3/ 25
INSTRUCTION MANUAL: Kirami FinVision sauna

4/ 25
INSTRUCTION MANUAL: Kirami FinVision sauna

5/ 25
INSTRUCTION MANUAL: Kirami FinVision sauna

6/ 25
INSTRUCTION MANUAL: Kirami FinVision sauna

7/ 25
INSTRUCTION MANUAL: Kirami FinVision sauna
CHECKING THE DELIVERY
We recommend that you always check that you have received two intact pallets before signing the
waybill. If you notice later that there is something missing from the contents of the sauna, please
contact the party that delivered the sauna.
TRANSPORTING THE SAUNA AND LIFTING IT INTO PLACE
When transporting the sauna, the lifting slings, forklift
tines or long pallet trucks must be placed under the
pallet so that the pallet supports the elements as well
as possible throughout the lift and the sauna remains
straight and the lifting capacity constant. See example
images on how to lift the sauna into place by using
lifting slings or the tines of a forklift.
The sauna is delivered already assembled except for
the roof, sauna heater, flue and door handle, which are
installed by the customer. During transport, the sauna’s
own base acts as the pallet, which means that the sauna
can be placed directly on top of the foundation
prepared by the customer. For transport, protective
plywood sheets (attached with screws) have been
placed around the FinVision sauna in addition to
protective film. Only remove the covers after the sauna
has been placed in its final location to ensure that the
glass in the sauna remains intact.
GENERAL INFORMATION
Kirami’s FinVision sauna shows the high-class finish of a master craftsman. The sauna is already
surface-treated; it is made out of plain sawn softwood and spruce plywood. The product is intended
for outdoor use only.
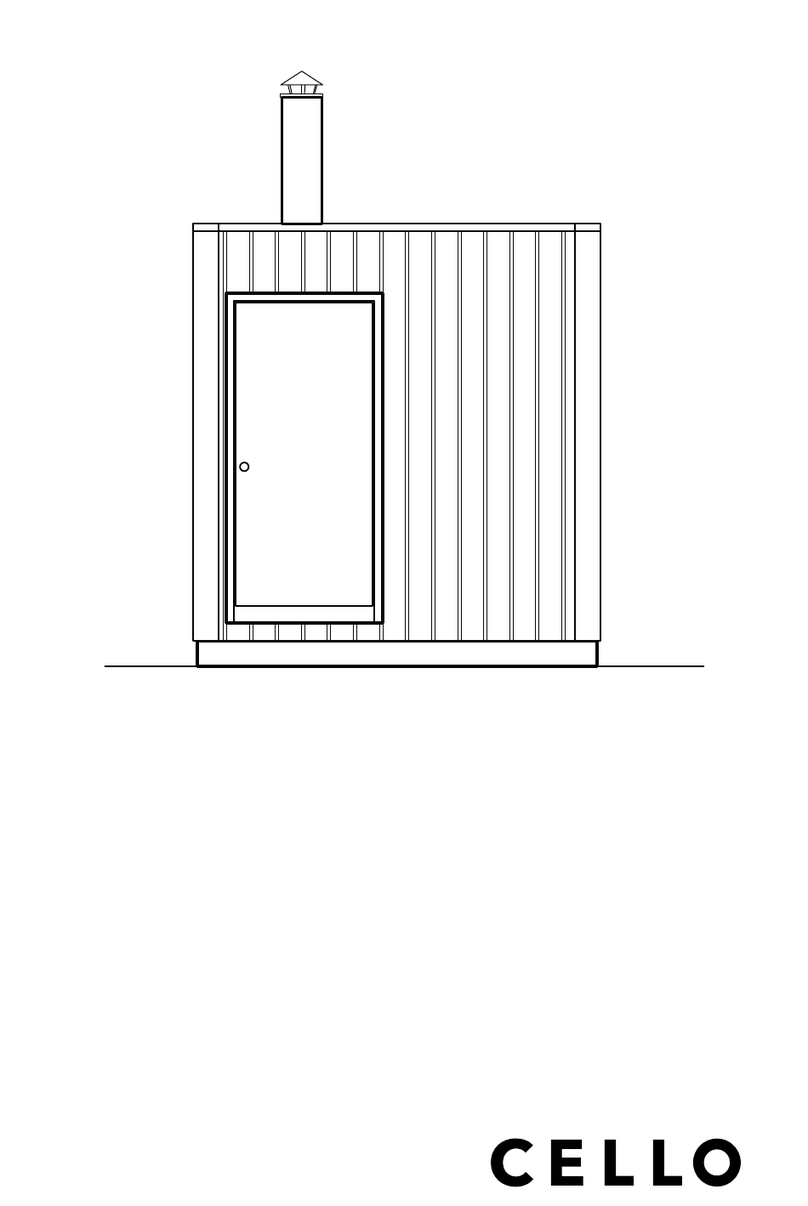
The surface area of the sauna is 2.3 by 2.3 metres, and the building height including the eaves is 2.6
metres. The sauna has been designed for 4–6 people.
Remove the
screws

8/ 25
INSTRUCTION MANUAL: Kirami FinVision sauna
INSTALLATION
Building the foundations
Placing the sauna on an even surface that can
bear the weight of the sauna is important. The
surface can be evened out with stone
chippings, or if you want to have a more solid
foundation, you can cast one from concrete. If
you want to insulate the sauna foundation, we
recommend placing at least 5–10 cm of ground
frost insulation under the gravel, which
effectively cuts off the thermal bridge to the
cold ground underneath. Under the sauna, we
recommend placing 9 concrete slabs on top of
the hard surface to lift it higher (see the image
of the foundation) and putting roofing felt
(bitumen roofing) on top of the slabs
throughout the width of the sauna. When the
base of the sauna is clearly up in the air, it has
ventilation and dries well.
It is also important to ensure that the sauna is
not surrounded by tall grass, because it
prevents the wood from breathing and
contributes to rotting. The lower parts of the
sauna must always have enough ventilation.
Pay attention to potential maintenance
activities when choosing where to install the
sauna. The warranty does not cover any indirect
costs, such as the demolition or construction of
terraces. Before building a foundation, it is also
good to prepare for the drainage of water from
the sauna to its final location (the sauna already
has its own drainage installed).
Drainage
Small amounts of water are used in the sauna,
either for cleaning the sauna or washing up.
Choose the location of the sauna so that the
drainage of water will not cause any problems.
There is a sewer in the sauna floor, and a water
discharge pipe has already been attached to
the sauna base. The discharge pipe can be
found on the same side as the sauna heater.
The discharge corner outlet pipe is 50 mm at
the top. We recommend that you learn about
the local regulations concerning the treatment
of wastewater.
When the sauna has been lowered to its final location
and the straightness has been checked with a level,
attach the skirting boards to the front and the back of
the sauna using terrace screws (12).

9/ 25
INSTRUCTION MANUAL: Kirami FinVision sauna
Ventilation
The ventilation in the sauna room is sufficiently effective and the
fresh incoming air has been directed near the sauna heater in
accordance with the regulations. The opening for incoming air has
been placed into a hatch in the rear wall of the sauna under the
benches. The ventilation during bathing in the sauna works so that the
air exits from under the benches and the sauna door (a large gap).
After bathing, the sauna facilities should be ventilated and allowed to
dry efficiently so that the air can exit from the top of the sauna room
by keeping the front door open for a short period of time, for example.
Installing the sauna
The sauna is delivered as a single element, to which the customer installs the roofing sheets,
the sauna heater and the heater stones according to the instructions. When opening the
sauna package, you should check that all parts have arrived intact. Open the package carefully
using a cordless screwdriver to ensure that the glass will not break. The roofing sheets are
delivered in a separate package attached with screws; please also open it carefully. You can
find the Narvi®sauna heaters inside the sauna on the floor of the sauna.
Installing the roof
The roofing sheets are delivered in a separate package attached with screws; please also open it
carefully. Check that all the pieces can be found in the package as stated in the contents of the
delivery. For safety reasons, we recommend that at least two people work together to install the
roof. You can check the parts of the sauna below in the list of the contents of the delivery.
Watch a YouTube video on how to install the roof: https://youtu.be/expi6Yi36hU
Attach the red parts of the roof in the following order:
1. The base of the roof consists of six separate
sheets of plywood. Attach the roofing
plywood (1) first to the ends of the sauna
using terrace screws (5). The plywood
sheets have places reserved for the screws.
2. Attach the plywood sheets (2) to both
sides of the sauna using (5) terrace screws.

Kirami Oy
Villiläntie 2 tel. +358 10 574 2170 info@kirami.fi
FI-32730 Sastamala fax +358 3 513 5561 www.kirami.fi
3. Attach the fascias (3) to the sides using
terrace screws (5).
4. Attach the fascias (4) to the ends using
terrace screws (5).
5. Make sure that each sheet is properly
attached. If you have ordered version
with wood heated sauna stove, install
chimney at this point.
6. Attach the metal flashing (12) to the front
of the sauna using roofing screws (16)

11 / 25
INSTRUCTION MANUAL: Kirami FinVision sauna
7. Attach the roofing sheets (7) starting
from the side with the sauna door with
roofing sheet, start piece (6). Press the
pieces in place (the seams remain tight) and
screw them down using the pre-drilled holes
and roofing screws (16). Make sure that the
uppermost sheet is properly attached to the
lowest sheet (you can use a rubber mallet to
help with the attachment).
8. Attach the narrow roofing sheet (8) with
roofing screws (16).
9. Using roofing screws (16), attach the
flashing to right (10) and left side (11).
10. Attach sealings for flashing piece on
top of the roof.

12 / 25
INSTRUCTION MANUAL: Kirami FinVision sauna
11. Using roofing screws (16), attach the
sealings for flashing piece.
12. Finish by attaching the end flashing (9)
to the back of the sauna with roofing screws
(16).
If you have chosen a wood-burning Narvi®sauna heater, the roof already has a hole for the flue of
the wood-burning heater (not needed for an electric sauna heater). You can check how to install the
flue in the section on flue installation.
Installing a Narvi®sauna heater
Please note: Before installing a wood-burning sauna heater into the sauna,
remember to preheat the sauna heater outdoors in order to remove the protective
agents (see detailed instructions
in the section ‘Preheating before
using the sauna’).
The instructions vary slightly depending
on the model of the Narvi®sauna
heater. The sauna heater included in the
sauna package has been chosen based on
the volume of the sauna. We have also
taken account of the weight-carrying
capacity of the floor with regard to the
sauna heater included in the package, as
well as the necessary safety clearances
to ensure fire safety (see image).
However, the customer must ensure that
there are no flammable materials, such as
wood or textiles, close to the sauna
heater.

13 / 25
INSTRUCTION MANUAL: Kirami FinVision sauna
The Narvi®wood-burning sauna heaters are delivered in a separate package (the heater
package can be found inside the sauna). The sauna heater attachments depend on the model. You
can find both instructions and materials in the sauna heater package. In front of a wood-burning
sauna heater, you should install a floor plate that reaches at least 100 mm to the sides of the heater
door and 400 mm in front of the heater. The edge of the sheet is folded up on the heater side to
prevent embers from getting under the base.
FIRE SAFETY
If the sauna is located close to buildings or integrated into the terrace, you must ensure that the
chimney is sufficiently removed from all flammable structures. You should remember to check the
distance both in the vertical and horizontal direction to ensure there is no danger of ignition. Follow
the instructions provided with the sauna heater. In addition, we recommend that you check the fire
safety regulations of your residential area from the local fire or building authority. In Finland, the
distance from the neighbour’s border must be at least 4 m, unless the neighbour has given their
written consent to build the structure closer. The distance between the sauna and the nearby
buildings should be 8 m.
There must not be any flammable material in front of the sauna heater. There must be an area with
non-combustible material (fireproof sheet), such as a metal sheet, in front of a wood-burning sauna
heater as shown in the image.
When the sauna heater is heated for the first time after winter, the heating should be done
carefully by only lighting a small fire to ensure that the firebox or flue of the sauna heater are not
damaged. We recommend keeping fire extinguishing equipment close to the sauna. Ashes should
be removed from the sauna heater regularly, preferably after each use. The fire grates last longer
and draught remains good when the sauna heater is well cared for. Do not forget to empty the
ashes into a non-combustible container and let them cool for approximately one day.

14 / 25
INSTRUCTION MANUAL: Kirami FinVision sauna
Chimney fire
A chimney fire refers to the soot and combustion residue accumulated in the flue burning
in an uncontrollable fire. A fire may be lit due to high heat, wind or a spark. You can avoid a
chimney fire by ensuring that the flue is swept regularly and only burning dry wood with
sufficient air in the fireplace.
If you detect a chimney fire in the flue, close the doors of the ash drawer and the firebox. A chimney
sweeper must check the condition of the flue and the sauna heater after a chimney fire before next
use.
FLUE
In Kirami’s FinVision sauna, we use the wood-burning sauna heaters and fireproof flues by the
Finnish sauna heater manufacturer Narvi. Read more about the fireproof Narvi®flues at the
following link (in Finnish): http://www.narvi.fi/upload/dokumentit/narvihormi/narvihormi.pdf
Note! Attach the type plate of the flue to the outer shell or in the immediate vicinity of the fireplace
to ensure that it can be read easily. The size of the flue, the installation date and the party that
carried out the installation must be marked on the type plate.
Steel flue damper
The Narvi®Kota steel flue is equipped with a flue damper in accordance with the standard. As of
the beginning of 2018, the Decree of the Ministry of the Environment
(https://www.finlex.fi/fi/laki/alkup/2017/20170745)745/2017, section 7, requires that all wood-
burning fireplaces or chimneys have a flue damper. Products with a CE marking are standardised and
tested in accordance with the T600 classification.

15 / 25
INSTRUCTION MANUAL: Kirami FinVision sauna
Installing the flue
If a Narvi® wood-burning sauna heater has been selected, a flue suitable for the heater and
dimensioned to fit the sauna will be provided with the sauna. The purpose of the steel flue is to
lead the combustion gases coming from the fireplace safely outside. Install the flue precisely in the
right place in accordance with the instructions below. In the image, you can see the parts of the flue
and how to put them in place.
Follow the instructions below on how to install the flue:
1. Place the 540mm connecting pipe (j)
directl
y
to the sauna heater.
2. Use silicon between each chimney part
that
y
ou’re connectin
g
.
3. Install chimney valve section (i). It’s
recommended to place sauna stones after
this.
4. Place the basket for stones around the
connecting pipe and fill it with smaller
stones.

16 / 25
INSTRUCTION MANUAL: Kirami FinVision sauna
5. Install ceiling cover plate (g) on the
ceilin
g
around the chimne
y
p
i
p
e.
6. Move over to the roof and place ceiling
duct casin
g
(
e
)
around the hole in the roof.
7. Place ceiling duct insulation (f)
between duct casin
g
and chimne
y
.
8. Ceiling duct insulation (f) on its place.
9. Place ceiling underlay (d) around the
chimney. It will seal and support the
chimney.
10. Attach the underlay with insulating
tape.

17 / 25
INSTRUCTION MANUAL: Kirami FinVision sauna
12. Remember to use silicon between each
chimney part that you’re connecting.
13. Place chimney section 600mm (b) on
its place.
14. Attach the chimney section 600mm with
fastening hoop.
11. Install the roofing sheet.
15. Place the rubber roof seal (c) around
the chimney section. Remember to add
silicon between chimney section and
chimney hat.
16. Place the chimney hat (a) on the flue
section and attach the hat with two screws.
Lock the chimney hat over bending the
stripes on top of the hat.

18 / 25
INSTRUCTION MANUAL: Kirami FinVision sauna
Using the sauna for the first time
Before heating the sauna for the first time, you should wipe off any dust with a damp cloth or by
spraying the sauna with water from a garden hose, for example. If you use cleaning agents, choose
environmentally friendly cleaning agents that are suitable for a sauna, such as Kirami’s Biowash.
Check again that the sauna heater has enough stones as stated in the instructions, the fireproof
sheet is in place, and there are no flammable materials near the sauna heater (e.g. textiles must not
be dried on top of the heater or in its immediate vicinity). Always remember to watch the sauna
heater and ensure that small children and animals cannot go near the hot sauna heater alone.
Lighting a fire in a wood-burning sauna heater
Only natural kindling and dry hardwood or softwood should be used for lighting a fire in a wood-
burning sauna heater. The moisture content of the wood should be less than 20%. Good firewood
consists of split wood with a diameter of around 5 cm, length of approx. 33 cm and weight approx.
0.5 kg. Stack the wood loosely into the firebox and light the fire from the top. A calm flame is a sign
of suitable draft. You can adjust the amount of draft with the ash drawer. If the sauna heater makes
a loud humming noise while heating, you should close the ash drawer more. When the flame is more
even, the stones heat better and the flue does not get overheated. Low pressure may make
lighting a fire in the firebox difficult; in that case, the sauna door can be held open for a moment
and the ash drawer kept a bit further ajar until the firebox is properly lit.
Liquid fuel, cardboard or milk cartons must not be used for lighting fires. For lighting a fire, we
recommend birch bark or firestarting blocks, such as Burner bags of paraffin.
The sauna door must be closed during heating. When the desired temperature (recommendation:
70–80 degrees Celsius) has been reached, a small fire can still be kept in the firebox to maintain the
temperature of the sauna heater. Practice makes perfect in this as in anything else.
Empty the ashes from the sauna heater after each use to ensure that the fire grate/grates or air
dampers are not covered by ash. Ash shortens their service life considerably. See detailed
instructions on fire grates and their maintenance in the instructions of the sauna heater in question.

19 / 25
INSTRUCTION MANUAL: Kirami FinVision sauna
Installing Narvi® electric heater
The Narvi®electric heater has already been attached to
the sauna in the factory. In order to use the sauna heater,
electricity must be connected to the sauna separately. The
end customer is responsible for connecting the sauna to
electricity. Only a qualified electrician can carry out the final
installation of an electric sauna heater. Electrician refers to a
person authorised to carry out electrical work or someone
working under the supervision of such a person. The valid
electrical safety regulations must be taken into account in
installing the sauna heater. In unclear cases, ask the local fire
or building authority for further instructions.
After installing the heater, put the sauna heater stones in
place. Placing the number of stones recommended in the
instructions into the sauna heater guarantees a better sauna
bath. For example, if an electric sauna heater only has a small
number of stones, the heater’s resistors may break. See the
manual included in the sauna heater package for more detailed instructions.
Using an electric sauna heater
THE SAUNA HEATER MUST NOT BE USED WITHOUT STONES. IF THE SPACE RESERVED FOR
STONES IS NOT FULL, IT WILL CAUSE A FIRE HAZARD!
Always check the sauna room before turning the sauna heater on. The sauna heater control switch
is located in the front of the bottom part of the heater.
General description
- The sauna heater can be turned on and off by pressing the I/O button
(toggle).
- The SET button is used for setting the following parameters: Preset
timing, power-on time and temperature. The settings are adjusted
with the +/- buttons. During set-up, a LED flashes to indicate the
parameter being set, with the respective value being displayed on the
screen.
- The power-on time and temperature settings remain in memory even
after a short power outage. After a longer power outage, the times are
reset to their default values. The preset timing will always be reset
after use.
- The On/Off LED is lit red whenever the heating elements are turned
on; at all other times it is lit green. During the preset time, the On/Off
LED is not lit. On/Off indicator light Preset timing (yellow) Power-on time (green) Temperature (red)
SET
Attach electric heater’s control panel on
the back wall top of the lower bench.

20 / 25
INSTRUCTION MANUAL: Kirami FinVision sauna
Preset timing
- The yellow LED is lit when the preset timing is active. The time remaining before the heater is
switched on is shown on the display.
- Once this time has elapsed, the heater will be switched on, and the On/Off LED will be lit red.
- The preset time will not be saved in the memory, but will reset to zero after use.
- When the preset time is being set, the yellow LED flashes. At first, the timing is staggered by
intervals of 30 minutes and after that by an hour.
Power-on time
- The remaining power-on time is shown on the display.
- At first, the timing is staggered by intervals of 15 minutes and after that by half an hour.
Power-on
- When the heater is switched on, the temperature of the sauna is shown on the display.
- Optionally, the display can be set to show the remaining power-on time or to alternate between the
time and the temperature – see the section ‘Settings’.
- As soon as the heater reaches the predetermined temperature, the On/Off LED will be lit green, and
the elements will not be powered.
- Once the heater has cooled down enough that the elements are powered again, the On/Off LED will
again be lit red.
- The heater remains operational if the power outage lasts less than three minutes. When the power
supply resumes after a power outage of less than three minutes, the heater will resume its operation
from the point where it was before the outage.
If the outage lasts longer than three minutes, the heater is switched off.
The settings will always stay in the memory regardless of the duration of the outage.
You can find more information in the user instructions of Narvi’s KOTA Saana.
Installing the doorknob
The sauna door has already been attached, but the doorknob still needs to be
installed as shown in the image.
Lighting
The end customer is responsible for connecting the sauna to electricity. If there is no need in
the sauna for additional electricity for other reasons, such as an electric sauna heater, the
electricity needed for the sauna lighting can also be provided with an approved electric
cable reel. The sauna already has LED lights installed under the benches. The space under
the benches has a socket for the LED lights, which can be accessed through a hatch from
outside the sauna. You can power the lights by plugging them into the socket. The lights are
always on when they are plugged in, there is no separate switch. The LED lights only
consume a small amount of electricity, which means that mood lighting can be on even if the
sauna is not in use.
Other manuals for FinVision
1
Table of contents
Other KIRAMI Plumbing Product manuals
Popular Plumbing Product manuals by other brands

Gentec
Gentec SMARTEC STS1000 installation manual

Nobili
Nobili OZ113/1T2CS Using instructions

American Standard
American Standard Fixture-Mounted Bidet Fitting 2581 parts list

Moen
Moen WATERHILL S411 series Specifications

Pressure Products
Pressure Products Foot Faucet quick start guide

Danze
Danze D301056 quick guide