Kit-Lock KL1000 User manual

CODES The lock has the following code levels:
CODES - THE BASICS OPERATING INSTRUCTIONS
• The KitLock has four code levels
available:
i) Master Code
ii) Sub-Master Code
iii) User Code
iv) Technician Code
• The KitLock is supplied with two
factory set codes:
Master Code: 11335577
User Code: 2244
• When fitted, immediately change
the Master Code and User Code.
• All Master Codes and Sub-Master
Codes are 8 digits long.
• All User Codes are 4 digits long.
• All Technician Codes are
6 digits long.
• The lock ‘open’ time is set
at 4 seconds.
Note: The KitLock has a 10 button
keypad and a #button.
The #button is hidden beneath the
handle when in the locked position.
MASTER CODE
The Master Code can:
• Open the lock
• Change the Master Code
• Set / Change / Delete the Sub-Master
and User Code
• Select between Private and
Public Functions
• Activate/deactivate Technician Code
SUB-MASTER CODE
The Sub-Master Code can:
• Open the lock
• Change the Sub-Master
• Set / Change / Delete / the User Code
USER CODE
The User Code can:
• Open the lock
• Change the User Code
TECHNICIAN CODE
The Technician Code can:
• Open the lock
A code cannot be programmed into more
than one level.
LOST CODE PROCEDURE
Note: The procedure requires the door to
be open
• Remove the rear-fixing bolt and
swing the lock over the edge of the
door to reveal the battery
compartment.
• Remove one battery.
• Press and hold the 1 button, replace
the battery, the Blue LED will flash
twice, release the 1 button. Within
three seconds press the 1 button
three times. The Blue LED will flash
twice and the lock will have reverted
to the factory Master Code 11335577
and all other stored settings will be
erased.
Blue LED = Code accepted
Red LED = Code rejected
PROGRAMMING
To program – the lock must be in the
open position with the #button visible.
Every program command must commence
by pressing the #button, followed by
either the Master Code, Sub-Master Code
or User Code.
PENALTY TIME
• Entering three incorrect codes will
cause the lock to shutdown for 10
seconds.
BATTERY POWER
• The KitLock should provide well in
excess of 15,000 openings, of 4
seconds each, from 2 x AAA 1.5v cells.
LOW BATTERY
• When the battery power is low the
•Red LED will flash 3 times before
the •Blue LED lights, accepting the
code. Fit new batteries as soon as this
happens. The lock will operate for 100
times with low battery.
BATTERY FAILURE OVERRIDE
The KitLock has been designed so an
external PP3 battery can be placed against
the contact points surrounding the Blue
and Red LED’s so the lock can be opened
to replace the batteries should they fail.
The procedure is as follows:
• Place the contact points of the PP3
battery against the contact points
surrounding the Blue and Red LED’s.
• The positive + PP3 terminal against the
Red LED contact point and the negative
– PP3 terminal against the Blue LED.
• Enter the Master Code.
• The motor will withdraw the locking pin
allowing the lock to be opened.
• Fit new batteries by removing the
upper fixing bolt and swinging the lock
down over the edge of the door. Refit
the lock.
FUNCTIONS
Before programming, select the most
appropriate function for the application:
A) or B) - See special Master Code
set up commands.
A) PRIVATE USE
Important Note: This is the
default function and is already
pre-programmed in new locks.
This is the most common
function and is used where
the same code will be
repeatedly used.
B) PUBLIC USE
The user enters their own personal
four-digit code.
This locks the lock. The same code
is entered once only to open the lock
before being erased and ready for the
next new user.
This function is used for short term,
multi occupancy applications,
e.g. a locker in a leisure centre.
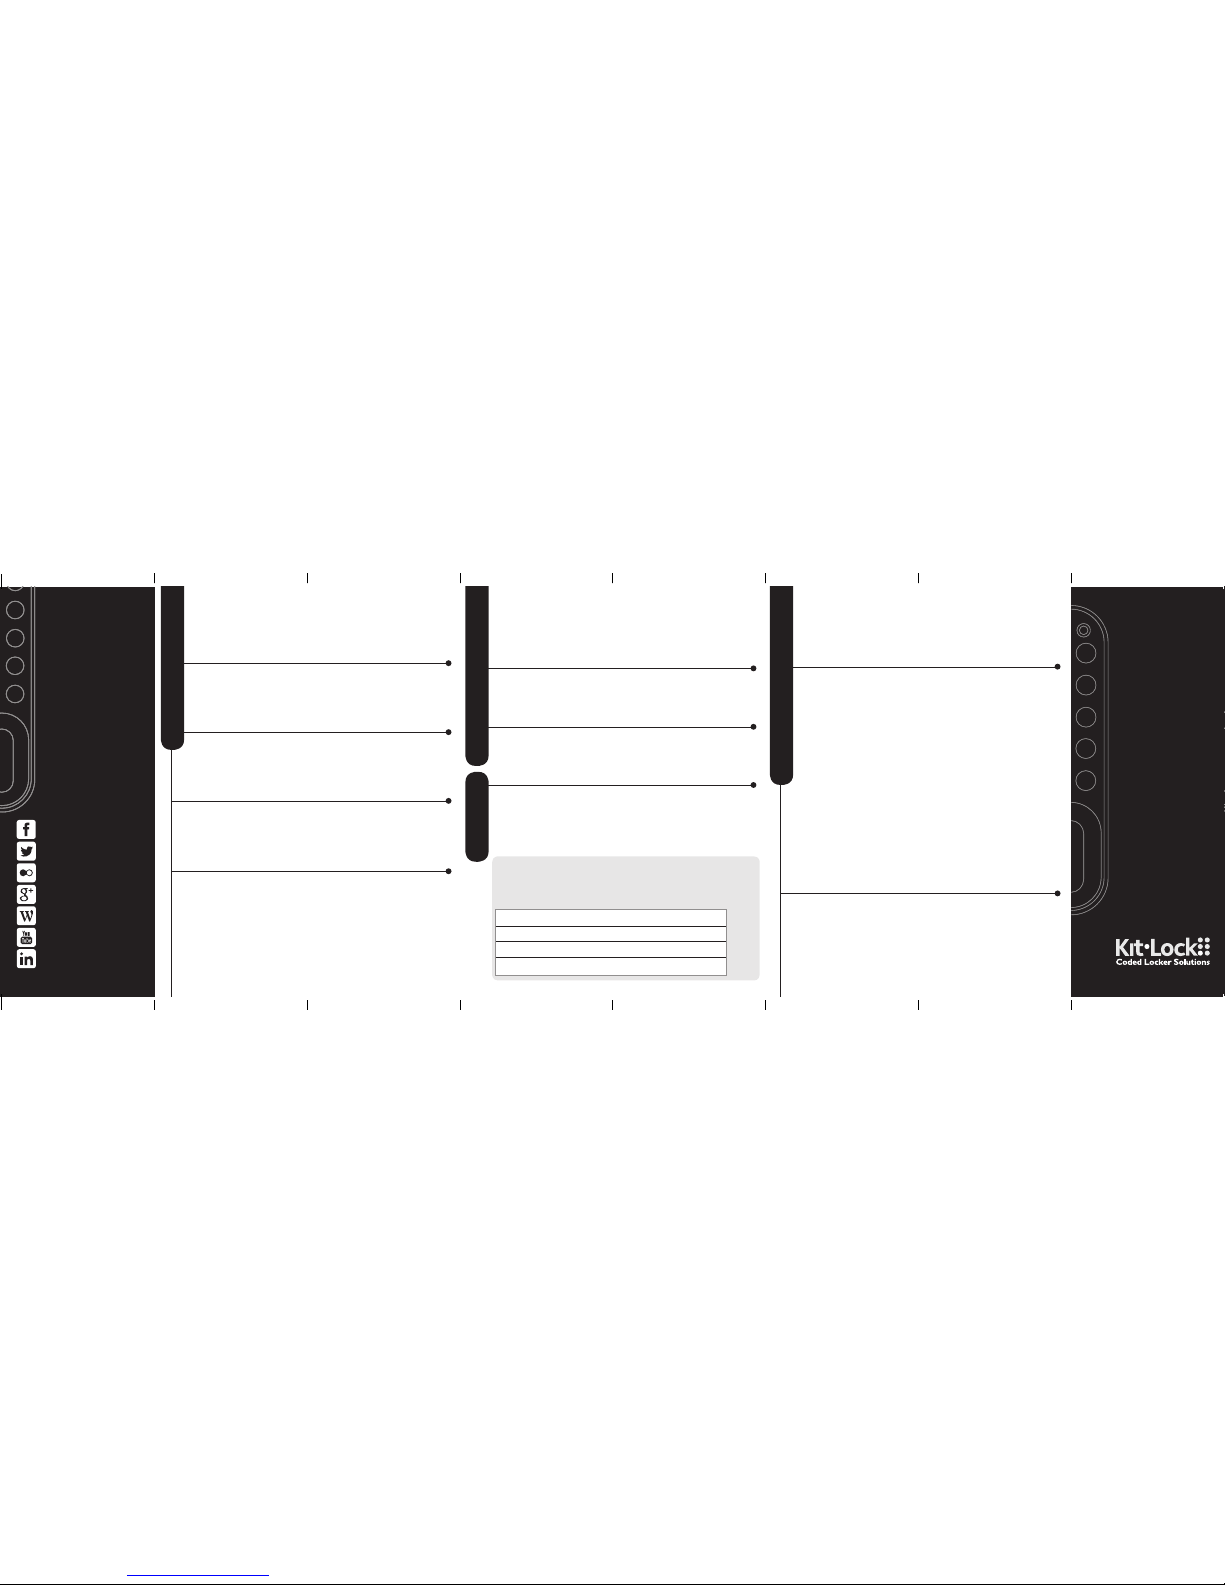
KL1OOO
KL1000 can be supplied
vertically, left or right
hand horizontal.
LOCKED
OPEN
Code accepted
Code rejected
Low battery indicator
CHANGE THE MASTER CODE
#Master Code •01 •New Master Code •New Master Code ••
Example: #11335577 •01 •12345678 •12345678 ••
Result: Master Code has been changed to 12345678.
SET OR CHANGE THE USER CODE
#Master Code •02 •User Code ••
Example: #11335577 •02 •9999 ••
Result: New User Code 9999 now operative.
DELETE USER CODE
#Master Code •03 ••
Example: #11335577 •03 ••
Result: User Code deleted.
SET OR CHANGE THE SUB-MASTER CODE
#Master Code •04 •Sub-Master Code •Sub-Master Code ••
Example: #11335577 •04 •87654321 •87654321 ••
Result: Sub-Master Code 87654321 now operative.
DELETE THE SUB-MASTER CODE
#Master Code •05 •05 ••
Example: #11335577 •05 •05 ••
Result: Sub-Master Code deleted.
CHANGE THE SUB-MASTER CODE
#Sub-Master Code •06 •New Sub-Master Code •
New Sub-Master Code ••
Example: #87654321 •06 •10101010 •10101010 ••
Result: Sub-Master Code has been changed to 10101010.
SET OR CHANGE THE USER CODE
#Sub-Master Code •07 •User Code ••
Example: #87654321 •07 •6666 ••
Result: New User Code 6666 now operative.
DELETE USER CODE
#Sub-Master Code •08 ••
Example: #87654321 •08 ••
Result: User Code deleted.
CHANGE THE USER CODE
#User Code • New User Code • New User Code ••
Example: #2244 • 6688 • 6688 ••
Result: User Code now 6688.
MASTER CODE COMMANDS
SPECIAL MASTER CODE COMMANDS
SUB-MASTER CODE COMMANDSUSER COMMAND
Programming
& Operating
Instructions
SET A) PRIVATE USE
#Master Code • 26 ••
Example: #11335577 • 26 ••
Result: The lock will revert back to default A) Private Use Function.
Factory set User Code 2244 will now work repeatedly until reprogrammed.
SET B) PUBLIC USE - SINGLE CODE ENTRY (DEFAULT)
#Master Code • 24 ••
Example: #11335577 • 24 ••
Result: The lock will now remain open until the next user enters their own
personal code into the lock as follows:
Step 1 – Enter 4 digit code •Close the locker which will now be locked.
Step 2 – Enter the same 4 digit code •• the lock will now open and remain
open until next 4 digit code is entered.
SET B) PUBLIC USE - DOUBLE CODE ENTRY
#Master Code • 22 ••
Example: #11335577 • 22 ••
Result: The lock will now remain open until the next user enters their own
personal code into the lock as follows:
Step 1 – Enter 4 digit code •Repeat 4 digit code ••
Close the locker which will now be locked.
Step 2 – Enter the same 4 digit code •• the lock will now open and remain
open until next 4 digit code is entered as Step 1.
Note: When locked in this mode •LED will flash every 5 seconds to indicate
the locker is locked.
SET TECHNICIAN CODE
#Master Code • 99 • Technician Code • Technician Code••
Example: #11335577 • 99 • 555555 • 555555 ••
Result: The lock is automatically set into B) Public Use Function and allows the
programmed Technician Code to open the lock WITHOUT the entered single
User Code being erased.
Note: If lock is opened with a Master Code the User Code will be erased.
KL1OOO
CODELOCKS
HEADQUARTERS
Tel: +44 (0) 1635 239645
Fax: +44 (0) 1635 239644
www.codelocks.co.uk
Helpline, service & spares
Freephone: 0800 393 405
CODELOCKS INC US
Tel: +1 714 979 2900
Fax: +1 714 979 2902
www.codelocks.us
Helpline, service & spares
Toll free: 1.877.codelock
CODELOCKS
(Australia) PTY LTD
Tel: +61 2 9882 1009
Fax: +61 2 9882 6030
www.codelocks.com.au
Helpline, service & spares
Toll free: 1800 052 131
POI-KL1000-v3:0515
BATTERY LEVEL CHECK
#Master Code•09 ••
Example: #11335577 •09 ••
Result: Both •Red LED and •Blue LED will flash to indicate current battery status.
More than 80% charged ••••••••
Between 50%-80% charge ••••••
Between 20%-50% charged ••••
Less than 20% charged ••
Other manuals for KL1000
4
Other Kit-Lock Lock manuals


