GET BLENDING
QUICK START GUIDE
®/™ © 2014 KitchenAid. All rights reserved. Used under license in Canada.
KSB5000, KSB5010, KSB5060
3. To reinsert the Blender pitcher: Align
the top of the pitcher to slide under the top
of the base, and slide pitcher forward into
the housing. Ensure that the pitcher goes
in straight (line the pitcher handle up with
the selection dial on the base).
2. Put ingredients in the pitcher. Add liquids
first, then soft foods, then ice or frozen
fruit last. Do not fill the pitcher all the way
to the top, leave room for food to expand
while blending. Put the lid on the pitcher
and ensure that it is on straight; the Blender
will not work without the lid in place.
1. To remove the Blender pitcher: Pull
the pitcher release handle outward while
firmly pulling the pitcher handle towards
you. The pitcher release handle breaks
the magnetic force that holds the pitcher
in place.
4. Ensure that the pitcher is fully in place
by making sure that the tab on the pitcher
release handle sits between the two
triangular notches on the base of the
pitcher. You will hear a click when the
pitcher is fully in place.
NOTE: There should be a half inch of
platform evenly visible around the pitcher
when it’s fully locked in place.
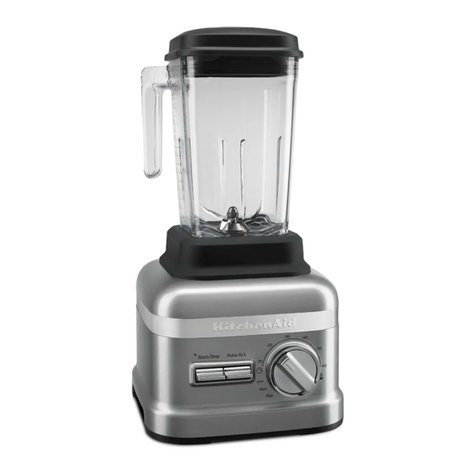
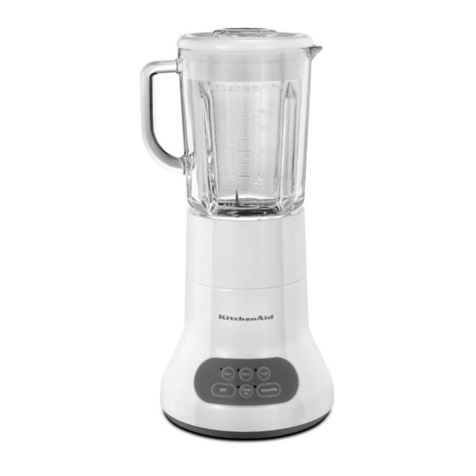
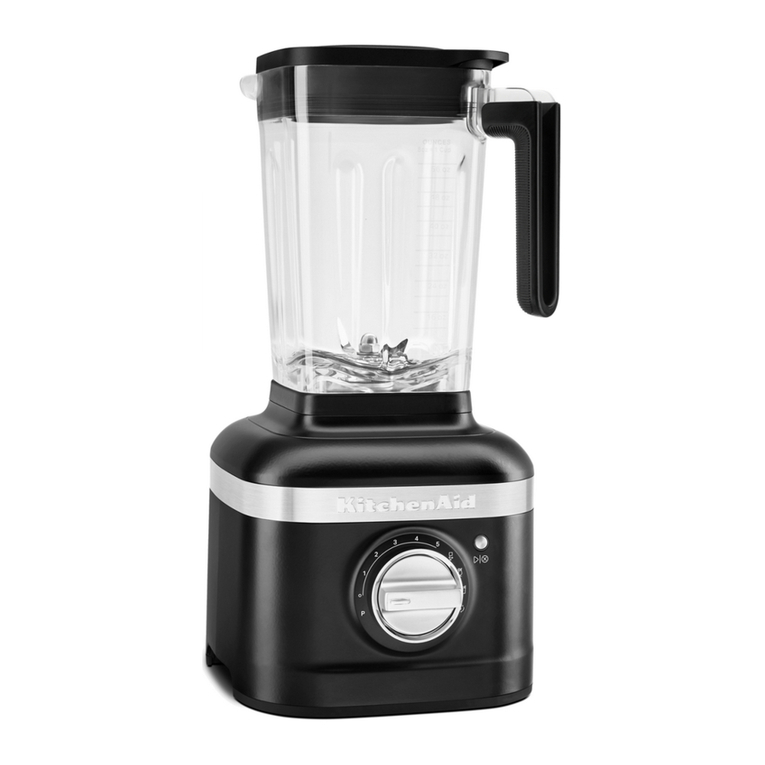
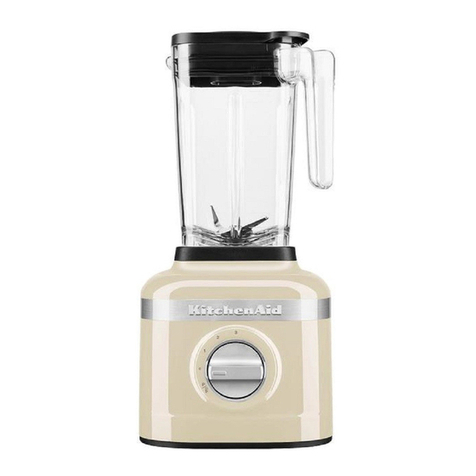
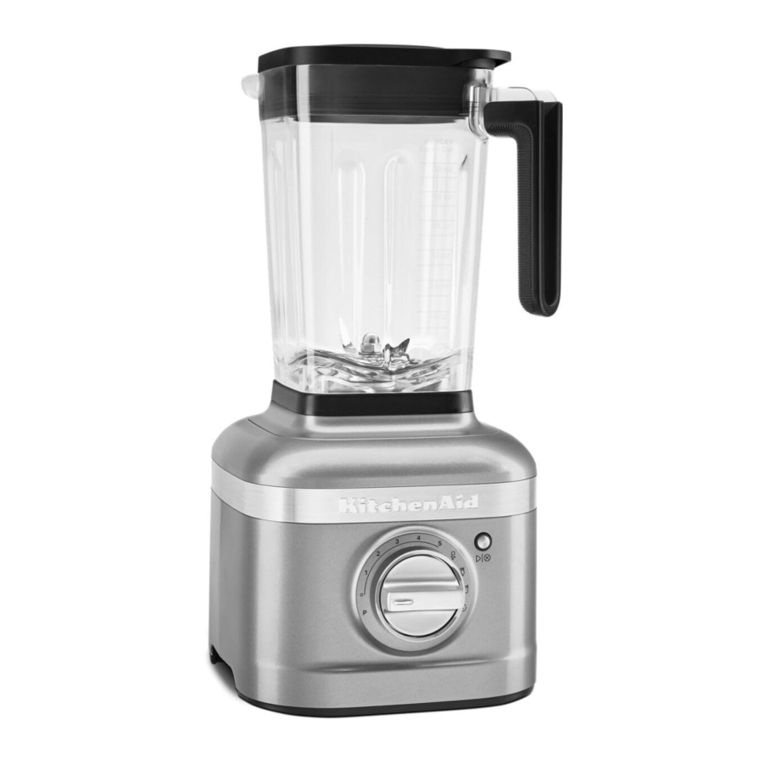
Your TorrentTM Magnetic Drive Blender runs on powerful magnets that drive the motor and
hold the Blender pitcher in place. These magnets are very strong. For best results, follow these
simple directions to remove and reinsert your Blender pitcher.
For more information on how to get the most out of your Blender, refer to your “Instructions”
manual or visit www.blendwithkitchenaid.com for videos.
PRÊT ? MÉLANGEZ!
GUIDE DE DÉMARRAGE RAPIDE
®/™ © 2014 KitchenAid. Tous droits réservés. Utilisé sous licence au Canada.
KSB5000, KSB5010, KSB5060
3. Pour remettre en place le récipient
du mélangeur :Aligner le sommet du
récipient de manière à ce qu’il coulisse sous
le sommet du socle, et faire coulisser le
récipient dans le logement. Vérifier que le
récipient s’insère droit (aligner la poignée
du récipient avec le bouton rotatif de
sélection situé sur le socle).
2.
Placer les ingrédients dans le récipient.
Commencer par ajouter les ingrédients
liquides puis les aliments tendres et terminer
par les glaçons ou les fruits congelés.
Ne
pas remplir le récipient jusqu’au bord,
laisser suffisamment d’espace pour que
les aliments puissent se répandre pendant
le mélange. Mettre le couvercle sur le
récipient et vérifier qu’il est placé bien
droit; le mélangeur ne fonctionne pas si
le couvercle n’est pas en place.
1. Pour retirer le récipient du
mélangeur : Tirer la poignée de
dégagement du récipient vers l’extérieur
en tirant fermement la poignée du récipient
vers soi. La poignée de dégagement du
récipient brise la force magnétique qui
maintient le récipient en place.
4. Vérifier que le récipient est bien en place
et que la poignée de dégagement a été
engagée en s’assurant que l’encoche
triangulaire sur le socle du récipient est
positionnée sur l’arrière de la patte de
la poignée de dégagement du récipient.
Un déclic retentit lorsque le récipient
se verrouille en place.
REMARQUE : Il devrait y avoir un demi-
pouce de plate-forme visible uniformément
autour du récipient lorsqu’il tient bien
en place.
Le mélangeur à entraînement magnétique TorrentTM fonctionne à l’aide de puissants aimants
qui entraînent le moteur et maintiennent en place le récipient du mélangeur. Leur aimantation
est très forte. Pour des résultats optimaux, suivre ces instructions simples pour retirer et remettre
en place le récipient du mélangeur.
Pour plus de renseignements sur la façon de tirer le meilleur parti de votre mélangeur, consulter
le manuel d’instructions ou visiter www.blendwithkitchenaid.com pour visionner des vidéos.
COMIENCE A LICUAR
GUÍA RÁPIDA PARA COMENZAR
®/™ © 2014 KitchenAid. Todos los derechos reservados. Usada en Canadá bajo licencia.
KSB5000, KSB5010, KSB5060
3. Para volver a colocar la jarra: Alinee
la parte superior de la licuadora para que
se deslice debajo de la parte superior de la
base, y deslice la jarra hacia adelante dentro
del alojamiento. Asegúrese de que la jarra
ingrese derecha (alinee la manija de la jarra
con el selector de la base).
2. Coloque los ingredientes en la jarra.
Primero agregue los líquidos, luego los
alimentos blandos y, por último, el hielo
o la fruta congelada. No llene la jarra
hasta el borde, deje espacio para que los
alimentos se expandan al licuarlos. Coloque
la tapa en la jarra y asegúrese de que quede
derecha. La licuadora no funciona si la
tapa no está colocada.
1. Para quitar la jarra de la licuadora:
Tire de la manija de liberación de la
licuadora hacia afuera mientras tira
con firmeza de la manija de la licuadora
hacia usted. La manija de liberación
rompe la fuerza magnética que mantiene
a la jarra en su lugar.
4. Asegúrese de que la jarra esté bien
insertada y que la manija de liberación
haya enganchado, verificando que la
muesca triangular de la base de la jarra
se ubique de manera que apoye detrás
de la lengüeta de la manija de liberación.
Escuchará un chasquido cuando la licuadora
esté bien insertada.
NOTA: Debe haber media pulgada
(1,27 cm) de plataforma visible en forma
pareja alrededor de la jarra cuando esta
se encuentra totalmente bloqueada en
su lugar.
Su licuadora de accionamiento magnético TorrentTM funciona con imanes potentes que
accionan al motor y mantienen la jarra de la licuadora en su lugar. Estos imanes son muy
fuertes. Para obtener resultados óptimos, siga estas instrucciones sencillas para quitar y volver
a colocar la jarra de la licuadora.
Para obtener más información sobre cómo aprovechar al máximo la licuadora, consulte el
manual de “Instrucciones” o visite www.blendwithkitchenaid.com para ver los videos.
W10722590B_All_v06.indd 4-6 12/12/14 4:25 PM
