manuals.online logo
Brands
  1. Home
  2. •
  3. Brands
  4. •
  5. KitchenAid
  6. •
  7. Mixer
  8. •
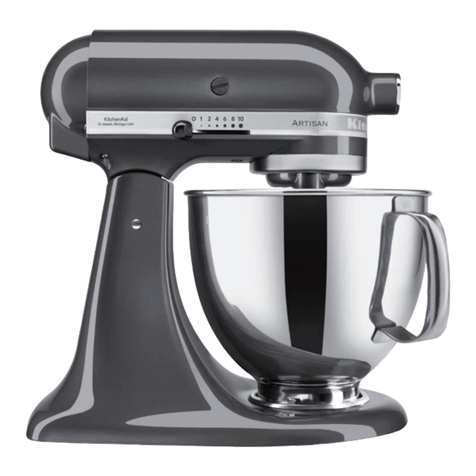
  9. KitchenAid 5KSM150PS User manual

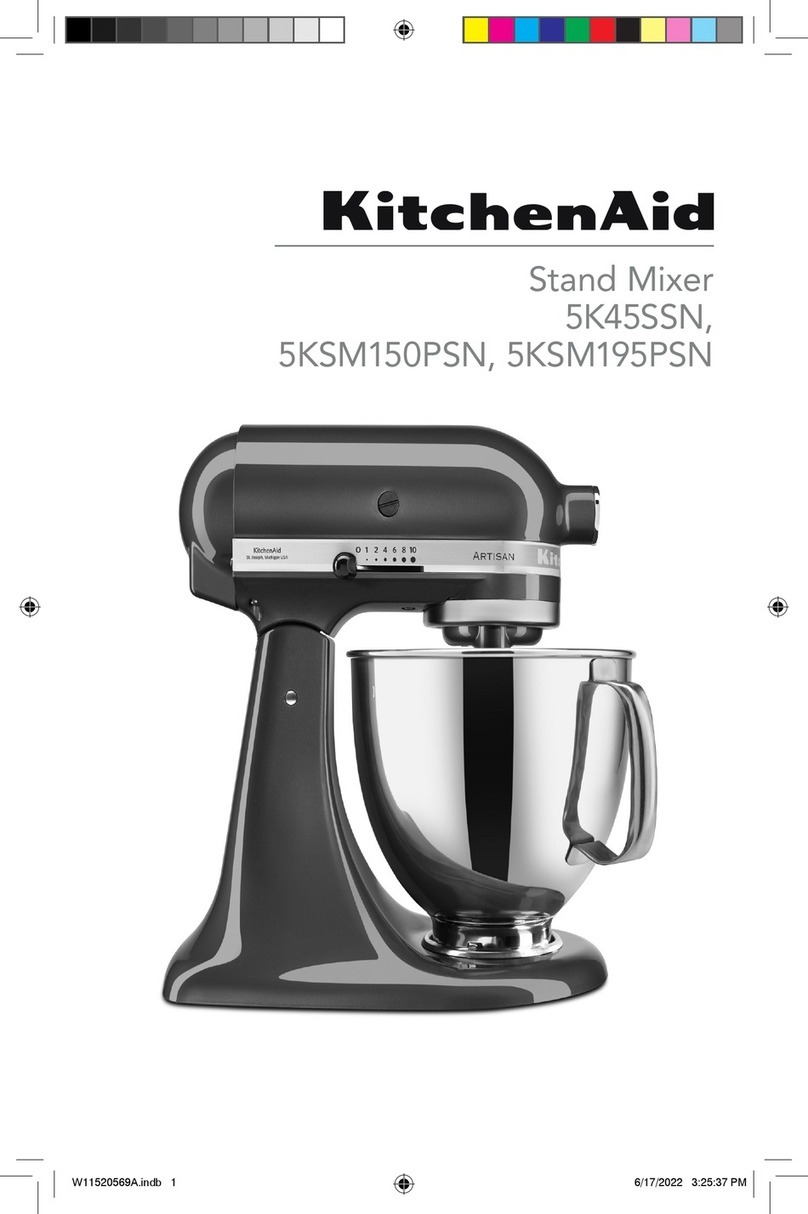
KitchenAid 5KSM150PS User manual

Other manuals for 5KSM150PS

4

This manual suits for next models

3

Other KitchenAid Mixer manuals

KitchenAid 5K45SS User manual

KitchenAid

KitchenAid 5K45SS User manual

KitchenAid Pro Line Series User manual

KitchenAid

KitchenAid Pro Line Series User manual

KitchenAid *521.004 User manual

KitchenAid

KitchenAid *521.004 User manual

KitchenAid KSM150PSER User manual

KitchenAid

KitchenAid KSM150PSER User manual

KitchenAid 5KSM180LE User manual

KitchenAid

KitchenAid 5KSM180LE User manual

KitchenAid KSM15 Series User manual

KitchenAid

KitchenAid KSM15 Series User manual

KitchenAid 5-qt. - Pro 500 Series Stand Mixer User manual

KitchenAid

KitchenAid 5-qt. - Pro 500 Series Stand Mixer User manual

KitchenAid 4KG25H3XWH5 Quick guide

KitchenAid

KitchenAid 4KG25H3XWH5 Quick guide

KitchenAid KSM75WH1 User manual

KitchenAid

KitchenAid KSM75WH1 User manual

KitchenAid 5KSM3311XBAC User manual

KitchenAid

KitchenAid 5KSM3311XBAC User manual

KitchenAid 3KSM55 User manual

KitchenAid

KitchenAid 3KSM55 User manual

KitchenAid 4KSMC50S Quick guide

KitchenAid

KitchenAid 4KSMC50S Quick guide

KitchenAid KP26M1XPM - Mixer 6QT, Pearl Metallic User manual

KitchenAid

KitchenAid KP26M1XPM - Mixer 6QT, Pearl Metallic User manual

KitchenAid 5KSM3311X User manual

KitchenAid

KitchenAid 5KSM3311X User manual

KitchenAid KSM3311X User manual

KitchenAid

KitchenAid KSM3311X User manual

KitchenAid KSM95SM - Ultra Power Stand Mixer User manual

KitchenAid

KitchenAid KSM95SM - Ultra Power Stand Mixer User manual

KitchenAid 5KSM3311 User manual

KitchenAid

KitchenAid 5KSM3311 User manual

KitchenAid KSM150AGBCS User manual

KitchenAid

KitchenAid KSM150AGBCS User manual

KitchenAid 7 & 9 SPEED Quick guide

KitchenAid

KitchenAid 7 & 9 SPEED Quick guide

KitchenAid KSM180LELB User manual

KitchenAid

KitchenAid KSM180LELB User manual

KitchenAid 6397dZw608 Quick guide

KitchenAid

KitchenAid 6397dZw608 Quick guide

KitchenAid KSMCB5 User manual

KitchenAid

KitchenAid KSMCB5 User manual

KitchenAid KSM7586POB1 User manual

KitchenAid

KitchenAid KSM7586POB1 User manual

KitchenAid KSM150PSLV0 User manual

KitchenAid

KitchenAid KSM150PSLV0 User manual

Popular Mixer manuals by other brands

Oster FPSTSM2710 instruction manual

Oster

Oster FPSTSM2710 instruction manual

Aviom A-16II user guide

Aviom

Aviom A-16II user guide

Varimixer V30K Spare part and operation manual

Varimixer

Varimixer V30K Spare part and operation manual

Kohler Stillness K-T954 installation guide

Kohler

Kohler Stillness K-T954 installation guide

Wolf Gourmet WGSM300 Use & care guide

Wolf Gourmet

Wolf Gourmet WGSM300 Use & care guide

Team International TEAM MS 17 operating instructions

Team International

Team International TEAM MS 17 operating instructions

MULTIQUIP Whiteman WM45E Operation and parts manual

MULTIQUIP

MULTIQUIP Whiteman WM45E Operation and parts manual

Jay-Lor 5050 owner's manual

Jay-Lor

Jay-Lor 5050 owner's manual

privileg MJ-BL1051W user manual

privileg

privileg MJ-BL1051W user manual

Fakir CULINA CHEF user manual

Fakir

Fakir CULINA CHEF user manual

Termozeta Bellacucina Instruction booklet

Termozeta

Termozeta Bellacucina Instruction booklet

Thinky ARE-250 instruction manual

Thinky

Thinky ARE-250 instruction manual

Midas XL4 manual

Midas

Midas XL4 manual

bianco PURO 4 manual

bianco

bianco PURO 4 manual

better chef IM-815WC Use and care book

better chef

better chef IM-815WC Use and care book

ALLEN & HEATH GR1 user guide

ALLEN & HEATH

ALLEN & HEATH GR1 user guide

Buffalo CP921 instruction manual

Buffalo

Buffalo CP921 instruction manual

ARX BarMIX owner's manual

ARX

ARX BarMIX owner's manual

manuals.online logo
manuals.online logoBrands
  • About & Mission
  • Contact us
  • Privacy Policy
  • Terms and Conditions

Copyright 2025 Manuals.Online. All Rights Reserved.

English ................................................................................ 5
TABLE OF CONTENTS
STAND MIXER SAFETY
Important safeguards .......................................................................................... 6
Electrical requirements ..................................................................................... 7
Electrical equipment waste disposal ................................................................... 7
PARTS AND FEATURES
Parts and features ............................................................................................... 8
Accessory guide .................................................................................................. 9
ASSEMBLING THE STAND HIXER
Attaching/removing the bowl ............................................................................. 9
Lifting/lowering the motor head ....................................................................... I0
Attaching/removing the flat beater, wire whip, or dough hook ........................ I0
Beater to bowl clearance ................................................................................. I I
Placing/removing the pouring shield ................................................................. 12
Using the pouring shield ................................................................................... 12
OPERATING THE STAND MIXER
Operating the speed control ............................................................................ 13
Speed control guide .......................................................................................... 13
Optional attachments ....................................................................................... 14
TIPS FOR GREAT RESULTS
Mixing tips ........................................................................................................ IS
Egg whites ........................................................................................................ 16
Whipped cream ................................................................................................ 16
CARE AND CLEANING
Cleaning the Stand Mixer ................................................................................. 16
Cleaning the accessories ................................................................................... 17
TROUBLESHOOTING ......................................................................................... 17
WARRANTY AND SERVICE
KitchenAid Stand Mixer warranty .................................................................... 18
Customer service ............................................................................................. 18
Your safety and the safety of others are very important.
We have provided many important safety messages in this manual and on your
appliance. Always read and obey all safety messages.
This is the safety alert symbol.
This symbol alerts you to potential hazards that can kill or hurt you
and others.
All safety messages will follow the safety alert symbol and either
the word "DANGER" or "WARNING." These words mean:
You can be killed or seriously injured
if you don't immediately follow
instructions.
You can be killed or seriously injured
if you don't follow instructions,
All safety messages will tell you what the potential hazard is, tell you how to
reduce the chance of injury, and tell you what can happen if the instructions are
not followed.
iMPORTANT SAFEGUARDS
When using electrical appliances, basic safety precautions
should always be followed, including the following:
!. Read all instructions.
2. To protect against risk of electrical shock, do not put Stand Mixer
in water or other liquid.
3. Unplug Stand Mixer from outlet when not in use, before putting
on or taking off parts and before cleaning.
4. Never leave the Stand Mixer unattended while it isin operation.
5. This appliance can be used by children aged from 8 years and above
and persons with reduced physical, sensory or mental capabilities
or lack of experience and knowledge ifthey have been given
supervision or instruction concerning use of the appliance in a safe
way and understand hazards involved. Children shall not play with
the appliance. Cleaning and user maintenance shall not be made by
children without supervision.
6. Avoid contacting moving parts. Keep hands, hair, clothing, as well
as spatulas and other utensils away from beater during operation
to reduce the risk of injury to persons and/or damage to the
Stand Mixen
7. Do not operate Stand Mixer with a damaged cord or plug or after
the Stand Mixer malfunctions, or isdropped or damaged in any
manner. Return appliance to the nearest Authorized Service Center
for examination, repair or electrical or mechanical adjustment.
8. The use of attachments not recommended or sold by KitchenAid
may causefire, electric shock, or injury.
9. Do not usethe Stand Mixer outdoors.
i0. Do not let the cord hangover edge of table or counter.
I I. Remove flat beater, wire whip or dough hook from Stand Mixer
before washing.
12.This product isdesigned for household useonly.
SAVE THESE iNSTRUCTiONS
Wattage:
300 W for models 5KSM 150PS and 5KSM 156
250 W for models 5K45SS and 5KSM45
Voltage:
220-240 V
Hertz:
50/60 Hz
NOTE: If the plug does not fit in the outlet,
contact a qualified electrician. Do not modify
the plug in any way. Do not use an adapter.
Do not use an extension cord. If the power
supply cord is too short, have a qualified
electrician or serviceman install an outlet
near the appliance.
Electrical Shock Hazard
Plug into a grounded outlet.
Do not remove ground prong.
Do not use an adapter.
Do not use an extension cord.
Failure to follow these
instructions can result in death,
fire, or electrical shock.
Disposal of packing material
The packing material is 100% recyclable
and is marked with the recycle symbol _.
The various parts of the packing must
therefore be disposed of responsibly and
in full compliance with local authority
regulations governing waste disposal.
Scrapping the product
- This appliance is marked in compliance
with European Directive 2002/96/EC, Waste
Electrical and Electronic Equipment (WEEE).
- By ensuring this product is disposed of
correctly, you will help prevent potential
negative consequences for the environment
and human health, which could otherwise
be caused by inappropriate waste handling
of this product.
- The symbol _ on the product or on the
accompanying documentation indicates
that it should not be treated as domestic
waste but must be taken to an appropriate
collection centre for the recycling of
electrical and electronic equipment.
For more detailed information about
treatment, recovery and recycling of this
product, please contact your local city office,
your household waste disposal service or the
shop where you purchased the product.
Attachment hub
Attachment knob
Motor head
g lever
(not shown)
Speed
control
_ever
Beater shaft
Beater height
adjustment
screw
(not shown)
Bow_ ÷÷
Wire
whip Bowl clamping plate
Dough hook
shield ÷
÷ Included only in models SKSH 150PS and 5KSH45. Also available as optional accessory.
÷÷ The bowl design and material depend on the Stand Mixer model.
8
Flat beater for
normal to heavy
mixtures:
Wire whip for
mixtures that
need air
incorporated:
Dough hook for
mixing and
kneading yeast
doughs:
AccessoP_ Uses
Cakes, creamed frostings, candies, cookies,
pie pastry, biscuits, meat loaf,mashed potatoes
Eggs, egg whites, heavy cream, boiled frostings,
sponge cakes, mayonnaise, some candies
Breads, rolls, pizza dough, buns
To attach bowl: Turn Speed control
to "0!!. Unplug Stand Mixer.
0
Plaqe bowl on bowJ clamping Platel Turn
bowl gently in Clockwise direction.
Hold the locking
position and tilt motor head back,
i
To RemoYe bowl: Repeat Steps! an d 2-
Tu rn bowl gently counterclockwisel
To put down motor head: Pushthe
locking Jeverto UNLOCK and gently
bring Shehead down. Thelacking lever
Wi!! autamatica!iy go
position when the head isdawn, Bef°re
mixing, _est lock by attempting to raise
motor head°
NOTE: Motor head should always be in LOCK position when using the Stand Mixer.
injury Hazard
Unplug mixer before touching
beaters.
Failure to do so can result in
broken bones, cuts, or bruises.
Slip accessory onta beater Shaftand
press Upward as fan as possible. Thenl
turn accessory to t he dght, hooking
accessory over the pin on the shaft.
I0