!
Klarity Medical Products, LLC
600 Industrial Parkway
Heath, OH 43056
T: 740.788.8107 F: 740-788-8109
www.klaritymedical.com
To be used by a qualified medical professional
IFU.A.001.089/20/21
!
35˚C (95˚F)!
cool and dry
AJW Technology Consulting GmbH
Konigsallee 106
40215 Dusseldorf, Germany
T: +49 211 30132232
www.ajwtech.com
*The depressors and diverters are directional and are
marked to show which side goes “up” or “down”.
Mixing and Forming the Putty:
3.
Before mixing the putty, you have the option to remove the
tongue depressor or diverter from the BiteLok using the
included tongue device removal tool.
*This will allow a better impression of the teeth into the
putty. If you choose to leave the tongue accessory intact,
please be aware that the patient could cause the device
to wiggle with their tongue, which could affect the
impression in the putty made by the teeth.
4.
Tear or cut the putty pouch and squeeze out the contents
of both packets. Mix the two-part putty together thoroughly
for 15-20 seconds. Roll the putty into a two-inch long
cylinder. Pinch off a small amount of putty and set it aside
(about 0.5cm) (See step 3c).
5.
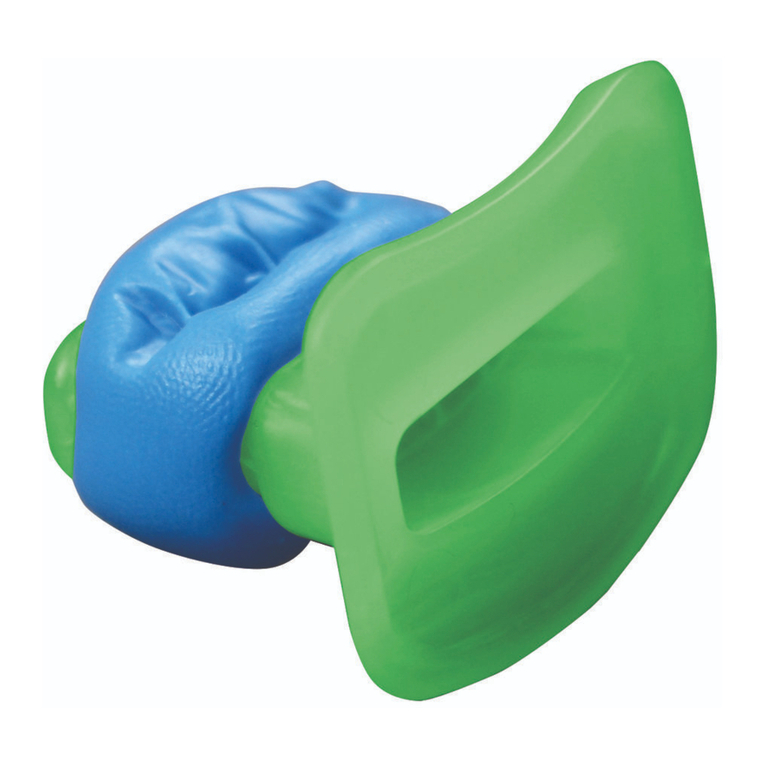
Wrap the entire cylinder of putty around the “BITE” area of
the BiteLok mouthpiece. Press the putty gently, but firmly,
around the “Bite” area to ensure it will fill the bite region
indentations.
Making the Impression:
6.
While the putty is still soft, have patient gently bite into the
putty until it hardens (about 2 minutes).
7.
Instruct the patient to bite down with a “natural” bite,
which will help relieve jaw fatigue during treatment.
8.
Periodically check the 0.5cm piece you set aside earlier
for firmness. This will help determine when the putty has
fully set up.
9.
Once the putty has set, verify that the hardened putty is
fully secured to the BiteLok mouthpiece.
*If putty starts to harden before the impression was
made, the putty may not fully secure to the mouthpiece.
10.
If an optional tongue depressor or diverter is being used,
insert it back into the BiteLok before making the mask and
double check the attachment to ensure it is facing the
correct direction.
11.
Re-insert the BiteLok into the patient’s mouth.
Forming the Mask over the BiteLok:
12.
Form the mask according to the manufacturer’s
instructions, placing the mask over the BiteLok.
13.
While the mask is still warm, the QuickFit tool can be used
for hands free indexing. Pinch the two QuickFit tool
handles together, place the QuickFix™ tool over the
BiteLok, and release. The QuickFit Tool will secure the
mask over the BiteLok. Allow mask to fully cool.
14.
Keep the QuickFit tool, mask, and BiteLok attached
together as you remove the mask from the patient. It is
recommended to leave the BiteLok indexed within the
mask with the QuickFit tool attached for 12 hours. This will
allow the mask to finish shrinking around the BiteLok for
better re-indexing.
15.
After 12 hours have passed, remove the QuickFit tool from
the mask by pinching the two handles together and
detaching from the mask.
The BiteLok will remain
indexed within the mask
until removed.
Tongue depressor inserting
into the BiteLok
Putty wrapping around the BiteLok
QuickFit tool on top
of mask


