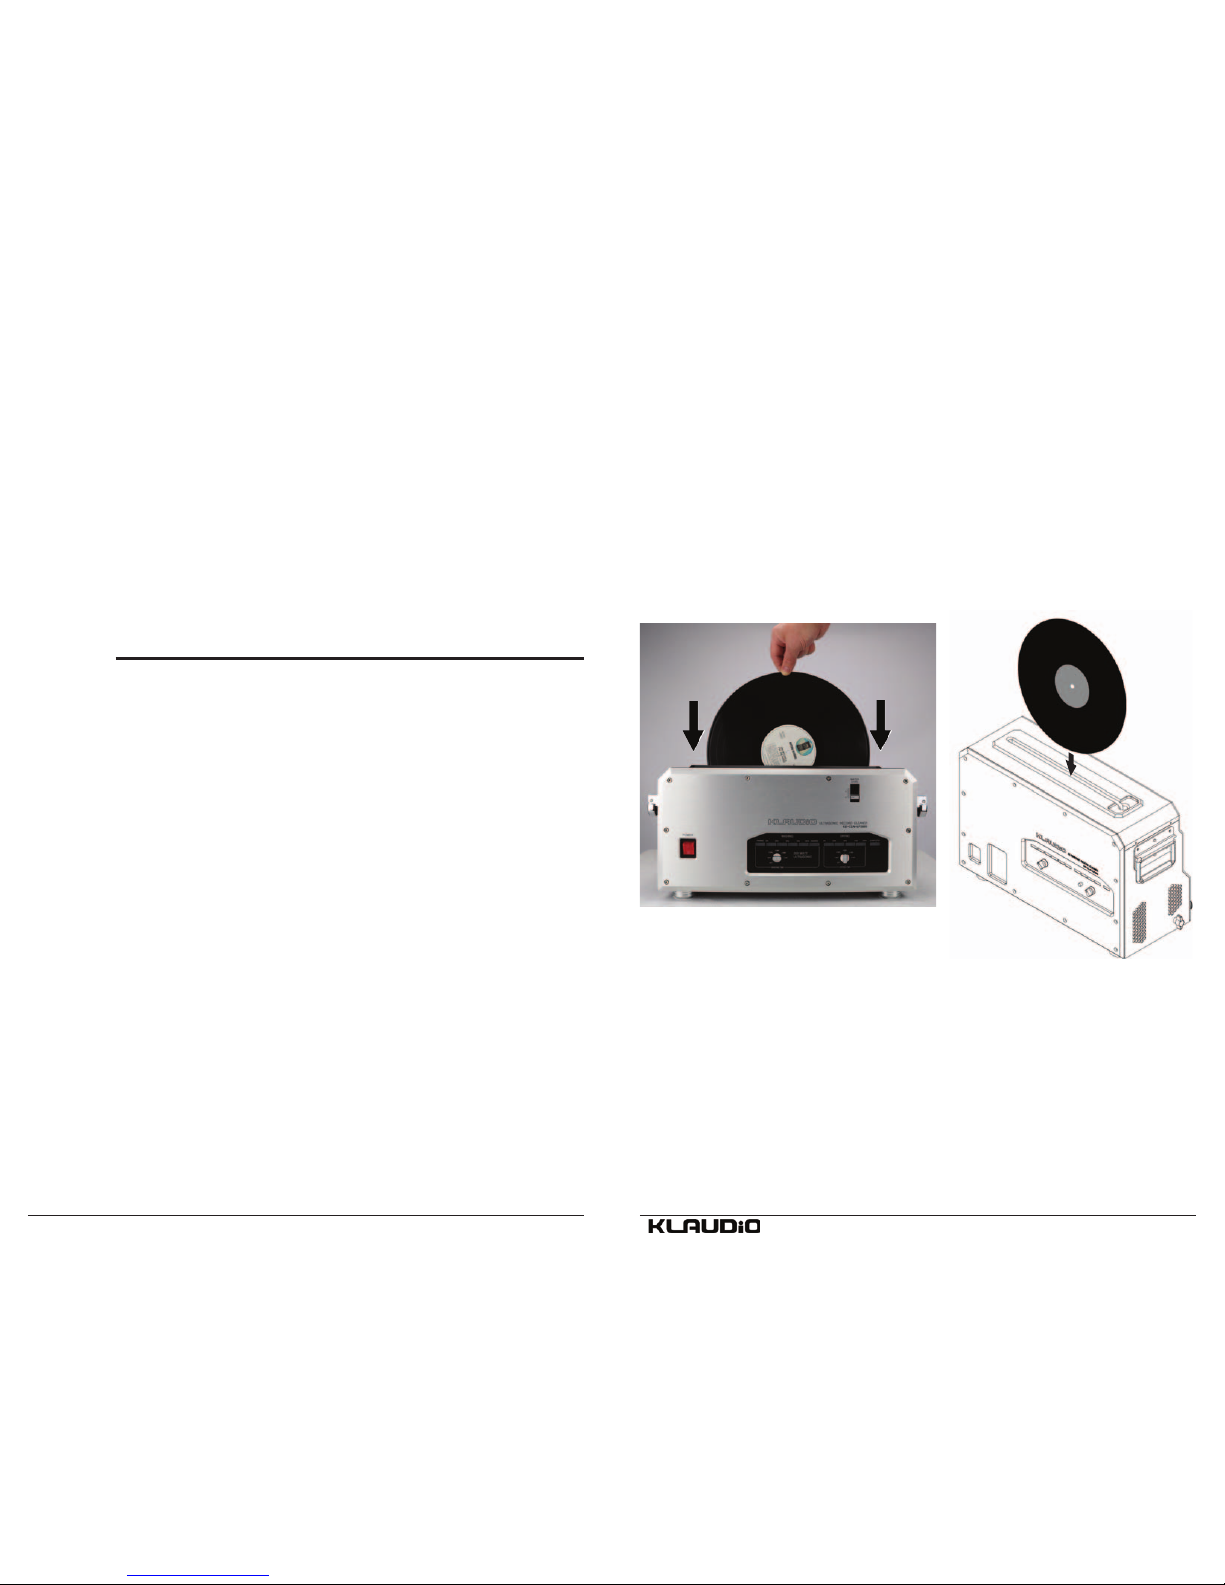
KLAUDIO KD-CLN-LP200S User manual

English v1.0
www.klaudio.com
Printed in Korea
TM
KD-CLN-LP200S
Ultrasonic Vinyl Record Cleaner
User’s Manual
TM

i
User Manual
User Manuals are updated regularly. Please be sure to check our support page for a newer
version of this guide: www.klaudio.com
GENERAL PRECAUTION
Please read this manual carefully before using your Klaudio product.
!WARNING: Indicates a potentially hazardous situation which, if not avoided,
could result in personal injury or be life-threatening.
!CAUTION: Indicates a potentially hazardous situation which, if not avoided,
may result in damage to equipment or property.
PROHIBITED: Indicates a prohibited action.
ABOUT SIGNS
Throughout this document, critical information is highlighted in gray-colored boxes. The
following symbols are intended to help prevent any situation which may cause personal
injury and/or damage to equipment:
TRADEMARKS
The Klaudio name and logo are trademarks or registered trademarks of Koolance, Inc.
Other company and product names used in this publication are for identifi cation purposes
only and may be trademarks or registered trademarks of their respective companies.
COPYRIGHT
All rights reserved. Copyright (C) Klaudio.
CONTACT INFORMATION
Customer Support: [email protected]
Web: www.klaudio.com
Address: 2840 W Valley Hwy N, Auburn, WA 98001
Phone: +01 253-249-7813

iii
ii User Manual
- 10mm ID Tubing
- 6mm ID Tubing
- External Pump
- Sliding Bracket for Reservoir Lid
- User Manual
- AC Power Cable (U.S. plug)
Included Hardware
fl at-head screw driver
Required Tools
During installation, you may need the following tools:
CAUTION: Keep this product level whenever in operation.
If the product is tilted, water may spill onto and damage the
electronics.
!
Do not tilt or move while operating!
Keep unit level whenever water is inside. Always drain water
from the cleaner completely before transporting.
CAUTION: Before powering-on the
system, the “AC POWER SELECT”
switch must be set for your local
voltage. The incorrect setting can
damage the product and is not
covered by the product warranty.
!

1
iv User Manual
Chapter 1
Overview
Table of Contents
Overview 1
Product Diagram ............................................................................................. 2
Features .......................................................................................................... 3
Setup 4
Voltage Confi guration ...................................................................................... 5
Water Sources ................................................................................................ 5
Water Reservoir Option ................................................................................... 6
Water Level Adjustment .................................................................................. 9
Connecting the Power Cable ........................................................................ 10
Adjusting Washing and Drying Settings ........................................................ 10
Understanding the LED Progress Bar ........................................................... 11
Operation 12
Loading a Record .......................................................................................... 13
Troubleshooting ............................................................................................ 14
Limited Warranty ........................................................................................... 15

23
User Manual
Overview
Product Diagram
Power Switch
Display Panel
Water Level
Adjustment
Power Output for
Pump or Tap Water Kit
Auxillary Power Output
AC Plug and
Voltage Switch
Features
Enjoy your vinyl records as if they were new again! Klaudio’s KD-CLN-LP200S brings
an unrivaled 200 Watts of ultrasonic cleaning power to your LP collection. Using
patent-pending technology, the toughest grime and dust is easily removed without
the risk of physical scrubbers or need for detergent. Drying is also handled safely
with blowers. Simply connect an external water source and insert your phonograph
record-- the rest is automated.
Ultrasonic transducers are placed perpendicular to the disc for maximum cleaning
eff ect. Klaudio’s technology allows powerful waves to remove debris without dam-
aging the disc, and special dampening minimizes vibration and noise. The entire
washing and drying process can be adjusted from 2 to 10 minutes. Cleaning status
is conveniently displayed through an LED progress bar.
• 200W total ultrasonic cleaning power
• Compatible with 296-304mm (11.65-12in) diameter LP vinyl records
(7in and 10in with separate adapters)
• Auxiliary power output for accessories
• Risk-free cleaning and drying without physical surface contact
• No scrubbing or drying rollers to replace
• Designed for use without detergent, use only distilled water (or tap
water with optional kit)
• Adjustable washing time: 0-5 minutes
• Adjustable drying time: 0-5 minutes
• Wash + dry, wash-only, and dry-only modes
• 115V (60Hz) and 230V (50Hz) AC compatible
• 2-year warranty
Inlet and Outlet
Water Lines

5
4User Manual
Chapter 2
Setup
Setup
Before powering-on the system, the “AC Power Select” voltage switch must be set
for your local voltage.
Voltage Confi guration
CAUTION: Before powering-on the
system, the “AC POWER SELECT”
switch must be set for your local
voltage. The incorrect setting can
damage the product and is not
covered by the product warranty.
!
On the rear of the unit, use a small fl at-head screwdriver to adjust the AC voltage
switch (115V/60Hz or 230V/50Hz). The incorrect setting can permanently damage
the electronics. This condition is not covered by the product warranty.
Water Sources
KD-CLN-LP200S requires an external source of water for the cleaning process.
There are two options: a container fi lled with distilled water (not included), or a direct
plumbing connection (requires optional tap water kit).
Option #1 - Reservoir Container
(Not Included)
Option #2 - Tap Water Kit
(Sold Separately)

7
6User Manual
Setup
A water container or bucket with lid can be purchased as a reservoir and stored
below the record cleaning machine. It should have a capacity of at least 5 gallons
(19 liters). Smaller containers can cause overheating due to lower water volumes.
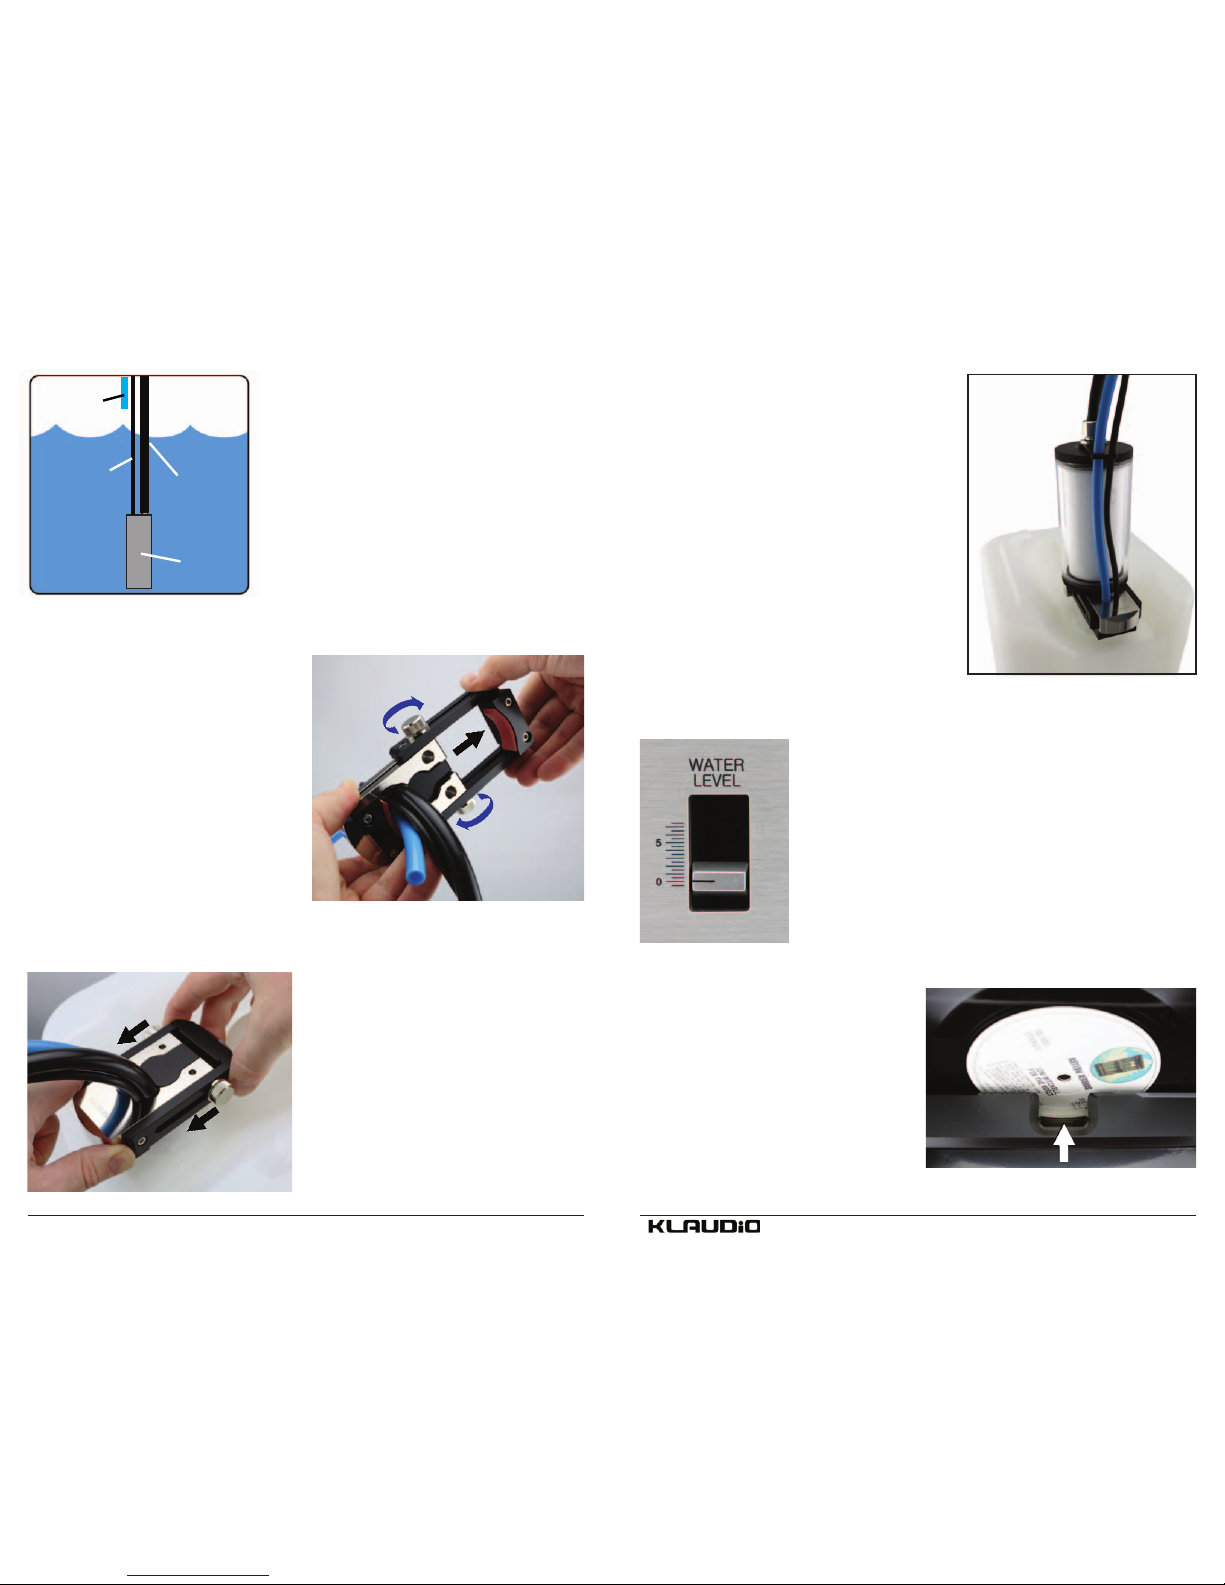
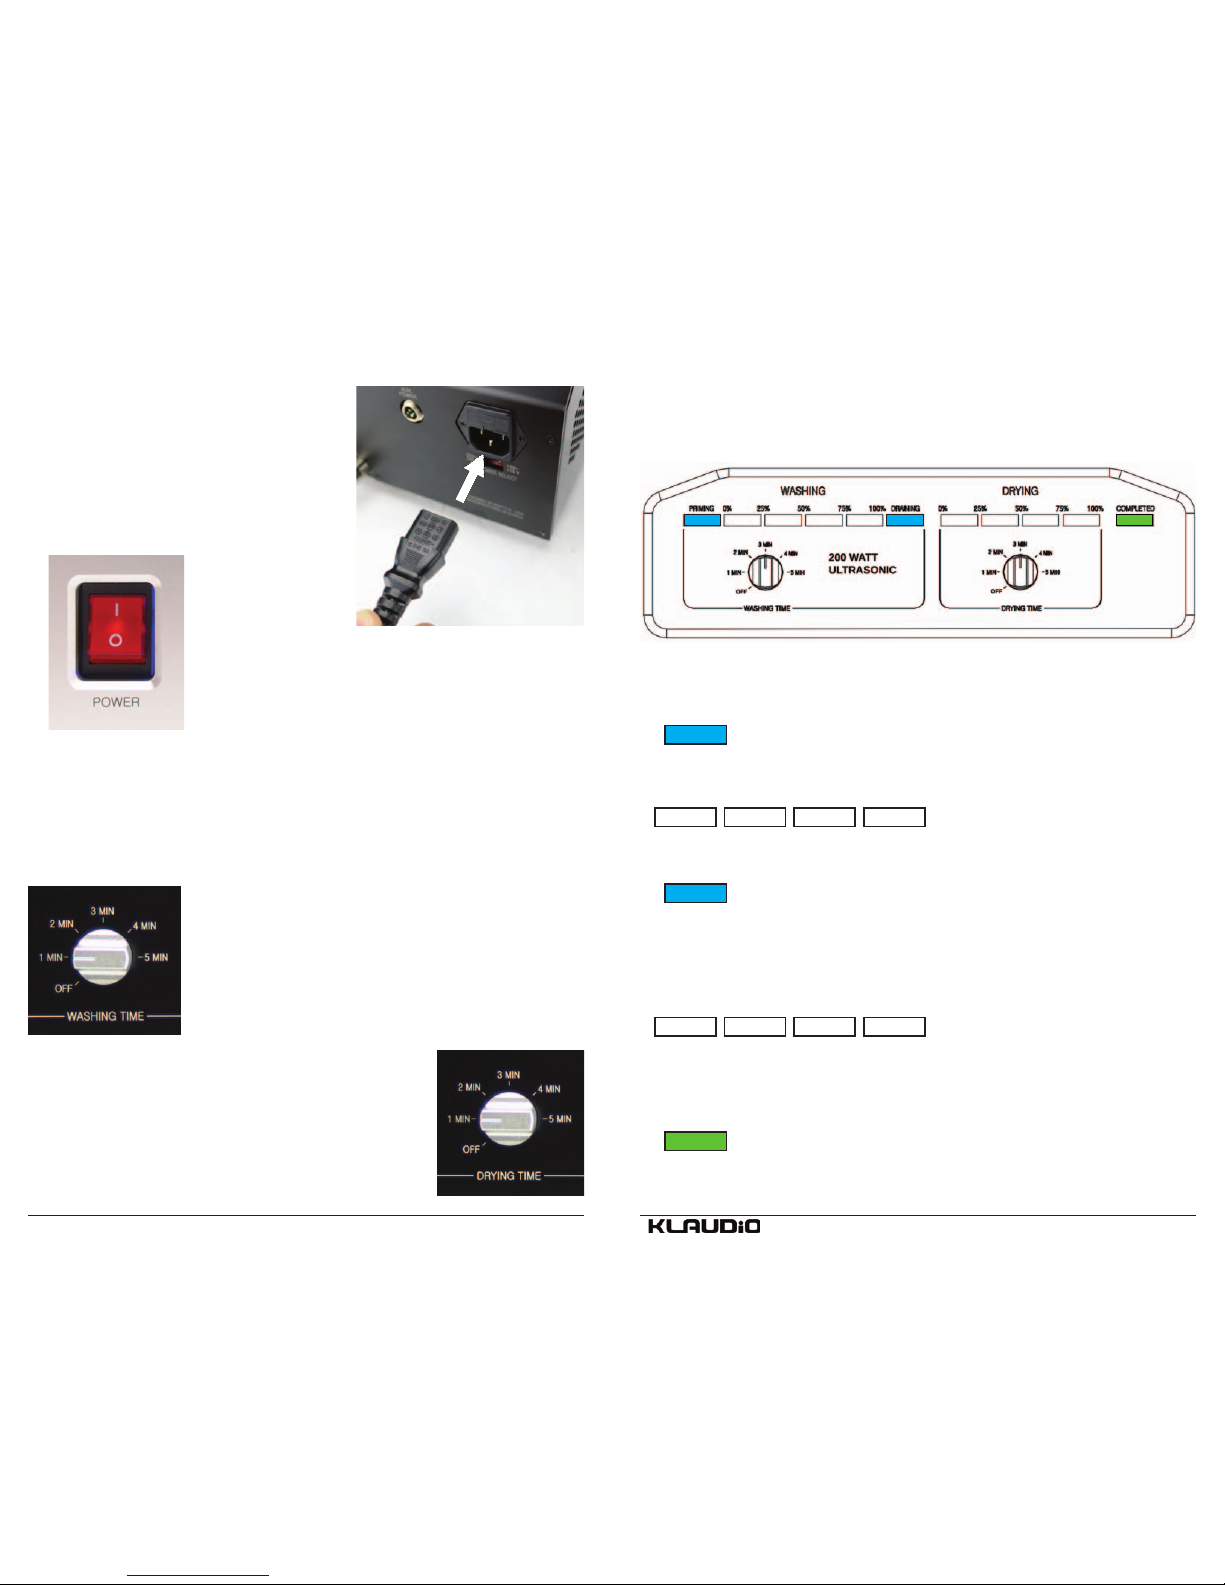
Water Reservoir Option Connect the pump’s power cable to
the “Water Control” plug on the rear
of the LP cleaner.
Connect the smaller blue drain tubing
to the compression fitting labeled
“Out”.
Connect the larger black tubing to the
compression fi tting labeled “In”.
The LP cleaner came with
two sets of tubing. Attach
the larger black tubing to
the pump’s outlet pipe. No
tubing clamp is required.
A reservoir bracket is included with the LP
cleaner to prevent the tubing and pump
power lines from sliding into the reservoir.
Route both tubes and pump wire through
the reservoir bracket. Each end above the
bracket will be connected to the LP cleaner.
Drain
Tubing
Pump Power
Supply
Tubing
Supply Tubing
Pump Power Wire
To fi t the pump, the container needs an
opening or spout on top with a diameter
of at least 1 5/8-inch (40mm).
If there is no opening or it is too small, a
suffi ciently sized hole should be cut into
the lid.
Reservoir Hole for Priming Pump
Minimum 1 5/8-inch (40mm)
Fill the reservoir with distilled
water to about 75-90%. Do not
completely fi ll.
Do not use tap water, which can
cause mineral deposits in the
cleaning system. Do not add
chemicals or biocides to the water,
which could react with materials
within the record cleaner.
Drop the pump and connected lines into
the water container.
The blue drain tubing should be shortened
to remain above water level inside the
container.
Drain Tubing

9
8User Manual
The reservoir bracket can be adjusted
like a vice to grip the water container’s
spout. Loosen the knurled thumb screws
on each side to expand or collapse the
bracket.
Push the bracket together to grip the
container’s spout. Tighten the knurled
thumb screws to hold it in place.
If your water container has no protrusion
or spout to attach to, simply rest the
bracket on top of the lid.
The pump will rest at the bottom of the contain-
er. Allow enough slack in the power wire and
supply tubing to achieve this.
The end of the blue drain tubing must remain
above water level to speed circulation. (There-
fore, the container can not be completely fi lled.)
Supply
Tubing
Drain
Tubing
Power
Wire
Pump
Setup
KD-CLN-LP200S features a water level adjustment for
the wash basin. This is used to accommodate LP vinyl
discs outside of the typical diameter range.
The water level adjustment can be particularly helpful if
using the optional tap water kit. It should be calibrated
for your building’s water pressure.
Water Level Adjustment
To extend the period between water changes,
Klaudio off ers an optional inline fi lter (model
KD-FLT-KIT01). This allows about 500 discs
per water change.
During the washing cycle, slowly adjust
the water level (observed in the top load-
ing slot) until the LP’s inner-most audio
tracks are just under the water level.
Be careful, the water level will change
immediately. Do not forget to lower the
water level before the next disc, or the
record label might get wet!

11
10 User Manual
Adjusting Washing and Drying Settings
Connecting the Power Cable
Once the reservoir is fi lled with water,
connect the main AC power cable to the
back of the unit. Plug the pronged end
into an AC outlet.
Turn on the main front power switch. It will illuminate
when switched on.
“WASHING TIME” adjusts the ultrasonic washing time
from 1-5 minutes. Longer cleaning times are intended
for especially diffi cult-to-clean records. It is suggested to
start with a short time period and increase if needed. If
only drying is desired, select “OFF”.
“DRYING TIME” adjusts the air blower drying time from
1-5 minutes. This setting depends on room temperature
and humidity. If only washing is desired, select “OFF”.
Confi gure the setting knobs as desired. This can be done at any time before or
during the cleaning operation:
Setup
Understanding the LED Progress Bar
The LED display bar will show the current status and cleaning progress.
PRIMING The pump is fi lling the upper wash basin from the reservoir. If
fl ashing red, this indicates the reservoir water level is too low.
Washing Cycle
0% 25% 50% 75% 100% Indicates the current washing
progress based on the preset
time.
DRAINING
The upper wash basin is emptying back into the reservoir.
Drying Cycle
0% 25% 50% 75% 100% Indicates the current drying
progress based on the preset
time.
Once fi nished, the “Completed” green LED will illuminate. The
system will also emit an audio chime. Remove the disc and insert
another to restart the cleaning cycle.
COMPLETED

13
12 User Manual
Chapter 3
Operation
Operation
Loading a Record
After initial setup and confi guration, there’s only one step to operation. Carefully
place an LP vinyl record with a diameter of between 296-304mm (11.65-12in) into
the top loading slot. When loading, the disc should be kept vertical (perpendicular
to the fl oor).
The cleaning/drying process will automatically start. Once fi nished, the “Completed”
green LED will illuminate. Insert a new disc to start again.
Draining and Maintenance
The distilled water should be replaced about every 100 discs, every few weeks, or
if the water appears particularly dirty.
If the cleaner will not be used for longer than 3 weeks, the water reservoir should
be emptied to dry.
To avoid scratches, keep disc
perpendicular to the fl oor when inserting.

15
14 User Manual
1. The system does not power on, begin the cleaning cycle, or the LED progress
bar fl ashes when a disc is inserted.
Check that the power cord is connected between the unit and an AC wall
outlet. Confi rm the voltage switch is properly set on the rear of the unit (See
“Voltage Confi guration”). Be sure the diameter of the LP record is between
296-304 millimeters (11.65-12.00 inches); other sizes will not be detected.
Make sure the “Completed” green LED light is illuminated before inserting a
record. If not, try power cycling the unit (turning off /on using the front power
switch), then removing and reinserting the disc.
2. The priming LED light fl ashes red and an alarm sounds.
This indicates a problem with the water level in the unit. The reservoir water
level may be too low. If using the tap water kit, there may be too little or too
much water being supplied to the unit. Adjust the ball valve appropriately.
3. Water is dripping from the unit.
The cleaning system must remain level at all times when in use. Check that
the tubing lines are properly connected to their fi ttings in back.
4. The unit makes a loud noise during the auto priming.
Unwanted debris may have entered the reservoir and is aff ecting the priming
pump. Empty the reservoir and dry the unit. Signifi cant debris or any hard
particles should be removed from the reservoir and pump before operation.
Add new water after cleaning out the reservoir.
5. The unit makes odd noises during the washing cycle (0-100%).
The ultrasonic transducers will produce a moderate squeeling or grinding
noise when cleaning, which is normal. The record is also rotated with a belt
motor during this process. If a more signifi cant noise is heard, try turning off
the unit and placing it onto a diff erent surface. Although the transducers are
insulated, vibrations might be exaggerated by some table surfaces.
6. The record does not rotate properly during the cleaning or drying cycle.
This can occur if there are signifi cant irregularities or “fl at spots” in the outer
edge of the disc. It may help to lightly smooth the outer edge of the vinyl with
sandpaper. If sanding, rinse the disc to remove vinyl debris before inserting it
into the cleaning unit.
Troubleshooting Limited Warranty
Disclaimer
Klaudio (“Klaudio”) warrants each new ultrasonic cleaning product against defects
in materials or workmanship for a period of two years from the date of purchase, and
agrees to repair or replace any defective Klaudio system without charge. Shipping
costs are non-refundable.
This warranty is non-transferable. All warranty claims must be accompanied by the original
proof of purchase.
THIS WARRANTY DOES NOT COVER DAMAGE RESULTING FROM ACCIDENT, MISUSE
OR ABUSE, LACK OF REASONABLE CARE, SHIPPING DAMAGE, MODIFICATIONS,
THE AFFIXING OF ANY ATTACHMENT NOT PROVIDED WITH THE PRODUCT, OR
LOSS OF PARTS .
Use of chemical cleaning agents or liquids will void this warranty. Klaudio will not pay
for warranty service performed by a non-authorized repair or diagnostic service and will
not reimburse the consumer for damage resulting from warranty service performed by a
non-authorized repair service. No responsibility is assumed for any special incidental or
consequential damages due to a defective Klaudio product.
In order to obtain warranty service, contact our RMA department for information. The product
must be shipped postage prepaid to an authorized Klaudio service location. It is suggested
that, for your protection, you return shipments of product by insured mail, insurance prepaid.
Damage occurring during shipment is not covered by this warranty. Shipping costs are non-
refundable. No other warranty, written or oral, is authorized by Klaudio.
IN NO EVENT SHALL KLAUDIO, PARENT COMPANY KOOLANCE, OR ITS EMPLOYEES,
AGENTS, SUPPLIERS, MANUFACTURERS, OR CONTRACTORS BE LIABLE FOR
ANY DAMAGES OF ANY KIND OR CHARACTER, INCLUDING WITHOUT LIMITATION
ANY COMPENSATORY, INCIDENTAL, DIRECT, INDIRECT, SPECIAL, PUNITIVE, OR
CONSEQUENTIAL DAMAGES, LOSS OF USE, LOSS OF DATA, LOSS OF INCOME OR
PROFIT, LOSS OF OR DAMAGE TO PERSONS OR PROPERTY, CLAIMS OF THIRD
PARTIES, OR OTHER LOSSES OF ANY KIND OR CHARACTER, AND WHETHER
OR NOT THE POSSIBILITY OF SUCH LOSS OR DAMAGE HAS BEEN NOTIFIED TO
KLAUDIO.

16
This page has been intentionally left blank.
Other manuals for KD-CLN-LP200S
1
Table of contents
Other KLAUDIO Ultrasonic Jewelry Cleaner manuals
Popular Ultrasonic Jewelry Cleaner manuals by other brands

Omegasonics
Omegasonics RESTORATION PRO Operation & instruction manual

Drester
Drester 1000 manual

Hoover
Hoover ONEPWR FLOORMATE JET user manual

RIDGID
RIDGID K-1500SP manual

Worx
Worx HYDROSHOT WG620E.2 Original instructions

Arch Environmental Equipment
Arch Environmental Equipment Saber Max Installation instructions manual