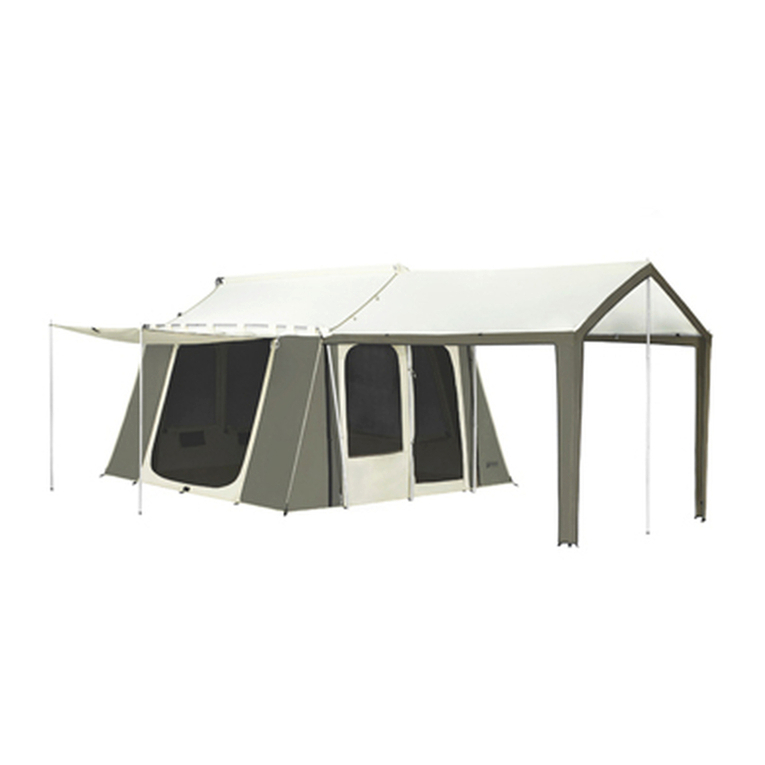
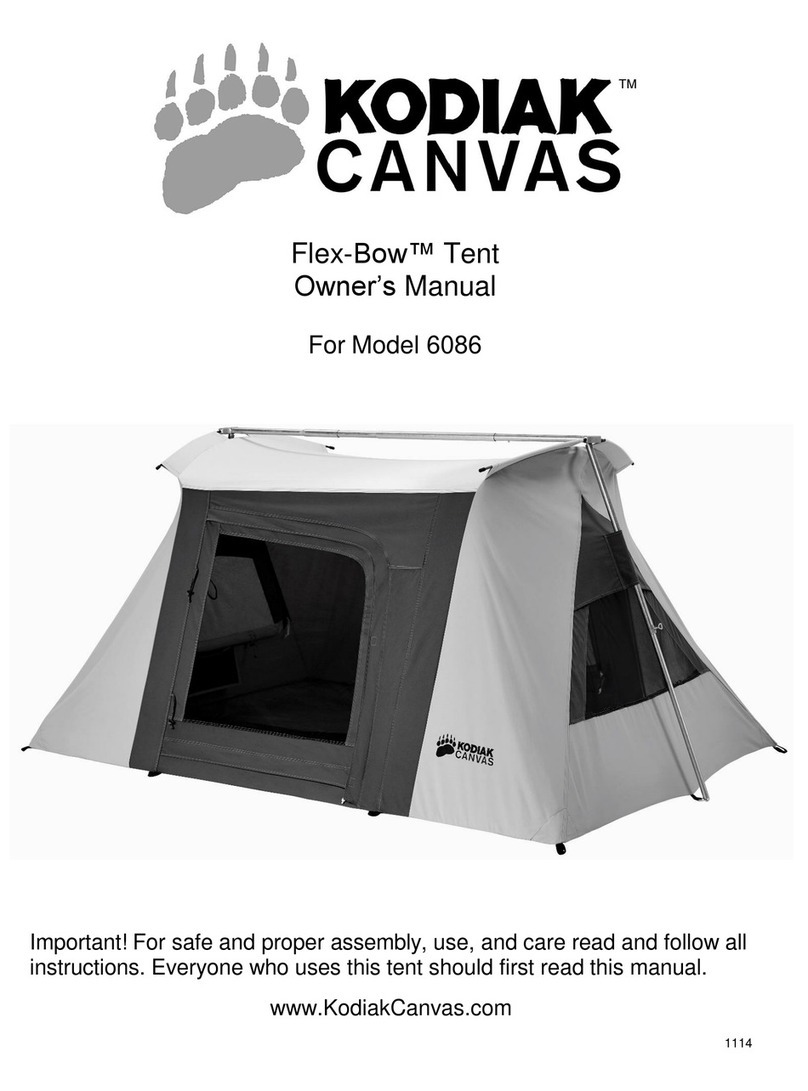
Kodiak 6173 User manual

2
No Fire
This tent is flammable. Keep all flame and heat sources away from the tent
fabric. Never place a stove, campfire, or any other flame source in or near your
tent. Never use, light, or refuel a stove, lantern, heater, or any other heat source
inside your tent. Death by carbon monoxide poisoning and/or serious burns are
possible.
Ventilation
Maintain adequate ventilation inside your tent at all times. Death by
asphyxiation is possible.
Anchor
This tent is not free-standing. If not properly anchored, it will collapse. Always
anchor your tent properly to reduce the risk of loss or injury to the tent or
occupants.
Campsite Choice
Carefully consider the possibility of falling rocks or tree limbs, lightning strikes,
flash floods, avalanches, strong winds, and other objective hazards when
choosing a campsite to reduce the risk of loss or injury to the tent or occupants.
Children
Do not leave children unattended inside a tent or camp.
Do not allow children to assemble or dissemble the tent.
Do not allow children to remain closed-up in a tent on hot days.
Do not allow children to swing on, or hang from any part of this tent.
Failure to follow these warnings may result in injury and/or death.
Before You Set Out
You should assemble this tent at least once before your trip to familiarize yourself with the
process, and make sure all the parts are in good working condition.

3
Kodiak Canvas
Limited Lifetime Warranty
This product is warranted, to the original purchaser, to be free of defects in materials and
workmanship for as long as you own the product. This product is made with quality materials and expert
workmanship but is not indestructible. This warranty does not cover damage attributed to or resulting
from normal wear and tear (e.g. exhausted zippers), natural hazards (e.g. weather, animals), abuse (e.g.
mold, mildew, burns, ultraviolet), or alterations or modifications of any kind. If your product is found
defective, we will repair or replace it free of charge. Charges for shipping your product to Kodiak Canvas
will be your responsibility. We reserve the right to make substitutions if parts are unavailable or obsolete.
If your product needs repair beyond what is covered under warranty, we will provide parts and service at
a reasonable charge.
This warranty gives you, the original purchaser, specific legal rights. You may also have other
rights which vary from state to state. Do not return your product until you have received
authorization and instruction to do so.
To obtain service, contact us at www.KodiakCanvas.com, or write to:
Kodiak Canvas Customer Service
PO Box 762
Layton, UT 84041 USA

4
Component Check List
Identify all components and make sure they are in good condition and working order.
Description
Quantity
Side Upright Pole
6
Main Upright Pole
2
Ridge Pole
1
Center Support Pole (Optional,
Sold Separately)
0
Tent Body
1
Tent Storage Bag
1
Pole Storage Bag
1
Stake Storage Bag
1
Guy Ropes (standard)
10
Long Guy Ropes
2
Tent Stakes
20
Clip-on Bag for Smoke Alarm /
Guy Rope Storage
1

5
Fig. 1 Tent Poles

6
Assembly Instructions
The use of protective gloves and eyewear is recommended during assembly. At least two adults
are required.
Step 1 - Stake the Tent
Stake each of the tent’s four corners, making sure that the tent is taut (but not too tight) and square.
Continue to place a stake through each of the remaining stake loops. Tips: 1) A rubber mallet works
best for driving these stakes.2) Staking opposite diagonal corners first helps square the tent. 3) Drive
in stakes with the tip angling toward the tent. Secure the hooks on the end of the stakes over
the tent
loops. 4) In soft sand or snow, use a dead-man anchor. Make sure that the anchor is secure.
Step 2 - Install the Ridge Pole
Join the Ridge Pole, then slide it through the sleeve in the center of the tent roof. Tip: Stretch sleeve out
so it is straight. Gently insert pole—don’t force.
Step 3 - Install the Main Upright Poles
This step requires at least two adults. Join the Main Upright Poles and connect them to the Ridge
Pole. The black webbing strap should pass over the top corner of the Upright Pole passing
between the two posts (see figure 2). With a person on each Main Upright Pole, raise the poles at
the same time into upright position. Attach a long guy rope to the top of the Main Upright Pole as
shown, and secure with a tent stake. Extend the telescoping Main Upright Pole until the tent is
taut.
Fig. 2 Main Upright Pole Connecting to Ridge Pole
WARNING
This tent is not free-standing. If not properly staked it will
collapse. Be sure to securely anchor the tent.

7
Place the bottom of the Main Upright Pole over the D-ring at the edge of the tent while inserting the
locking pin into the pole.
Fig. 3 Locking Pin
Step 4 –Install the Side Upright Poles
Insert the tip of a Side Upright Pole through the metal ring at each corner. Insert the bottom of the Side
Upright Pole into the locking pin. Secure by placing a guy rope loop (make loops by tying a small overhand
knot) over the top of the tip of the pole and then staking out. Use two guy ropes on each corner. See step 5
on page 9. Thread the guy ropes through the slide buckles on the Storm Window before you tie the loops.
Fig 4. Side Upright Pole at Corner

8
Next, install the remainder of the Side Upright Poles in the same manner. Figure 5 represents a top-down
view of the tent. The dashed lines represent proper guy rope position.
Fig. 5 Guy Rope Placement Diagram

9
Step 5 –Secure Upright Poles and Storm Window.
Secure the Upright Poles to the tent walls with hook and loop (similar to Velcro®) tabs.
Secure the storm window to the corresponding guy ropes (see Figures 5 and 6). First pass guy ropes
through the holes on the slide buckles. Adjust slide buckles, and storm window straps to hold storm
window flap.
Fig. 6 Storm Window
(Optional) Install the Center Support Pole—Sold Separately.
The purpose of the Center Support Pole is to provide added support to the roof in snow or windy
conditions. This tent will handle significant snow and wind without the Center Support Pole. Unless you
want extra security in extreme conditions, this accessory is not needed. Center Support Pole (Part Number
100267).

10
To install, place the ends of the T through the loops (inside center ceiling). Extend the telescoping pole
until taut, and hand tighten thumbscrew. Tips: Don’t overextend pole—it just needs to gently push into the
ceiling. To take down, first lift pole to remove tension on thumbscrew, then unscrew.
Fig. 7 Center Support Pole Installation
Take Down and Storage
First, dry and clean out tent. Make sure your tent is completely dry. Zip down the windows, open the door,
let the tent air out to dry the inside. Sweep clean of any dirt or debris. Collapse the tent and remove all the
poles. Wrap and neatly store the guy ropes. Tips: 1) This tent has a lot of guy ropes. Save yourself the
frustration of a tangled guy rope mess. Wrap guy ropes, store them in the provided smoke alarm bag. 2) If
you have to break camp when the tent is wet, that is okay. Just be sure when you get home, to unroll,
open up, and dry out. The sooner the better.
Care
●
VERY IMPORTANT—Your tent must be completely dry before storage! STORING A WET OR DAMP
TENT, EVEN FOR A SHORT TIME, CAN RUIN IT AND VOID THE WARRANTY.
●
To clean tent, hose down with water and wipe with a cloth. Do not use soaps and detergents as
they
can damage the water-repellant treatment of the canvas.
●
Do not spray insecticides or bug repellant directly on the canvas. This may damage the water-
repellant
treatment.
●
For long-term storage, store in a cool, dry location that is not exposed to direct sunlight.
●
This tent is equipped with quality zippers. To prolong zipper life, do not grind the zippers around
corners.
If needed, pull the canvas, windows or doors to help zippers glide smoothly. Keep them clean
from dirt.
●
You
should rarely have to retreat the canvas. See Waterproofing below.
Other Notes
●
Condensation inside the tent is affected by the difference between inside and outside temperatures
and humidity. Condensation can be reduced by venting your tent. Condensation between the floor and
a
sleeping mat can be reduced by placing a ground cloth underneath the tent.
●
Some slight irregularities are normal with 100% cotton canvas and will not affect the performance
of
your tent.
Waterproofing
When your tent gets its first wet storm, you may get a few drops of water inside—don’t fear.
11
This first, good wetting “seasons”the canvas. The water causes the canvas to shrink slightly,
closing the
needle holes where the canvas was stitched. After that, you should be watertight.
The canvas on your tent has a special Hydra-Shield™ treatment that is watertight yet breathable. This
waterproofing is very durable—if it ain’t leaking, don’t treat it. Your expectation should be that this tent
will be completely dry inside even during drenching rains. On
occasion, a tent will experience some
leaking. If this occurs, it is an easy fix. Treat the affected area with a
SILICONE based waterproofing
such as Kiwi Camp Dry®. This should take care of any leaks,
and you should rarely have to retreat.
Caution: Do not use other kinds of waterproofing such as
Canvak® on this Hydra-Shield™ canvas, as it
could clog the
tiny pores in the canvas, eliminating its breathability.
Snow
This tent is rated for snow and winter camping. Snow sticks to the roof of canvas tents. It does not
shed (slide off on its own). The tent may need to be cleared of snow multiple times a day during
heavy snowfall. If the roof is sagging, clear the snow. Don’t allow heavy accumulations of snow to
remain on your tent for extended periods of time, as this can damage the tent canvas and frame.
Using a Wood Burning Stove
This Kodiak Canvas, Cabin Lodge tent is equipped with a stove jack for use with a wood burning stove.
Extreme caution should be used when using a wood burning stove! Carefully read and follow these
important safety guidelines.
1) Your tent fabric is made of cotton canvas. The canvas is flammable and can burn if it comes in
contact with a flame, hot stove, stovepipe, or embers.
a. Only use an approved wood burning stove and stovepipe (see page 12).
b. Use a spark arrester on the stovepipe.
c. Secure the stove jack flap so it does not unroll and come in contact with hot stovepipe.
Fig. 8 Stove Jack Flap in Secured Position
WARNING
This tent is flammable. Serious injury, carbon monoxide
poisoning, asphyxiation, burns, and death are possible.

12
d. Only burn firewood. Do not use gas, lighter fluid, or other types of fuel.
e. Don’t allow the tent wall to come in contact with the stove.
f. Keep objects such as bedding, clothing, firewood, etc. a safe distance from the stove.
2) A stove will consume oxygen. Make sure to leave a window, vents, and/or a door open when the
stove is burning.
3) Control the stove heat. Do not allow stove or stovepipe to become orange or red hot. Minimize fuel
and use dampers to control burn. Do not use wood types, or oversized fires that cause hot embers to
emit from the stovepipe. Damage caused by embers, or excessive stove or stovepipe heat is not
covered by the warranty.
4) Use a non-flammable stove mat, or barrier underneath your stove (see Kodiak Canvas model number
1577 Stove Mat accessory). This is to prevent a hot ember from falling out of stove onto the tent
floor. Alternatively, you could cut an adequate semi-circle opening in the tent floor. This could be
folded under when using a stove.
5) Use a battery-operated, combo carbon monoxide / smoke detector (sold separately). Your tent is
equipped with a clip-on, holder bag for the alarm. Place the alarm into the bag and clip the bag to the
center of the ceiling inside the tent. Follow the alarm manufacturers’ instructions.
6) Keep a working fire extinguisher accessible inside the tent when a stove is in use.
7) Someone should always tend to a stove that is hot and in use. This person should be a competent
adult that is awake, alert, and sober.
8) Children should not be left unattended in a tent with a hot stove.
9) In the event of strong winds, do not use the stove.
10) Similar to an outdoor campfire, judgement should be used in determining when and where to safely
use a tent stove. Hot embers can emit out of the stove chimney and potentially cause a forest fire.
Only use in safe conditions. Know and obey local regulations and fire restrictions.
11) Follow the stove manufactures’instructions.
Approved stove:
Colorado Cylinder Stove: Spruce Model with standard 12” stove legs. 5x6 Nested stovepipe.
Visit www.KodiakCanvas.com for accessories and other products. We appreciate your business. Thank
you for purchasing a Kodiak Canvas® tent. We put pride into
the design and manufacturing of this product.
It is the best of its kind available. We wish you safe and
happy camping. Please tell your friends about us.
© Kodiak Canvas. Layton, UT USA Made in China
Table of contents
Other Kodiak Tent manuals

Kodiak
Kodiak Flex-Bow 6086 User manual

Kodiak
Kodiak Super-6 2061 User manual

Kodiak
Kodiak Truck Bed Tent User manual

Kodiak
Kodiak 6160 User manual

Kodiak
Kodiak Swag User manual

Kodiak
Kodiak Flex-Bow 6714 User manual

Kodiak
Kodiak Flex-Bow 6010 User manual

Kodiak
Kodiak Flex-Bow 6010 User manual

Kodiak
Kodiak 1651 User manual

Kodiak
Kodiak Canvas 6121 User manual