No Fire
This tent is flammable. Keep all flame and heat sources away from the tent fabric.
Never place a stove, campfire, or any other flame source in or near your tent. Never
use, light, or refuel a stove, lantern, heater, or any other heat source inside your tent.
Death by carbon monoxide poisoning and/or serious burns are possible.
Ventilation
Maintain adequate ventilation inside your tent at all times. Death by suffocation is
possible.
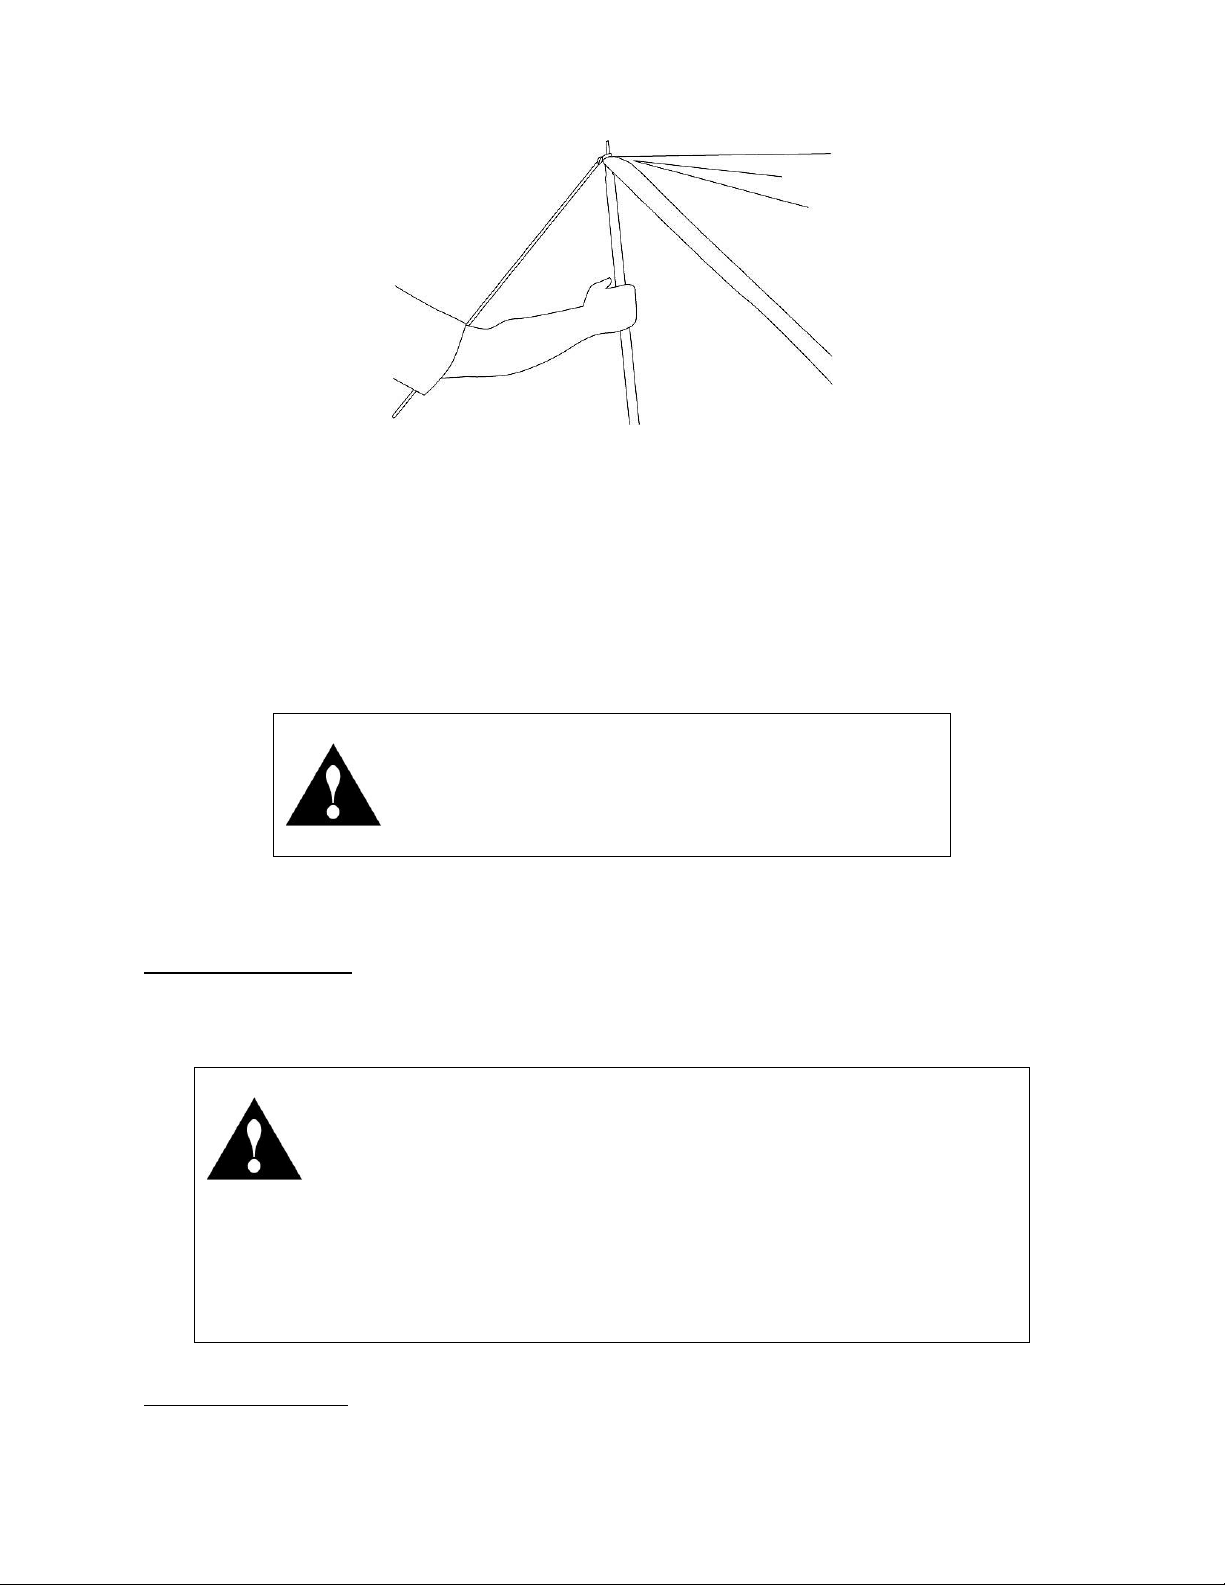
Anchor
This tent is not free-standing. If not properly anchored it will collapse. Anchor your tent
properly at all times to reduce the risk of loss or injury to the tent or occupants.
Campsite Choice
Carefully consider the possibility of falling rocks or tree limbs, lightning strikes, flash
floods, avalanches, strong winds, and other objective hazards when choosing a
campsite to reduce the risk of loss or injury to the tent or occupants.
Children
Do not leave children unattended inside a tent or camp. Do not allow children to
assemble or disassemble the tent. Do not allow children to remain closed-up in a tent
on hot days. Do not allow children to swing on or hang from any part of this tent,
organizers, or guylines. Failure to follow these warnings may result in injury and/or
death.
Kodiak Canvas
Limited Lifetime Warranty
This product is warranted, to the original purchaser, to be free of defects in materials and workmanship for
as long as you own the product. This product is made with quality materials and expert workmanship, but is not
indestructible. This warranty does not cover damage attributed to or resulting from normal wear and tear (e.g.
exhausted zippers), natural hazards (e.g. weather, animals), abuse (e.g. mold, mildew, burns, ultraviolet), or
alterations or modifications of any kind. If your product is found defective, we will repair or replace it free of charge.
Charges for shipping your product to Kodiak Canvas will be your responsibility. We reserve the right to make
substitutions if parts are unavailable or obsolete. If your product needs repair beyond what is covered under warranty,
we will provide parts and service at a reasonable charge.
This warranty gives you, the original purchaser, specific legal rights. You may also have other rights which
vary from state to state. Do not return your product until you have received authorization and instruction to
do so.
To obtain service contact us at www.KodiakCanvas.com, or write to:
Kodiak Canvas Customer Service
78 South Fairfield Rd. #101-109
Layton, UT 84040, USA.