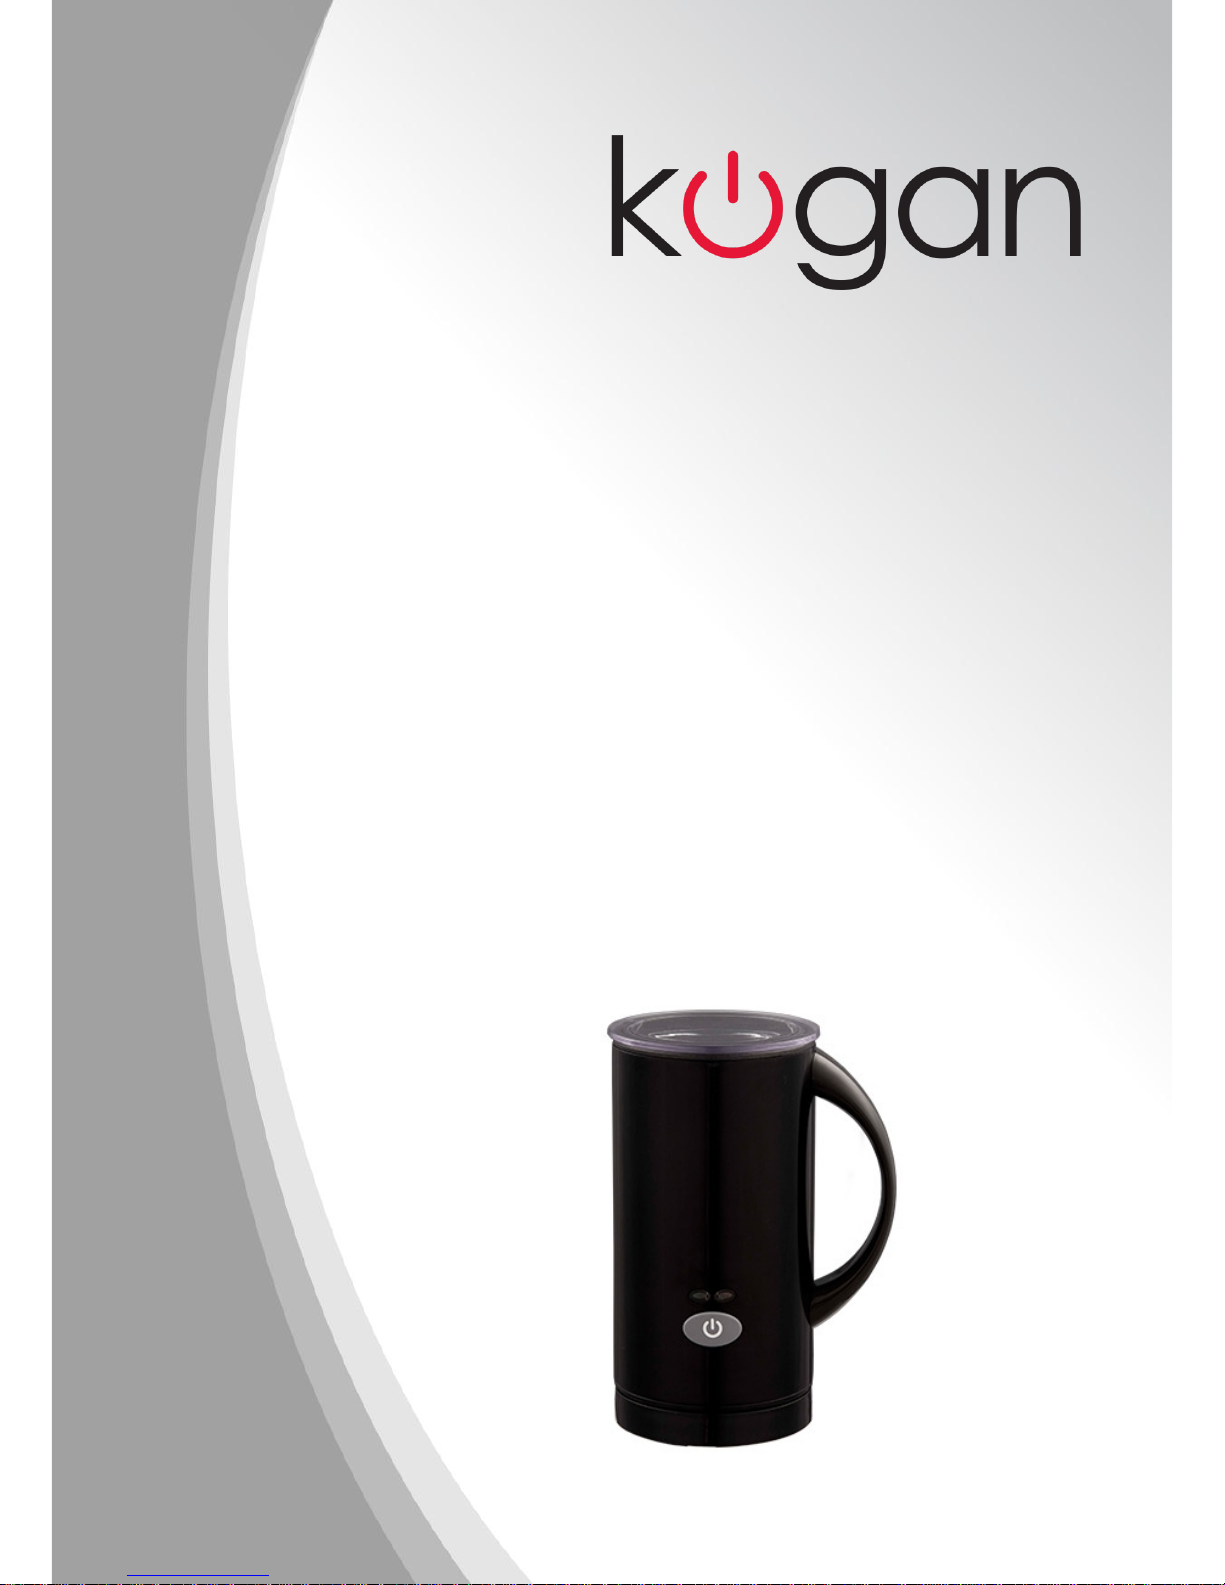
Kogan KACOFNESDA User manual

<K&E^
USER MANUAL

IMPORTANT SAFEGUARDS
When using electrical appliances, basic precauti ns sh uld always be f ll wed, including
the f ll wing:
1. Read all instructi ns.
2. Make sure that y ur utlet v ltage c rresp nds t the v ltage stated n the rating label
f the c ffee maker.
3. T pr tect against fire, electric sh ck and injury t pers ns d n t immerse c rd,
plug r unit in water r ther liquid.
4. Cl se supervisi n is necessary when any appliance is used by r near children.
5. Unplug fr m electrical utlet when n t in use and bef re cleaning. All w unit t c l
bef re putting n r taking ff parts, and bef re cleaning the appliance.
6. D n t perate any appliance with a damaged c rd r plug r after the appliance
malfuncti ns, r has been damaged in any manner. Return appliance t an auth rized
service facility f r examinati n, repair r adjustment.
7. The use f access ry n t rec mmended by the appliance manufacturer may result in
fire, electric sh ck r injury t pers ns.
8. D n t use utd rs.
9. D n t let c rd hang ver edge f table r c unter, r t uch h t surfaces.
10. D n t place n r near a h t gas r electric burner, r in a heated ven.
11. D n t use appliance f r ther than intended use.
12. Only fill the tank with clean and c ld water. Never fill the tank with mineral water,
milk r ther liquids.
13. T disc nnect, rem ve plug fr m wall utlet. Always h ld the plug. But never pull the
c rd.
15. S me parts f appliance are h t when perated, s d n t t uch with hand. Use
handles r kn bs nly.
16. D n t leave the appliance n unattended.

17. The envir nment temperature f perating r st ring sh uld be m re than 0 . ℃
18. D n t leave the appliance exp sed t atm spheric c nditi ns (sun, rain etc..)
19. This appliance is n t intended f r used by pers ns (including children) with reduced
physical, sens ry r mental capabilities, r lack f experience and kn wledge, unless they
have been given supervisi n r instructi n c ncerning use f the appliances by a pers n
resp nsible f r their safety.
20. Children sh uld be supervised t ensure that they d n t play with the appliance.
21. This appliance has been inc rp rated with a gr unded plug. Please ensure the wall
utlet in y ur h use is well earthed.
22. D n t let the c ffee maker perate with ut water.
23. D n t use utd rs r f r c mmercial purp se.
24. This appliance is intended t be used in h useh ld and similar applicati ns such as:
– Staff kitchen areas in sh ps, ffices and ther w rking envir nments;
– Farm h uses;
– By clients in h tels, m tels and ther residential type envir nments;
– Bed and breakfast type envir nments.
25. Save these instructi ns.
2

KNOW YOUR COFFEE MAKER
Detachable water tank
Water tank c ver
Handle
Capsule h lder
C ffee butt n (with indicat r)
Capsule c llecti n tray
Tray supp rt
Drip tray
Cup h lder grid P wer switch
FOR THE FIRST USE
Check that all access ries are c mplete and the unit is n t damaged. Add water int water
tank, then lift the handle and pen it. Insert a coffee capsule into machine then cl se the
handle. Place a c ntainer n the cup h lder grid, insert the plug, turn n the p wer switch
and the red indicat r will light. Wait until the blue indicat r is lit, then press the c ffee
butt n and the n zzle starts t let ut water and all w it fl w f r 2 minutes. The fl w will
n t st p aut matically, s st p it by pressing the c ffee butt n again. Then discard the
water. Clean all detachable parts th r ughly with warm water. Keep the spent capsule f r
subsequent washing perati ns.
NOTE: While pressing d wn the c ffee butt n, the machine may pr duce a pumping
s und, this is n rmal. The s und tells y u that water is pumped f r brewing c ffee.
3

USING YOUR COFFEE MAKER
1. Fill the detachable water tank with drinking water. The water level sh uld n t exceed
the MAX level marked n the tank.
2. Open the handle by lifting it and insert a c ffee capsule. Cl se the handle by pushing it
d wn directly.
3. Plug the p wer c rd int the utlet. Turn n the p wer switch and the red indicat r will
turn n, it will n t extinguish until y u turn ff the p wer switch. Wait until the blue
indicat r turns n.
CAUTION: During brewing, never pen the handle. Otherwise the c ffee capsule will
be expelled int the c llecti n tray.
4. P siti n a cup n the cup h lder grid. Make sure the drip tray is assembled in place.
5. Once the blue indicat r lights up, press the c ffee butt n, the c ffee will fl w ut fr m
the c ffee n zzle. Once the desired quantity has been reached, press the c ffee butt n
again t st p fl wing.
NOTE: The fl w will n t st p aut matically, if want t st p it press the butt n again.
NOTE: We rec mmend the best c ffee capacity is 30ml f r each c ffee capsule.
6. Once y u have made c ffee, always expel the spent capsule. Capsules are aut matically
expelled int the capsule c llecti n tray by pening the handle.
Cauti n: Never pen the handle during brewing cycles.
7. If y u want t an ther cup, insert a new capsule f r perati n.
8. Empty the capsule c llecti n tray and rinse the unit and tank frequently.
9. Always turn the c ffee maker ff and disc nnect the p wer supply when n t use.
4

CLEANING AND MAINTENANCE
Be sure t unplug this appliance bef re cleaning. T pr tect against electrical sh ck, d
n t immerse c rd, plug r unit in water r liquid. After each use, always make sure plug is
first rem ved fr m wall utlet. We rec mmend that the f ll wing is perf rmed n a
regular basis:
1. Insert an empty and washed capsule and prepare 1 r m re cups t wash the c ffee
distribut r.
2. Use a dry cl th t wash the rem vable water tank.
3. Empty the capsule c llecti n tray and clean it.
4. Clean the capsule h lder with a dry cl th.
5. Use a damp cl th t gently wipe the cup h lder grid. Empty the capsule c llecti n tray
and rinse it.
6. Clean the machine using a damp cl th, never submerge the machine.
7. Replace all parts and keep f r next use.
REMOVING MINERAL DEPOSITS
T keep y ur c ffee maker perating efficiently, y u sh uld clean away the mineral
dep sits left by the water regularly acc rding t the water quality in y ur area and the
frequency use the appliance, the detail is as f ll ws:
1. Fill the water tank with water and descaler t the MAX level in the gauge f c ffee
maker (the scale f water and descaler is 4:1, the detail refers t the instructi n f
descaler. Please use “h useh ld descaler”, y u can use the citric acid instead f the
descaler (the ne hundred parts f water and three parts f citric acid).
2. Turn n the p wer switch, the red indicat r will turn n. Wait until the blue indicat r
turns n.
3. Lift up the handle and insert an empty capsule. Then cl se the handle.
4. P siti n a c ntainer n the cup h lder grid.
5. Press the c ffee butt n and all w the liquid t fl w f r 1 minute. Then st p fl wing by
press the c ffee butt n again.
6. Wait f r 20 minutes with the machine turned n.
7. Press the c ffee butt n until all f the water is used up.
8. Rinse the tank well and fill with clean water. Press the c ffee butt n until all f water is
used up.
NOTE: F r descaling and rinsing perati ns, use an empty capsule.
5

TROUBLE SHOOTING
Problem Solu ion
N indicat r. Check that the plug has been inserted
c rrectly int the s cket, that the p wer
butt n has been pressed and that the
c rresp nding red light is n.
The machine makes a strange n ise. Check that there is water in the tank
The lights are n but n c ffee c mes ut. The capsule inserted may be faulty. Wait f r
a few sec nds, then try again with a new
capsule.
There are signs f water at the b tt m f
machine.
Make sure that the tank has been fitted
c rrectly int p siti n.
A slight hiss can be heard after the c ffee
has been released.
This is n t a fault, but n rmal settling f the
pressure c ntr l valve.
ENVIROMENT FRIENDLY DISPOSAL
6
Y u can help pr tect the envir nment!
Please remember t respect the l cal
regulati ns: hand in the n n-w rking electrical
equipments t an appr priate waste disp sal
center.
<K&E^
DŝůŬ&ƌŽƚŚĞƌ
USER MANUAL

1. Lid 5. Housing
2. Handle 6. Power switch
3. Base 7. Stir set
4. Bottom 8. Stir racket
2

IMPORTANT SAFEGUARDS
When using electrical appliances, basic safety precautions should be always be followed.
1. Read all instructions.
2. To protect against electrical hazards, do not immerse cord, plugs, or the appliance in water
or other liquids.
3. lose supervision is necessary when any appliance is used by or near children.
4. Unplug from power outlet when not in use and before cleaning. Allow to cool before putting
attaching or unattaching parts, and also before cleaning the appliance.
5. Do not operate any appliance with a damaged cord or plug ,or after the appliance has
malfunctioned, or has been damaged in any manner.
6. Do not use outdoors.
7. Do not let cord plug over edge of table or counter, or to touch hot surfaces.
8. Do not place near a hot gas or electric burner, or in a heated oven.
9. Extreme caution must be used when moving an appliance.
10. Always attach plug to appliance first, then plug cord into the wall outlet. To disconnect,
turn controls to “Off”, and then remove plug from wall outlet.
11. AUTION: This appliance generates heat during use. Proper precaution must be taken
to prevent the risk of burns, fires or other damage to persons or properties.
12. Do not leave unit unattended while in use.
13. This appliance is for Household Use Only. Do not use appliance for other than intended
use.
14. To reduce the risk of electric shock, cook only in the removable ceramic pot.
SAVE THESE INSTRUCTIONS
THIS PRODU T IS FOR HOUSEHOLD USE ONLY.
OPERATION:
3
This manual suits for next models
1
Table of contents
Other Kogan Coffee Maker manuals

Kogan
Kogan KAESSPCOFFB User manual

Kogan
Kogan KACOFXXNESA User manual

Kogan
Kogan KACOFESPRSA User manual

Kogan
Kogan KACOFXXAUTA User manual

Kogan
Kogan KACOFXXNESA User manual

Kogan
Kogan KACOFXXAUTB User manual

Kogan
Kogan Ez-press User manual

Kogan
Kogan KACOFXXNESB User manual

Kogan
Kogan Premium Ez-press User manual

Kogan
Kogan KGNCMAVAA User manual


