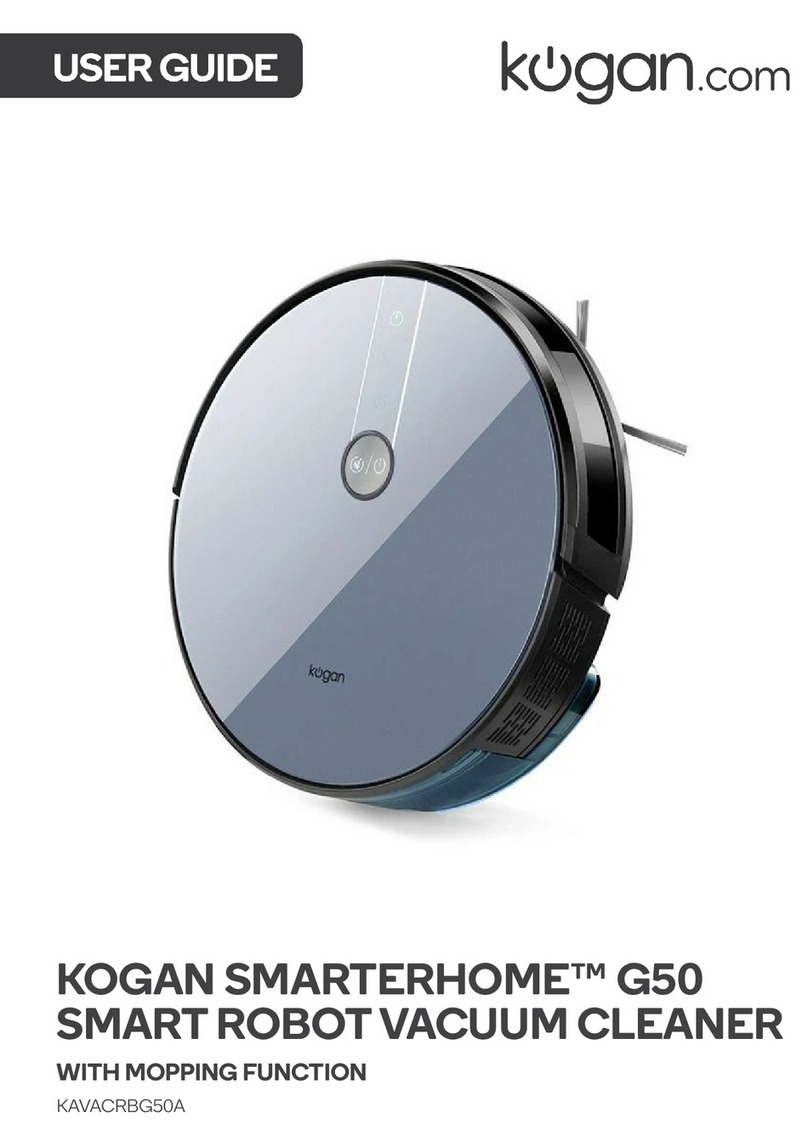
Kogan SMARTERHOME G80 User manual

KOGAN SMARTERHOME™ G80
ROBOT VACUUM AND MOP CLEANER
WITH AUTO EMPTY DOCK
KAVACRBG80P

2
Safety & warnings
3
Components
6
Overview
7
Assembly
11
Before first use
14
Connect to SmarterHomeTM app
16
Google Home control
20
Amazon Alexa control
23
Operation
25
Cleaning & care
30
Specifications
37
Troubleshooting
38

3
Ensure to read all instructions and warnings in this user guide prior to first use. Retain this
user guide for future reference.
• The vacuum can be used adults and by persons with reduced physical, sensory, or
mental capabilities, or lack of experience and knowledge if they have been given
supervision or instruction concerning use of the vacuum in a safe way and understand
the hazards involved.
• Do not allow children to use this appliance as a toy.
• Children must be supervised to ensure they do not play with the appliance.
• Keep children and pets away from the vacuum.
• This vacuum can only be used for indoor domestic floor cleaning. Do not use outdoors,
on objects, or in commercial/industrial environments.
• Do not use the vacuum in the environments where it may fall (for example, on top of
furniture or on balconies).
• The operating environment of this vacuum is between 0–40°C.
• Do not use this vacuum if there are liquids on the ground.
• Remove any cables or wires on the floor before cleaning to prevent them from being
tangled or dragged by the vacuum.
• Remove any fragile articles or miscellaneous items that may block the path of the
vacuum. Not removing these may lead their damage.
• Do not place anything (including children and pets) on the vacuum.
• When the vacuum is operating, keep hair, fingers and other parts of human body and
pets away from the brushes.
• Do not use the vacuum to clean flammable items (for example, burning cigarette
butts).
• Do not use the vacuum to clean long-haired carpets. Some darker carpets also might
not be able to be cleaned normally.
• Do not use the appliance to vacuum hard or sharp objects (for example, glass, nails).
• Do not use the protective cover of the laser radar or bumper as a handle to carry the
vacuum.
• Do not use the mopping function on carpet or on top of furniture.
• Ensure the power cord is unplugged before cleaning or maintaining the appliance.
• Ensure there is no water in the dustbin/water tank when charging the vacuum.
• Do not place objects (including children and pets) on a stationary or moving appliance.
• Please do not use the product to sweep burning objects (such as burning cigarette end)
SAFETY & WARNINGS

4
• Before cleaning or performing maintenance ensure the power is off and the vacuum
has been disconnected from power,
• Do not use this product in any way that deviates from the instructions provided in this
User Guide.
Battery and Charging
• Do not use any third-party batteries, non-rechargeable batteries charging bases, or
chargers.
• Do not disassemble, repair, or modify the battery or auto-empty dock by yourself.
• Do not place the auto-empty dock near heat sources (for example, heating radiators).
• Do not use a damp cloth or wet hands to wipe or clean the auto-empty dock.
• Dispose of used batteries properly and send them to professional recycling agencies.
• If the power cord is damaged or broken, cease use immediately and contact
help.Kogan.com for support.
• When transporting the vacuum, ensure that the appliance is turned off and the original
packaging box is used for packaging.
• If the machine is left unused long, it should be fully charged and then placed in a cool
and dry place. Charge the vacuum at least every 3 months to avoid damaging
batteries due to excessive discharge.
Auto-empty Dock
• Do not leave the appliance unattended when it is plugged in. Always remember to
unplug it from the outlet when not in use and before servicing.
• Do not allow the appliance to be used as a toy. Close attention is necessary when the
appliance is used by or near children.
• Use the appliance only as described in this manual and with the attachments provided
by Kogan.com.
• Do not use the appliance if the cord or plug is damaged. If the appliance is not working
properly, has been dropped, damaged, left outdoors, or submerged in water, cease use
immediately and contact help.Kogan.com
• Do not handle the plug or appliance with wet hands.
• Do not insert any objects into the openings of the appliance.
• Do not use the appliance if any of the openings are blocked. Keep it free from dust, lint,
hair, and anything else that may restrict airflow.
• Keep hair, loose clothing, fingers, and all body parts away from the openings and
moving parts of the appliance.
• Do not use the appliance to pick up flammable or combustible liquids, such as
gasoline, or use it in areas where such liquids may be present.
5
• Do not attempt to pick up anything that is burning or smoking, such as cigarettes,
matches, or hot ashes.
• Do not use the appliance without the dust bag and filters properly in place.
• Ensure that children are supervised to prevent them from playing with the appliance.
• The appliance is only to be used with the provided power supply unit.
• Do not leave appliance when plugged in. Unplug from outlet when not in use and
before servicing.
• Do not use this appliance outdoors.
• The appliance is only to be used with the power supply unit provided with the
appliance.

6
Robot vacuum cleaner
Auto-empty dock
Dustbin/Water tank
Side brush
HEPA & sponge filter
Dust bag
Cleaning brush
Mopping module
Mop cloth
User guide
Remote (optional)
COMPONENTS

7
Home button
Press it to recharge/pause.
Power button
• Press the button to start cleaning/pause.
• Press and hold the button for 3 seconds to power on/off.
Wi-Fi indicator
• Off: Wi-Fi not networked.
• Flashing: Ready to be paired.
• On: Network connected.
Reset button
Use a pin to press this button to reset the vacuum.
OVERVIEW
Home button
Power button
Wi-Fi
indicator
Reset button

8
Button indicators
Indicator
Status
Solid blue
Vacuum is cleaning, returning to the auto-empty dock to charge,
or is fully charged
Flashing blue
Vacuum is charging
Flashing red
Low battery
Flashing red
There is an error with the vacuum. Ensure the dustbin/water tank
is secured to the vacuum.
Off
Vacuum is on standby
Buttons
Bumper
Infrared receiver sensor

9
Auto-empty Dock
Cliff sensor
Charging contact
Universal wheel
Side brush
Battery cover
Drive wheel
Rolling brush
Dustbin/Water tank
Cover
Dust bag
Lift position
Indicator
Charging contacts
Infrared sensor
Dust collecting chute

10
Dustbin/Water tank
Remote Control
Filter cover
HEPA filter
Sponge filter
Primary filter
Water plug
Dustbin button
Dust ports
Auto-cleaning
Home button
Pause/ start
Direction buttons
Spot cleaning
Edge cleaning
Suction level
Water flow
Auto

11
1. Remove the protective material from both sides of the vacuum.
2. Attach the left and right side brushes (L, R) to the corresponding letter on the
underside of the vacuum. There should be a clicking sound when each side brush is
secured.
3. Place the auto-empty dock against the wall on a flat surface. Ensure there are no
other wires, cables, or other loose items around its vicinity.
ASSEMBLY

12
4. Ensure there is a 50cm clearance either side, and 150cm clearance in front of the
auto-empty dock. Connect the power cord into a wall outlet.
1. If using the mopping function, open the water plug and fill the dustbin/water tank
with water. Replace the water plug. Do not pour detergent into the dustbin/water
tank.
Note:
• Do not freely move the auto-empty dock.
• Avoid placing the dock in direct sunlight as this may interfere with the infrared
signal and cause the vacuum cleaner to fail to return to the charging base.
50cm
50cm
150cm

13
2. Whilst pressing and holding the dustbin button, insert the dustbin/water tank into
the vacuum.
3. If using the mopping function, attach the mop cloth to the mopping module, then
insert the mopping module into the dustbin/water tank.

14
Checks to the area
• Ensure there are no loose wires or cables scattered on the ground. This is to prevent the
vacuum becoming entangled or dragged along.
• Ensure all fragile items, those easy to topple, dangerous items, and valuables are
removed. This is to prevent items being damaged and to avoid personal injuries.
• Do not use the vacuum to clean liquids.
• To reduce the likelihood of accidental damage, it is recommened to block off steps or
steep drop-offs.
BEFORE FIRST USE

15
Charging
1. Press and hold the power button to turn on
the vacuum.
2. When the indicator lights on the home and
power button illuminate, place the vacuum
against the charging contacts on the auto-
empty dock. The vacuum will prompt
‘Start charging’ to notify it is charging.
3. Charge the vacuum for 16 hours during the
initial 3 uses. During subsequent charges,
when the indicator lights turn a solid blue,
the vacuum will be fully charged.
Note:
If the battery is at a low level. the vacuum cannot be powered. Place the vacuum
against the charging contacts and the vacuum will power on automatically.

16
Install App
Download the “Kogan SmarterHome” app from the Play Store (Android) or App Store (iOS).
Play Store (Android)
App Store (iOS)
To register:
1. If you already have a SmarterHome account, select ‘Log In’. To register a new
account, select ‘Sign Up’.
2. The system will automatically recognise your country. If needed, you can manually
select your country from the drop-down box. Enter your email address and tap ‘Get
Verification Code’ to continue.
3. A 6-digit code will be sent to the submitted email address. Enter this code before the
one-minute timer expires.
4. Continue to the next page and complete your SmarterHome profile.
CONNECT TO SMARTERHOME™ APP

17
Set device in pairing mode
When the device is first turned on, it may automatically enter pairing mode (both buttons
are slowly flashing purple).
If not automatically in pairing mode when powered on, you can manually set the device in
pairing mode by pressing and holding the home and power buttons simultaneously for 3
seconds until they begin slowly flashing purple and the voice prompt “Wi-fi lost, please
follow the App instructions for reconnection” is heard.
Add device through network
1. Once registered, tap “Add Device” on the app’s home page, or the “+” in the upper
right corner, to add a new device through the network.
2. Select the product type from the list of options in the app (Cleaning Appliances >
Vacuum cleaners).
3. Enter your Wi-Fi details. It is important that your SmarterHome™ device and the app
are connected to the same Wi-Fi network during setup.
Notes:
• The device and the app have to use the same Wi-Fi network.
• The device is only compatible with 2.4Ghz networks.
• Depending on the product, Steps 3 and 4 may be in opposite order.

18
4. Adjust your connection method by tapping on the mode type in the top-right corner
of the screen. Select “AP Mode” for the set-up type.
5. Ensure that the device is in pairing mode, with the power and home buttons are
slowly flashing purple, select “Confirm indicator is slowly blink” and tap “Next”.
6. Follow the in-app prompts to continue AP Mode connection, which will pair your
mobile phone to the device’s Wi-Fi hotspot to ensure a connection. This may be
named “SL-KoganSmart”, “SmartLife-XXXX”, or another similar name.
Note:
If the Wi-Fi hotspot does not appear on your phone in the list of available
networks, your device may not be set in AP Pairing Mode correctly. Try repeating
the steps outlined above to ensure your device is ready for connection.

19
7. The device will commence the pairing process and connect to the app. Ensure your
Wi-Fi router, mobile phone, and the SmarterHome™ device are kept close until
connection is complete.
8. After successfully being added, you will have the option to rename the device and
assign it to a location. It will now be listed on the app’s home page. Tap the device
listing to enter its control page.
Note:
Once connected, you can select Create Scene from the “+” in the upper
right corner (or from the Scene tab) to group connected SmarterHome™
products and automate their functions.

20
Adding “SmarterHome” to the Google Home app
1. From the home page of the Google Home app, select the “+” icon (top left corner,
see arrow in the below screenshot) to access the ‘Add and manage’ page.
2. Select ‘Set up device’, then select the ‘Works with Google’ option.
GOOGLE HOME CONTROL
Note:
You will need to have set up a Google Home account prior to linking
your Kogan SmarterHome™ device.
This manual suits for next models
1
Table of contents
Other Kogan Vacuum Cleaner manuals

Kogan
Kogan SMARTERHOME LX18 PRO User manual

Kogan
Kogan T10 Pro User manual

Kogan
Kogan SMARTERHOME LX16 User manual

Kogan
Kogan SMARTERHOME LX12 User manual

Kogan
Kogan C7 Series User manual

Kogan
Kogan SMARTERHOME LX6 User manual

Kogan
Kogan KAVACST296A User manual

Kogan
Kogan E8 User manual

Kogan
Kogan KA22CYTBVCA User manual

Kogan
Kogan C9 PRO User manual

Kogan
Kogan V8 PRO User manual

Kogan
Kogan MX10 PRO User manual

Kogan
Kogan MX11 PRO User manual

Kogan
Kogan KAVACSTM08X User manual

Kogan
Kogan KA22CYTBVCA User manual

Kogan
Kogan C7 Series User manual

Kogan
Kogan KAVACSTK18VA User manual

Kogan
Kogan MX12 User manual

Kogan
Kogan V10 PRO User manual

Kogan
Kogan KA600CDSTVA User manual