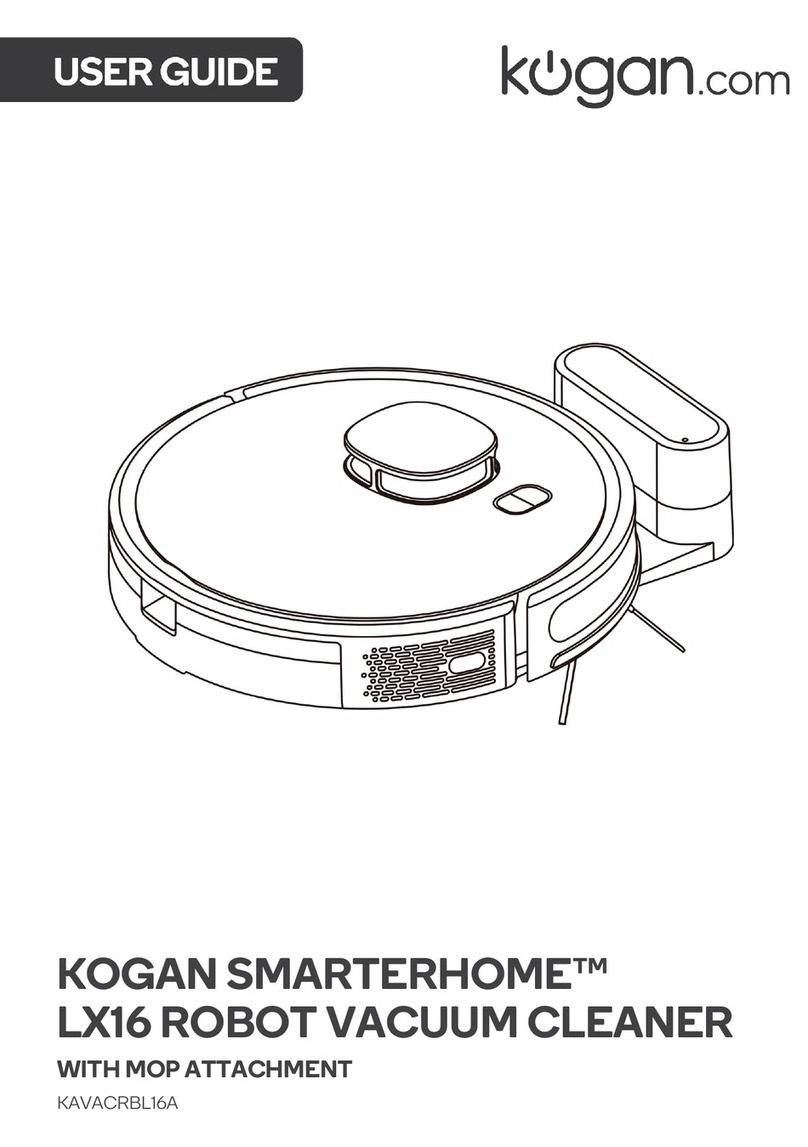
Kogan SMARTERHOME LX15 User manual

KOGAN SMARTERHOME™ LX15
ROBOT VACUUM CLEANER
WITH UV AND MOP
KAVACRBL15A


•Read all the instructions in this user guide before use.
•The robot is used for domestic use only and cannot be used for outdoor such as
commercial or industrial environment.
•Do not use the robot in places such as penthouse, open terrace, and furniture top
without protective fence.
•Do not use the robot at a temperature above 40°C or below 0°C or when there are
liquids and sticky substances on the ground.
•Remove fragile objects and impurities (such as vase and plastic bag, etc.) from the
ground to avoid damaging valuables.
•This robot can be used by children aged from 8 years and above and persons with
reduced physical, sensory or mental capabilities or lack of experience and
knowledge if they have been given supervision or instruction concerning use of the
robot in a safe way and understand the hazards involved. Children shall not play
with the robot. Cleaning and user maintenance shall not be made by children
without supervision
•Keep main brush and other cleaning tools out of reach of children.
•Do not place any objects, children, or pets on the robot when stationary or moving.
•When in use, keep your hair, fingers from the suction inlet. Keep pets away from the
inlet.
•Do not use the robot to vacuum objects at high temperature (matches, cigarette
butts, hot ashes, etc).
•Do not use the robot to clean long-haired carpet as some dark carpets may not be
cleaned properly.
•Prevent the robot from suctioning the hard or sharp objects such as waste
decorative materials, glass, iron nail, etc.
•Do not move the robot by holding the protective cover of laser ranging sensor and
collision bumper.
•Ensure to shut down the robot before cleaning. Turn off the power supply before
cleaning the charging base.
•Do not use this robot to remove liquids.
•Do not wipe any part of the robot using wet cloth or any liquid.
•Do not use mopping function to clean carpet and furniture top.
SAFETY & WARNINGS

Battery
•Before charging, ensure to remove the water tank.
•Use only with the supplied power adapter to charge the battery.
•The batteries must be replaced by skilled persons. The batteries must be removed
from the robot before it is scrapped. The battery is to be disposed of safely.
•Ensure to disconnect from the power outlet before changing batteries.
•Do not use battery, charging base or charger provided by any third parties.
•Do not dismantle, report, or refit battery or charging base arbitrarily.
•Keep the charging base away from the heat source.
•Do not wipe or clean the charging base shrapnel using wet cloth or wet hand.
•Do not abandon used batteries arbitrarily. Used batteries should be disposed of by
professional recycling agency.
•If the power cable is damaged, cease use immediately. Contact Kogan.com
•Ensure the robot is shut down during transportation. It is recommended to use
original packaging for transportation.
•If the robot is not used for a long time, ensure it is fully charged and is placed in a
cool and dry place. Charge the robot at least every 3 months to avoid damaging
batteries due to excessive discharge.
Laser Safety Information
•The product's laser distance sensor complies with the IEC60825 standard for Class
1 laser products and does not produce dangerous laser radiation.

Robot (x1)
Charging Base (x1)
2-in-1 Electrically
Controlled Water Tank (x1)
Left Side Brush (x2)
Right Side Brush (x2)
HEPA Filter (x1)
Sponge Filter (x1)
Mopping Cloth (x1)
Cleaning Brush with Knife (x1)
Adapter (x1)
User Guide (x1)
COMPONENTS

Robot
OVERVIEW
Filter Screen Cover
Dustbin Button
Upgrade Port
Map Reset Button
Wall Sensor
On/Off/Sweep
Recharge/Pause/Local Cleaning

Robot Sensor
Anti-Drop Sensor
Anti-Collision Sensor
Infrared Recharging Sensor
Anti-Collision Sensor for Radar
LDS Laser Ranging Sensor
Side Brush
Battery Cover
Driving Wheel
Rolling Brush
Rolling Brush Cover Buckle
Charging Contact
Universal Wheel
UVC

Charging Base
Wire Slot
Wrapping Post
Power Adapter Port
Charging Base Pins
Signal Emission Area
Power Indicator Light
Catching Groove
Cover Plate

Install Charging Base
1. Connect power cable and fold the excess wire into the wire slot
2. Place charging base against the wall and connect to a power supply. Ensure to
leave space more than 0.5m on both sides of the charging base and more than
1.5m in the front.
3. The charging indicator is on when powered on and is off when charged.
INSTALLATION
Note: If the power cable is vertical to the ground, it may be dragged by the
robot. Consequently, the charging base may be powered off.

4. Keep the charging base out of direct sunlight. Direct sunlight will interfere with
recharging signal. Consequently, the robot may be unable to return to the charging
base.
5. Do not move the charging base arbitrarily. If the charging base is relocated, the
robot may lose the map to the charging base and fail to return to the base. When
restarted, the robot will rebuild and memorize the map. The rebuilt map may not
contain the cleaning information of previously memorised areas.
Install Side Brush
1. Align the left side brush with the mark L on the bottom casing of the robot. Align
the right-side brush with the mark R on the bottom casing of the robot.
2. Insert the brushes into the bottom casing. Press L and R on the brushes until you
hear a cracking sound.

Install Mopping Module
Step 1: Paste the Mopping Cloth.
•Paste the mopping cloth flatly on the bottom of the 2-in-1 Electric Controlled
Water Tank.
Step 2: Fill the water tank.
•Remove the dustbin before filling water.
•Remove the cover and fill with water.
Note:Ensure to clean the mopping cloth after every use.

Step 3: Install the mopping module.
•Replace the dustbin into the water tank and place the handle in the slot.
•Press and hold the button in the middle of the tank. Push the tank horizontally
along the rear part of the robot as shown in the image. You will hear a “click”
sound.
Tips
•To achieve a better mopping effect, the mopping module should be installed after
the floor is swept for three times.
•Mopping function of the robot is intended for wiping and deep cleaning. It may not
remove stubborn stain.
•Do not mop the carpet. Set a restricted area in app to prevent the robot from
entering the carpet. See the Operation section of this user guide for guidelines.

Install App
Download the “Kogan SmarterHome” app from the Play Store (Android) or App Store (iOS).
Register
If you do not have a Kogan SmarterHome™ account, register or sign in with a verification
code sent by SMS.
To register:
1. Tap to enter registration page.
2. The system automatically recognises your country/area. You can also select your
country code manually. Enter your email address and tap ‘Next.’
3. Alternatively, you can select ‘Register by mobile number’ and enter the verification
code sent to you by SMS.
4. Create a profile on the next page to define your location and room.
CONNECT TO SMARTERHOME™ APP

Set device in pairing mode
When the device is first turned on, it may automatically enter pairing mode which is
indicated by purple light blinking slowly.
If not automatically in pairing mode when powered on, you can manually set the device in
pairing mode by pressing the key and key simultaneously for 3 seconds until a voice
prompt “Wi-Fi has been reset” is heard and the purple light begins slowly blinking.
Using AP Mode to add device
5. Once registered, tap “+” in the upper right corner of the app’s home page to add a
new device through the network.
6. Select the product type from the list of options in the app (Cleaning Appliances >
Vacuum Cleaners), and then select “Other Mode” from the top-right corner when
asked to reset the device.

7. Select “AP Mode” for the set-up type.
8. Ensure that the device is in pairing mode, with the light flashing, and tap “Confirm
light is slowly flashing”.
9. Enter your Wi-Fi details. It is important that your SmarterHome™ device and the
app are connected to the same Wi-Fi network during setup.

10. Follow the in-app prompts to continue AP Mode connection, which will pair your
mobile phone to the device’s Wi-Fi hotspot to ensure a connection.
11. The device will commence the pairing process and connect to the app. Ensure your
Wi-Fi router, mobile phone, and the SmarterHome™ device are kept close until
connection is complete.
12. After successfully being added, you will have the option to rename the device and
assign it to a location. It will now be listed on the app’s home page. Tap the device
listing to enter its control page.
Notes:
•The device and the app have to use the same Wi-Fi network.
•The device is only compatible with 2.4Ghz networks.
Note:
If the Wi-Fi hotspot does not appear on your phone in the list of available
networks, your device may not be set in AP Pairing Mode correctly. Try repeating
the steps outlined above to ensure your device is ready for connection.

Having trouble connecting?
The prior steps detail the process for “AP Mode” connection. If that does not work for your
connection, we suggest trying it again, and if still no success, attempting the following
method for Standard (non-AP Mode) connection.
Add device through network
5. Once registered, tap “+” in the upper right corner of the app’s home page to add a
new device through the network.
6. Select the product type from the list of options in the app (Cleaning Appliances >
Vacuum Cleaners).
7. Ensure that the device is in pairing mode, with the indicator light flashing, and tap
“Confirm light is rapidly flashing”. In Standard mode, it will refer to rapid flashing,
not slow flashing.

8. Upon successfully confirming pairing mode, enter your Wi-Fi details. It is important
that your SmarterHome™ device and the app are connected to the same Wi-Fi
network during setup.
9. The device will commence the pairing process and connect to the app. Ensure your
Wi-Fi router, mobile phone, and the SmarterHome™ device are kept close until
connection is complete.
10. After successfully being added, you will have the option to rename the device and
assign it to a location. It will now be listed on the app’s home page. Tap the device
listing to enter its control page.
If neither Standard or AP Mode methods are successful, please contact kogan.com for
assistance.
Notes:
•The device and the app have to use the same Wi-Fi network.
•The device is only compatible with 2.4Ghz networks.

Start/Shutdown
•To start the robot, long press key for 3 seconds. The first time it is turned on, the
indicator light will be purple. Once connected to the SmarterHome™ app, the
indicator light turns blue. The light will stay blue until the Wi-Fi is reset or the robot
is disconnected from the app.
•To shut down the robot, long press key for 3 seconds when the robot is in the
standby mode. The indicator light is switched off and the robot shuts down.
•To force shut down during abnormal circumstances, long press the key for 15
seconds.
Sweep/Pause
•To start sweeping, after the robot has been started, short press the key.
•If the robot has been successfully connected to the app, you can start sweeping by
pressing the start icon in the app.
Cleaning Mode
1. After the robot is powered on, it will scan the area to be cleaned and generate a
map of the area. The area will be divided as required.
2. Robot will sweep the areas one by one along thoroughly. The planned cleaning
route will be in a bow or “S” shape.
3. The robot will return to the charging base automatically after cleaning.
Area to be cleaned
OPERATION
Cleaning in progress
Note: You cannot shut down the robot when it is charging.

Recommendations:
•Do not move the robot casually or frequently when it is cleaning. If it is required to
move the robot, ensure to put the robot back in the original position.
•When the robot starts again, it will try to reposition itself. After successful
repositioning, it will follow the planned path and continue to work.
•If the repositioning fails, the robot will abort the previous mission, create a new
map, and do the cleaning again. After creating a new map, it may not find the
charging base.
Spot Cleaning
When an area needs a deep cleaning, you can specify that point on the map on the app.
The robot will automatically drive to the vicinity of the point and take that point as the centre
to clean within 1.5m x 1.5m.
This manual suits for next models
1
Table of contents
Other Kogan Vacuum Cleaner manuals

Kogan
Kogan KA600CDSTVA User manual

Kogan
Kogan C7 Series User manual

Kogan
Kogan SMARTERHOME LS16 User manual

Kogan
Kogan SMARTERHOM LX12 User manual

Kogan
Kogan KAVAC21RECA User manual

Kogan
Kogan V11 PRO User manual

Kogan
Kogan V8 PRO User manual

Kogan
Kogan KAVACSTV06A User manual

Kogan
Kogan X9 User manual

Kogan
Kogan SMARTERHOME LX8 User manual

Kogan
Kogan SMARTERHOME LX6 User manual

Kogan
Kogan 3-IN-1 User manual

Kogan
Kogan MX12 User manual

Kogan
Kogan KAPTCARVACA User manual

Kogan
Kogan X6 User manual

Kogan
Kogan KAVACRBG50A User manual

Kogan
Kogan MX10 PRO User manual

Kogan
Kogan KAVACSTK18VA User manual

Kogan
Kogan SMARTERHOME G40 User manual

Kogan
Kogan SMARTERHOME LX12 User manual