Product Information (cont.)
Features
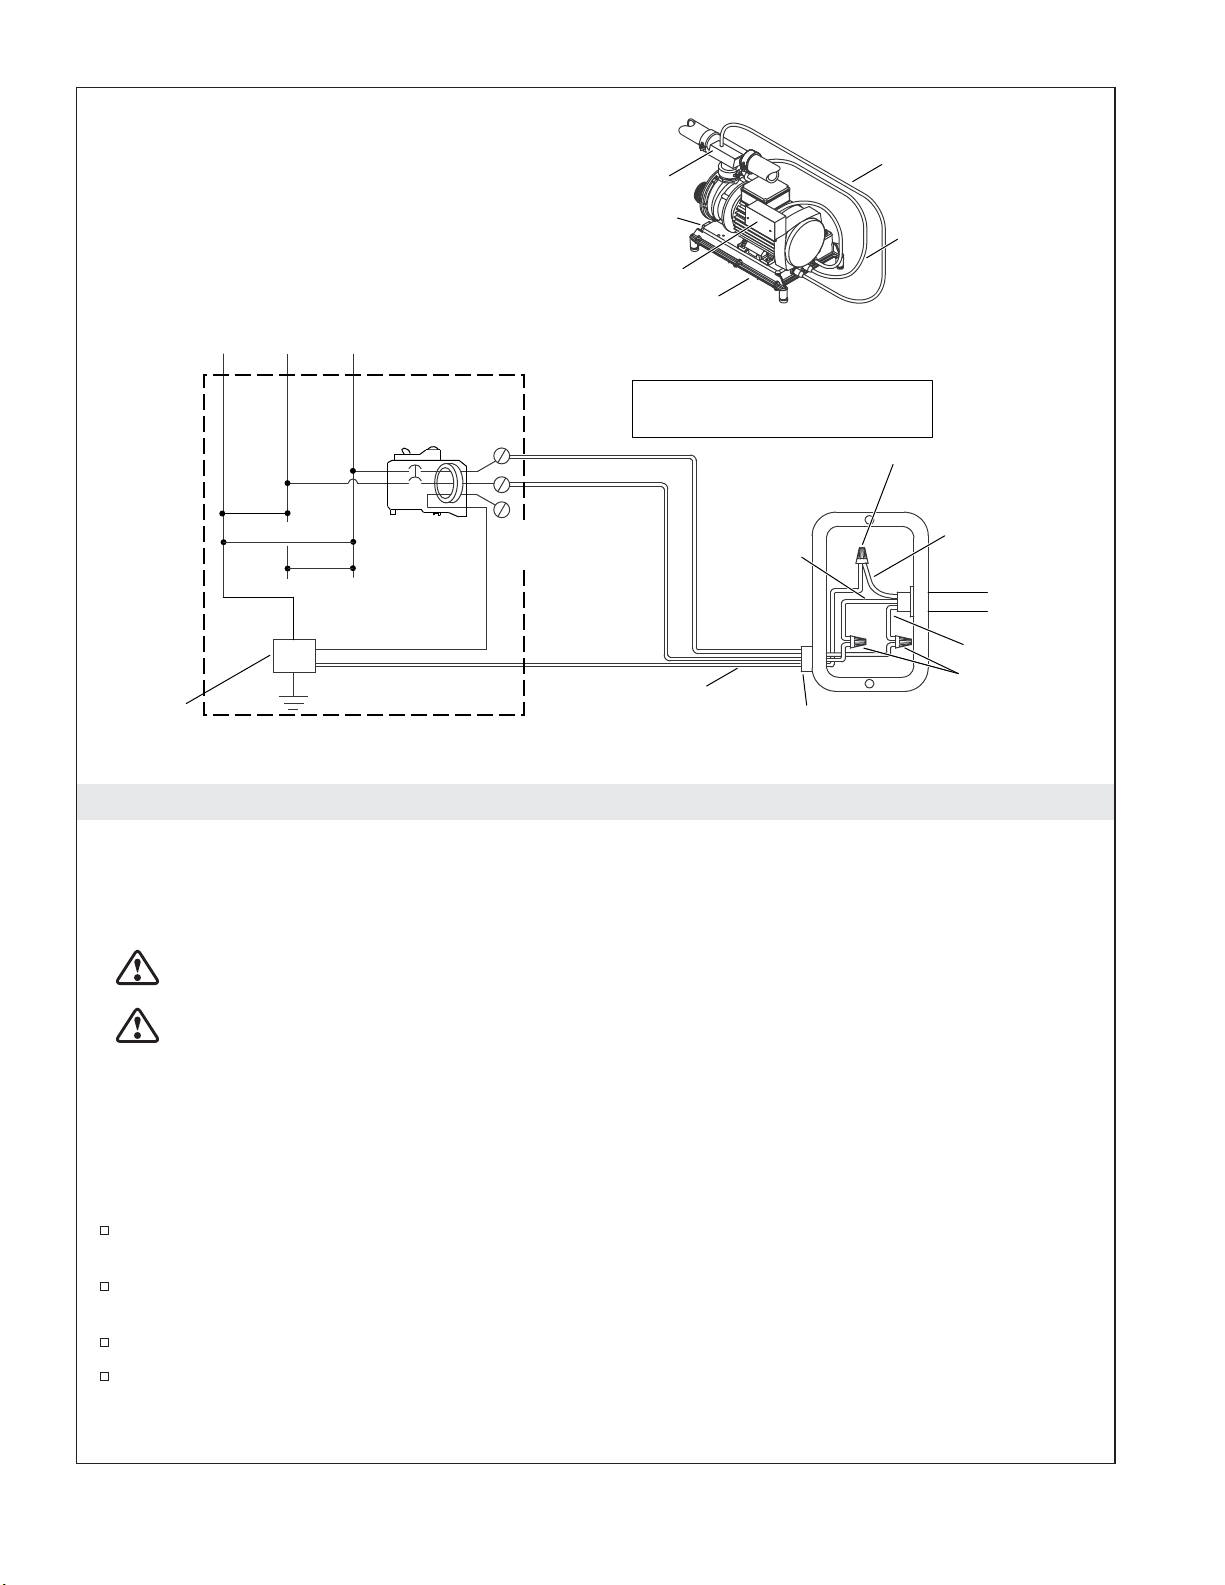
Components include two pumps, two controls, a heater, Waterfall, Flexjets, Riverjets, chromatherapy lights
(Model H2 only), integral fill valve (K-1360 only), and illuminated keypad with remote control.
Connections and Service Access
Before installation, ensure proper access to the final connections.
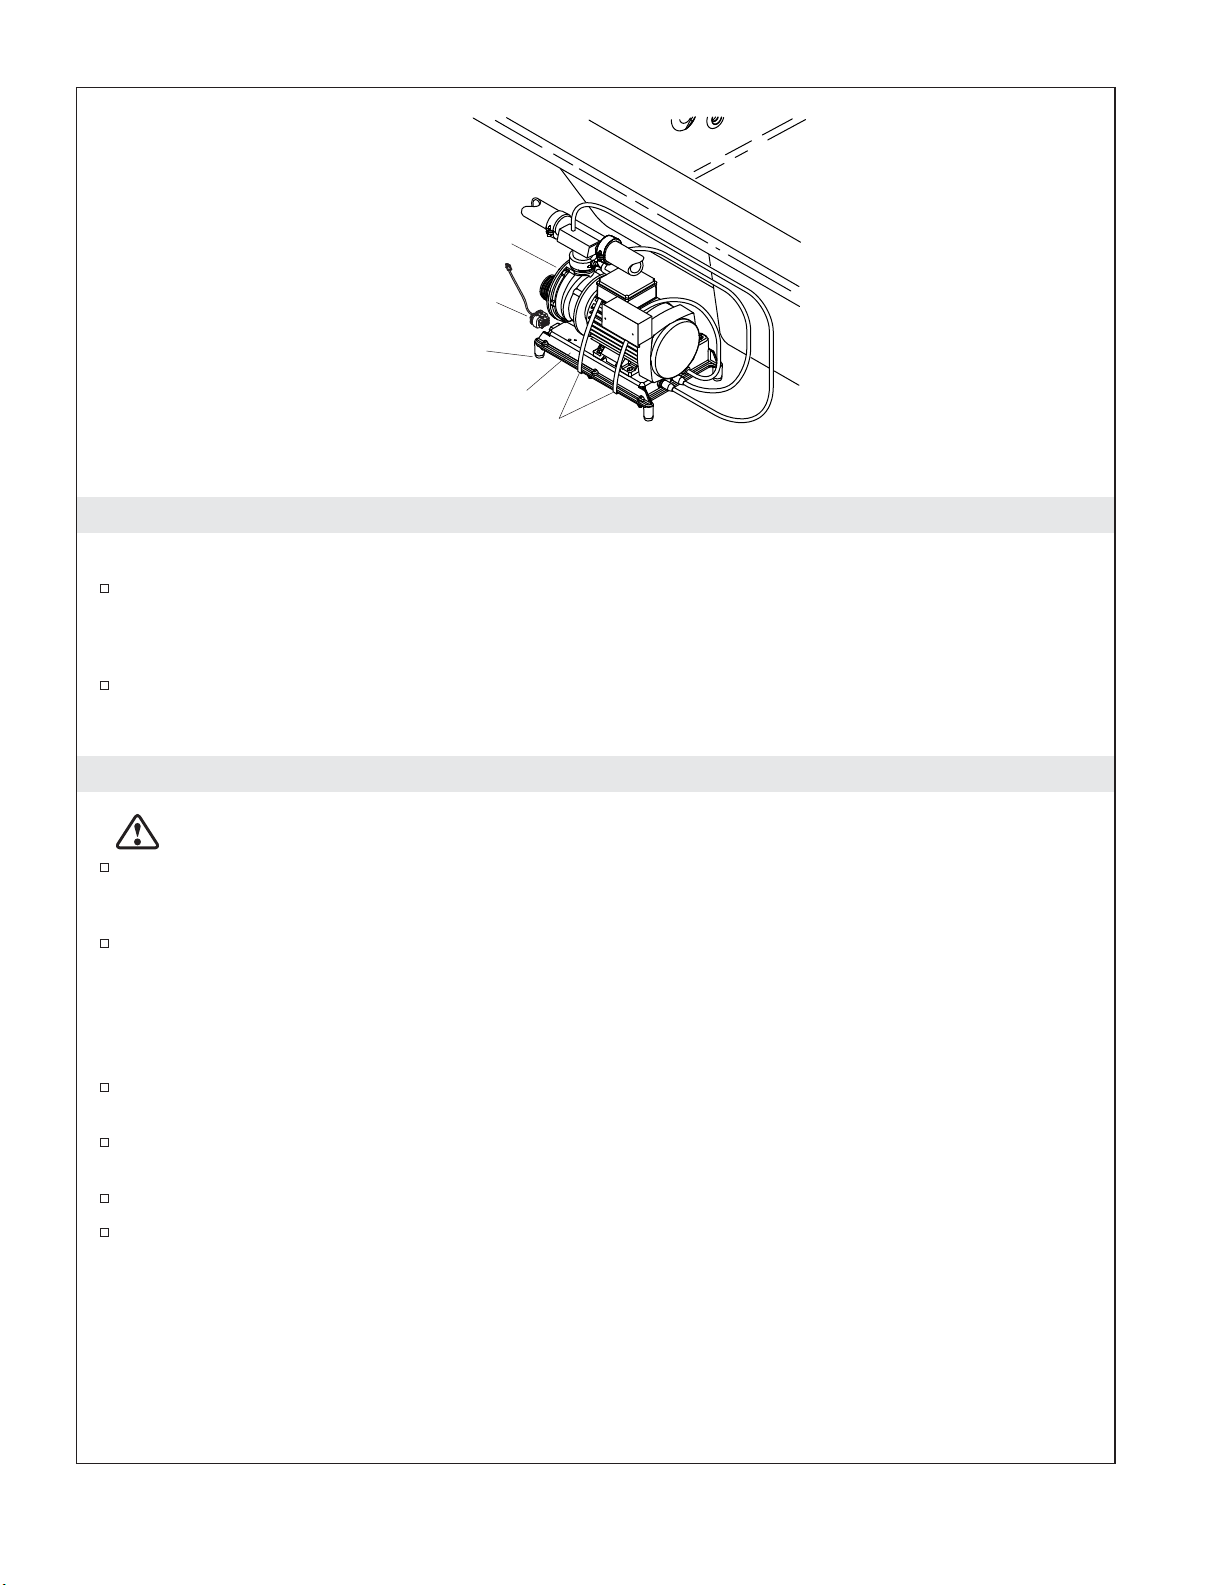
NOTICE: Provide generous, unrestricted service access to the pumps. You must provide a minimum 36”
(914 mm) wide x 20” (508 mm) high access panel for servicing the pumps and controls. The access must
be located immediately next to the pumps.
Table of Contents
Important Information .............................................................. 2
Product Information ............................................................... 2
Electrical Requirements .......................................................... 2
Product Notices ................................................................ 2
Features ..................................................................... 3
Connections and Service Access ................................................... 3
Before You Begin ................................................................. 3
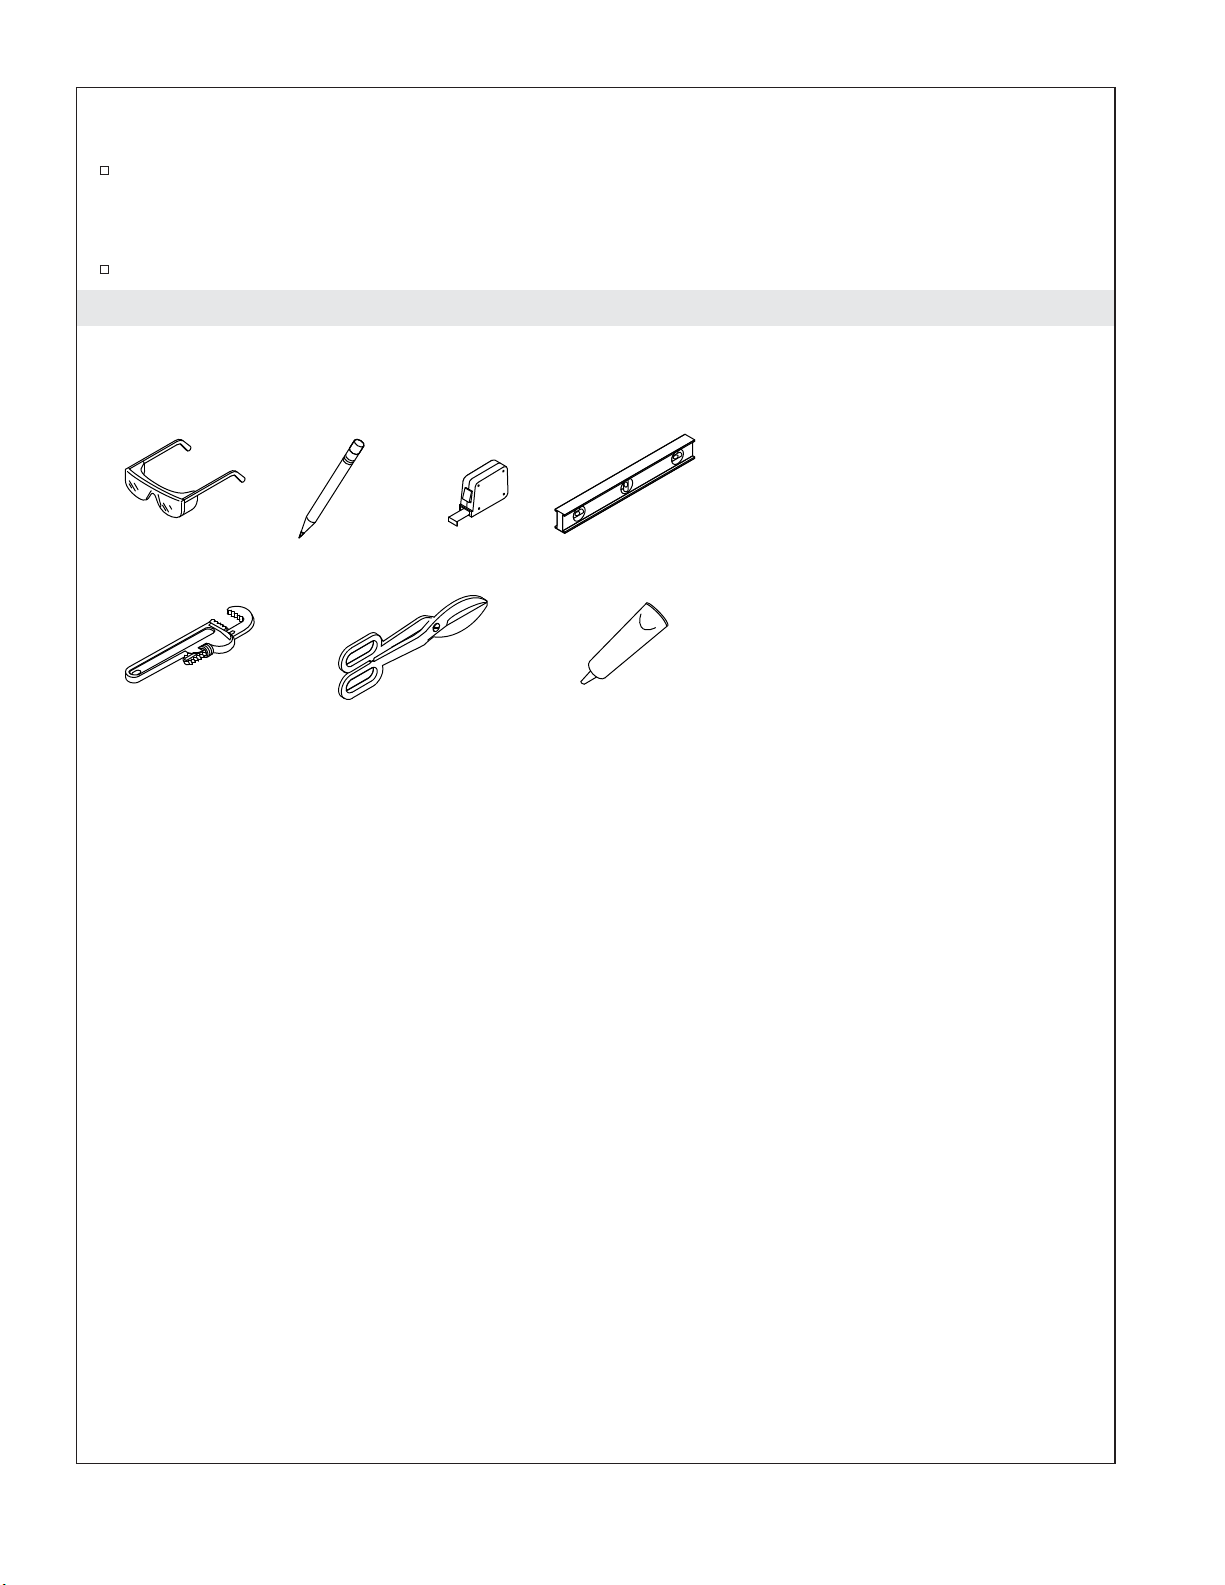
Tools and Materials ............................................................... 4
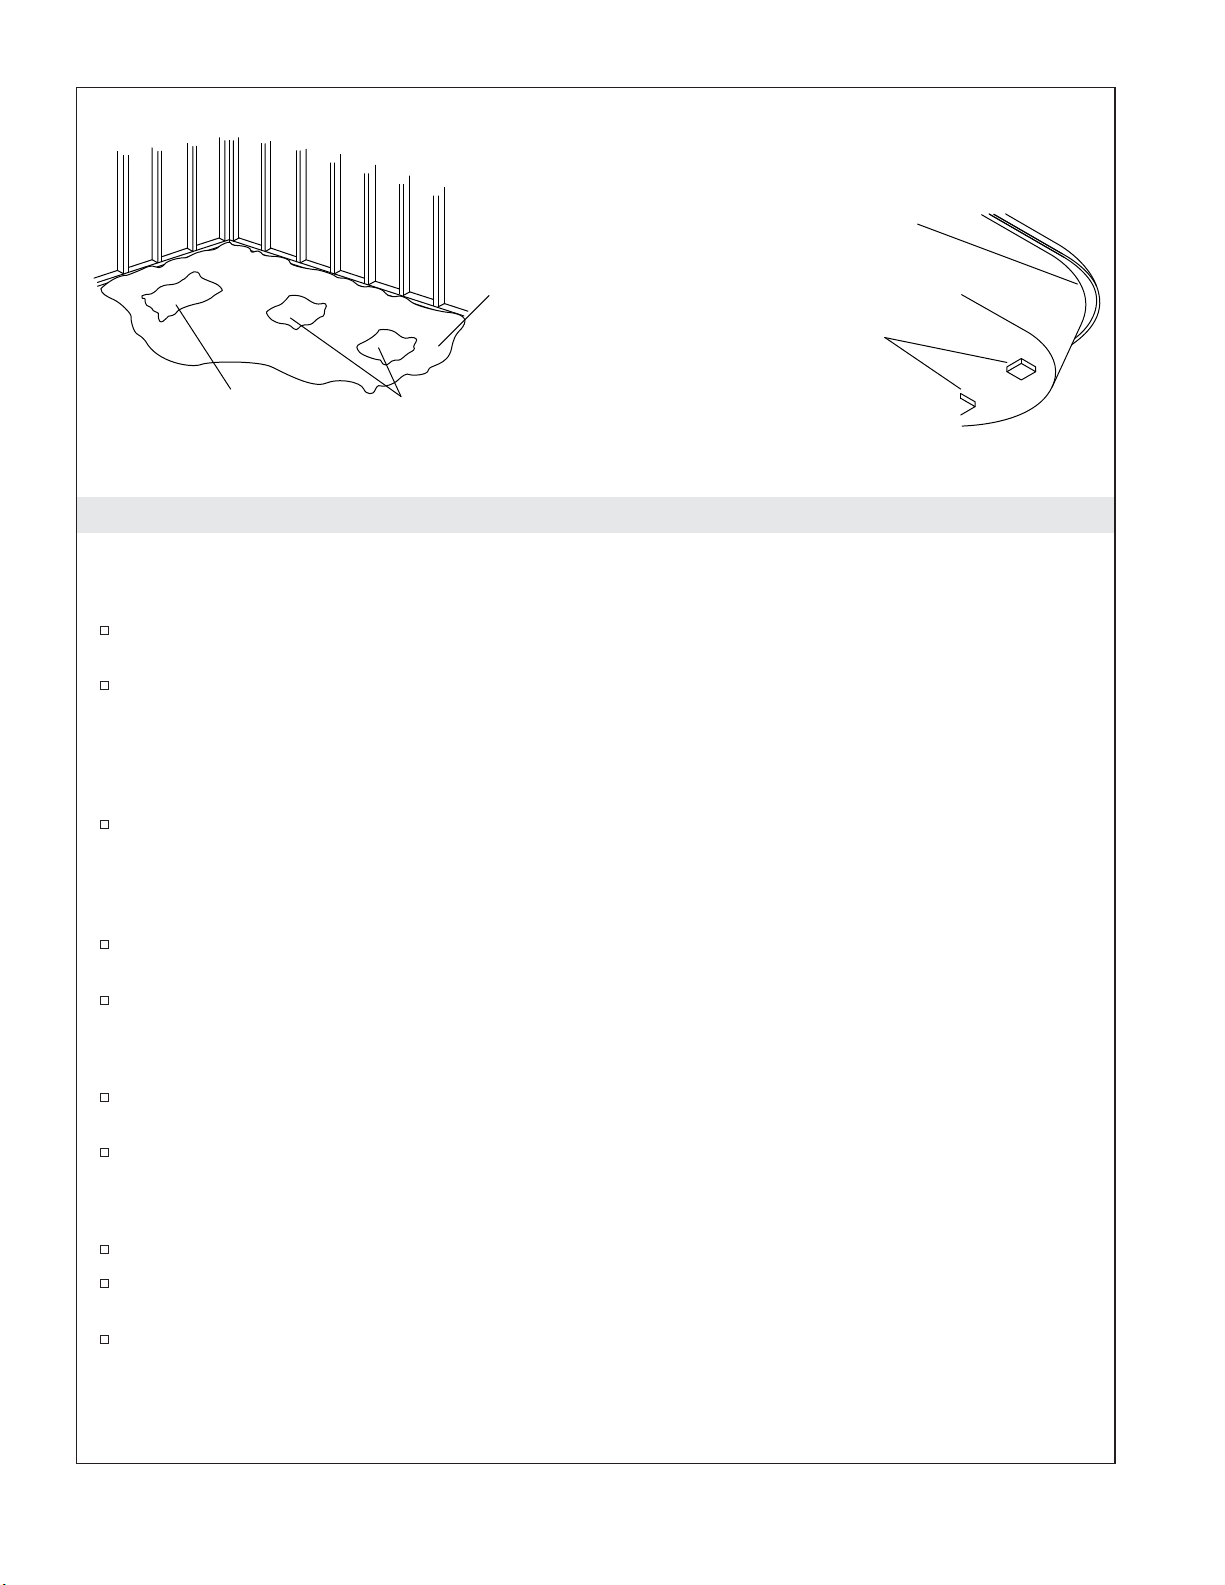
Prepare the Site ................................................................. 5
Prepare the Whirlpool ............................................................. 5
Secure the Whirlpool to the Subfloor .................................................. 6
Secure the Whirlpool to the Stud Framing ............................................... 7
Cut the Pump Banding Straps ....................................................... 8
Install the Plumbing ............................................................... 8
Make Electrical Connections ......................................................... 9
Install the Whirlpool Trim Kit ........................................................ 11
Test Run the Whirlpool ............................................................ 11
Complete the Finished Wall ........................................................ 12
Complete the Finished Wall - Continued ............................................... 13
Complete the Concrete Installation ................................................... 13
Clean-Up After Installation ......................................................... 13
Install the Removable Pillows ....................................................... 14
Confirm Proper Operation .......................................................... 15
Operating Sequence ............................................................. 16
Chromatherapy Operation ......................................................... 17
Remote Control Operation ......................................................... 17
Troubleshooting Procedures ........................................................ 17
Before You Begin
NOTICE: Do not lift the whirlpool by the piping or pump, or use the piping or pump for structural
support of the whirlpool.
We recommend this whirlpool for drop-in, flush, alcove, or tile-in installation, depending upon the
model chosen.
Inspect the whirlpool for damage before you begin installation.
You must install this whirlpool to an adequately supported, level subfloor.
Model K-1360 features an integral fill system using dual fill ports at both sides of the Waterfall, and
preinstalled valving.
Kohler Co. 3 1022211-2-D