8 TT
-855 12/93
Installation
Installing Charger
WARNING
Sulfuric acid in batteries.
Can cause severe injury or death.
Use protective goggles and clothes. Can cause
permanent
damage to eyes, burn skin, and eat holes
in clothing.
Sulfuric
acid in batteries
can cause severe injury or
death. Sulfuric acid in battery can cause permanent
damage to eyes, burn skin, and eat holes in clothing.
Always
wear splash-proof safety goggles when working
around the battery. If battery electrolyte
is splashed in
the
eyes or
on skin, immediately flush the af
fected area
for
15 minutes with large quantities of clean water
. In
the
case of eye contact, seek immediate medical aid. Never
add acid to a battery once
the
battery has been placed in
service.
Doing so may result in
hazardous spattering of
electrolyte.
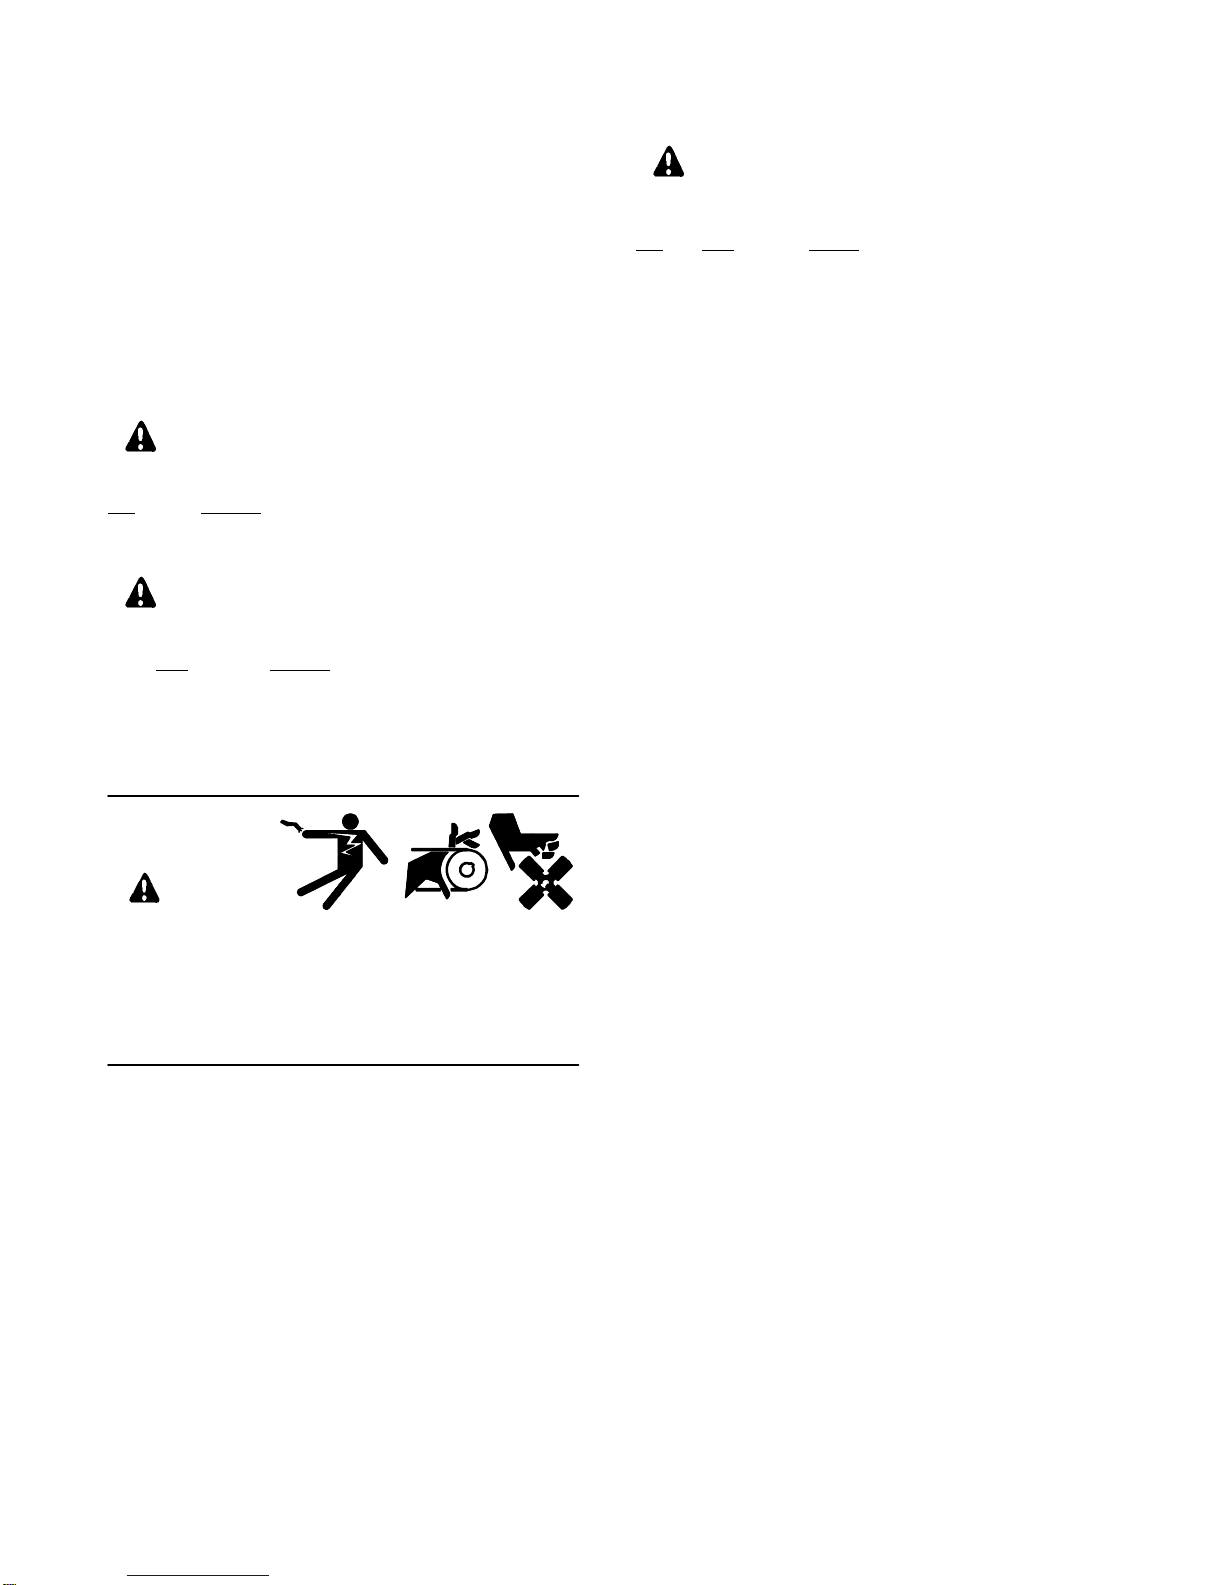
WARNING
Accidental starting.
Can cause severe injury or death.
Disconnect battery cables before working on
generator set (negative lead first and reconnect it
last).
Accidental starting can cause severe injury or
death. Turn generator master switch to OFF position,
disconnect power to battery charger, and remove
battery cables (remove negative lead first and
reconnect
it last) to disable generator set before working
on any equipment connected to generator. The
generator set can be started by automatic transfer
switch or remote start/stop switch unless these
precautions are followed.
NOTE
CHARGER
DAMAGE!
Connect battery
charger only to
a battery with the same DC voltage as the battery
charger output rating.
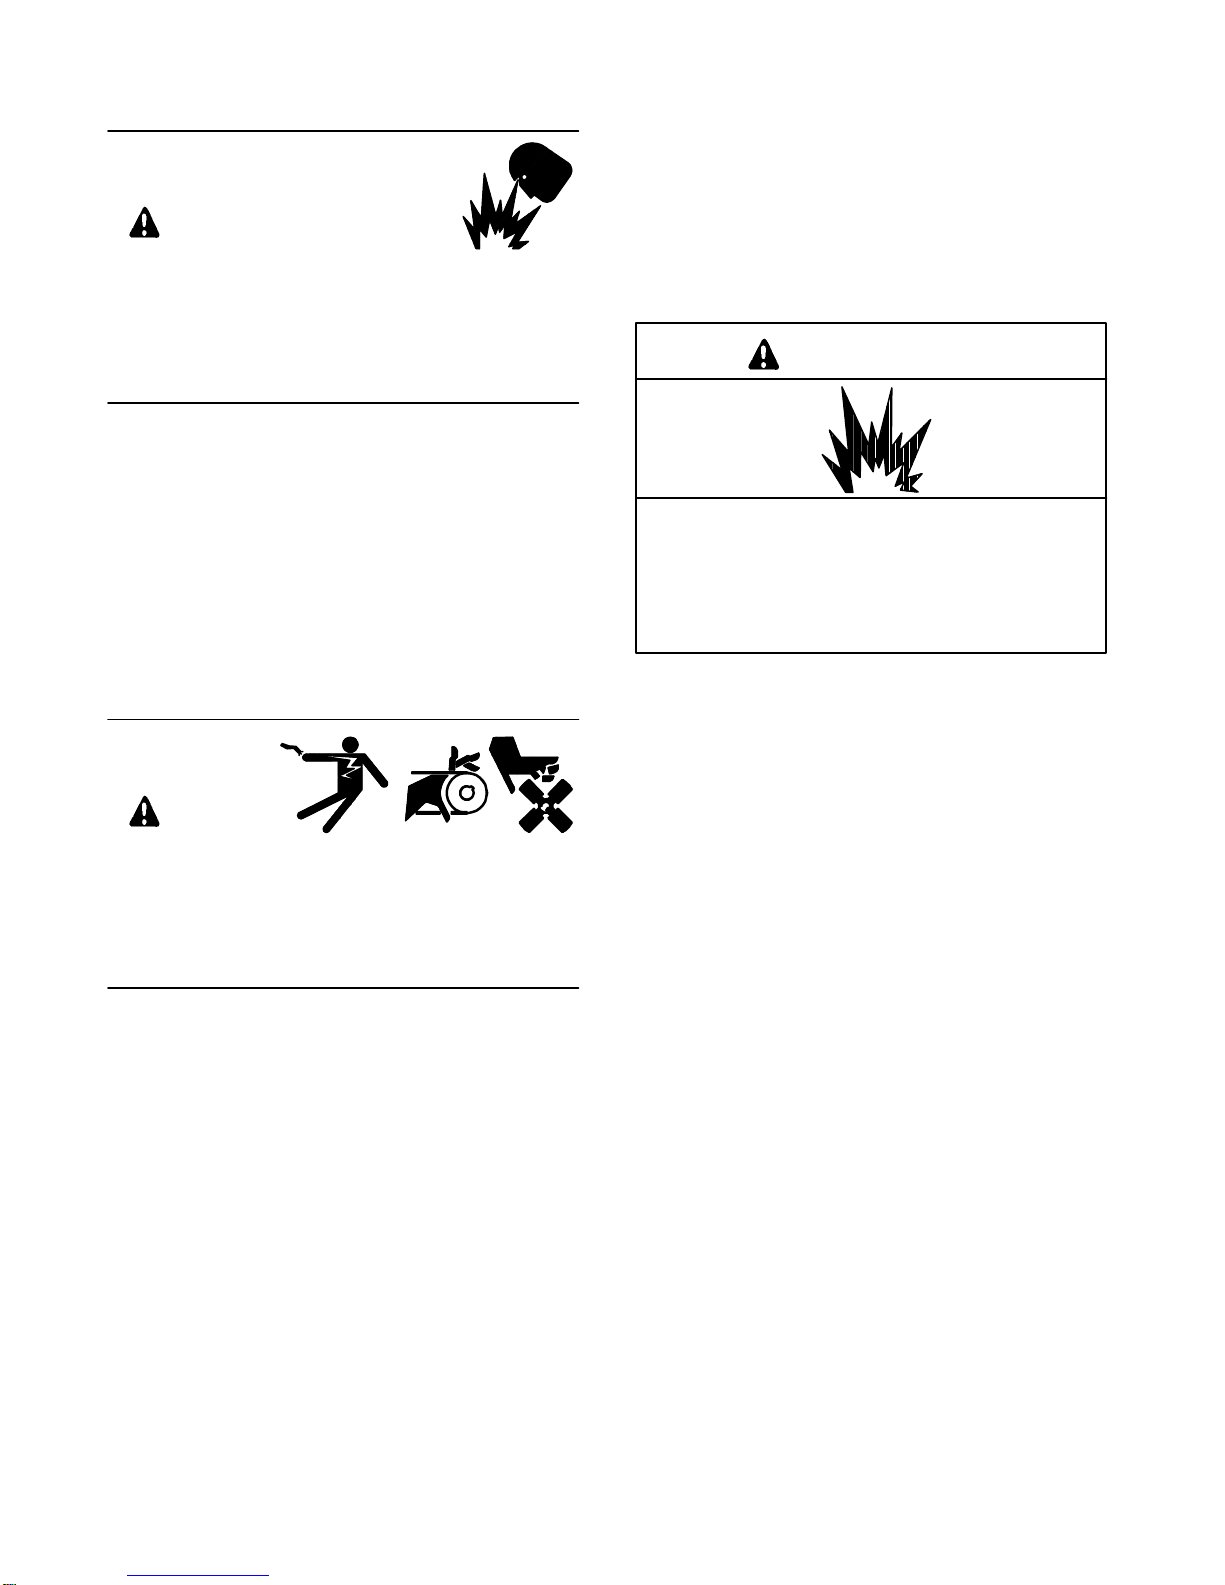
WARNING
Explosion.
Can cause severe injury or death. Relays in
battery charger cause arcs or sparks.
Locate in a well ventilated area. Keep explosive
fumes away.
Explosion
can cause severe injury or death.
Battery
gases
can cause an explosion. Do not smoke or permit
flame or spark to occur near a battery at any time,
particularly
when it is being charged. A
void contacting
terminals
with tools,
etc. to prevent burns and to prevent
sparks that could cause an explosion. Remove
wristwatch,
rings, and any other jewelry before handling
battery. Never connect negative (–) battery cable to
positive (+) connection terminal of starter solenoid. Do
not
test battery condition by shorting terminals together
or sparks could ignite battery gases or fuel vapors. Any
compartment containing batteries must be well
ventilated to prevent accumulation of explosive gases.
To avoid sparks, do not disturb battery charger
connections
while battery is being charged and always
turn charger off before disconnecting battery
connections. When disconnecting battery, remove
negative lead first and reconnect it last.