manuals.online logo
Brands
  1. Home
  2. •
  3. Brands
  4. •
  5. Kohler
  6. •
  7. Plumbing Product
  8. •
  9. Kohler 1283722 User manual

Kohler 1283722 User manual

Other Kohler Plumbing Product manuals
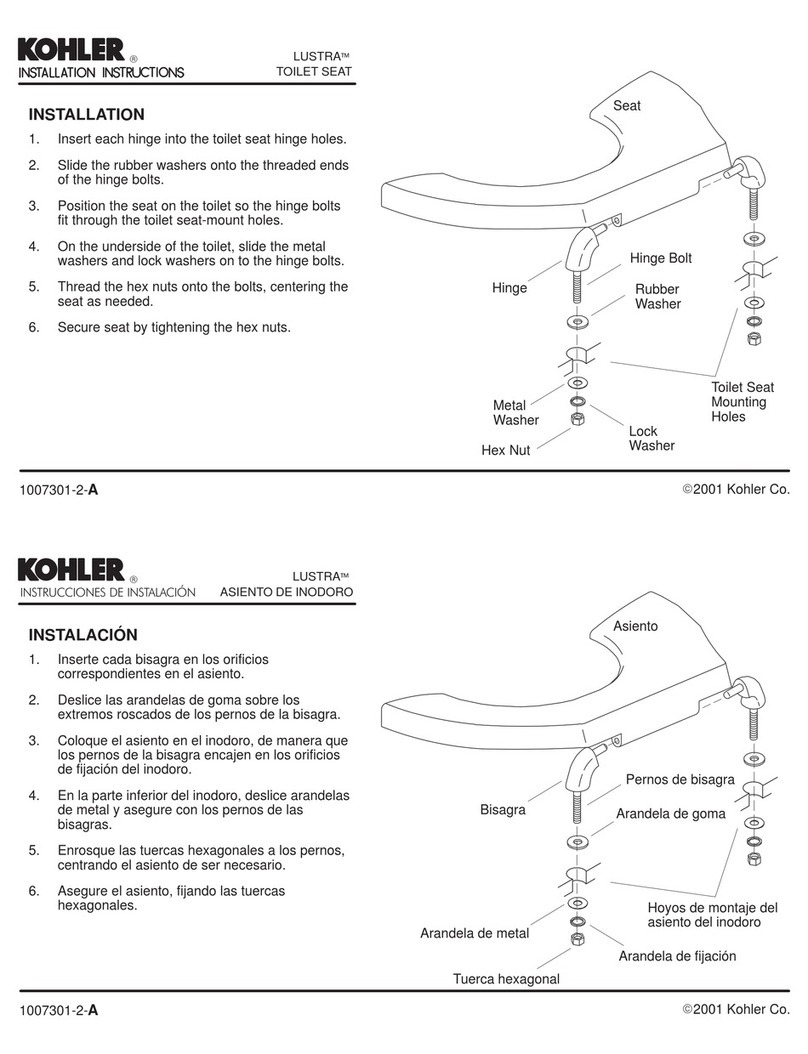
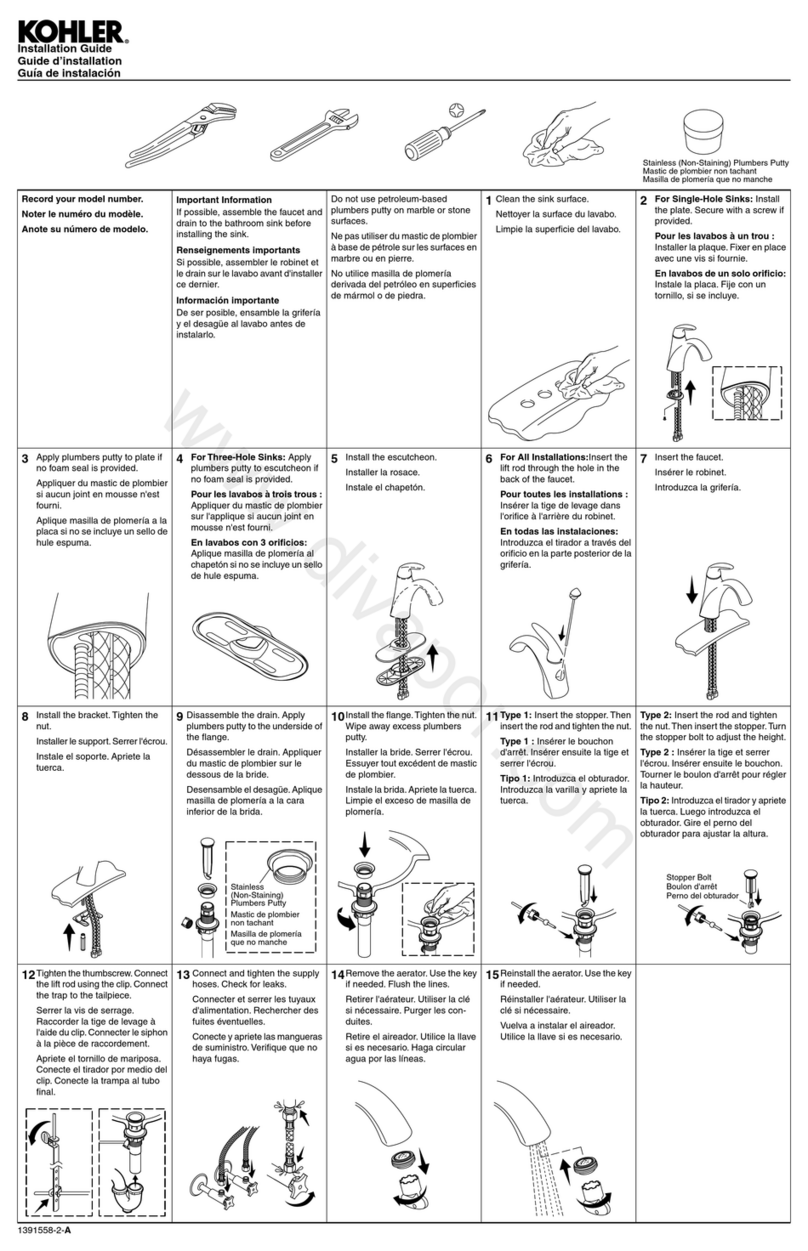
Kohler K-15182 User manual

Kohler

Kohler K-15182 User manual

Kohler C3-430 Assembly instructions

Kohler

Kohler C3-430 Assembly instructions

Kohler Pinoir K-2035 User manual

Kohler

Kohler Pinoir K-2035 User manual

Kohler Karbon K-6227A User manual

Kohler

Kohler Karbon K-6227A User manual

Kohler K-T395 Assembly instructions

Kohler

Kohler K-T395 Assembly instructions

Kohler rada Intelligent Care MX1 Series User manual

Kohler

Kohler rada Intelligent Care MX1 Series User manual

Kohler K-1106 User manual

Kohler

Kohler K-1106 User manual

Kohler BADRON K-5487T-B User manual

Kohler

Kohler BADRON K-5487T-B User manual

Kohler 9076 User manual

Kohler

Kohler 9076 User manual

Kohler K-15261 Assembly instructions

Kohler

Kohler K-15261 Assembly instructions

Kohler K-T16237 User manual

Kohler

Kohler K-T16237 User manual

Kohler Sensate K-72218-WB-BL Assembly instructions

Kohler

Kohler Sensate K-72218-WB-BL Assembly instructions

Kohler K-8499 Assembly instructions

Kohler

Kohler K-8499 Assembly instructions

Kohler K-9142 User manual

Kohler

Kohler K-9142 User manual

Kohler 5838W-7U-0 User manual

Kohler

Kohler 5838W-7U-0 User manual

Kohler Sunstruck K-24009-GH User manual

Kohler

Kohler Sunstruck K-24009-GH User manual

Kohler 78980T-DR User manual

Kohler

Kohler 78980T-DR User manual

Kohler K-3018 Assembly instructions

Kohler

Kohler K-3018 Assembly instructions

Kohler K-2276 User manual

Kohler

Kohler K-2276 User manual

Kohler K4915 Operating manual

Kohler

Kohler K4915 Operating manual

Kohler CORALAIS K-15290 User manual

Kohler

Kohler CORALAIS K-15290 User manual
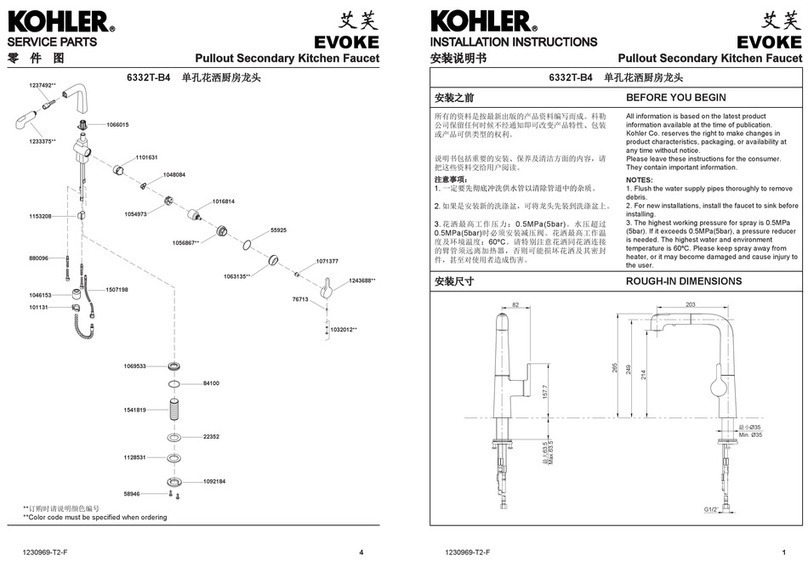
Kohler Triton K-T7019 User manual

Kohler

Kohler Triton K-T7019 User manual

Kohler K-7514 User manual

Kohler

Kohler K-7514 User manual

Kohler K-T154 Assembly instructions

Kohler

Kohler K-T154 Assembly instructions

Popular Plumbing Product manuals by other brands

Moen SANI-STREAM 8797 manual

Moen

Moen SANI-STREAM 8797 manual

Grohe Allure Brilliant 19 784 manual

Grohe

Grohe Allure Brilliant 19 784 manual

Cistermiser Easyflush EVO 1.5 manual

Cistermiser

Cistermiser Easyflush EVO 1.5 manual

BEMIS FNOTAB100 Installation instruction

BEMIS

BEMIS FNOTAB100 Installation instruction

Hans Grohe ShowerTablet Select 700 13184000 Instructions for use/assembly instructions

Hans Grohe

Hans Grohe ShowerTablet Select 700 13184000 Instructions for use/assembly instructions

Akw Stone Wash Basin Installation instructions manual

Akw

Akw Stone Wash Basin Installation instructions manual

Enlighten Sauna Rustic-4 user manual

Enlighten Sauna

Enlighten Sauna Rustic-4 user manual

Moen ShowHouse S244 Series quick start guide

Moen

Moen ShowHouse S244 Series quick start guide

Sanela SLWN 08 Mounting instructions

Sanela

Sanela SLWN 08 Mounting instructions

Franke 7612982239618 operating instructions

Franke

Franke 7612982239618 operating instructions

Heritage Bathrooms Granley Deco PGDW02 Fitting Instructions & Contents List

Heritage Bathrooms

Heritage Bathrooms Granley Deco PGDW02 Fitting Instructions & Contents List

Tres TOUCH-TRES 1.61.445 instructions

Tres

Tres TOUCH-TRES 1.61.445 instructions

STIEBEL ELTRON WS-1 Operation and installation

STIEBEL ELTRON

STIEBEL ELTRON WS-1 Operation and installation

Miomare HG00383A manual

Miomare

Miomare HG00383A manual

BELLOSTA revivre 6521/CR1 quick start guide

BELLOSTA

BELLOSTA revivre 6521/CR1 quick start guide

American Standard Heritage Amarilis 7298.229 parts list

American Standard

American Standard Heritage Amarilis 7298.229 parts list

BorMann Elite BTW5024 quick start guide

BorMann

BorMann Elite BTW5024 quick start guide

Moen 1225 quick start guide

Moen

Moen 1225 quick start guide

manuals.online logo
manuals.online logoBrands
  • About & Mission
  • Contact us
  • Privacy Policy
  • Terms and Conditions

Copyright 2025 Manuals.Online. All Rights Reserved.

USA/Canada: 1-800-4KOHLER
México: 001-800-456-4537
kohler.com
©2016 Kohler Co. 1283726-9-A1283726-9-A
Service Kit Instructions
Instructions pour le kit d’entretien
Instrucciones del kit de servicio
Setscrew/
Vis d'arrêt/
Tornillo de fijación
2.5 mm
1. Handle Removal
 □Turn offthe water supply.
 □Move the handle to the ON position to relieve pressure.
 □Using a 2.5 mm hex wrench, remove the setscrew.
 □Rotate the handle counterclockwise to unthread if from the faucet.
1. Retrait de la poignée
 □Couper l’arrivée d’eau.
 □Amener la poignée sur la position ON pour libérer la pression.
 □Utiliser une clé hexagonale de 2,5 mm pour retirer la vis d’arrêt.
 □Tourner la poignée dans le sens contraire des aiguilles d’une montre pour la désenfiler du
robinet.
1. Desmontaje de la manija
 □Cierre el suministro de agua.
 □Mueva la manija a la posición abierta para aliviar la presión.
 □Saque el tornillo de fijación con una llave hexagonal de 2,5 mm.
 □Gire la manija hacia la izquierda para desenroscarla de la grifería.
4. Handle Replacement
 □Apply no more than two drops of thread locker onto the threads of the new handle.
 □Thread the handle onto the valve stem until it is fully seated. Unthread the handle two turns and
then align it with the faucet body.
 □Reinstall and tighten the setscrew.
 □Turn on the water supply.
 □Move the handle to the ON and OFF position to confirm proper operation.
4. Remplacement de la vanne
 □Appliquer deux goues au maximum d’adhésif frein-filet sur les filets de la poignée neuve.
 □Visser la poignée sur la tige de la vanne jusqu’à ce qu’elle soit entièrement en place. Désenfiler la
poignée de deux tours puis l’aligner avec le corps du robinet.
 □Réinstaller et serrer la vis d’arrêt.
 □Ouvrir l’arrivée d’eau.
 □Mere la poignée sur la position ON et OFF pour vérifier le bon fonctionnement.
4. Reemplazo de la manija
 □Aplique no más de dos gotas de fijador de roscas en las roscas de la nueva manija.
 □Enrosque la manija en el vástago de la válvula hasta que quede completamente asentada.
Desenrosque la manija dos vueltas y déjela alineada al cuerpo de la grifería.
 □Vuelva a meter el tornillo de fijación y apriételo.
 □Abra el suministro de agua.
 □Gire la manija a las posiciones abierta y cerrada para confirmar que funciona correctamente.
2.5 mm
Setscrew/
Vis d'arrêt/
Tornillo de fijación
Valve Stem/
Tige du robinet/
Vástago de la válvula
1283726-9-AKohler Co.
2. Valve Removal (If Necessary)
 □Disconnect the thin hose from the T-valve.
 □Press the release buon and slide the seat forward.
 □Remove and retain the mounting plate, bolts, washers, and nuts.
 □Remove and retain the T-valve.
 □Connect the supply hose directly to the toilet.
2. Retrait de la vanne (si nécessaire)
 □Retirer le chapeau du corps du robinet.
 □Utiliser une clé pour tourner l’écrou dans le sens contraire des aiguilles d’une montre pour le
retirer.
 □Lever la vanne pour la retirer du corps du robinet.
2. Desmontaje de la válvula (de ser necesario)
 □Retire el bonete del cuerpo de la grifería.
 □Con una llave de apriete, gire la tuerca hacia la izquierda para sacarla.
 □Saque la válvula del cuerpo de la grifería.
Nut/Écrou/Tuerca
Bonnet/Chapeau/Bonete
Valve/Vanne/Válvula
3. Valve Replacement (If Necessary)
 □Verify that the rubber seal is in place on the boom of the valve.
 □Align the valve posts with the holes in the faucet body.
 □Make sure the posts are properly seated.
 □Thread the nut into the faucet body and tighten it securely with a wrench.
 □Reinstall the bonnet.
3. Remplacement de la vanne (si nécessaire)
 □Vérifier que le joint d’étanchéité en caoutchouc est en place sur le bas de la vanne.
 □Aligner les paes de la vanne sur les trous du corps du robinet.
 □Vérifier que les paes sont bien en place.
 □Enfiler l’écrou dans le corps du robinet et bien le serrer avec une clé.
 □Réinstaller le chapeau
3. Reemplazo de la válvula (de ser necesario)
 □Verifique que el sello de goma esté en su lugar en el fondo de la válvula.
 □Alinee los postes de la válvula con los orificios en el cuerpo de la grifería.
 □Verifique que los postes estén asentados correctamente.
 □Enrosque la tuerca en el cuerpo de la grifería y apriétela bien con una llave de apriete.
 □Vuelva a instalar el bonete.
Nut/Écrou/Tuerca
Post/Montant/Poste
Valve/VanneVálvula
Faucet Body/
Corps du robinet/
Cuerpo de la grifería
Bonnet/
Chapeau
Bonete
Seal/Joint d'étanchéité/Sello