manuals.online logo
Brands
  1. Home
  2. •
  3. Brands
  4. •
  5. Kohler
  6. •
  7. Plumbing Product
  8. •
  9. Kohler Flipside 15596T User manual

Kohler Flipside 15596T User manual

This manual suits for next models

1

Other Kohler Plumbing Product manuals

Kohler Centerset K-15241 Assembly instructions

Kohler

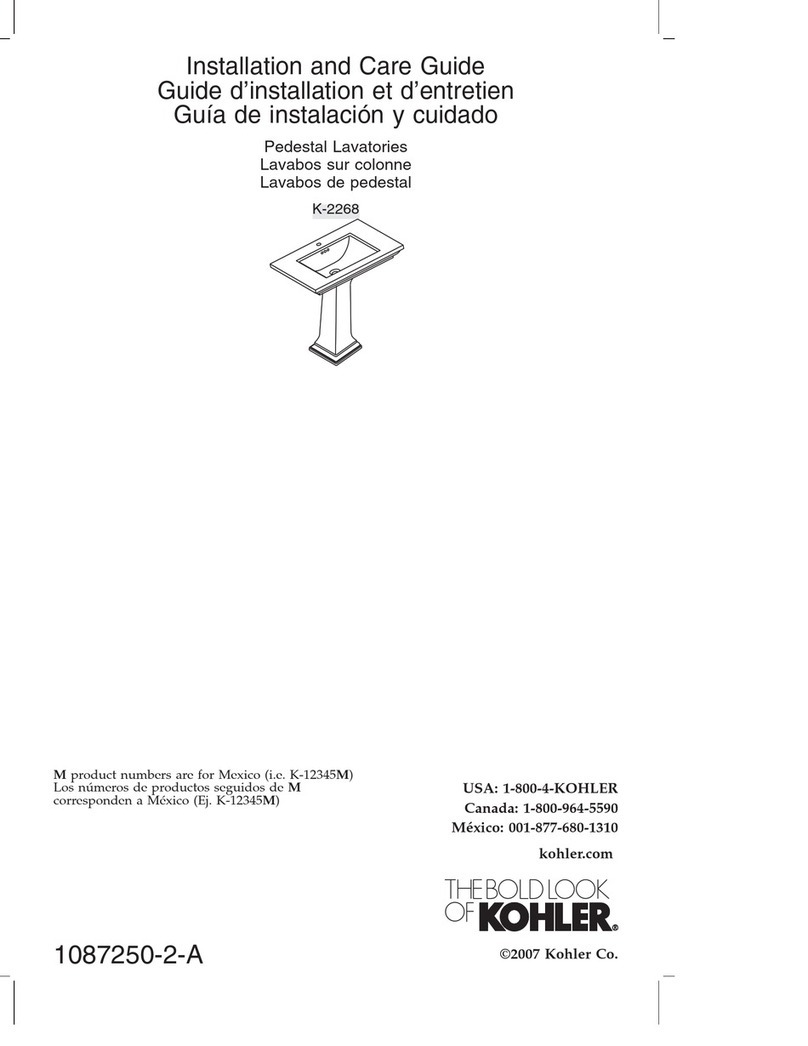
Kohler Centerset K-15241 Assembly instructions

Kohler K-352 Assembly instructions

Kohler

Kohler K-352 Assembly instructions

Kohler K-6352 User manual

Kohler

Kohler K-6352 User manual

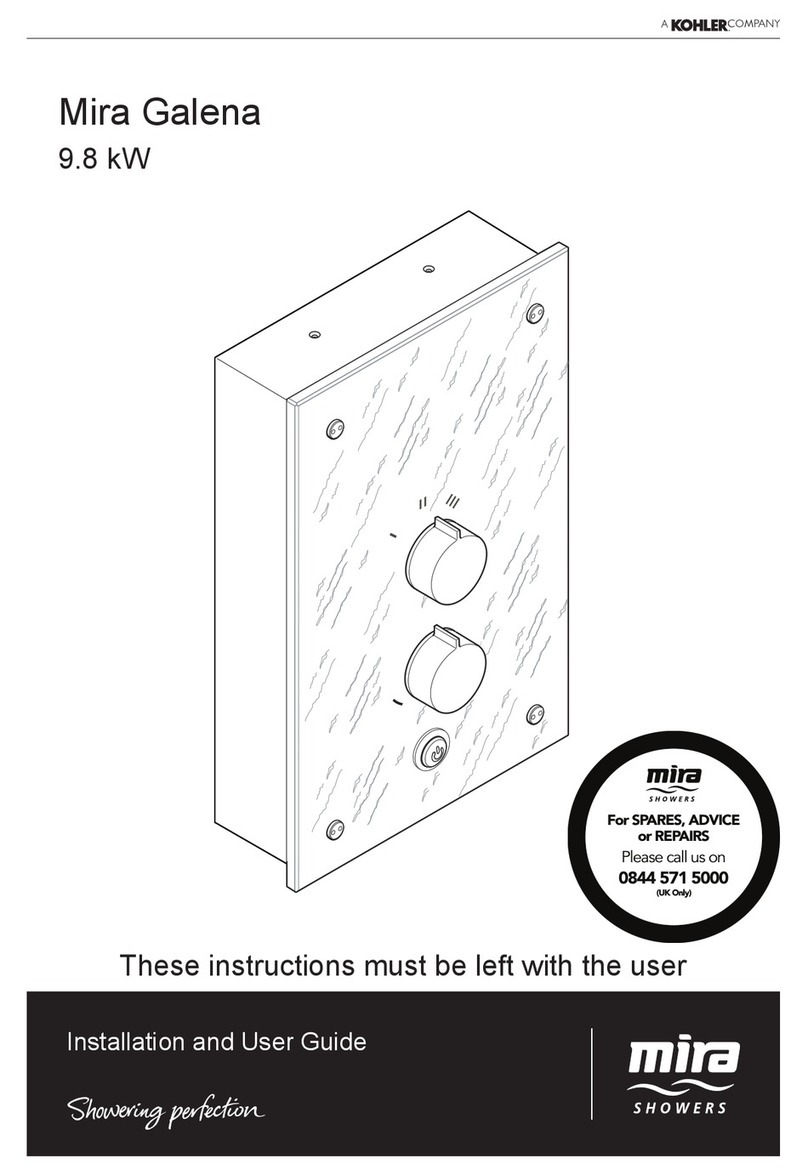
Kohler Mira Sport Thermostatic 9.8kW 1.1746.006 User manual

Kohler

Kohler Mira Sport Thermostatic 9.8kW 1.1746.006 User manual

Kohler K-11660 Assembly instructions

Kohler

Kohler K-11660 Assembly instructions

Kohler Devonshire K-TS395-4S User manual

Kohler

Kohler Devonshire K-TS395-4S User manual

Kohler K-1018 Assembly instructions

Kohler

Kohler K-1018 Assembly instructions

Kohler K-302 Assembly instructions

Kohler

Kohler K-302 Assembly instructions

Kohler K-922 User manual

Kohler

Kohler K-922 User manual

Kohler K-6132 Assembly instructions

Kohler

Kohler K-6132 Assembly instructions

Kohler 8022A User manual

Kohler

Kohler 8022A User manual

Kohler C3-225 K-4736T-0 User manual

Kohler

Kohler C3-225 K-4736T-0 User manual

Kohler ARTIFACTS 72798T User manual

Kohler

Kohler ARTIFACTS 72798T User manual

Kohler BodySpa K-1015 User manual

Kohler

Kohler BodySpa K-1015 User manual

Kohler K-20099T-Y User manual

Kohler

Kohler K-20099T-Y User manual

Kohler K-73078 Assembly instructions

Kohler

Kohler K-73078 Assembly instructions

Kohler K-T9474 User manual

Kohler

Kohler K-T9474 User manual

Kohler K-258 User manual

Kohler

Kohler K-258 User manual

Kohler Revival K-2950-1/8 User manual

Kohler

Kohler Revival K-2950-1/8 User manual

Kohler K-7653 User manual

Kohler

Kohler K-7653 User manual

Kohler K-994 User manual

Kohler

Kohler K-994 User manual

Kohler K-13453 Operating manual

Kohler

Kohler K-13453 Operating manual

Kohler K-15227 Series Assembly instructions

Kohler

Kohler K-15227 Series Assembly instructions

Kohler K-8297TW-HC-0 User manual

Kohler

Kohler K-8297TW-HC-0 User manual

Popular Plumbing Product manuals by other brands

Moen SANI-STREAM 8797 manual

Moen

Moen SANI-STREAM 8797 manual

Grohe Allure Brilliant 19 784 manual

Grohe

Grohe Allure Brilliant 19 784 manual

Cistermiser Easyflush EVO 1.5 manual

Cistermiser

Cistermiser Easyflush EVO 1.5 manual

BEMIS FNOTAB100 Installation instruction

BEMIS

BEMIS FNOTAB100 Installation instruction

Hans Grohe ShowerTablet Select 700 13184000 Instructions for use/assembly instructions

Hans Grohe

Hans Grohe ShowerTablet Select 700 13184000 Instructions for use/assembly instructions

Akw Stone Wash Basin Installation instructions manual

Akw

Akw Stone Wash Basin Installation instructions manual

Enlighten Sauna Rustic-4 user manual

Enlighten Sauna

Enlighten Sauna Rustic-4 user manual

Moen ShowHouse S244 Series quick start guide

Moen

Moen ShowHouse S244 Series quick start guide

Sanela SLWN 08 Mounting instructions

Sanela

Sanela SLWN 08 Mounting instructions

Franke 7612982239618 operating instructions

Franke

Franke 7612982239618 operating instructions

Heritage Bathrooms Granley Deco PGDW02 Fitting Instructions & Contents List

Heritage Bathrooms

Heritage Bathrooms Granley Deco PGDW02 Fitting Instructions & Contents List

Tres TOUCH-TRES 1.61.445 instructions

Tres

Tres TOUCH-TRES 1.61.445 instructions

STIEBEL ELTRON WS-1 Operation and installation

STIEBEL ELTRON

STIEBEL ELTRON WS-1 Operation and installation

Miomare HG00383A manual

Miomare

Miomare HG00383A manual

BELLOSTA revivre 6521/CR1 quick start guide

BELLOSTA

BELLOSTA revivre 6521/CR1 quick start guide

American Standard Heritage Amarilis 7298.229 parts list

American Standard

American Standard Heritage Amarilis 7298.229 parts list

BorMann Elite BTW5024 quick start guide

BorMann

BorMann Elite BTW5024 quick start guide

Moen 1225 quick start guide

Moen

Moen 1225 quick start guide

manuals.online logo
manuals.online logoBrands
  • About & Mission
  • Contact us
  • Privacy Policy
  • Terms and Conditions

Copyright 2025 Manuals.Online. All Rights Reserved.

1119910-2-A
有的资料是按最新出版的产品资料编写而成
科勒公司保留任何时候不经通知即可改变产品特
性尧包装或产品可供类型的权利
说明书包括重要的安装内容袁请把这些资料交给
用户阅读
Allinformationisbasedonthelatestproductinformation
availableatthetimeofpublication.KohlerCo.reservestheright
tomakechangesinproductcharacteristics,packaging,or
availabilityatanytimewithoutnotice.
Pleaseleavetheseinstructionsfortheconsumer.Theycontain
importantinformation.
1.一定要先彻底冲洗供水管以清除管道中的杂质
2.花洒最高工作压力院0.5MPa(5bar) 水压超过
0.5MPa(5bar)须安装减压阀 花洒最高工作温
度及环 温度院60C 请特别注意花洒须远离浴
霸袁否则可能损坏花洒袁甚至对使用者造成伤害
3.手持花洒限流器不可以取出袁否则将损坏花洒
1.Flushthewatersupplypipesthoroughlytoremovedebris.
2.Thehighestworkingpressureforhandsprayis0.5Mpa(5
bars).Ifitexceeds0.5Mpa(5bars),apressurereduceris
needed.Thehighestwaterandenvironmenttemperatureis
60C.Pleasekeephandsprayawayfromheater,ormaybe
damageitandhurtuser.
3.Don'tremovetheregulator,orwilldamagethehandspray.
137
G1/2"
G1/2"
68
57
64
地面
1119910-2-A
Drillholesaccordingtotherough-in
dimensionsanddiameteroftheanchors
(1)attheproperpositiononthefinished
wall,distance711mm.Presstheanchors
intotheholes.Connectthemounting
posts(2)bytheself-tappingscrews(3).
Holdtheslidebar(4)upagainsttheposts.
Adjustthepostsuntiltheslidebarfits
snugagainstthecurvedcutoutofthe
posts.Takeawaytheslidebar.Tighten
thescrewstosecuretheposts.
根据安装尺寸和胀塞渊1冤直径在墙
面适当高度钻两个孔袁距离 711 毫
米将胀塞分别塞入孔中袁用自攻
螺钉渊3冤安装支撑柱渊2冤 将滑杆
渊4冤靠在支撑柱上袁调整支撑柱使弧
形缺口紧贴滑杆 拿走滑杆袁锁紧
螺钉固定支撑柱
Threadthepins(8)intothemounting
posts.Tightenwithaflat-blade
screwdriver.
将销渊8冤旋入支撑柱袁用一字螺丝刀
锁紧
Lineuptheholesinthelockassemblies
(5)withtheholesintheslidebar(4).If
needed,useascrewdrivertoadjustthe
positionofthelocksateachendofthe
slidebar.
将锁紧组件渊5冤的孔与滑杆渊4冤的孔
对齐装入如需要袁用螺丝刀调节
滑杆两端锁紧件的位置
Alignthepinswiththeholesintheslide
barandlockassemblies.Gentlypressthe
slidebaragainsttheposts,insertingthe
pins,untiltheslidebarfitssnugagainst
theposts.Securetheslidebarby
tighteningthesetscrew(6)oflock
assemblies.
将销与锁紧组件及滑杆的孔对齐
轻轻推滑杆袁将销插入滑杆及锁紧
组件袁直到滑杆与支撑柱贴紧 锁
紧锁紧组件上的紧定螺钉渊6冤固定
滑杆
12
3
4
5
67
8
2
Pressthecaps(7)ontoeachendofthe
slidebar.
将盖渊7冤扣到滑杆两端
花洒 架渊9冤锥孔大端朝上
9
Thelargesideofinnertaperfor
handshowerholder(9)facesup.
簧片
Pinchcock
按住花洒 架的簧片上下滑动袁可
调节 架位置
Theheightofhandshowerholdercanbe
adjustedbypressingthepinchcockand
slidingupanddown.
簧片
Pinchcock
1119910-2-A
11
10
12
Rotatetheheadofthehandsprayto
changethespraypatternsasshown.
旋转手持花洒头部可以获得不同
水流方式,见右图
雨淋式
Koverage
风暴式
Komotion
激射式
Kurrent
云雾式
Kotton
把花洒挂在花洒 架渊9冤上Hangthehandsprayonthehandspray
holder(9).
Don'tremovetheregulatorofhandspray
(10).Removethewasherfromone
connectorofthehose(12).Putthescreen
washer(11)intotheshowerhose
connector,putthefilter(13)intothe
handspray,screwthehandspraytothe
showerhose.Connectanotherendof
showerhosetothewatersupply.
手持花洒渊10冤的限流器不可取出
取出软管(12)一端接头内的垫片
将滤网垫片渊11冤放入软管接头内袁
将毡垫渊13冤放入手持花洒内袁将手
持花洒旋紧到软管上袁软管另一端
连接水源
拆下手持花洒渊10冤 先将滤网垫片
渊11冤和毡垫渊13冤从手持花洒中依
次取出用热醋清洗滤网垫片上的
滤网袁清洗垫片滤网和毡垫 重新
将毡垫和滤网垫片装入手持花洒
重新装回手持花洒
Removethehandspray(10).Takeoutthe
screenwasher(11)andthefilter(13)from
thehandspray.Cleanthefiltersofthe
screenwasherbysoakingtheminwarm
vinegar.Cleanthescreenwasherand
filter.Reinstallthefilterandscreen
washerintothehandspray.Reinstallthe
handspray.
喷孔杂质或结垢会导致水流变
形袁流量变小打开水源袁用力按
压或摩擦橡胶喷孔袁去除杂质或
水垢
Anydebrisormineralbuild-upmaycause
theflowstreamtobecomedistortedor
reducetheflowrate.Toremovethedebris
ormineralbuild-up,runwaterthroughthe
handspray,firmlypressorrubyourfinger
backandforthacrosstherubbernozzles.
13
11
10
13
1119910-2-A
适用于有加工处理过的表面院以中性肥皂水
清洗镀层表面袁再以干净的软布彻底擦干整个表
面许多清洁剂袁比如氨水尧去污粉及洁厕灵等袁
会对电镀表面造成伤害袁切忌使用
有磨损性的清洁用具或清洁剂也不可使用于科
勒牌的水龙头及其配件上
AllFinishes:Cleanthefinishwithmildsoapandwarm
water.Wipeentiresurfacecompletelydrywithcleansoft
cloth.Manycleanersmaycontainchemicals,suchas
ammonia,chlorine,toiletcleaneretc.whichcould
adverselyaffectthefinishandarenotrecommendedfor
cleaning.
DonotuseabrasivecleanersorsolventsonKohler
faucetsandfittings.
Useasuitabletooltoremovethefour
grommets.
Usingthe2.5mmhexagonwrench(not
supplied),removethefourscrews.
Separatethesprayplateassemblyintoits
individualcomponents.
Cleanthekottonspraybysoakingthemin
warmvinegarfor30minutes.
MakesurethattheO-ringsare
locatedcorrectly.
Reassemblethecomponentsinreverse
order.
用尖工具把白色塞扣拨下
用2.5mm 六角扳手(客户自备)把
四个螺钉拆下
将上下盖拆下后袁即可拆下云雾式
出水口
用白醋浸泡 30 分钟后即可清除污
垢
确保O型圈的位置正确
按顺序装回有零件
O-ring
O型圈
O-ring
O型圈
Screw
螺钉
Grommet
塞扣
KottonSpray
云雾式出水口
1119910-2-A
Handspray
1119917**
手持花洒
ScreenWasher
77420
滤网垫片
**订购时请说明颜色编号
**Colorcodemustbespecifiedwhenordering.
Hose
1072938**
软管
O型圈
O-ring
34300
Cap
1040644**
盖
Setscrew
1033803
紧定螺钉
O型圈
O-ring
34300
LockAssembly
1040645**
锁紧组件
HandshowerHolder
1037597**
花洒 架
SlideBar
1033797**
滑杆
Pin
1033800**
销
MountingPost
1033799**
支撑柱
ScrewKit
1061576
螺钉组件
O型圈
O-ring
34300
Cap
1040644**
盖
Setscrew
1033803
紧定螺钉
O型圈
O-ring
34300
LockAssembly
1040645**
锁紧组件
KottonSpray
1172658
云雾式出水口
Filter
1140695
毡垫