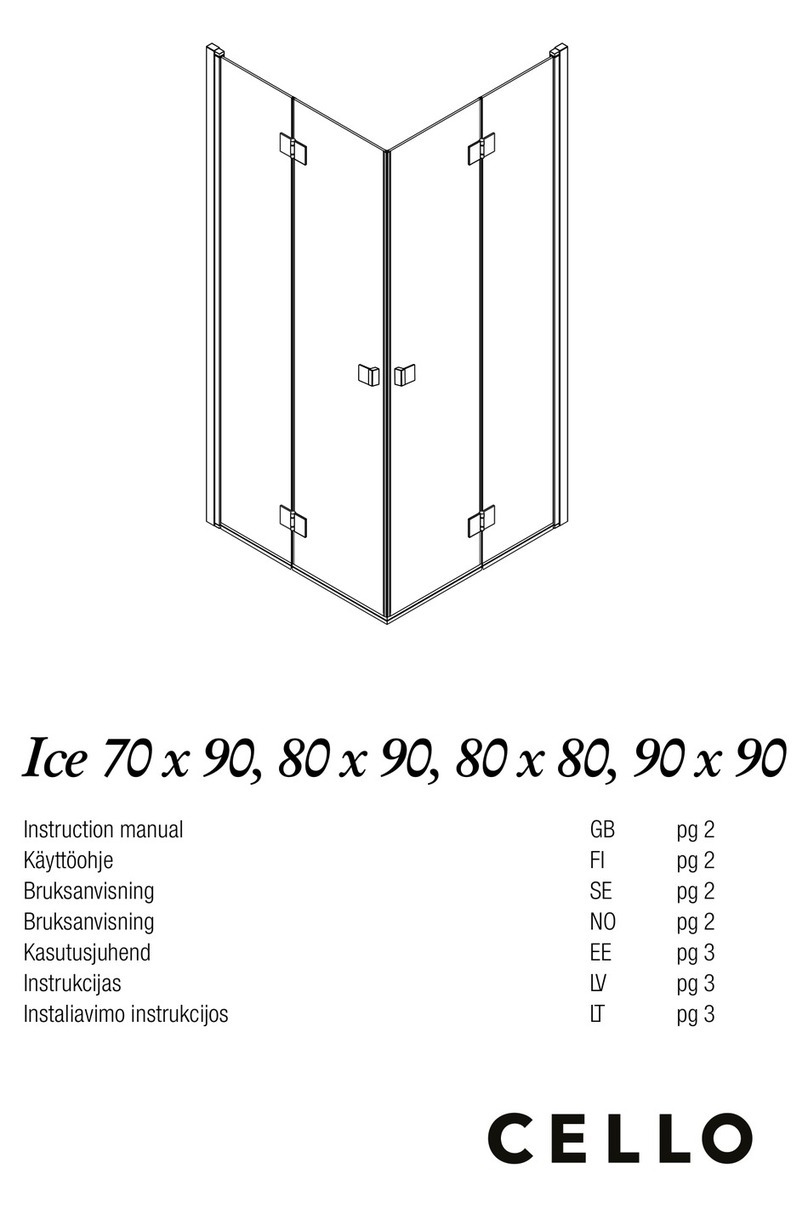
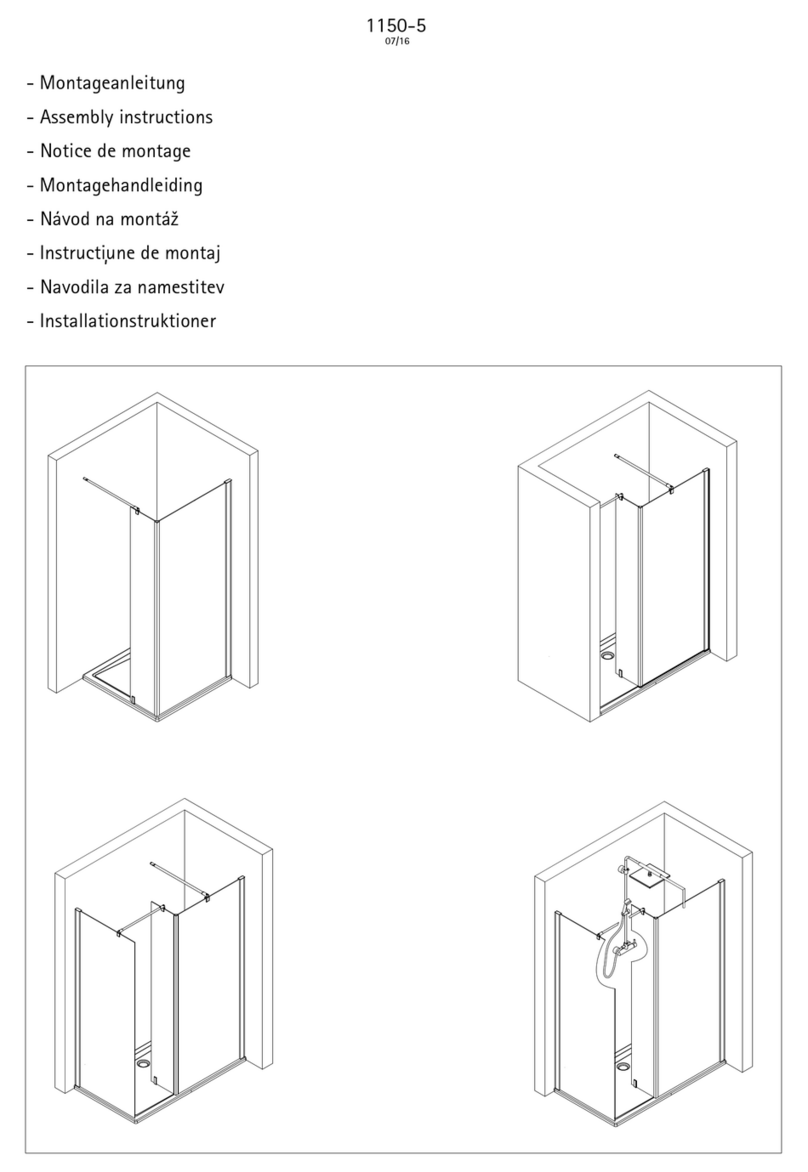
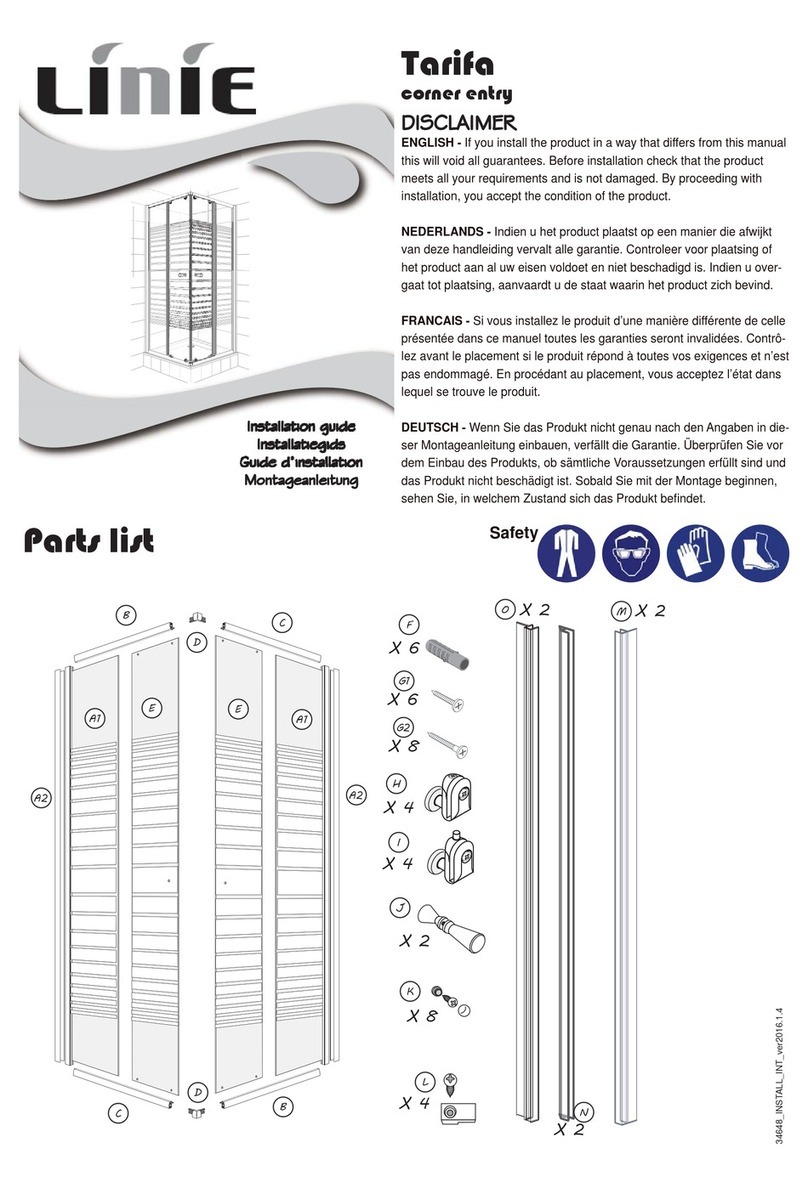
Kohler ENGLEFIELD SAPPHIRE User manual
Other Kohler Shower Cabin manuals
Kohler
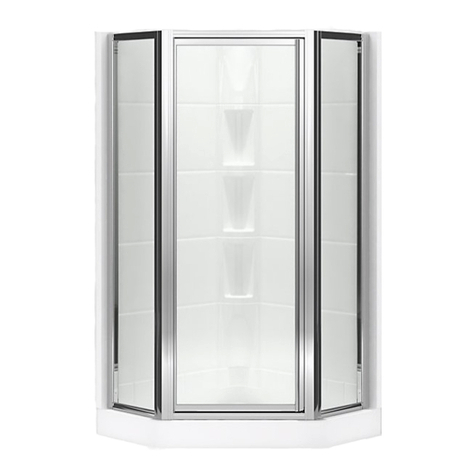
Kohler Sterling Intrigue SP2275A-38 User manual
Kohler
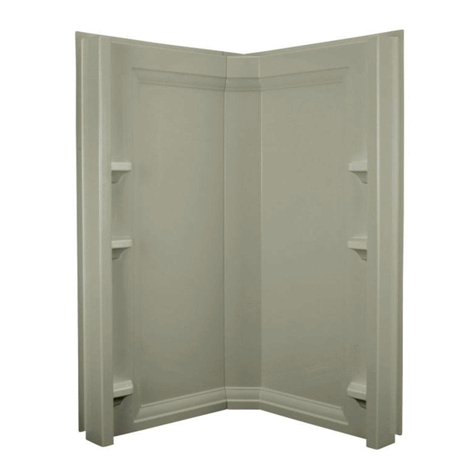
Kohler K-1675 User manual
Kohler
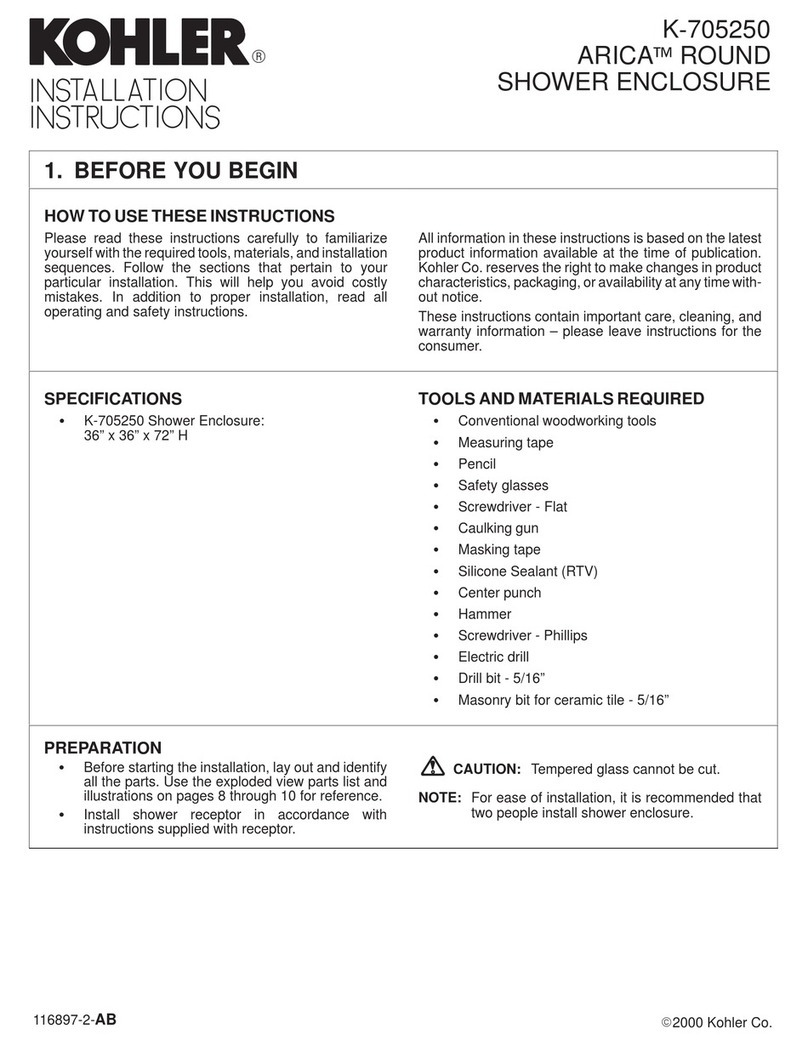
Kohler ARICA K-705250 User manual

Kohler
Kohler K-702200 Assembly instructions
Kohler
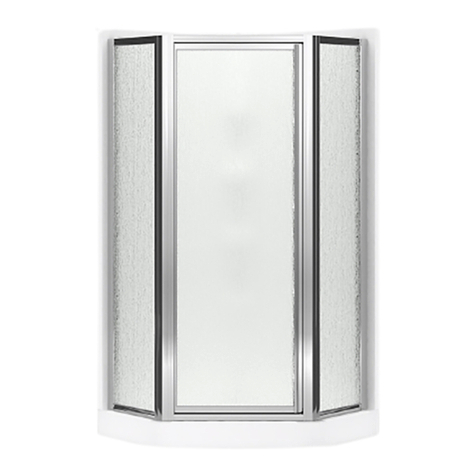
Kohler Prim R706534-8L-SHP User manual
Kohler
Kohler Sterling Intrigue SP2276A-38 User guide

Kohler
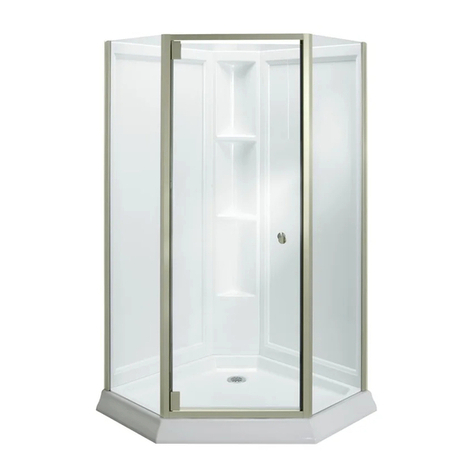
Kohler Pinstripe K-705707-L User manual
Kohler
Kohler Sterling 2375 Series User manual
Kohler
Kohler MEMOIRS User manual

Kohler
Kohler MEMOIRS User manual
Kohler
Kohler K-702300 User manual

Kohler
Kohler K-704411 User manual
Kohler
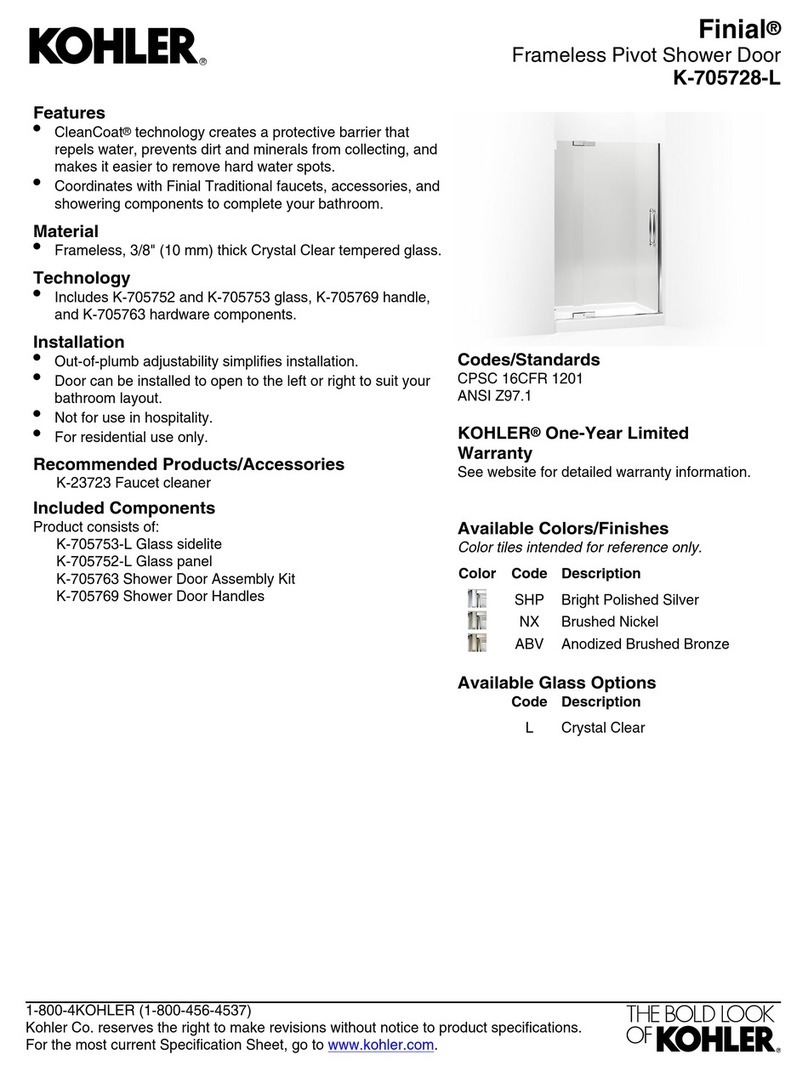
Kohler Finial K-705728-L User manual

Kohler
Kohler K-702400 Assembly instructions

Kohler
Kohler K-706075 Assembly instructions
Kohler
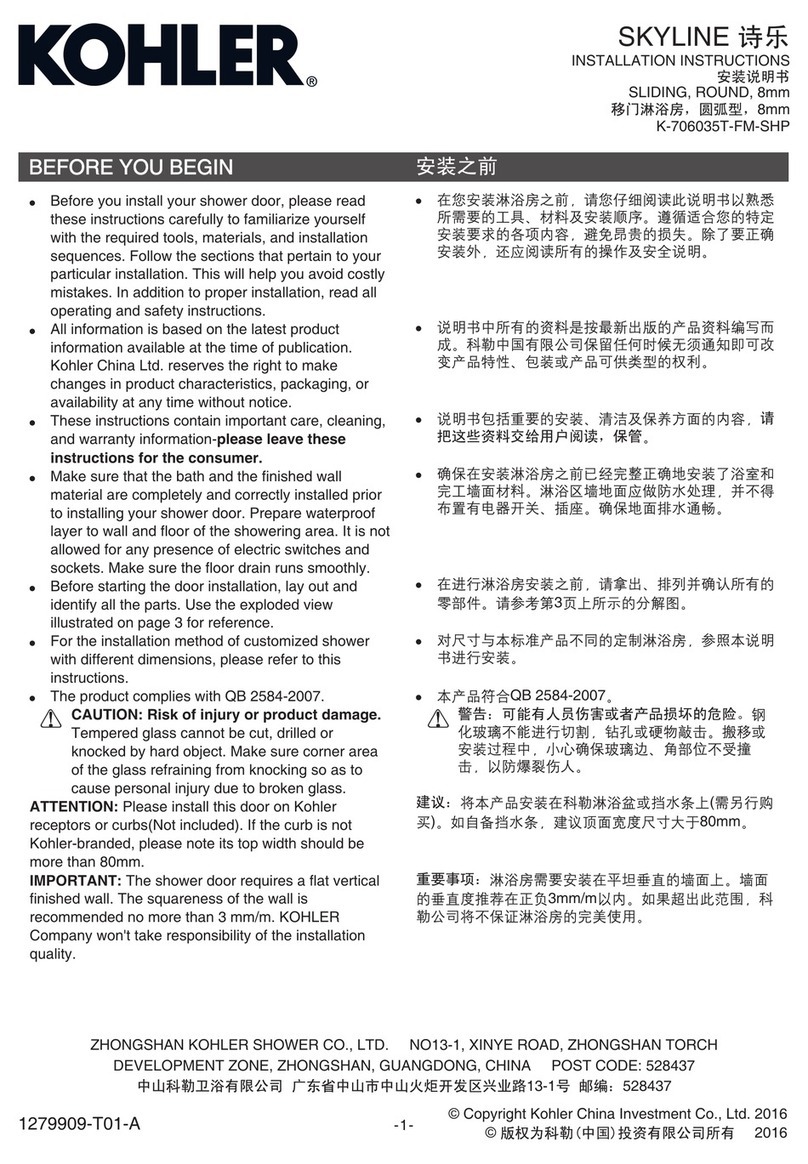
Kohler SKYLINE K-706035T-FM-SHP User manual
Kohler
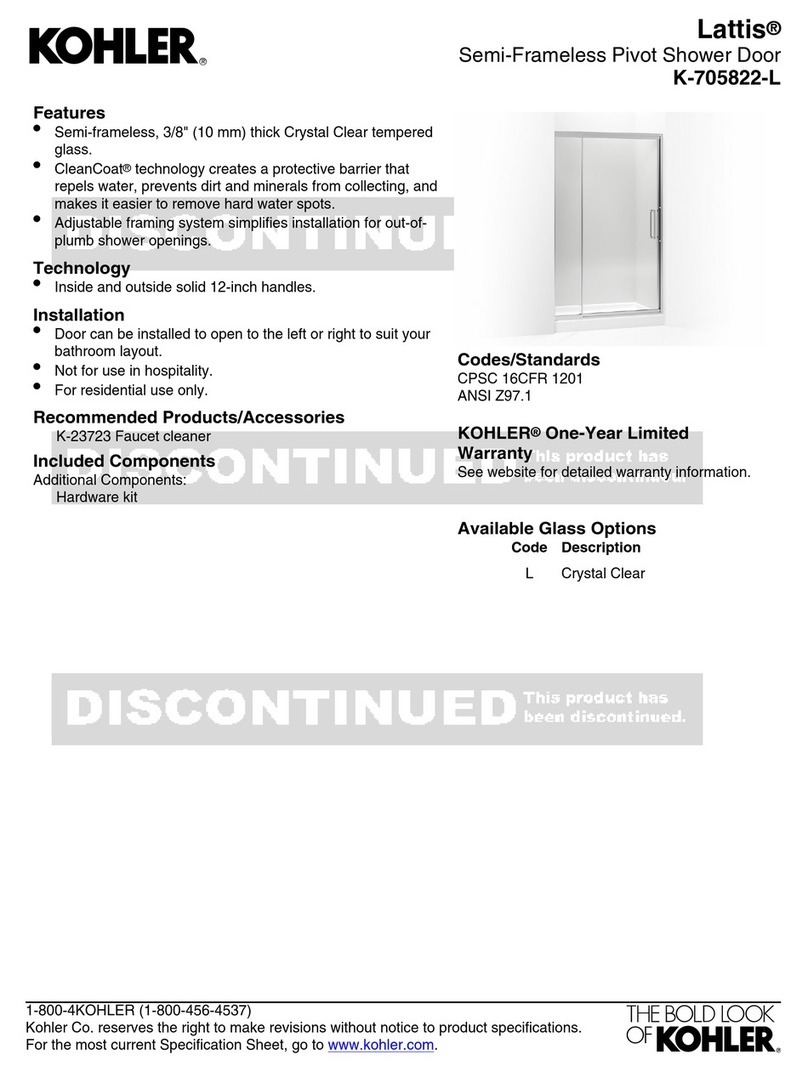
Kohler Lattis K-705822-L User manual
Kohler
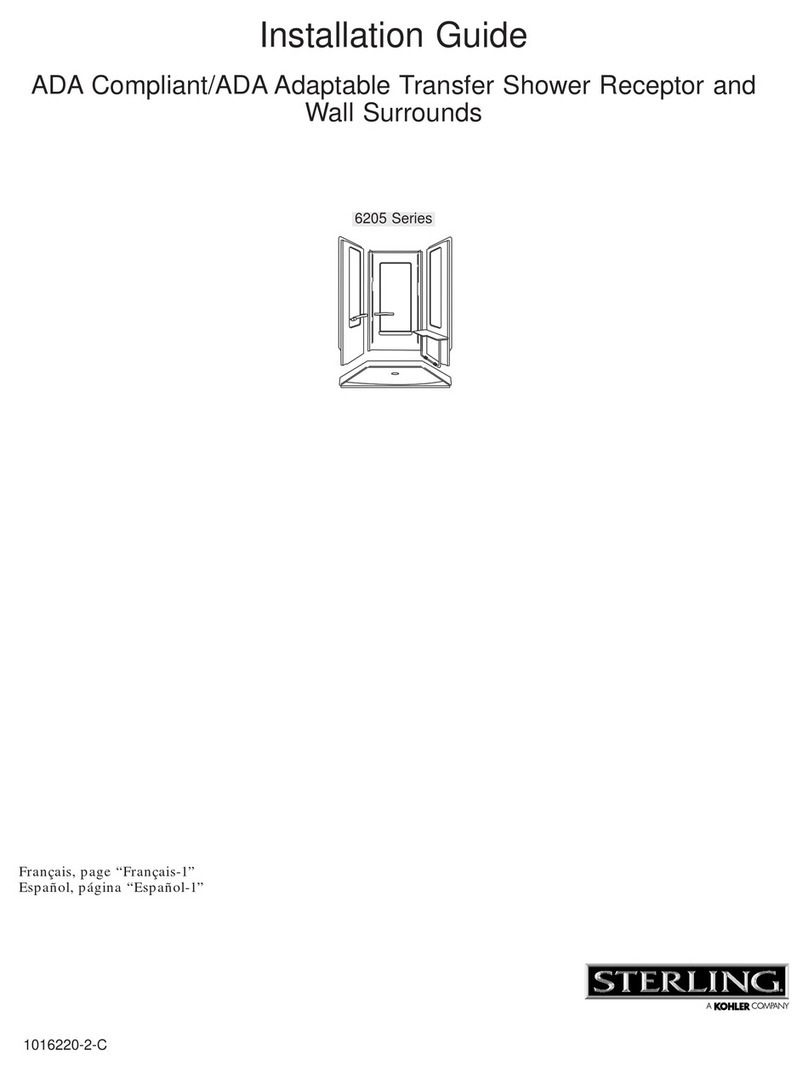
Kohler STERLING 6205 Series User manual
Popular Shower Cabin manuals by other brands
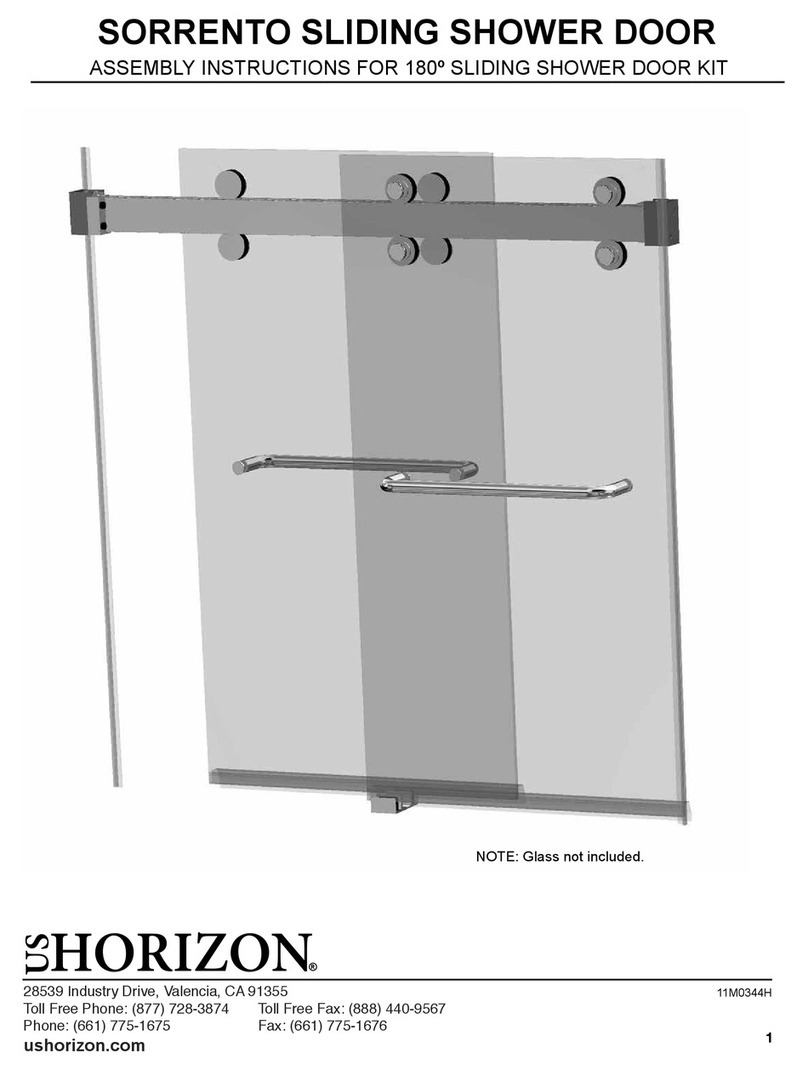
US HORIZON
US HORIZON SORRENTO Series Assembly instructions
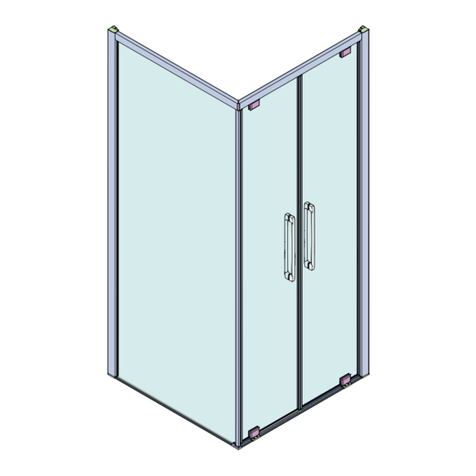
Arblu
Arblu PERSEO ANGOLO Q-R 2SL+1LF Assembling instructions
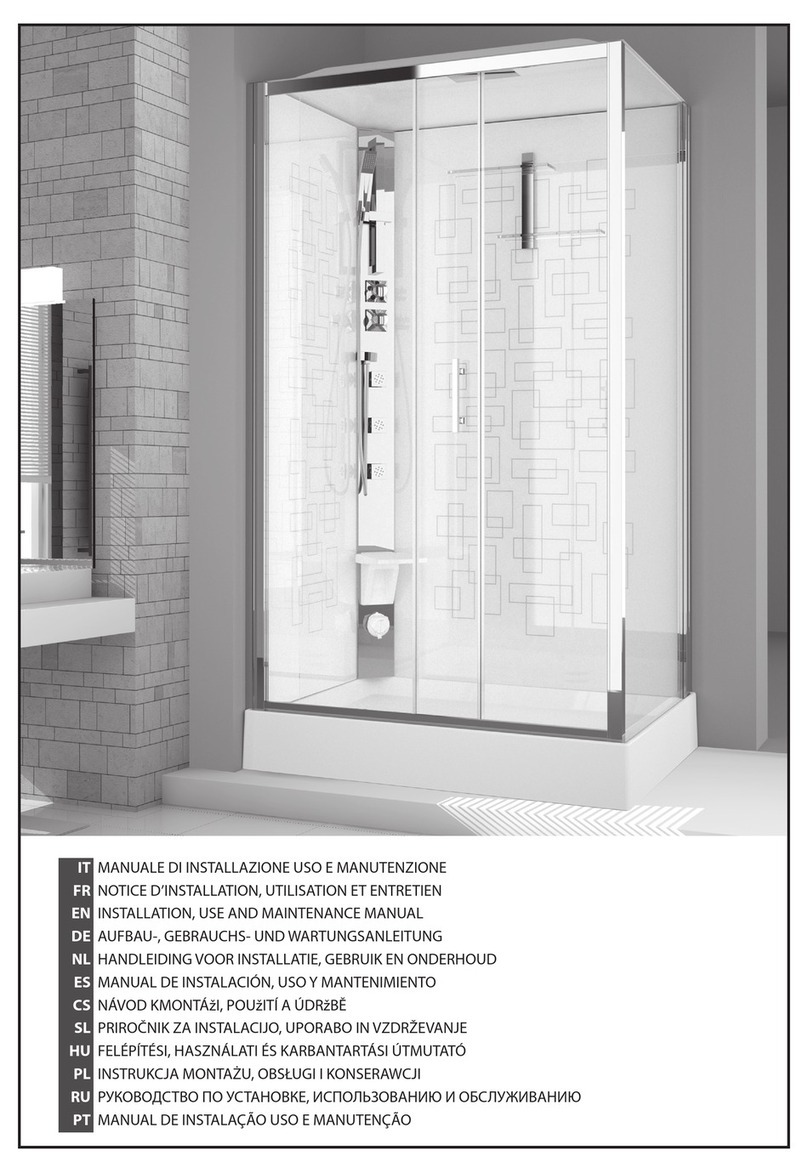
Novellini
Novellini R90 base p.80 Instructions for installation, use and maintenance manual

SANPLAST
SANPLAST KP1DJa/TX5b Installation instruction
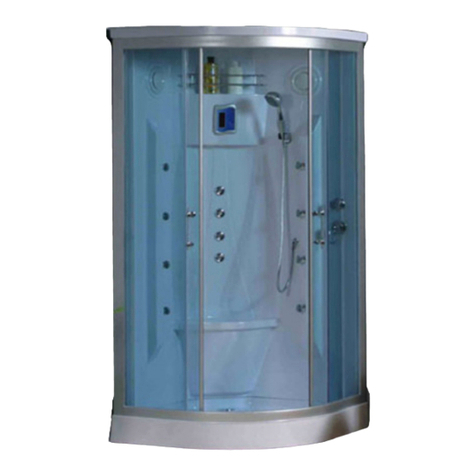
Insignia
Insignia 9015 Assembly & fitting instructions
ELEGANT
ELEGANT SPR870 quick start guide

