3
ADVERTENCIA
Lea todas las instrucciones ANTES de ensamblar y USAR este produc
to. El no cumplir con las instrucciones y las advertencias podría
causar lesiones graves a su hijo ó hasta la muerte. Guarde estas
instrucciones para una futura referencia.
CCóómmoommaanntteenneerraassuuhhiijjoosseegguurroommiieennttrraasseessttááuuttiilliizzaannddooeesstteepprroodduuccttoo
• NNOOddeejjeennuunnccaaaallnniiññoo//aassóólloo..TTeennggaaaallnniiññoo//aassiieemmpprreeaallaavviissttaa
mmiieennttrraassuuttiilliizzaallaaaannddaaddeerraa..
••PPRREECCAAUUCCIIÓÓNN::LLoossjjuugguueetteesseessttáánnpprreetteennddiiddoossppaarraaeennssaammbbllaarrppoorr
eellaadduullttoo..
PPEELLIIGGRROOEENNEESSCCAALLEERRAASS
• Evite heridas graves o mortales. Bloquee las escaleras y escalones
antes de utilizar esta andadera.
• Utilice solo en superficies planas sin objetos que puedan hacer
que la andadera vuelque. Nunca utilice cerca de escaleras,
escalones, umbrales, colinas, carreteras o piscinas.
• Para evitar quemaduras, mantenga al niño/a lejos de líquidos
calientes, cocinas, radiadores, calefacciones, chimeneas etc.
• Si la andadera se rompe o se daña, deje de utilizarla.
• No cargue nunca esta andadera con el niño/a en ella. No ajuste
nunca la altura del asiento mientras el niño/a esté dentro.
• No la levante o la cargue por medio de la bandeja, el centro
musical o los juguetes.
• No utilice este producto hasta que el bebé se pueda sentar sin
ayuda.
• Para reducir la posibilidad de que el niño/a se escurra fuera del
asiento, compruebe que sus pies tocan el suelo.
• Si el niño/a puede salirse o andar sin ayuda, deje de utilizar la
andadera de actividades (etapa de asiento).
UUttiilliicceeeessttaaaannddaaddeerraaddeeaaccttiivviiddaaddeessssoollaammeenntteessiissuuhhiijjoo//aaCCUUMMPPLLEETTOODDOOSS
lloossrreeqquueerriimmiieennttoossaabbaajjoo::
1. Puede aguantar el peso de su cuerpo con sus piernas
2. El peso está entre 15 y 30 libras (6.8 y 13.6 kgs)
3. Altura de menos de 32 pulgadas (82 cms)
•
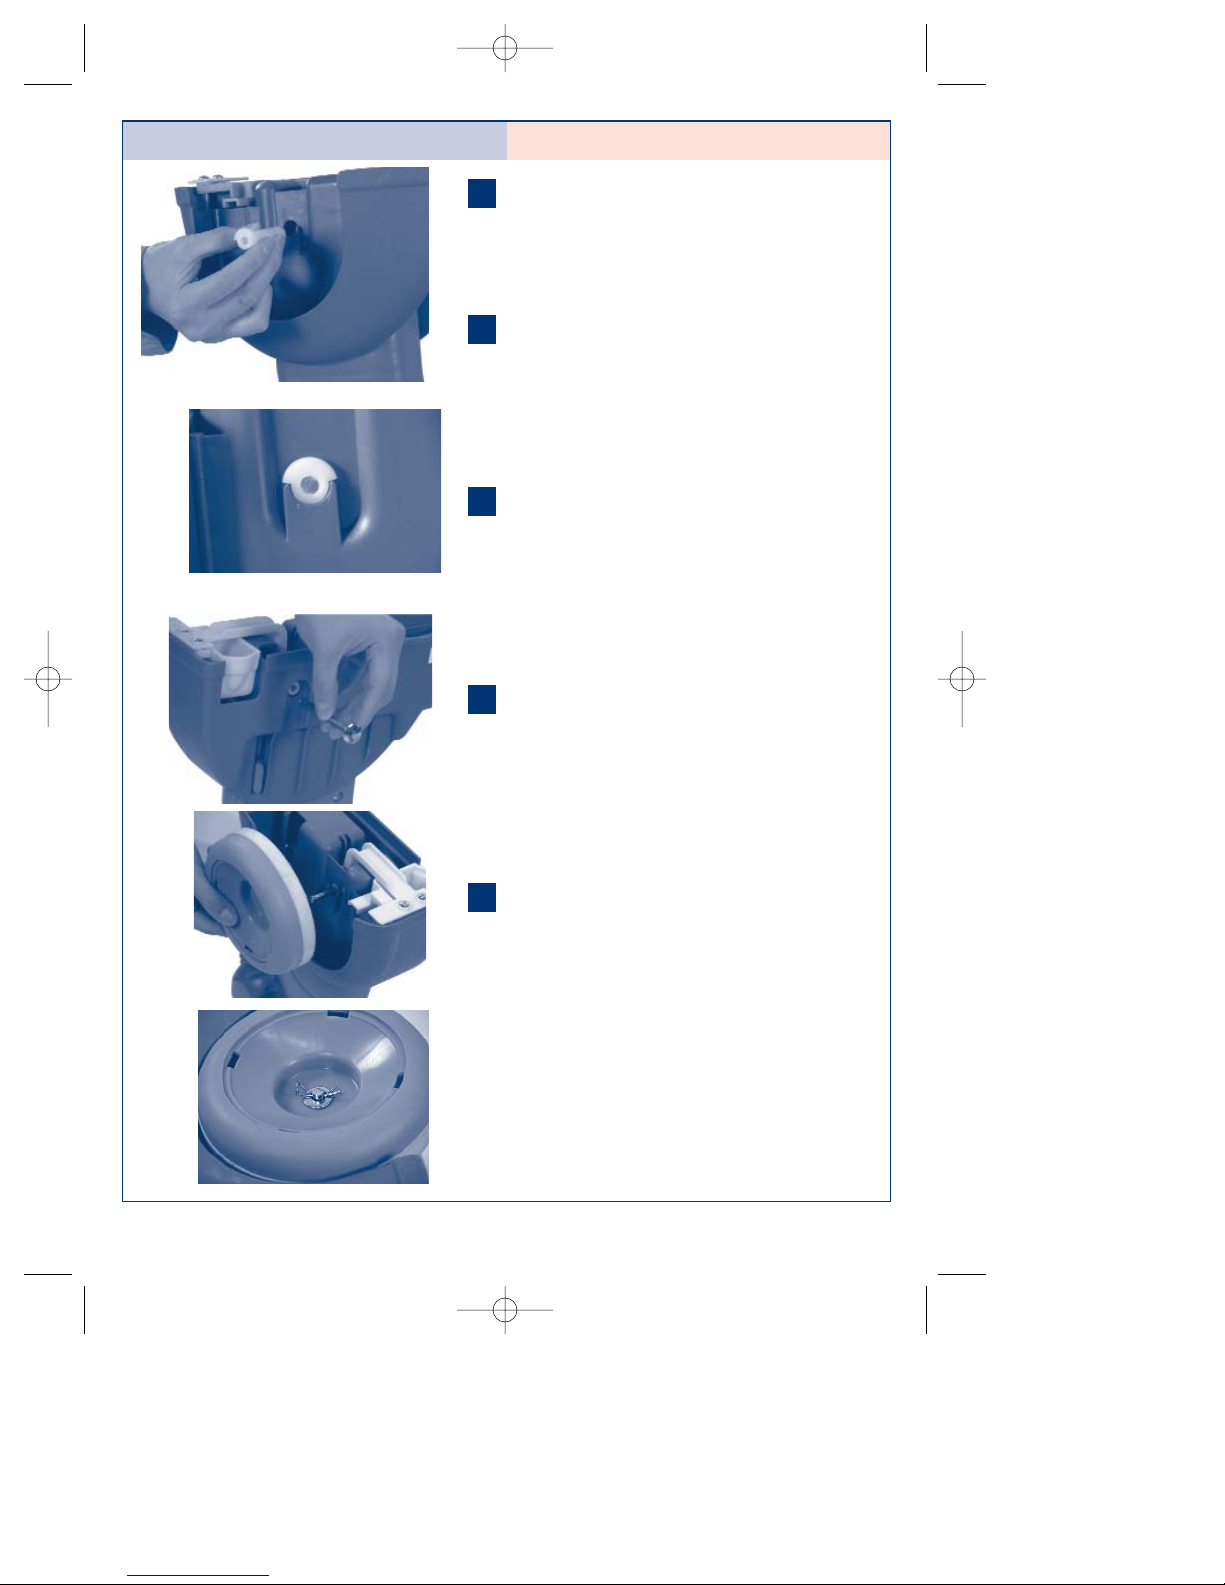
Para mantener la función de parar, limpie las tiras de fricción con
regularidad con un trapo húmedo.