- 3 -
Health risk posed by strain!
Incorrect or prolonged training can strain your
body and impair your health.
• If you have not exercised for a longer period of
time, have any cardiac, circulatory or orthopae-
dic problems or suffer from pressure sensitivity
caused by weak connective tissue, varicose veins,
injuries or open wounds, you should consult your
doctor before commencing training. Inform your
doctor of the type of training device you wish to
use and undergo a general fitness check. To be
on the safe side, take these operating instructions
with you when you visit your doctor.
• Do not exercise if you are sick or feel unwell.
• Pregnant women should only start or continue
exercising after consulting their doctor.
• Do not eat anything approx. one hour before
exercising. Do not exercise if you are tired or ex-
hausted. Only exercise wearing close-fitting, com-
fortable and cellular clothing as well as the ap-
propriate sports shoes.
• Before you start the actual training exercises, you
should always warm up your muscles by perfor-
ming stretching exercises. Increase the level slow-
ly and make sure that you take enough breaks.
Risk of colds!
Training in a draughty area can impair your
health.
• Ventilate the training area well during your exerci-
ses but also ensure that there are no draughts.
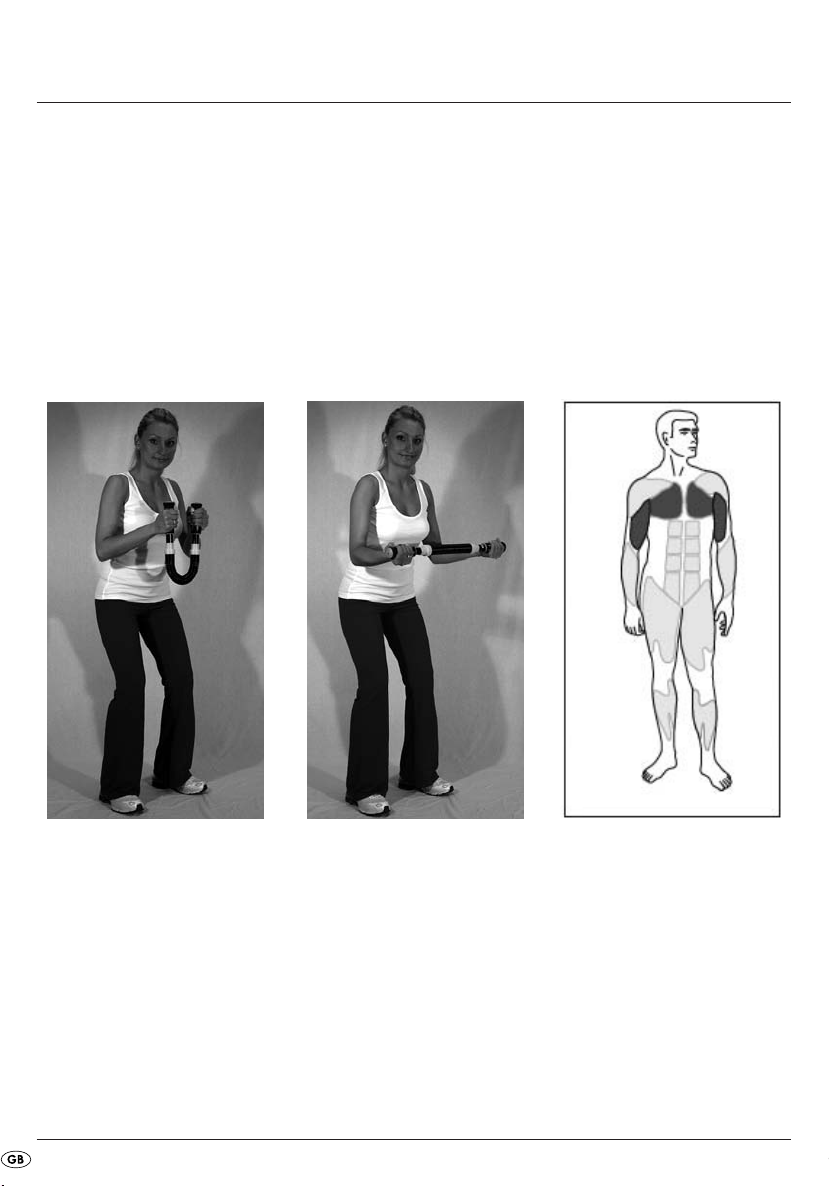
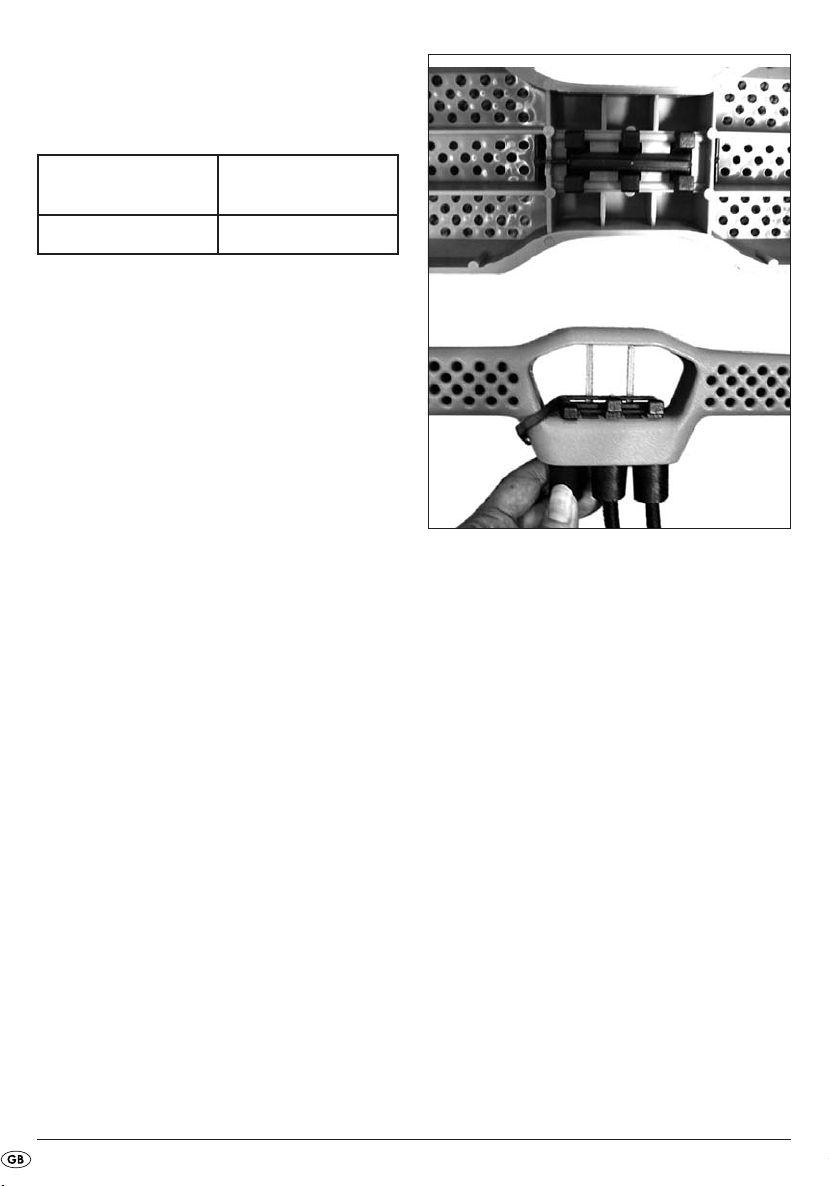
Exercises, basic information
• Perform all of the exercises slowly and in a
flowing and controlled manner.
• Make sure that you have enough space when
exercising. Do not hold your breath during the
exercises. Try to breathe out when flexing your
muscles and breathe in when relaxing them
again.
• Beginners or those who have not exercised for
some time should train 8 to 11 repeats per exer-
cise.
• Advanced users should train 12 to 25 repeats.
• If you are unable to retain the prescribed position
due to tiredness, stop doing the respective exer-
cise.
• Increase the scope of training slowly and appro-
priately.
• Take a break of 3 to 5 minutes after each exer-
cise and relax your muscles during this time.
• Conclude your training by doing stretching exer-
cises.
• Please also observe the safety information from
page 2 on and for the individual devices.
• The graphics depict the main muscle areas targe-
ted by the respective exercise.
IB_KH6003_AV40642_LB4B 10.09.2008 16:51 Uhr Seite 3