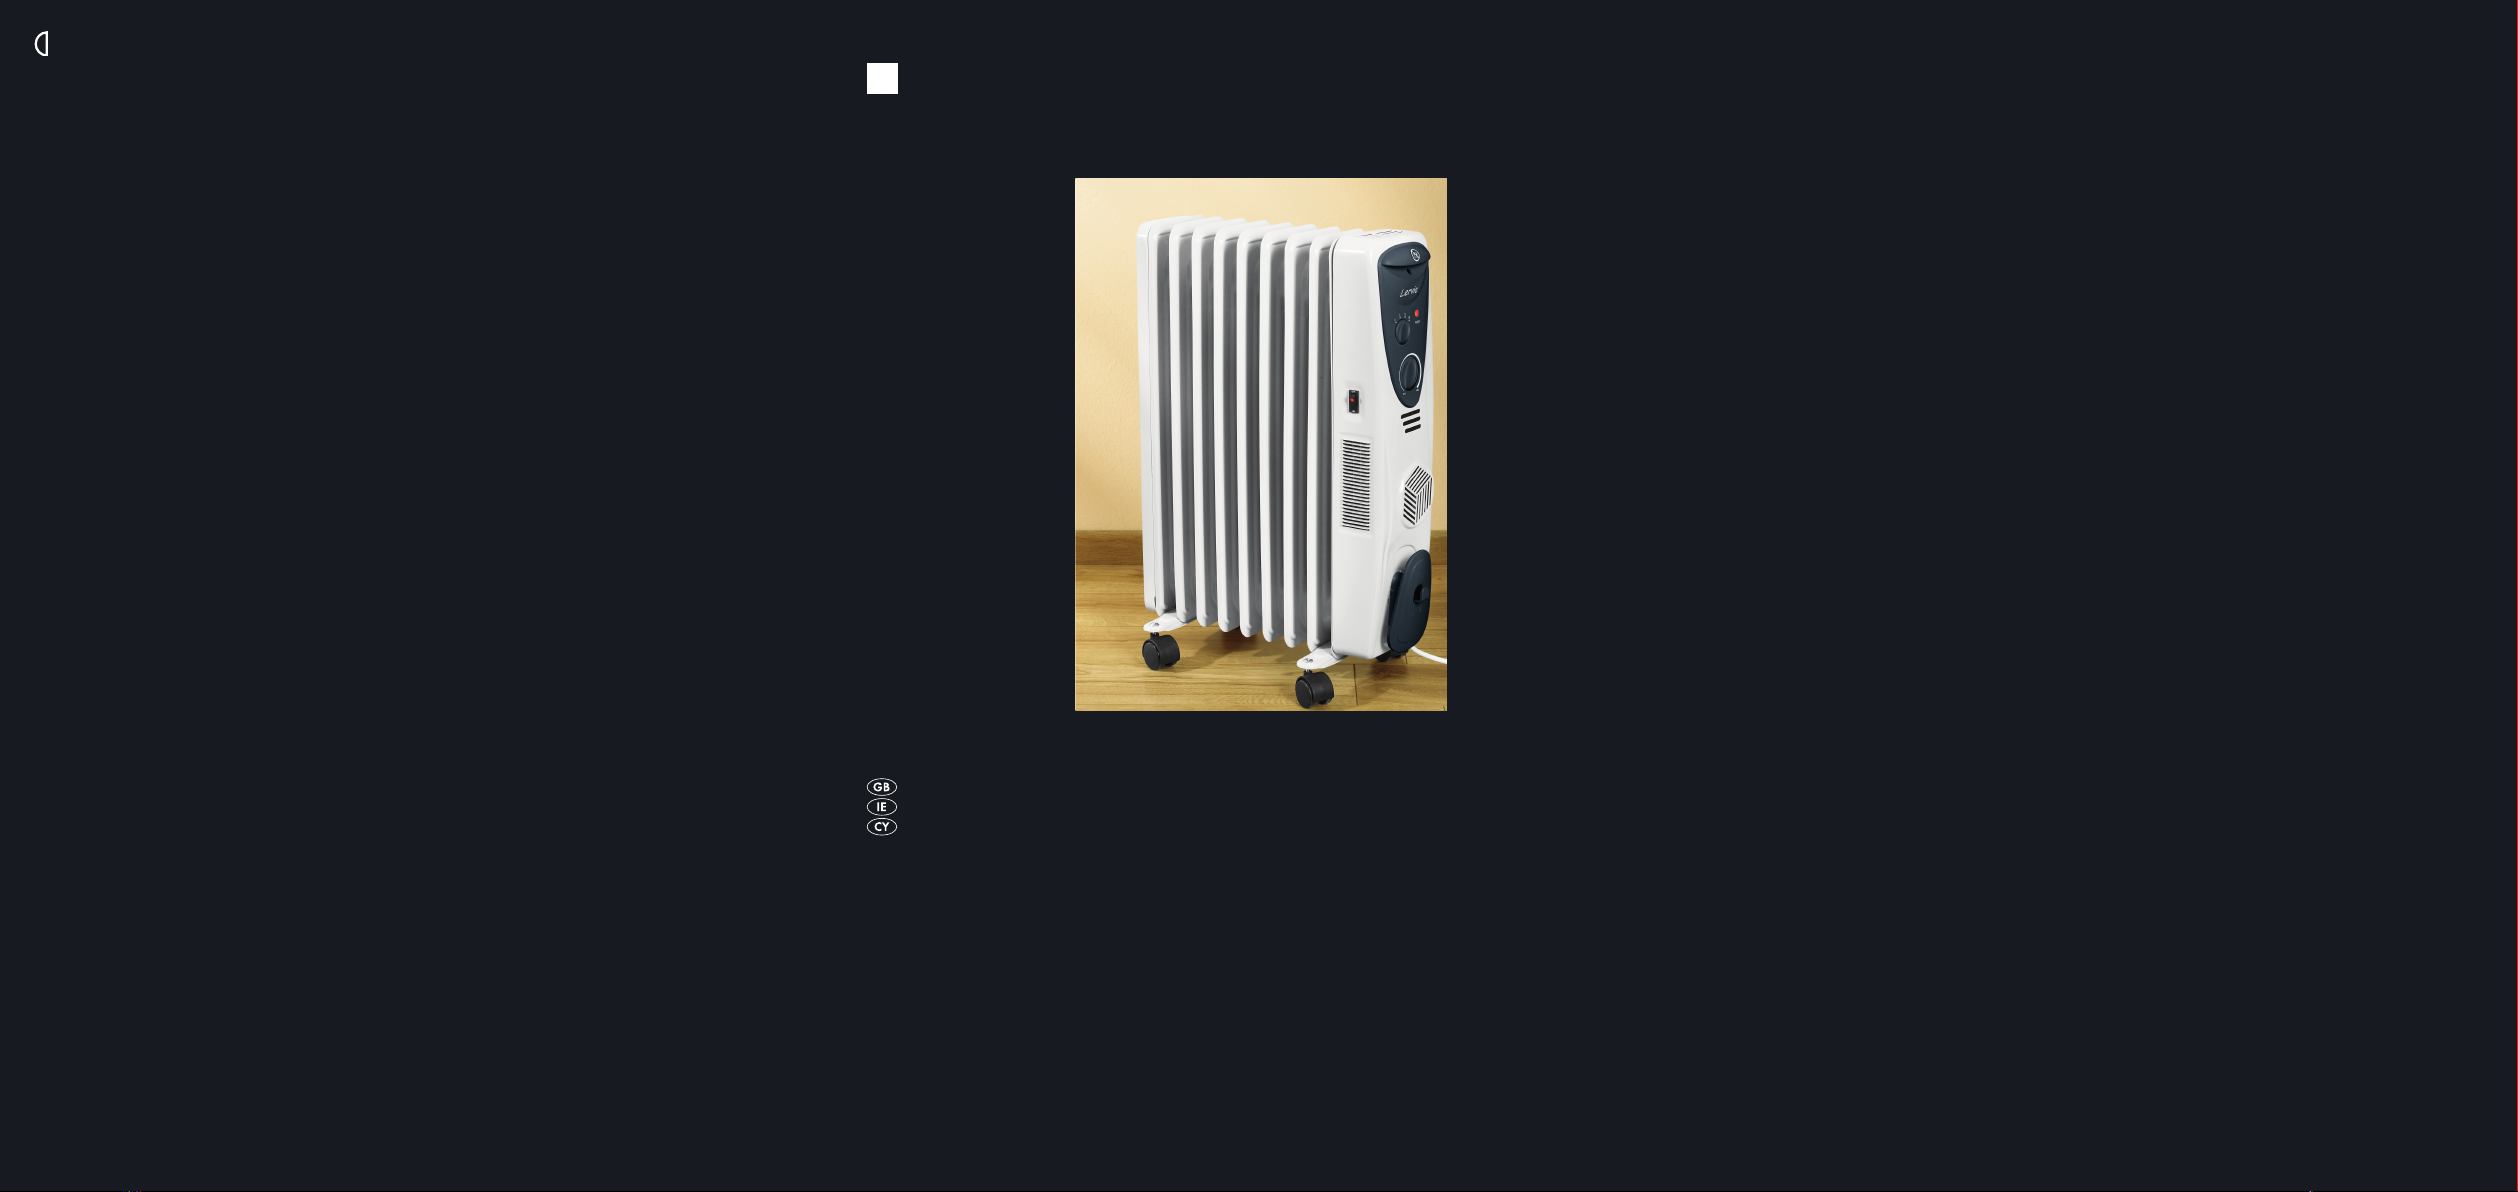
Kompernass KH9 User manual

OIL-FILLED RADIATOR
Operating instructions
OIL-FILLED RADIATOR
KOMPERNASS GMBH · BURGSTRASSE 21 · D-44867 BOCHUM
www.kompernass.com
ID-Nr.: KH9-08/08-V3
KH9
CV_KH9_AV40714_LB6.qxd 02.10.2008 11:07 Uhr Seite 1

KH 9
1
0
9
8
7
6
5
4
3
2
CV_KH9_AV40714_LB6.qxd 02.10.2008 11:07 Uhr Seite 4

- 1 -
INDEX PAGE
Intended Use 2
Safety instructions 2
Items supplied 3
Technical data 3
Description of the appliance 3
Assembly 3
Commissioning 4
Frost protection function 4
Cleaning and care 4
Storage 5
Disposal 5
Warranty and Service 5
Importer 6
Read these operating instructions carefully before using the appliance for the first time and preserve this
booklet for later reference. Pass this booklet on to whoever might acquire the appliance at a future date.
IB_KH9_AV40714_LB6.qxd 02.10.2008 11:00 Uhr Seite 1

- 2 -
OIL-FILLED RADIATOR
KH 9
Intended Use
This appliance in intended exclusively for heating in
domestic households. It is not suitable for commercial
or industrial applications.
Safety instructions
Risk of electrocution!
• Connect the oil radiator only to correctly installed
and earthed mains sockets. Ensure that the voltage
supplied through the mains socket tallies completely
with the details given on the appliance rating
plate.
• Do not fold or crush the power cable.
• To disconnect, always pull the plug itself out of
the power socket, do not pull on the power cable.
• Never touch the oil radiator, the power cable or
the plug with wet hands.
• Do not use extension cables.
• Under no circumstances may the appliance be
submersed in fluids or fluids be allowed to per-
meate the housing. Do not expose the appliance
to humidity and do not use it outdoors. There is
the danger of electrocution. Should liquids enter
the housing, unplug the appliance from the power
socket immediately and arrange for it to be
repaired by a qualified technician.
• Under no circumstances should the oil radiator
be used in the vicinity of water, for example in
a bath, shower, washbasin or in humid cellar
rooms. The proximity of moisture presents a danger,
even when the appliance is switched off.
• In event of operating malfunctions and before
cleaning the appliance, remove the power plug
from the wall socket.
• Arrange for defective power plugs and/or cables
to be replaced at once by qualified technicians
or our Customer Service Department.
• This heating appliance has been filled with a
specific volume of a special oil. Should the
appliance become damaged or leak oil then
it may no longer be taken into use. Arrange for
the appliance to be checked and/or repaired by
qualified technicians.
• Do not open the housing or attempt to repair the
appliance yourself. Should you do so, the safety
concept of the device may be compromised and
the warranty becomes void. Permit only authorised
technicians to repair a defective appliance.
• Never place the appliance in the close vicinity
of sources of heat and protect the power cable
from potential damage.
• Do not place water-filled receptacles, e.g. flower
vases, on the appliance.
Risk of fire!
• Never place the appliance close to inflammable
materials, liquids or gases. Ensure there is at
least one meter of space to all sides and above
the appliance.
• Never leave a switched-on oil radiator unsuper-
vised.
• This appliance is not intended for use by indivi-
duals (including children) with restricted physical,
physiological or intellectual abilities or deficiences
in experience and/or knowledge unless they
are supervised by a person responsible for their
safety or receive from this person instruction in
how the appliance is to be used.
• Children should be supervised to ensure that
they do not play with the appliance.
• ALWAYS position the appliance on a level and
heat resistant surface.
IB_KH9_AV40714_LB6.qxd 02.10.2008 11:00 Uhr Seite 2

- 3 -
• Do not place open fire sources, e.g. candles,
on the appliance.
Do not cover the appliance when it is in
operation!
• Clean the appliance at regular intervals.
• Do not use an external timing switch or a separate
remote control system to operate the appliance.
Injury hazard
• Lay the power cable in such a way that no one
can tread on or trip over it.
• Do not use extension cables. In an emergency
the power plug must be quickly accessible.
Items supplied
Oil Radiator
2 Roller rails
2 Mounting bracket
4 Wing nuts
Operating instructions
Technical data
Rated voltage: 220–240 V ~50 Hz
Heat output: 2300 - 2600 W
Thermostat: Infinitely variable
Heating gills: 9
Description of the appliance
1Control lamp “Power”
2Heat level switch
3Thermostat
4Warm air switch with integrated
warm air control lamp
5Warm air outlet
6Cold air intake
7Power cable retainer
8Mounting bracket
9Roller rails
0Wing nuts
Assembly
Use the fold-out page of these instructions to assist
you with the assembly.
1. Take the oil radiator and all components from
the package and remove all packaging materials.
2. Place the oil radiator, with the base uppermost,
on a soft surface, for example a carpet.
3. Place a mounting bracket 8under the heater
element so that the parts with a screw thread
project upwards.
4. Lay a roller railer 9over it, such that the screw
threads protrude through the holes. Check to
ensure that the recesses on the roller railers 9
face outwards. The screw ends projecting from
the appliance must reach into the recesses.
5. Screw one wing nut 0onto each of the threaded
ends of the mounting bracket 8until it is hand
tight.
6. Proceed in the same manner with the other side.
7. Turn the appliance over and place it on the rollers.
IB_KH9_AV40714_LB6.qxd 02.10.2008 11:00 Uhr Seite 3

- 4 -
Commissioning
1. Unwind all of the power cable from the power
cable retainer 7.
Note:
Ensure that the thermostat 3and the heat level
switch 2are standing at MIN resp. 0.
2. Insert the power plug into a wall power socket.
3. Place the heat level switch 2at “III” and the
thermostat 3at MAX. The control lamp “Power”
1glows.
Important:
With the heat level switch 2you can regulate how
quickly the appliance warms up. If you wish to heat
it up particularly quickly, select heat level “III”, if a
slow warming up is preferred, select heat level “I”.
Using the thermostat 3you can set it to the desired
temperature.
4. When the desired room temperature has been
reached, slowly turn the thermostat 3back until
a quiet “click” is heard and the control lamp
“Power” 1extinguishes. The momentary room
temperature will now be retained. It could be
that every now and then the control lamp
“Power” 1switches itself on and then back off.
This means that the programmed room tempera-
ture had fallen below this level for a short period
and the appliance had warmed itself back up.
Note:
If you want to heat a room up particularly quickly,
activate additionally the warm air switch 4.
When the warm air switch 4is positioned at ON,
the warm air control lamp 4glows and warm air is
blown through the warm air outlet 5into the room.
5. If you wish to switch the appliance off, first place
the warm air switch 4at the position OFF. Next,
turn the heat level switch 2to “0” and then the
thermostat 3to MIN.
6. Remove the plug from the wall power socket.
Frost protection function
You can programme this oil radiator so that, if the
room temperature reaches 0°C, it switches itself
on and begins to radiate heat automatically:
1. Insert the power plug into a wall socket.
2. Position the heat level switch 2at “I”, “II” or
“III”, and the thermostat 3at MIN.
The oil radiator will now switch itself on if the tempe-
rature falls to 0°C. When the temperature rises above
0°C, the oil radiator switches itself off automatically.
Cleaning and care
Injury hazard
Allow the appliance to cool down before cleaning
it! Risk of Burns!
Remove the power plug from the wall socket.
There is a risk of electric shock!
Clean the appliance with a lightly moist cloth. For
stubborn soiling use a mild detergent on the cloth.
Attention!
Do not use any aggressive, abrasive or chemical
cleaning agents. These could damage the surfaces.
IB_KH9_AV40714_LB6.qxd 02.10.2008 11:00 Uhr Seite 4

- 5 -
Storage
If you do not intend to use the appliance for a long
period, clean it as described in the section “Cleaning
and care”.
Wrap the power cable around the power cable
retainer 7.
Store the appliance at a clean and dry location.
Disposal
Do not dispose of the apliance in your
normal domestic waste. This product is
subject to the provisions of European
Directive 2002/96/EC.
Dispose of the appliance through an approved
disposal centre or at your community waste facility.
Observe the currently applicable regulations for the
disposal of used oil.
In case of doubt, please contact your waste disposal
centre.
Dispose of all packaging materials in an
environmentally friendly manner.
Warranty and Service
You receive a 3-year warranty for this device as of
the purchase date. The appliance has been manu-
factured with care and meticulously examined before
delivery. Please retain your receipt as proof of purchase.
In the case of a warranty claim, please make con-
tact by telephone with our service department. Only
in this way can a post-free despatch for your goods
be assured.
The warranty covers only claims for material and
maufacturing defects, not for worn parts or for
damage to fragile components, e.g. buttons or
batteries. This product is for private use only and is
not intended for commercial use.
In the event of misuse and improper handling, use
of force and manipulations not carried out by our
authorised service centre, the warranty will become
void. Your statutory rights are not restricted in any
way by this warranty.
DES Ltd
Units 14-15
Bilston Industrial Estate
Oxford Street
Bilston
WV14 7EG
Tel.: 0870/787-6177
Fax: 0870/787-6168
e-mail: support.uk@kompernass.com
Irish Connection
Harbour view
Howth
Co. Dublin
Tel: 00353 (0) 87 99 62 077
Fax: 00353 18398056
e-mail: support.ie@kompernass.com
IB_KH9_AV40714_LB6.qxd 02.10.2008 11:00 Uhr Seite 5

- 6 -
Importer
KOMPERNASS GMBH
BURGSTRASSE 21
44867 BOCHUM, GERMANY
www.kompernass.com
IB_KH9_AV40714_LB6.qxd 02.10.2008 11:00 Uhr Seite 6
Table of contents
Other Kompernass Heater manuals
Popular Heater manuals by other brands

Dimplex
Dimplex DHCER20WIFI instruction manual

Solar Infra Systems
Solar Infra Systems SIS25M 1848 operating instructions

Holmes
Holmes HFH5606 owner's guide

HJM
HJM ALEA1000 Original operating instructions

Superior Radiant
Superior Radiant SRP STEALTH Installation, operation and service instructions

Prem-I-Air
Prem-I-Air EH1794 user manual

DELTACALOR
DELTACALOR TELICA CINTRE 900 W Operation and installation manual

Harvia
Harvia HYB300230S Installation and user instructions

GAME
GAME SolarPRO CONTOUR 4714 owner's manual

Campingaz
Campingaz Comfort Heat CR Instructions for use

Prem-I-Air Elite
Prem-I-Air Elite EH1272 manual

Calthermic
Calthermic MONTBLANC quick start