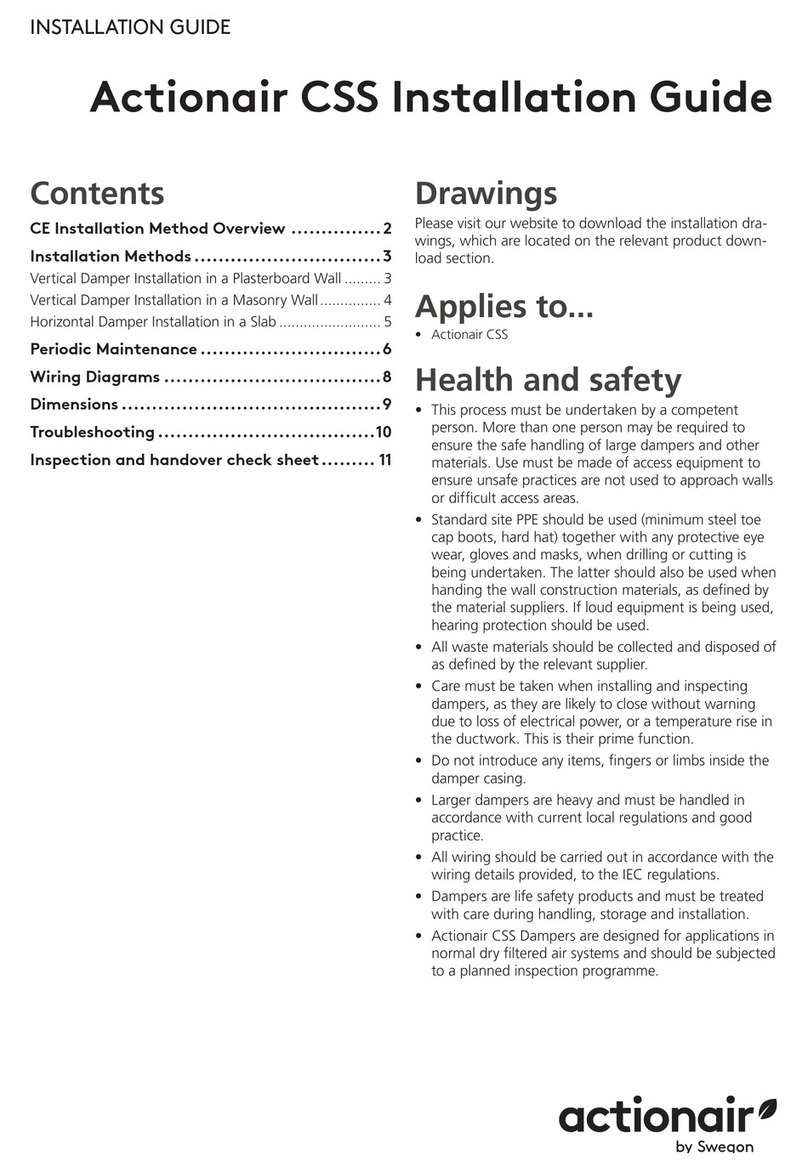
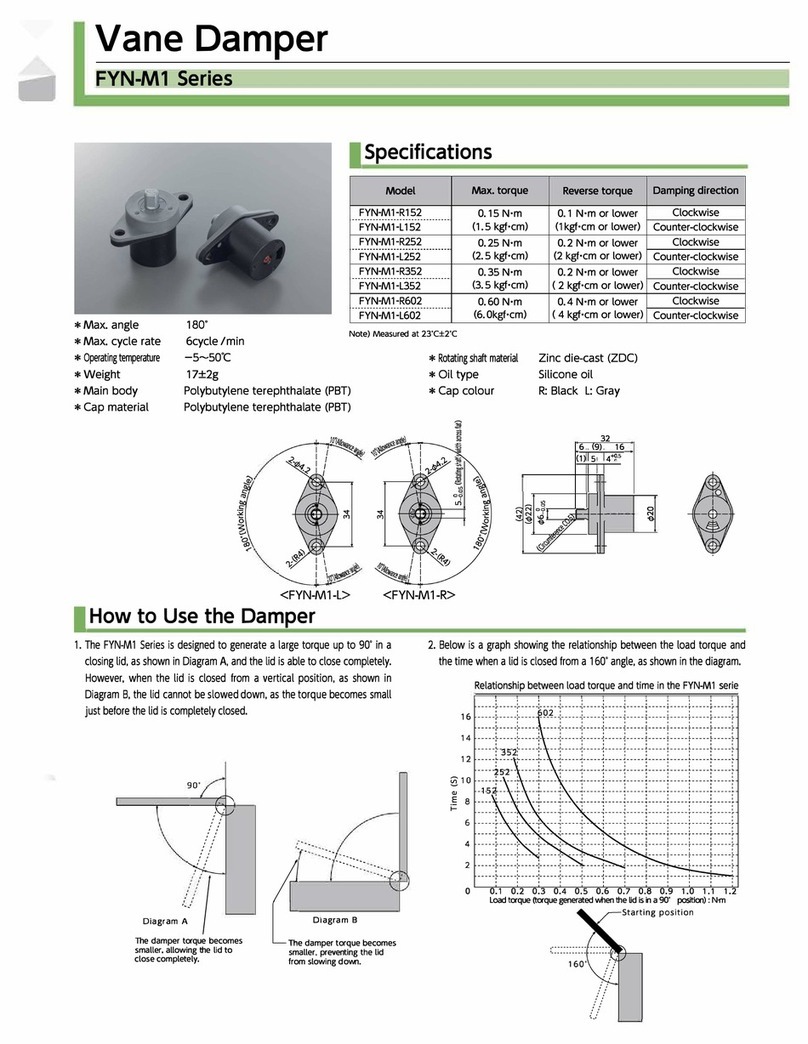
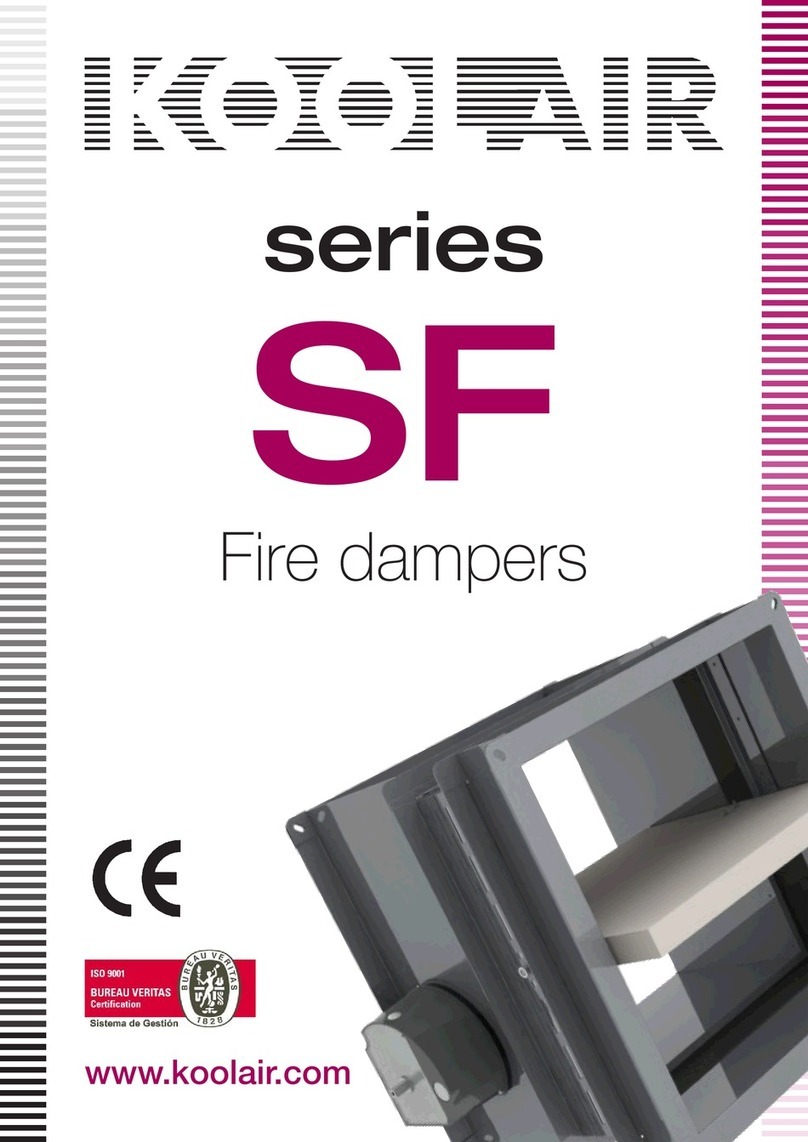
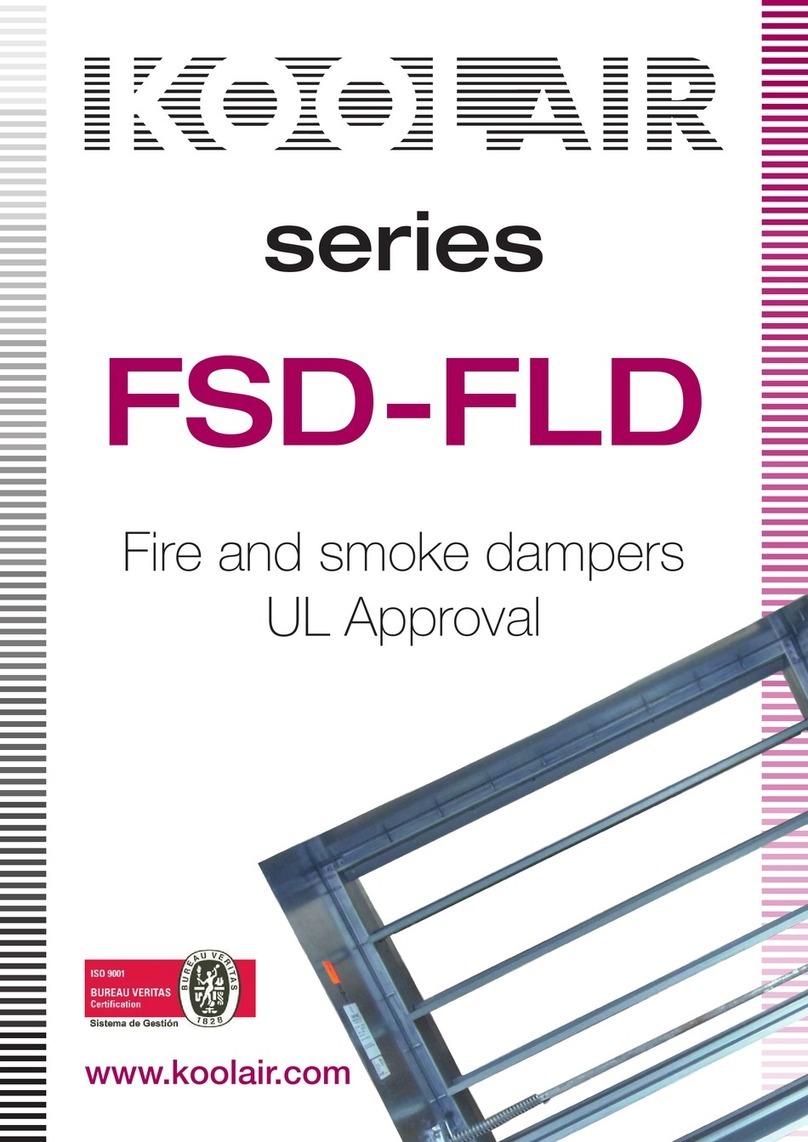
KOOLAIR SMLD User manual

www.koolair.com
SMLD
Mounting
instructions
Smoke evacuation
damper

SMLD smoke evacuation damper
Mounting instructions
CONTENTS
Regulatory designation of product type 2
Specific characteristics certified according to product type 2
Damper drawing 4
Fire resistance as per EN 13501-4 4
Product code explanation 4
Dimensions and openings 4
Testing and certification 5
Installation and on-site placement 6
Frame mounting 7
SMLD mounting 7
RPK mounting 8
Accessories 8
Electrical connections 9
User instructions 11
Instructions on maintenance and warranty 12
1

SMLD smoke evacuation damper
Mounting instructions
REGULATORY DESIGNATION OF PRODUCT TYPE
SPECIFIC CHARACTERISTICS CERTIFIED FOR THE PRODUCT TYPES
COLLECTOR DUCT SINGLE OR
COLLECTOR DUCT
Type of product Smoke control damper Smoke control damper
Family Multi-slat Multi-slat
Obligations Resetable after cold-conditon
interlock release
Standby position contact (DCU)
Safety position contact (FCU)
Reset after cold-condition interlock
release
Built-in manual control, level 0 o 1
in open
Prohibited State change prohibited due to
lack of power at the control
Safety options Built-in level 1 open/close manual
control
Standby position contact (DCU)
Safety position contact (FCU)
Operating mode With intrinsic power supply With intrinsic power supply
Control mode Electrical control Electrical control
Remote control mode By shunt release By shunt release or no-voltage
release
Uc voltage at Vdc 24 or 48 Vdc 24 or 48 Vdc
Power consumption, in W 3.5 W when shunt release
operates
3.5 W when shunt release
operates
1.6 W when no-voltage release
operates
Duct type Remote-controlled
SMLD 24/48 V
Remote-controlled
SMLD
24/48 V + reset motor
Motor-driven
SMLD
Collector duct
X
Except for no-voltage
release
X
Except for no-voltage
release
X
Except for no-voltage
release
Single or
collector duct X X X
2

SMLD smoke evacuation damper
Mounting instructions
SPECIFIC CHARACTERISTICS CERTIFIED FOR THE PRODUCT TYPES
COLLECTOR DUCT SINGLE OR
COLLECTOR DUCT
Mounting direction Vertical slat shaft Vertical slat shaft
Dimensions See page 5 See page 5
Free surfaces See page 5 See page 5
Fire resistance classes See page 4 See page 4
Air circulation direction Any Any
Fire direction Any Any
Type of mounting Wall-recessed
Attachment with or without frame
Wall-recessed
Attachment with or without frame
Protection grille With RPK protection grille With RPK protection grille
Additional functions FDCB two-pole positon contacts FDCB two-pole position contacts
Endurance After 300 cycles, the
characteristics remain within the
set limit values
After 300 cycles, the
characteristics remain within the
set limit values
Modular product No No
List of modules Not applicable Not applicable
Certicates
3

Lht = Ln + 64
2 354 256 418
3 527 384 591
4 700 512 764
Hi = Hn Hht = Hn + 249
SMLD smoke evacuation damper
Mounting instructions
DAMPER DRAWING
Touch to open the protection
cover of the components
Frame
Operating mechanism compartment
Slats
Product
labelling
FIRE RESISTANCE AS PER EN 13501-4
EI 120 (Ved - i o) S 1500 AA MULTI
PRODUCT CODE EXPLANATION
E = Integrity
120 = Resistance time, in min
i o = Either side of re
1500 = Pressure level, in pascals
I = Insulation
Ved = Vertical duct
S = Tightness
AA = Automatic trip
Multi = Multi-compartment
DIMENSIONS AND OPENINGS
Number
of ns
Nominal
dimensions
Air passage
dimensions
Outer
dimensions
Length: Ln
Height: Hn
Li: 128 x (ns)
Dimensions, in m
4

SMLD smoke evacuation damper
Mounting instructions
TESTING AND CERTIFICATION
TAll our dampers are tested at ofcial institutions. The reports from these tests are the basis for
certication of our smoke exhaust dampers.
Tested as per EN 1366-10, EN-12101-8, NF- S 61-937-1 and NF- S 61-937-10.
Europe: Classication according to EN 12101 certicate: 0370-CPR-1688
Ce certicat atteste la constance des performances:
Dans le cadre du Règlement 305/2011/UE du Parlement Européen et du Conseil du 9 mars 2011
(Règlement Produits de Construction ou RPC), ce certicat s’applique au produit de construction:
Systèmes pour le contrôle des fumées et de la chaleur. Partie 8 : Volets de désenfumage.
Organisme Certicateur:
LGAI. Technological Center, S.A
Campus UAB – Ronda de la Font del Carmen s/n
E-08193 Bellaterra (Barcelona)
T: +34 93 567 20 00
F: +34 93 567 20 01
www.applus.com
France: Certicat NF: 00.00
Cette marque NF atteste de:
- La conformité à la norme NF S 61-937 <<Systèmes de Sécurité Incendie-Dispositifs Actionnés
de Sécurité>> Parties 1 et 10 pour les volets.
- Vaut présomption de conformité à l’arrêté du 22 mars 2004 modié le 14 mars 2011 pour le
classement de résistence au feu.
- Les valeurs des caractéristiques annoncées dans cette notice.
Organisme Certicateur
AFNOR Certication
11, Rue Francis de Pressensé 93571 La Plaine Saint Denis Cedex
Téléphone : +33(0)1.41.62.80.00
Télécopie : +33(0)1.49.17.90.00
Site Internet : http://www.afnor.org et http://www.marque-nf.com
Email: certication@afnor.org
5

SMLD smoke evacuation damper
Mounting instructions
INSTALLATION AND ON-SITE PLACEMENT
Grille with anodized
aluminium look
SMLD damper
Mounting frame
Holes Ø 3
APPLICATION TO CONSTRUCTION IN DUCTS OTHER THAN THOSE TESTED: The multi-com-
partment smoke control dampers are used with ducts subject to tests as per EN 1366-8 as appropria-
te, or constructed from materials with the same density as those subject to tests or constructed from
the same material, but with a higher mass or thickness. The duct assembly must be made in confor-
mity with the manufacturer’s control tests.
6

SMLD smoke evacuation damper
Mounting instructions
FRAME MOUNTING
Duct as per UNE-EN 1366-8
Counterframe
• Take care with frame perpendicularity before mounting.
• Attach the frame in the duct with the help of 4 screws supplied with the frame.
• Drill a hole to pass the connections to the duct.
SMLD MOUNTING
• Mount the damper in the mounting frame; the folding feet of the damper are used as stops.
• Attach the frame in the duct with the help of 4 screws supplied with the frame.
• Finish the mounting by lling all holes with intumescent mastic.
SMLD x4 Screws
7

SMLD smoke evacuation damper
Mounting instructions
GRILLE MOUNTING
Because the damper is a safety component, it must be stored and handled with care.
- Store in a place protected from moisture.
- Avoid deterioration.
- Avoid contact with water.
- Avoid damper body deformation during assembly and sealing
- Avoid damper blows and tilting during transport.
Grille x4 Screws
ACCESSORIES
- The use of a mounting frame is recommended
- A protection grille to preserve the rewall class of the damper; Koolair proposes its range of RPK
grilles compatible with the SMLD damper.
8

SMLD smoke evacuation damper
Mounting instructions
ELECTRICAL CONNECTIONS
Left
Right
FCU: single-pole safety position contact (end
position)
DCU: single-pole standby position contact (start
position)
FCB: two-pole safety position contact (end
position)
DCB: two-pole standby setting contact (start
position)
Note: The micro-contacts are shown in their
working position, closed damper slats
(DC contact actuated and FC contact free)
• Remote-controlled version
The remote control and supply voltage for the position contact connections must be:
SELV (24 or 48 V).
Left Right
Standby position
contacts (DCB)
Safety position con-
tacts (FCB)
Remote-
controlled system
Standby position
contacts (DCU)
Safety position
contacts (FCU)
9

SMLD smoke evacuation damper
Mounting instructions
• Motor-driven version
Wiring for motorized version
- NOTE: The motor shall be powered by SEP (Safety Electrical Power).
Left Right
Standby position
contacts (DCB)
Safety position
contacts (FCB)
Motor Standby position
contacts (DCU)
Safety position
contacts (FCU)
• Remote-controlled version + motor
Right
Standby position
contacts (DCB)
Safety position
contacts (FCB)
24/48 V
AC/DC
Motor
Standby
position
contacts
(DCU)
Safety
position
contacts
(FCU)
Coil
remote-
controlled
system
Left
10

SMLD smoke evacuation damper
Mounting instructions
USER INSTRUCTIONS
It is recommended that dampers be installed in the frame previously sealed in the duct.
During installation, the perpendicularity of the assembly must be maintained. The SMLD dampers
must be installed vertically. During installation, the damper must be protected from the protrusion of
sealing products and handled with care.
During commissioning of the installation, clean all dust and grime on the assembly to prevent risks of
slat deterioration.
The electromagnetic coil is an extremely sensitive element of the mechanism. At commissioning,
clean the damper (dust and other particles), in particular the coil.
The front part must have a protection grille to preserve the rewall class. Note: Any air direction (air
removal and supply).
• Manual operation
• Motor-driven version
Pull to activate the mechanism
• Remote-controlled version
11

1 32
To reset the remote-controlled SMLD damper, proceed as shown in the following diagrams.
SMLD smoke evacuation damper
Mounting instructions
Control key
Close the slats manually, using the key provided with the damper
MAINTENANCE AND WARRANTY INSTRUCTIONS
No maintenance in particular.
Perform at least one operational test per year.
KOOLAIR shall be released from its liability in the event that the assembly, installation and electrical
connections are not performed as set forth in this technical manual. In this case, the warranty is not
ensured.
Pushbutton housing
12

THIS CATALOGUE IS COPYRIGHTED.
Partial or full reproduction of its content is strictly prohibited without express written authorisation from KOOLAIR, S.A.
CEN-MISMLD-1115-00
13

www.koolair.com
KOOLAIR, S.A. (Spain)
Calle Urano, 26
Polig. Ind. nº 2 – La Fuensanta
28936 Móstoles (MADRID)
Tel: +34 91 645 00 33
Fax: +34 91 645 69 62
e-mail comercial: comercial@koolair.com
e-mail Koolair: info@koolair.com
Koolair, S.A. reserves the right to change publisher datas and drawings at any time without prior notice written.
Table of contents
Other KOOLAIR Fire And Smoke Damper manuals
Popular Fire And Smoke Damper manuals by other brands

NCA
NCA FSD-RD-211 Installation, operation & maintenance instructions

Schako
Schako BKA-EN Installation, mounting and operating instructions

New York Blower
New York Blower IM-220 Installation maintenance and operating instructions

System air
System air PKIR-E60S Installation, operation and maintenance instructions

Rf-t
Rf-t AVANTAGE DP manual

Aprilaire
Aprilaire 6108 installation instructions