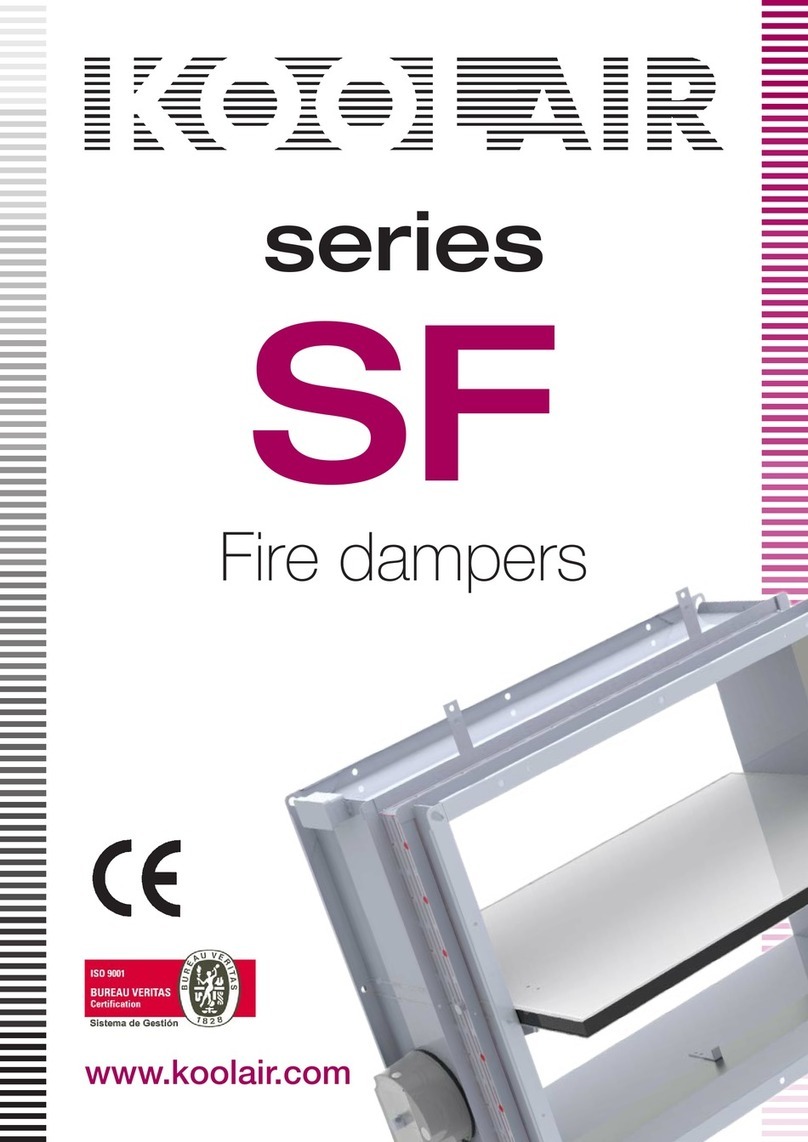
KOOLAIR CEVH User manual

www.koolair.com
CEVH
CEVH-1P-DECO
Mounting
instructions
Smoke evacuation
damper

{
{CEVH
CEVH-1P-DECO
CEVH
CEVH / CEVH – 1P DECO
Smoke evacuation dampers
Installation instructions
SUMMARY
Product type regulatory designation 2
Certified characteristics specific to the product type 3
General characteristics of smoke evacuation dampers 5
Declaration of smoke evacuation performance 6
CEVH damper drawing, dimensions and free area 7
CEVH 1P DECO damper drawing, dimensions and free area 8
Installation and assembly (CEVH) 9
Installation and assembly (CEVH 1P DECO) 10
Installation and assembly: Mounting sub-frame 11
Installation and assembly: Fitting the damper 12
Installation and assembly: Fitting the RPK grille 13
Electrical connections 14
User instructions 16
Maintenance and guarantee instructions 17
0370
1

Duct Type
CEVH Remote Control
24/48 VDC
24/48 VAC
220 VAC
+ manual reset
CEVH 1P DECO
Remote Control
24/48 VDC
24/48 VAC
220 VAC
+ manual reset
CEVH 1P DECO
Remote Control
24/48 VDC
24/48 VAC
220 VAC
+ motorised reset
24/48 V
Collective duct X
Except fail-safe
X
Except fail-safe
X
Except fail-safe
Single duct or
manifold X X X
CEVH/CEVH-1P-DECO Smoke evacuation dampers
Installation instructions
PRODUCT TYPE REGULATORY DESIGNATION.
2

CEVH/CEVH-1P-DECO Smoke evacuation dampers
Installation instructions
CERTIFIED CHARACTERISTICS SPECIFIC TO THE PRODUCT TYPE
CE certied characteristics
CEVH CEVH-1P-DECO
Operating mode Stored energy
CONTROL MODE
Control mode
Remote control (shunt release) +
manual reset
Remote control (shunt release) +
motor-driven reset Not applicable
Remote control mode
Open-circuit shunt release Yes
Closed-circuit shunt release Yes (Single duct or manifold)
No (Collective duct)
Uc voltage in VDC
Remote control (shunt release) +
manual reset : 24 VDC 24 VAC 48 VDC 48 VAC 220 VAC
Remote control (schunt release) +
motor-driven reset Not applicable : 24 V 48 V
Continuous Power in W
Remote controlled (shunt release) +
manual reset
Maximum value (o.c. shunt release): 3.5 W
Maximum value (c.c. shunt releasae): 1.6 W
Maximum value (o.c. shunt
release): 3.5 W
Remote control (shunt release) +
motor-driven reset Maximum value: 3.5 W
ADDITIONAL FUNCTIONS
Remote controlled (shunt release) +
manual reset
- Single pole or two pole standby position contact (spare)
- Single pole or two pole safety position contact (spare)
Remote control (shunt release) +
motor-driven reset Not applicable
- Single pole or two pole standby
contact (spare)
- Single pole or two pole safety
position contact (spare)
- Reset Motor 24/48 V
MODULAR Not applicable
3

CEVH/CEVH-1P-DECO Smoke evacuation dampers
Installation instructions
CERTIFIED CHARACTERISTICS SPECIFIC TO THE PRODUCT TYPE
CE + NF certied characteristics
CEVH
Operating mode Stored energy
CONTROL MODE
Control mode
Remote controlled (shunt release) +
manual reset
Remote control (shunt release) +
motor-driven reset Not applicable
Remote control mode
Open-circuit shunt release Yes
Closed-circuit shunt release Yes (Single duct or manifold)
No (Collective duct)
Uc voltage in VDC
Remote controlled (shunt release) +
manual reset 24 VDC 48 VDC
Remote control (shunt release) +
motor-driven reset Not applicable
Continuous Power in W
Remote controlled (shunt release) +
manual reset
Maximum value (open-circuit shunt release): 3.5 W
Maximum value (closed-circuit shunt release): 1.6 W
Remote control (shunt release) +
motor-driven reset Not applicable
ADDITIONAL FUNCTIONS
Remote controlled (shunt release) +
manual reset
- Single pole or two pole standby position contact (spare)
- Single pole or two pole safety position contact (spare)
Remote control (shunt release) +
motor-driven reset Not applicable
MODULARITY Not applicable
4

CEVH/CEVH-1P-DECO Smoke evacuation dampers
Installation instructions
CERTIFIED CHARACTERISTICS SPECIFIC TO THE PRODUCT TYPE
General characteristics of smoke evacuation dampers
Damper for collective duct:
Forbidden:
- Change of state by remote control power supply
disconnection is forbidden.
Required:
- Resettable after cold release.
- Level 0 or 1 built-in manual opening control.
- Safety position contact (end point limit switch)
- Standby position contact (start point limit switch)
Safety option:
- Level 1 built-in manual opening and closing control
Damper for single duct or manifold:
Required:
- Resettable after cold release
- Level 0 or 1 built-in manual control
Safety options:
- Safety position contact (end point limit switch)
- Standby position contact (start point limit switch)
SERVICE LIFE 300 cycles
ALLOWED RANGE OF DIMENSIONS
Clear cross-section area See pages 7 and 8
Dimensions See pages 7 and 8
FIRE RESISTANCE CLASSIFICATION
Fire resistance rating
CEVH: EI 120(Ved i ↔o) S 1500 AA multi
CEVH-1P-DECO: EI 120(Ved i ↔o) S 1500 AA C300 multi
Installation type
CEVH: RPK protective grille
CEVH-1P-DECO: RPK protective grille or concealment plate
INSTALLATION
Installation orientation
CEVH: Two blades with vertical axes
CEVH-1P-DECO: Single blade with vertical axis
Direction of air movement Any
5

CEVH/CEVH-1P-DECO Smoke evacuation dampers
Installation instructions
EXPLANATION OF THE PRODUCT CODE
EXPLANATION OF THE MARKING CODE
E = Thermal Integrity
I = Thermal Insulation
120 = Resistance time in minutes
i ↔ o = Position of the mechanisms (re side independent)
Ved = Vertical duct
S = Smoke leakage
Pa = Pressure in Pascals
auto = automatic
tele = remote controlled
CC = collective duct
CU = single duct
Pa = Pressure in Pascals
Dim.nom = nominal dimensions
SL = free area
E.ALIM = Power input
E.TELE = remote control input
E = open-circuit shunt release
R = closed-circuit shunt release
Vca or Vac = AC Voltage
Vcc = DC Voltage
DECLARATION OF SMOKE EVACUATION PERFORMANCE
L: 400 → 1100
H: 400 → 1100
EI 120 (Ved i↔o) S 1500
AA multi (500Pa)
L: 300 → 700
H: 385 → 1100
EI 120 (Ved i↔o) S 1500
AA C300 multi (500Pa)
CEVH
Installation
location Installation Classication
Vertical
duct
1366-8
certied
Vertical
duct
1366-8
certied
Smoke
exhaust duct
Smoke
exhaust duct
Dimensions
(mm)
CEVH-1P-DECO
6

CEVH DAMPER DRAWING, DIMENSIONS AND FREE AREA
CEVH/CEVH-1P-DECO Smoke evacuation dampers
Installation instructions
DIMENSIONS AND OPENINGS
Product labelling
Nominal length
Ln [mm]
External length
Lht [mm]
Nominal height
Hn [mm]
External height
Hht [mm]
400 429 400 429
450 479 450 479
500 529 500 529
550 579 550 579
600 629 600 629
650 679 650 679
700 729 700 729
750 779 750 779
800 829 800 829
850 879 850 879
900 929 900 929
950 979 950 979
1000 1029 1000 1029
1050 1079 1050 1079
1100 1129 1100 1129
Calculation of the free area (dm2)
Lht = Ln +29 Hht = Hn + 29 Free area formula (dm2)
Lpa = Lht - 239 Hpa = Hht - 125 (Hpa (mm) x Lpa (mm) / 10000)
7

CEVH-1P-DECO DAMPER DRAWING, DIMENSIONS AND FREE AREA-SECTION
CEVH/CEVH-1P-DECO Smoke evacuation dampers
Installation instructions
CEVH-1P-DECO with RPK grille CEVH-1P-DECO with Concealment Plate Product labelling
Nominal
length Ln External length Lt [mm] Nominal
height Hn External height Ht [mm]
[mm] DECO RPK [mm] DECO RPK
400 450 494 400 450 470
450 500 544 450 500 520
500 550 594 500 550 570
550 600 644 550 600 620
600 650 694 600 650 670
650 700 744 650 700 720
700 750 794 700 750 770
750 800 820
800 850 870
850 900 920
900 950 970
950 1000 1020
1000 1050 1070
Calculation of the free-area (dm2)
(Hn – 100) · (Ln – 100)
S.L (dm2) =
104
8

Ln + 10
Hn + 10
Ht
Lt
P *
* P = (Ln / 2) + 90
CEVH/CEVH-1P-DECO Smoke evacuation dampers
Installation instructions
INSTALLATION AND ASSEMBLY (CEVH)
Installation in a duct whose internal dimensions are 1,100 mm (width) x 1,100 mm (height) maximum,
52 mm thick Promatect L500 shaped plate.
Use of the CEVH damper in installations with ducts other than those tested under certied conditions:
For multi-compartment systems (multi), ducts tested according to the EN standard were used in
each case, or ducts made from a material with a density equal to or greater than those used in the
certication tests. The duct must be installed according to the manufacturer’s current drawings.
RPK grille
CEVH damper
Metal frame
Smoke exhaust duct
9

CEVH/CEVH-1P-DECO Smoke evacuation dampers
Installation instructions
INSTALLATION AND ASSEMBLY (CEVH-1P-DECO)
Ln + 10
Hn + 10
Ht
Lt
Ht
Ln + 110 > 110
Use of the CEVH-1P-DECO damper in installations with ducts other than those tested under certied
conditions:
For multi-compartment systems (multi), ducts tested according to the EN standard were used in
each case, or ducts made from a material with a density equal to or greater than those used in the
certication tests. The duct must be installed according to the manufacturer’s current drawings.
RPK
CEVH-1P
Frame
Smoke exhaust duct
10

CEVH/CEVH-1P-DECO Smoke evacuation dampers
Installation instructions
INSTALLATION AND ASSEMBLY: MOUNTING SUB-FRAME
Caution:
• Make sure that the sub-frame is perfectly square before installing.
• Fix the sub-frame to the duct with 4 screws (supplied with the frame).
• Drill a hole in the duct for the connection cables to pass through.
EN 1366-8 compliant duct
Install the frame and x with 4 screws.
11

INSTALLATION AND ASSEMBLY: MOUNTING THE DAMPER
CEVH/CEVH-1P-DECO Smoke evacuation dampers
Installation instructions
· Fix the damper into the sub-frame. The damper’s folding legs will act as a stop.
· Fix the damper to the sub-frame with 4 screws (supplied with the damper).
· Finally, ll all the holes with intumescent mastic.
Because it is a safety component, the damper must be stored and handled with care.
Cautions:
· Store in a dry place free of damp.
· Avoid contact with water.
· Do not allow the body of the damper to be warped during installation and sealing
· Avoid the damper being struck and carry it well-balanced.
· The use of the mounting sub-frame is recommended to make the installation of the
damper easier (See page 11).
12

CEVH/CEVH-1P-DECO Smoke evacuation dampers
Installation instructions
INSTALLATION AND ASSEMBLY: INSTALLING THE RPK GRILLE
RPK x4 Screw Ø 3.9x38 DIN
13

CEVH/CEVH-1P-DECO Smoke evacuation dampers
Installation instructions
ELECTRICAL CONNECTIONS CEVH:
CEVH:
CEVH-1P-DECO:
Electrical connections:
Access to the electrical connections inside the
connection box:
· Electromagnetic lock
· Start and end limit switches contact
· Reset motor (an option for
CEVH-1P-DECO).
FCU: Single pole end limit switch contact
(safety position)
DCU: Single pole start limit switch contact
(standby position)
FCB: Two pole end limit switch contact
(safety position)
DCB: Two pole start limit switch contact
(standby position)
Triggering:
Triggered by open-circuit shunt release (CEVH
and CEVH-1P-DECO) or closed-circuit shunt
release (CEVH) with manual/motor-driven reset:
Available shunt releases:
Reset motor:
24 Vcc
48 Vcc /
24 Vca
48 Vca
230 Vca
24 / 48 V /
Connection box
2- Connection
box 2
1- Entry
connection
3- Connection box 3
(FDCB)
14

CEVH/CEVH-1P-DECO Smoke evacuation dampers
Installation instructions
ELECTRICAL CONNECTIONS
CEVH CONNECTION: /
CEVH-1P-DECO (SINGLE POLE CONTACTS):
CEVH-1P-DECO (TWO POLE CONTACTS)
Connection box 2
Connection box 2
* Only for model
Connection box 3
Connection box 3
DCU
B-EMI
B-EMI
DCB
DCB
FCU
DCU
DCU
FCB
FCB
FCU*
FCU
FCU
Lock
MOTOR
(OPTIONAL)
FCB*
15

CEVH : /
Triggering Resetting
USER INSTRUCTIONS
CEVH/CEVH-1P-DECO Smoke evacuation dampers
Installation instructions
It is recommended that the dampers be xed into a sub-frame already sealed to the duct.
The assembly must be kept perfectly square during the installation. The CEVH and CEVH-1P-DECO
dampers must be installed in a vertical orientation.
When positioning the damper, protect it from any sealant splashing and handle it with care.
Before starting the installation, remove all traces of dust and dirt to avoid damaging the vanes. The
shunt release is a particularly sensitive part of the mechanism.
The front part must have a protection grille (CEVH and CEVH-1P-DECO) or a brosilicate plate
(CEVH-1P-DECO) to preserve the degree of re-cut.
Note: Sense of indierent air (extraction and supply of air).
To manually operate and rearm the CEVH and CEVH 1P DECO gates, proceed according to the
following illustrations:
16

CEVH-1P-DECO:
Manual or motor-driven resetting
USER INSTRUCTIONS
MAINTENANCE AND GUARANTEE INSTRUCTIONS.
CEVH/CEVH-1P-DECO Smoke evacuation dampers
Installation instructions
To perform a motor-driven reset, power the motor with a 24 V or 48 V supply
(See page 14: “Electrical connections”).
The CEVH damper does not require any specic maintenance. Perform at least one functional check
per year.
Koolair will not be held liable if the assembly, installation and electrical connections have not been
carried out in accordance with these technical instructions. In that event, the guarantee may not
apply.
17

This document is protected by intellectual property rights.
Partial or total reproduction of its contents without proof of formal permission from KOOLAIR SL is forbidden.
CEN-MICEVH-0419-00
18

www.koolair.com
KOOLAIR, S.L. (Spain)
Calle Urano, 26
Polig. Ind. nº 2 – La Fuensanta
28936 Móstoles (MADRID)
Tel: +34 91 645 00 33
Fax: +34 91 645 69 62
e-mail comercial: comercial@koolair.com
e-mail Koolair: info@koolair.com
Koolair, S.L. reserves the right to change publisher datas and drawings at any time without prior notice written.
This manual suits for next models
1
Table of contents
Other KOOLAIR Fire And Smoke Damper manuals
Popular Fire And Smoke Damper manuals by other brands

Rf-t
Rf-t CU2 manual

Trane
Trane Precedent FIADMPR102 Series installation instructions

Advanced Air
Advanced Air 0160 Series Installation, operation and maintenance manual
actionair
actionair SmokeShield Installation Methods

Brofer
Brofer BTT 30 EURO Series Installation and use manual

Mandik
Mandik FDMB manual