manuals.online logo
Brands
  1. Home
  2. •
  3. Brands
  4. •
  5. Kramer
  6. •
  7. Controllers
  8. •
  9. Kramer SL-1N User manual

Kramer SL-1N User manual

Other manuals for SL-1N

1

This manual suits for next models

1

Other Kramer Controllers manuals

Kramer SL-280 User manual

Kramer

Kramer SL-280 User manual

Kramer RC-76R User manual

Kramer

Kramer RC-76R User manual

Kramer SL-14RC User manual

Kramer

Kramer SL-14RC User manual

Kramer RC-7LC User manual

Kramer

Kramer RC-7LC User manual

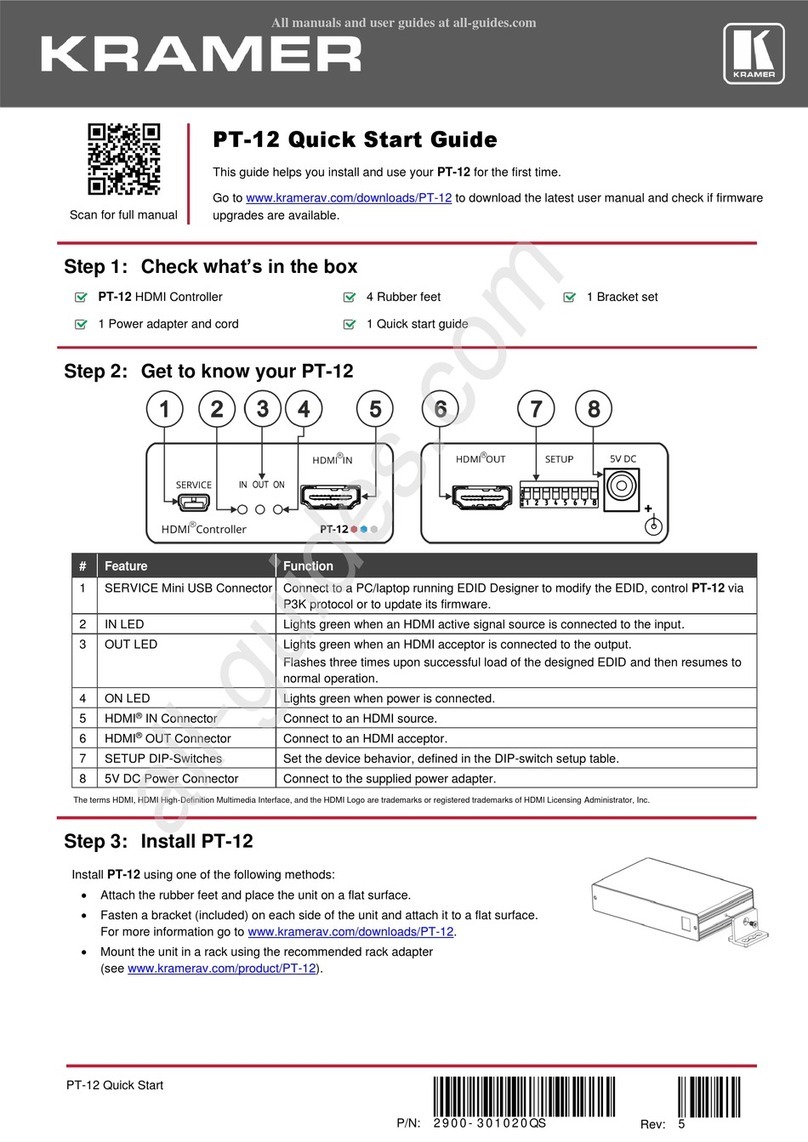
Kramer PT-12 User manual

Kramer

Kramer PT-12 User manual

Kramer FC-22ETH User manual

Kramer

Kramer FC-22ETH User manual

Kramer PL-50 User manual

Kramer

Kramer PL-50 User manual

Kramer FC-26LA User manual

Kramer

Kramer FC-26LA User manual

Kramer PT-12 User manual

Kramer

Kramer PT-12 User manual

Kramer FC-28 User manual

Kramer

Kramer FC-28 User manual

Kramer SL-1 User manual

Kramer

Kramer SL-1 User manual

Kramer RC-52N User manual

Kramer

Kramer RC-52N User manual

Kramer FC-10ETH User manual

Kramer

Kramer FC-10ETH User manual

Kramer RC-7B User manual

Kramer

Kramer RC-7B User manual

Kramer RC-63DLN User manual

Kramer

Kramer RC-63DLN User manual

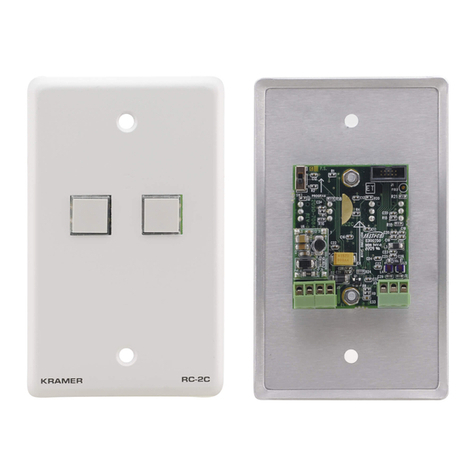
Kramer RC-2C User manual

Kramer

Kramer RC-2C User manual

Kramer RC-43SL User manual

Kramer

Kramer RC-43SL User manual

Kramer RC-8RKL User manual

Kramer

Kramer RC-8RKL User manual

Kramer RC-2 User manual

Kramer

Kramer RC-2 User manual

Kramer FC-26 User manual

Kramer

Kramer FC-26 User manual
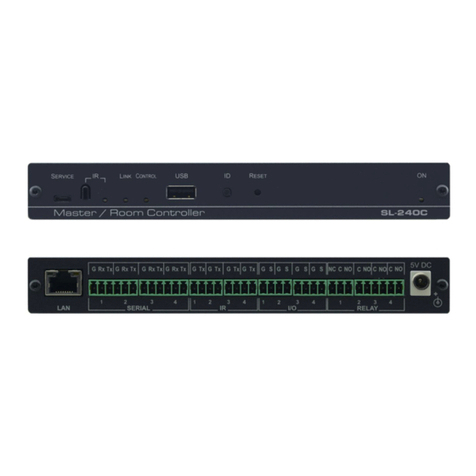
Kramer SL-12 User manual

Kramer

Kramer SL-12 User manual

Kramer SL-1 User manual

Kramer

Kramer SL-1 User manual

Kramer RC-62 User manual

Kramer

Kramer RC-62 User manual

Kramer KC-Virtual Brain5 User manual

Kramer

Kramer KC-Virtual Brain5 User manual

Popular Controllers manuals by other brands

Sunricher SR-ZV9003T3-RGBW-US Installation

Sunricher

Sunricher SR-ZV9003T3-RGBW-US Installation

Ksenia intro Installation and configuration manual

Ksenia

Ksenia intro Installation and configuration manual

Inovance CAN200 Series manual

Inovance

Inovance CAN200 Series manual

Gauzy LC6 FLEX Controller Installation and operation guide

Gauzy

Gauzy LC6 FLEX Controller Installation and operation guide

Viking SLP-1 Technical practice

Viking

Viking SLP-1 Technical practice

CKD KBX-30E-U Series instruction manual

CKD

CKD KBX-30E-U Series instruction manual

Sharp Energy Sun Flux User manual & installation guide

Sharp Energy

Sharp Energy Sun Flux User manual & installation guide

Yamaha RCX40 user manual

Yamaha

Yamaha RCX40 user manual

AB Quality PowerFlex 400 Frames D-H Service bulletin

AB Quality

AB Quality PowerFlex 400 Frames D-H Service bulletin

Yamaha MJC8 owner's manual

Yamaha

Yamaha MJC8 owner's manual

AL-KO ATC operating instructions

AL-KO

AL-KO ATC operating instructions

Savant SmartControl 2 Deployment guide

Savant

Savant SmartControl 2 Deployment guide

GameSir T3S user manual

GameSir

GameSir T3S user manual

Kostal inveor operating manual

Kostal

Kostal inveor operating manual

Emerson Yarway 20-55 Operating and safety instructions

Emerson

Emerson Yarway 20-55 Operating and safety instructions

CoCo ACM-LV24 Quick installation guide

CoCo

CoCo ACM-LV24 Quick installation guide

Brooks SLA5810/20 Installation and operation manual

Brooks

Brooks SLA5810/20 Installation and operation manual

SIGMA TEK SR 011 Technical manual

SIGMA TEK

SIGMA TEK SR 011 Technical manual

manuals.online logo
manuals.online logoBrands
  • About & Mission
  • Contact us
  • Privacy Policy
  • Terms and Conditions

Copyright 2025 Manuals.Online. All Rights Reserved.

SL-1N Quick Start
P/N:
2900- 301273QS
Rev:
2
Scan for full manual
SL-1N Quick Start Guide
This guide helps you install and use your SL-1N for the first time.
Go to www.kramerav.com/downloads/SL-1N to download the latest user manual and check if firmware
upgrades are available.
Step 1: Check what’s in the box
SL-1N Master Room Controller
1 Power supply (12V DC)
4 Rubber feet
Kramer RC-IR3 Infrared Remote Control Transmitter with
batteries and user manual
1 Quick start guide
Step 2: Get to know your SL-1N
#
Feature
Function
1
RELAYS Terminal Blocks
Connect to low-voltage relay-driven devices (from 1 to 3)
2
IR Output Terminal Blocks
Connect to IR emitter cables (from 1 to 2)
3
RS-232 Terminal Blocks
Connect to the RS-232 devices (from 1 to 2)
4
ETHERNET RJ-45 Connector
Connects to the PC or other serial controller through computer networking
LAN
5
DEFAULT Pushbutton
Press to reset to factory default definitions:
IP number −192.168.1.39, mask –255.255.0.0, gateway –0.0.0.0, also to
remove the current configuration
First disconnect the power cord and then connect it again while pressing the
ETH Factory Reset button. The unit powers up and loads its memory with the
factory default definitions and erases all stored presets
6
K-NET Terminal Block
PIN GND is for the ground connection; PIN B (-) and PIN A (+) are for
RS-485, and PIN +12V is for powering the unit
The ground connection is sometimes connected to the shield of the RS-485
cable
7
12V DC Connector
For supplying power to the unit
8
IR IN Sensor and LED
Accepts IR remote commands
9
IR INPUT 3.5mm Mini Jack
Connects to a remote infrared sensor
10
NET LED
Illuminates while transmitting over Ethernet
11
K-NET LED
Illuminates when the K-NET is active (red –transmit, green –receive, during
normal activity flashes red)
12
RS-232 Tx/Rx LEDs
Illuminates while transmitting/receiving on an RS-232 port (1 to 2) (red –
transmit, green –receive)
13
IR LEDs
Illuminates when an IR port is active
14
RELAYS LEDs
Illuminates when a relay is active (1 to 3)
15
SRVC DIP-Switch
Slides down for service use only, slides up for normal operation
16
K-NET TERM DIP-Switch
Slides down for K-NET termination, slides up for not terminated
17
PROGRAM USB Connector
Connect to a computer for unit configuration and firmware upgrading
Step 3: Mount SL-1N
Install SL-1N using one of the following methods:
•Attach the rubber feet and place the unit on a flat surface.
•Fasten a bracket on each side of the unit and attach it to a flat surface
(see www.kramerav.com/downloads/SL-1N).
•Mount the unit in a rack using the recommended rack adapter
(see www.kramerav.com/product/SL-1N).
•Ensure that the environment (e.g., maximum ambient temperature &
air flow) is compatible for the device.
•Avoid uneven mechanical loading.
•Appropriate consideration of equipment nameplate ratings should be
used for avoiding overloading of the circuits.
•Reliable earthing of rack-mounted equipment should be maintained.
Step 4: Connect inputs and outputs
Always switch OFF the power on each device before connecting it to your SL-1N.
To achieve specified extension distances, use the recommended Kramer cables available at www.kramerav.com/product/SL-1N.
Using third-party cables may cause damage!
Step 5: Connect power
Connect the power cord to SL-1N and plug it into the mains electricity.
Safety Instructions (See www.kramerav.com for updated safety information)
Caution:
•For products with relay terminals and GPI\O ports, please refer to the permitted rating for an external connection, located next to the
terminal or in the User Manual.
•There are no operator serviceable parts inside the unit.
Warning:
•Use only the power cord that is supplied with the unit.
•Disconnect the power and unplug the unit from the wall before installing.
Step 6: Operate SL-1N
Operate via the RC keypad, IR remote control, K-NET or Ethernet