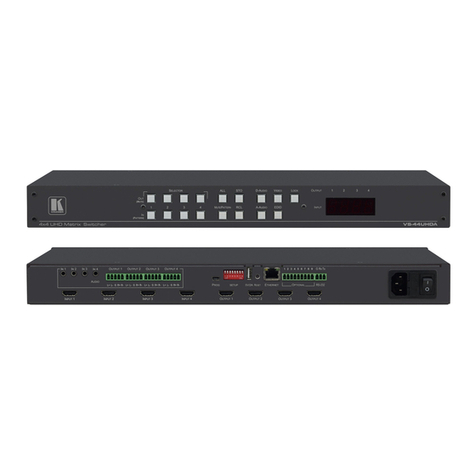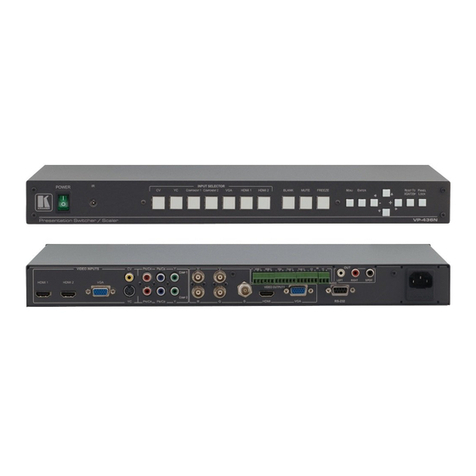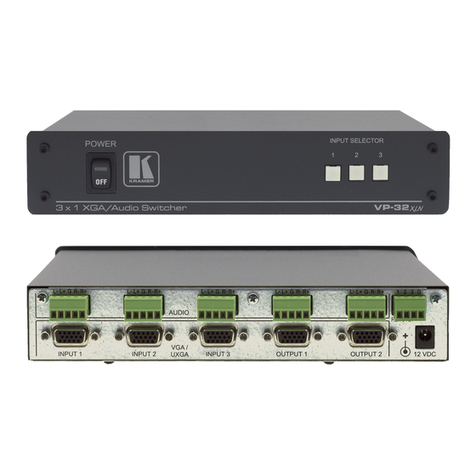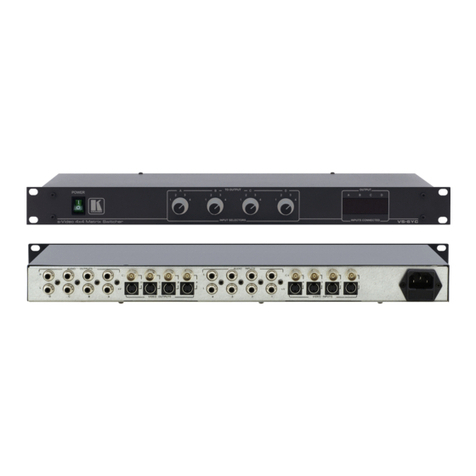
# Feature Function
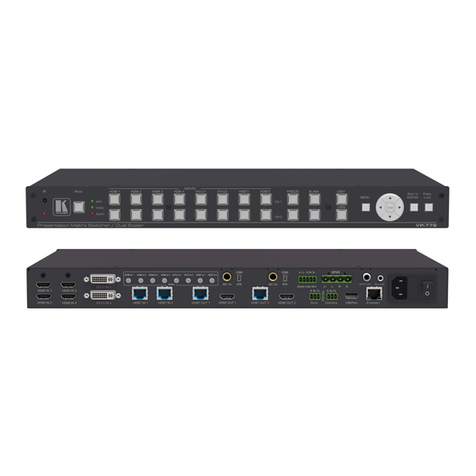
17 HDBT IN 1 RJ-45 Connectors (1 to 2) Connect to an HDBT transmitter (for example,
).
18 POE STATUS and LINK LEDs (for HDBT IN 1 to 2
and HDBT OUT 1)
Light when PoE is available and a link is established.
Control RS-232 3-pin Terminal Block
Connect to the serial controller to control the device.
20 AUDIO OUT Balanced Stereo Audio 5-pin Terminal
Block Connectors (1 to 2)
Connect to an analog audio acceptor.
21 SETUP DIP-switches Used to set the device behavior.
22 INPUT HDMI Connectors (3 to 6) Connect to HDMI source (from 1 to 8).
Connect to a remote network controller via a LAN.
HDBT OUT1 RJ-45 Connector
Connect to an HDBT receiver (for example, TP-580Rxr)
25 HDMI OUT 2 Connector Connect to an HDMI acceptor.
26 RESET Switch Press and hold while powering on the device to reset to factory
default parameters.
27 Hi-Z OUT Terminal Block Connectors Lo-Z – connect stereo output to Lo-Z speakers:
L+ and L- to the left speaker; R+R- to the right speaker.
Hi-Z (70V or 100V) – connect Hi-Z and COM to mono Hi-Z
Connect to a PC to perform firmware upgrade.
29 RS-232 (G, Rx, Tx) Terminal Block Connector Connect to an RS-232 controlled device.
30 MAESTRO CONTROL 9-pin Terminal Block
Connectors
Connect to configurable buttons (configured via the Automation
page), such as the
.
IR OUTPUT 2-pin Terminal Block Connectors (1 to 4)
Connect to IR blasters/emitters using cables up to 80m (260ft) long.
32 GPI/O 2-pin Terminal Block Connectors (1 to 2) Connect to controllable sensors or devices (for example, motion
sensors). This port can be configured as a digital input, digital
33 RELAY 2-pin Terminal Block Connectors (1 to 2) Connect to a relay controllable device, (for example, a motorized
projection screen).
34 Mains Power Connector, Fuse, and Switch Connect to the mains supply.
Step 3: Install VS-622DT
Install VS-622DT using one of the following methods:
•Remove the three screws from each side of the unit, reinsert those screws through the
rack ears and mount on a 19" rack.
•Attach the rubber feet and place the unit on a flat surface.
Step 4: Connect the inputs and outputs
Always switch OFF the power on each device before connecting it to your VS-622DT. For best results, we recommend that you
always use Kramer high-performance cables to connect AV equipment to the VS-622DT.


