VSM-4x4X Quick Start Guide
This guide helps you install and use your VSM-4x4X for the first time.
Go to www.kramerav.com/downloads/VSM-4x4X todownload the latest user manual and check iffirmware
upgrades are available.
Step 1: Check what’s in the box
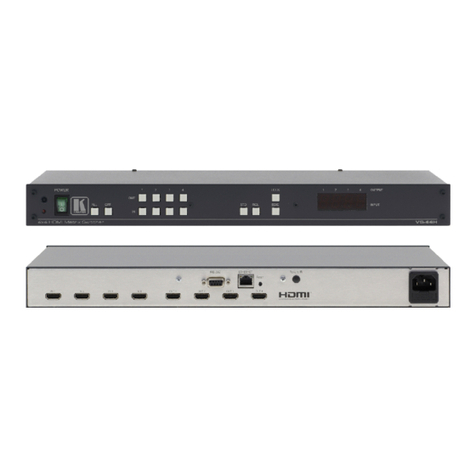
VSM-4x4X 4K 4x4 Seamless Matrix Switcher/Multi-Scaler
Step 2: Get to know your VSM-4x4X
Press to select an HDMI input (from 1 to 4) to switch to an output or a window.
In the MATRIX mode: select the output to which the input is switched (A, B, C or D).
In the VIDEO WALL mode: not used.
In the MULTI-VIEW mode: select the input for each window on the display.
Press ALL followed by an INPUT button to connect that input to all the outputs (not available
for the video wall mode).
Press after pressing an output button to disconnect the selected output from the inputs. To
disconnect all the outputs, press ALL followed by OFF.
Press to operate the system as a matrix switcher.
Press to operate as a video wall.
Configure a 2x2 video wall.
Configure a 1x4 video wall.
Press to operate in multi-view configurations:
4 windows filling the display.
1 window over a background image.
2 windows over a background image.
3 windows over a background image.
4 images, overlapping (maintaining aspect ratio).
2 images, side-by-side (maintaining aspect ratio).
2 images, displayed as a split-screen (elongated images).
1 large window and 3 smaller images on the side (maintaining aspect ratio).
Press to recall a configuration.
Press to store a configuration.
Press to indicate which input is displayed on each output or window. The display time is set via
the OSD menu.
RESET TO XGA/1080p
Button
Press and hold for about 5 seconds to toggle resetting the video resolution to XGA or 1080p.
Press and hold for about 5 seconds to toggle locking the front panel buttons.


