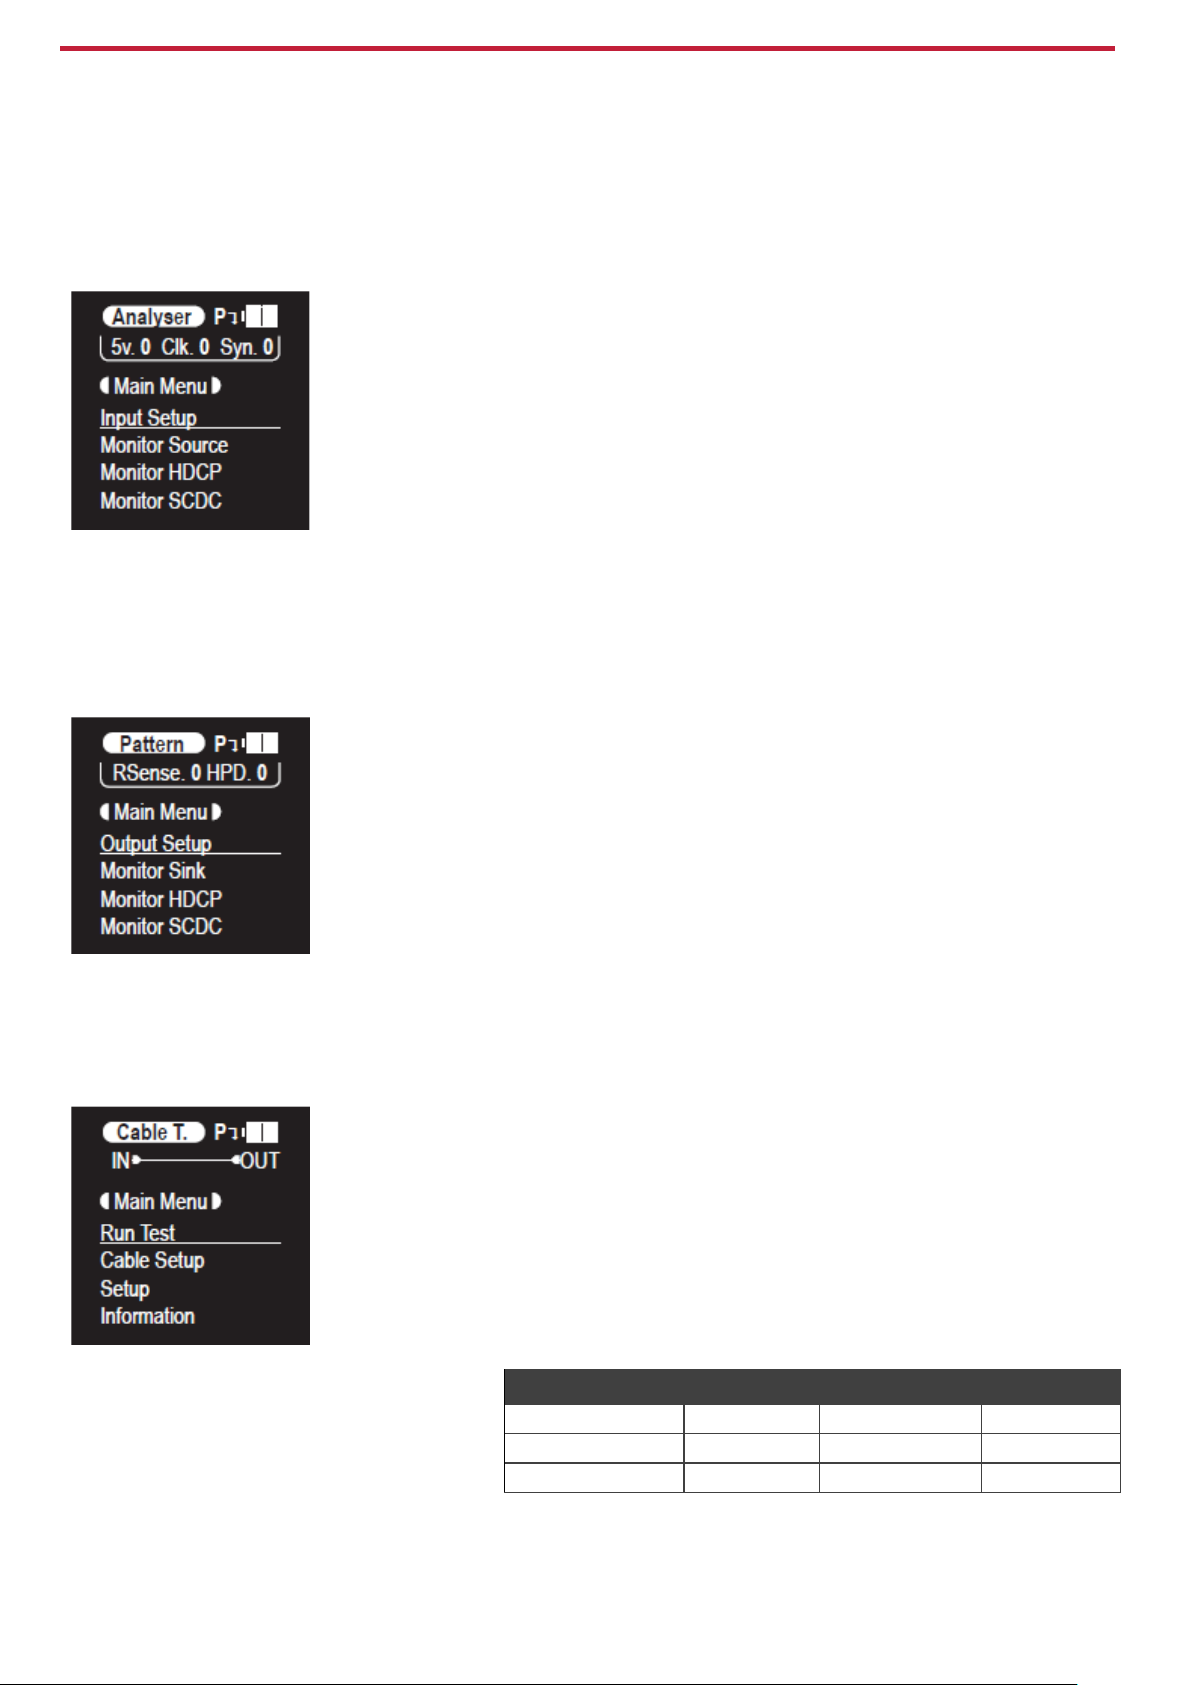
HDCP (FACTORY
RESET) Button
Press to toggle between supported HDCP versions (1.4, 2.2) or to disable HDCP.
In the Analyzer mode, this changes the HDCP versions that are supported by the input port.
In the Pattern mode, this changes the HDCP that is required by the output port.
The button’s outline lights according to the HDCP state and the current version that is supported:
Red (HDCP 1.4), blue (HDCP 2.2), off (HDCP disabled) or flashing (HDCP authentication failed).
Press and hold while powering the device to reset it to its factory default settings.
Stores the rechargeable battery (supplied with the unit).
Press to turn the unit on or off.
Use to power the unit and charge the battery, upgrade the firmware or control the device (via RS-232
commands).
Connect to an HDMI acceptor (for example, a display).
Connect to an HDMI source (for example, a media player, game console or set-top box).
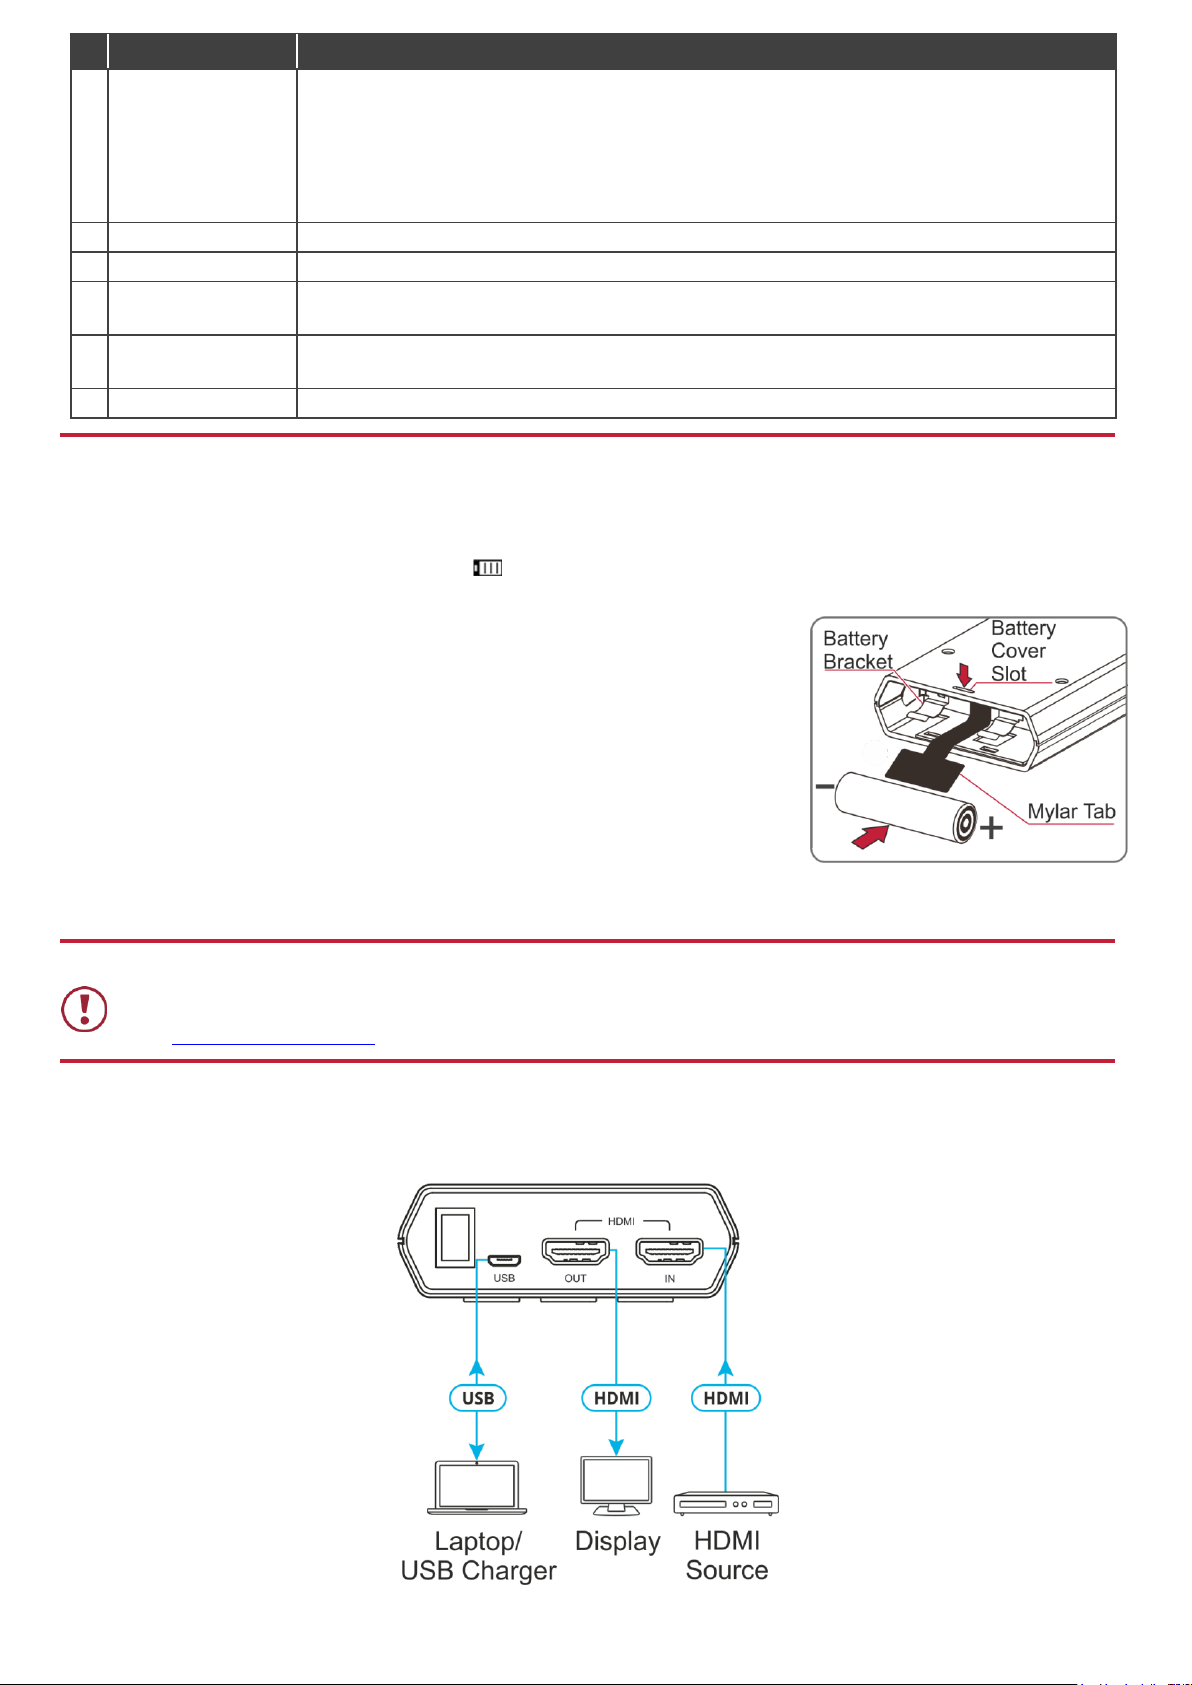
Step 3: Powering the 861
You can power 861 by connecting the USB port to a power source via a USB cable or use the rechargeable battery.
When using the battery, before operating 861 via its battery for the first time, insert the battery, and connect the USB charger cable
to a power source to charge until the battery is full . (It is recommended to charge for at least 5 hours before operating with the
battery for the first time).
To insert the battery:
1. Use a small screwdriver to press down the slot on the rear lower side of the
device to pop out the battery housing cover.
2. Turn the device face-down and pull out the Mylar tab.
3. Place the battery in its correct position,over the tab, and insert it into the
battery housing until it sits securely on the battery brackets.
4. Click back the battery housing cover.
To charge the battery:
Connect the USB charger cable to a power source and charge the battery until
it is full.
Operation time with a full battery is typically >5 hours.
Safety Instructions
There are no operator serviceable parts inside the unit
Disconnect the power before installing
See kramerav.com/downloads/Safety for updated safety information.
Step 4: Connect the input and output
Always switch OFF the power on each device before connecting it to your 861. For best results, we recommend that you always use
Kramer high-performance cables to connect AV equipment to 861.