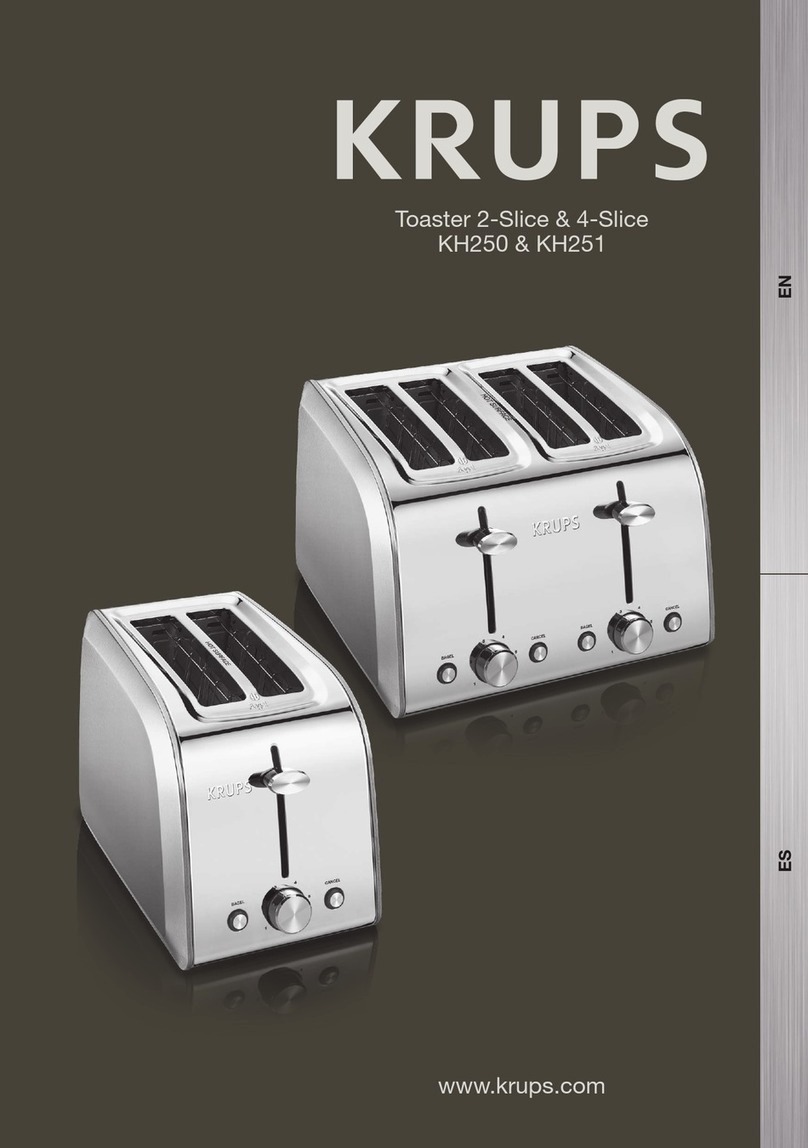
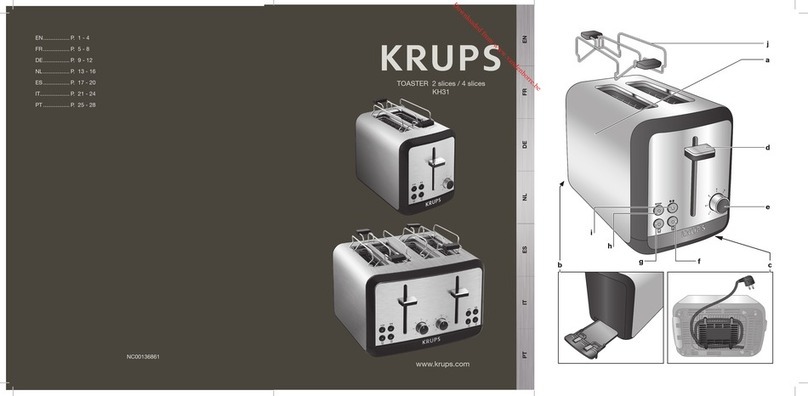
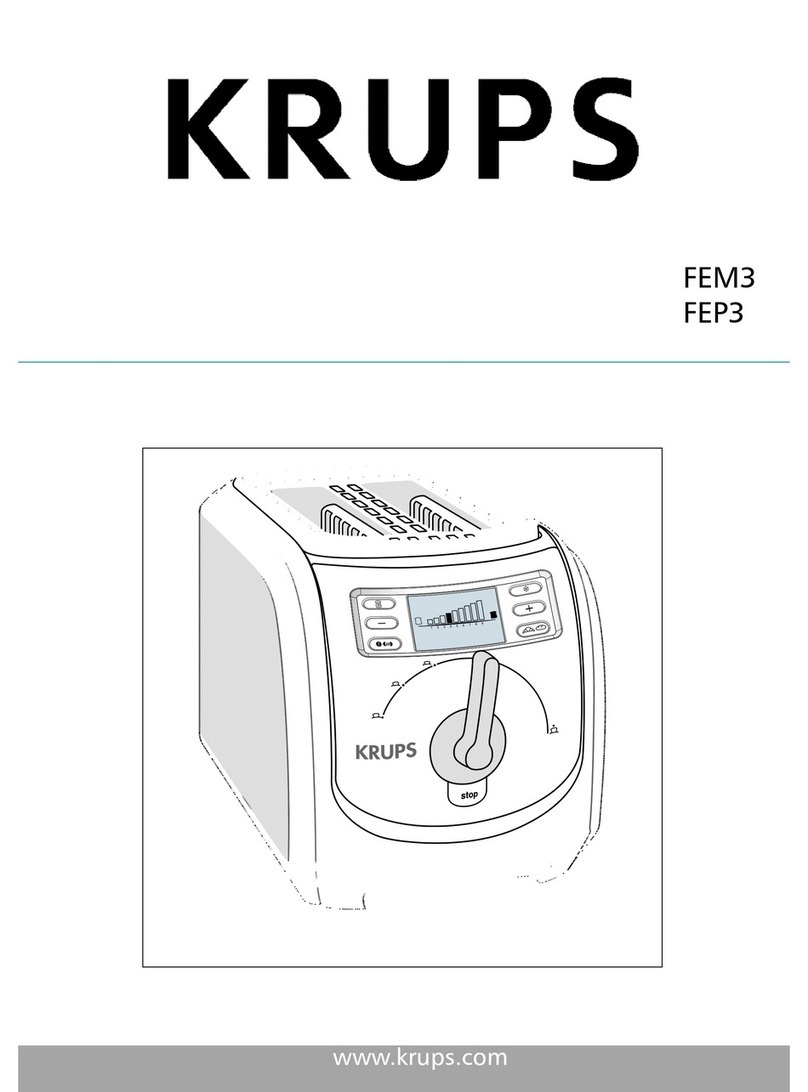
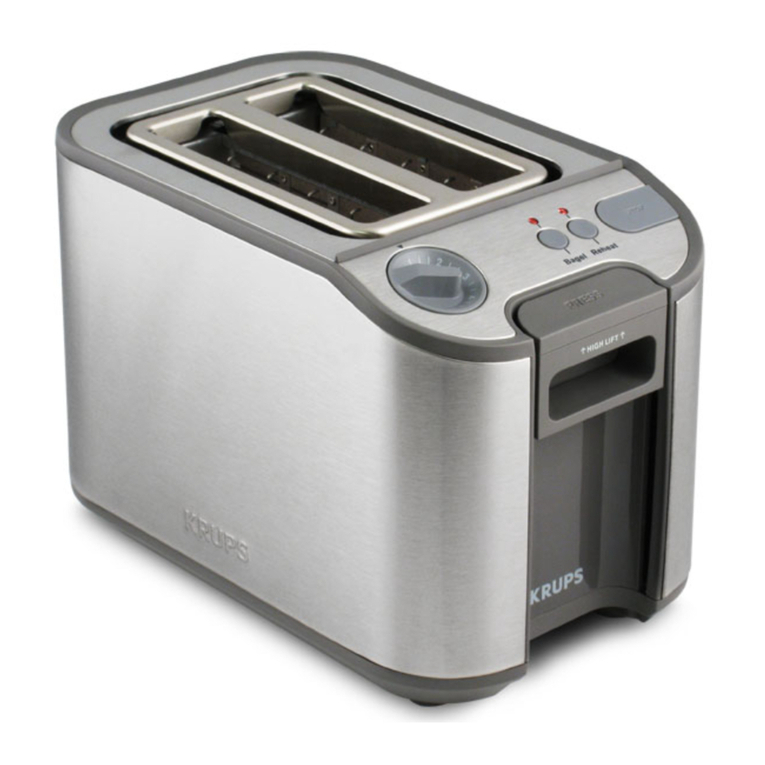
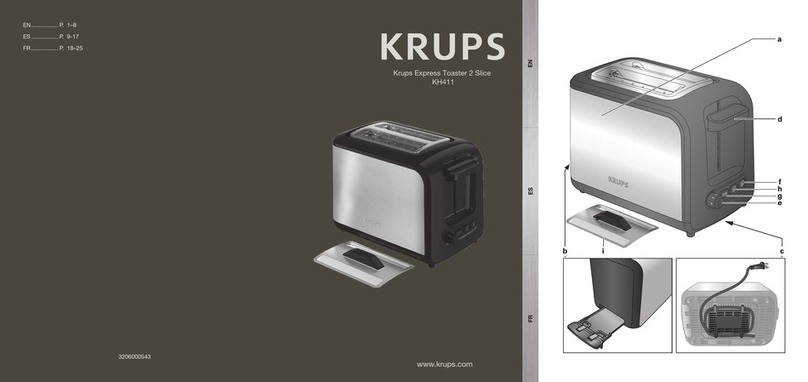
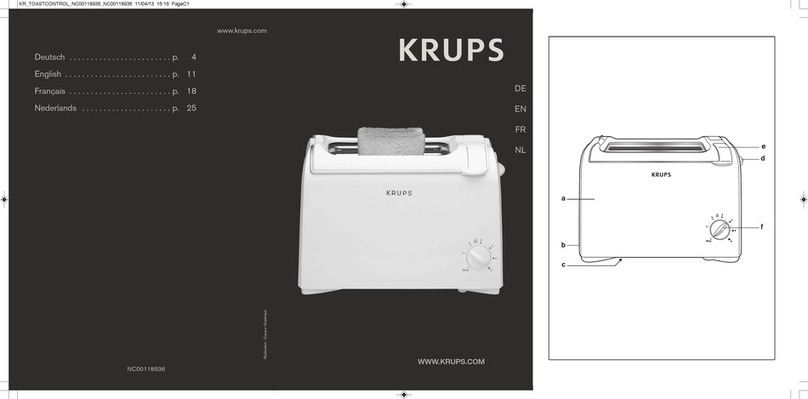
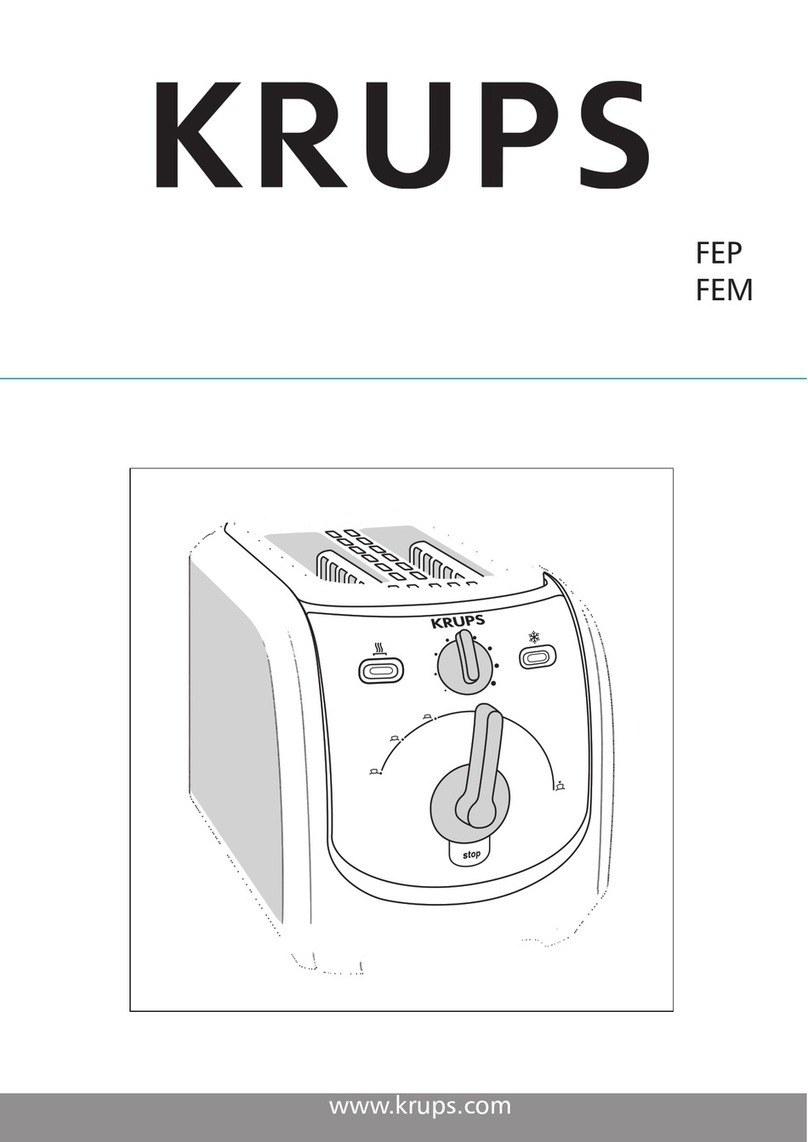
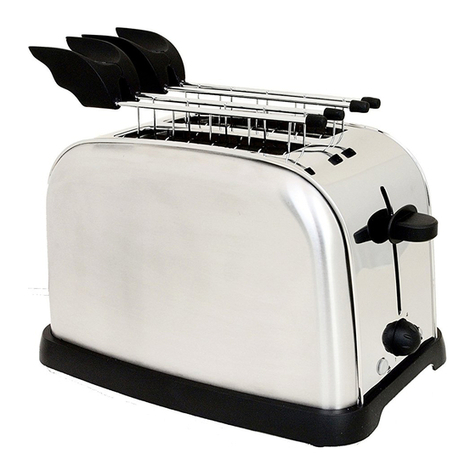
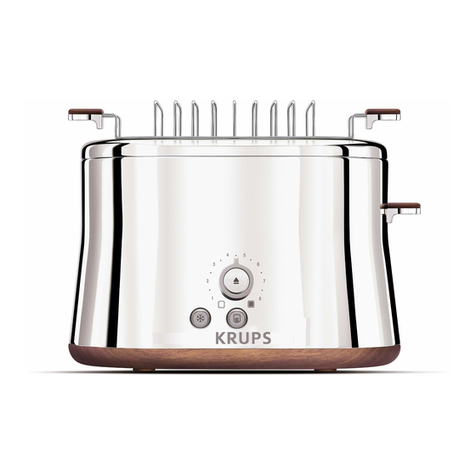
Krups KH320 User manual

www.krups.com
Krups Memory Toaster 2 Slice
KH320
NC00152395-02
EN................. P. 1–7
ES................. P. 8-15
FR................. P. 16–23
d
a
fh
e
g
cb
i

www.krups.com
Krups Memory Toaster 2 Slice
KH320
NC00152395-02
EN................. P. 1–7
ES................. P. 8-15
FR................. P. 16–23
d
a
fh
e
g
cb
i

1
auto
fig.1
fig.4
fig.7 fig.9
fig.5
fig.3
fig.6
fig.8
fig.10
2
fig.2
2S
X2

1
English
IMPORTANT SAFEGUARDS
When using electrical appliances, basic safety precautions should always
be followed including the following:
Read all instructions.
Do not touch hot surfaces. Use handles or knobs.
Do not operate unattended.
To protect against electrical shock do not immerse cord, plugs, or this
appliance in water or other liquid.
Not intended for use by children. Close supervision is necessary for any
appliance being used near children.
This appliance may be used by persons with reduced physical, sensory
or mental capabilities, or whose experience or knowledge is not sufcient,
provided they are supervised or have received instruction to use the
appliance safely and understand the dangers.
Unplug from outlet when not in use and before cleaning. Allow to cool before
putting on or taking off parts.
Do not operate any appliance with a damaged cord or plug or after the
appliance malfunctions, or has been damaged in any manner. Return
appliance to the nearest authorized service facility for examination, repair
or adjustment.
The use of accessory attachments not recommended by the appliance
manufacturer may cause injuries.
Do not use outdoors.
Do not let cord hang over edge of table or counter, or touch hot surfaces.
Do not place on or near a hot gas or electric burner, or in a heated oven.
To shut down the appliance, turn any control to “off,” then remove plug from
wall outlet.
Do not use appliance for other than intended use.
Do no insert oversized foods, metal foil packages, or utensils in the toaster
as they may involve a risk of re or electric shock.
Oversize foods, metal foil packages, or utensils must not be inserted in a
toaster as they may involve a risk of re or electric shock.
A re may occur if toasters is covered or touching ammable material,
including curtains, draperies, wood, and the like, when in operation.
Do not attempt to dislodge food when toaster is plugged in.
When heating toaster pastries, always use the lightest toast color setting.
SAVE THESE INSTRUCTIONS
ENVIRONMENTAL PROTECTION
The packaging of your product is made of recyclable materials. Do not throw it
out with your usual garbage; take advantage of your local recycling program.
DO
The toaster must always be used in the upright position (not on its side or
tilted forward or back).
Before each use, make sure that the crumb tray is in its proper location.
Regularly remove crumbs from the crumb tray.
2
Caution: Any other servicing should be performed by an authorized
service representative.
The control lever must be in the “Up” position before attaching or
disconnecting the plug from the wall outlet.
If bread jams in the slots after toasting, the unit will automatically shut off.
Disconnect the plug immediately from the wall outlet and wait for the
appliance to cool before attempting to remove the bread.
Disconnect the appliance if it shows any abnormalities.
DO NOT
Never leave the toaster unattended during operation
Do not touch the metal parts or hot surfaces of the appliance when it is
working or before it has cooled.
Do not try to toast bread that may melt (with icing) or drip in the toaster and
do not toast crusts as this may damage the appliance or cause a re.
Do not try to toast very thick slices of bread that could block the toasting
mechanism.
Do not put paper towels, cardboard or plastic in, on or under the toaster.
If ames were to arise from parts of the toaster, never attempt to extinguish them
with water. Unplug the appliance and smother the ames with a damp cloth.
Do not use this appliance as source of heating or drying.
Do not use the toaster for cooking, grilling or defrosting frozen food other
than bread.
Do not unplug appliance by pulling on cord. Instead, grasp plug and pull to
disconnect.
Never wrap cord around toaster. Use cord storage on the underside of unit.
Do not immerse toaster in water or run water into the toaster.
Do not place the toaster in the dishwasher.
Do not cover toast chambers when in use.
Do not insert objects into the toaster.
Do not use abrasive cleaners, metallic utensils or scouring pads.
This product has been designed for household use only. Any professional
use, inappropriate use or failure to comply with the instructions will void
the warranty.
FOR HOUSEHOLD USE ONLY
SAFETY INSTRUCTIONS
For your safety, this appliance complies with applicable technical rules and norms.
Do not place under cabinet or ammable items such as curtains. Voltage on
appliance must comply with voltage in your home.
Use a stable work surface, away from any contact with water and never in a
built-in kitchen alcove.
Do not move the appliance when working.
POLARIZATION INSTRUCTIONS
This appliance has a polarized plug (one blade is wider than the other). To
reduce the risk of electric shock, this plug is intended to t into a polarized
outlet only one way. If the plug does not t fully into the outlet, reverse the plug.

3
English
DESCRIPTION
BEFORE FIRST USE
USING THE TOASTER
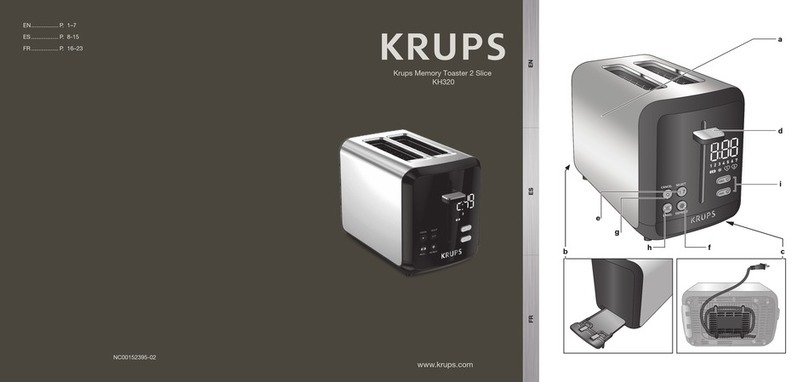
a Heat insulated casing
b Crumb tray
c Cord storage
d Toasting lever
e Toaster browning setting
f DEFROST button
g CANCEL (STOP) button
h BAGEL button
i Favorite 1 & 2 - Programmable Memory
settings
CAUTION: the safety precautions are part of the appliance. Read them carefully
before using your new appliance for the first time. Keep them in a place where you
can find and refer to them later on.
Remove all packaging and other accessories inside as well as outside of the appliance.
Unwind the cord from under the toaster (Fig. 1).
Plug the toaster into the wall socket.
Turn the dial to the maximum browning setting without inserting any bread, then
press the lever down. Repeat the toasting sequence twice to remove the “new” smell.
Insert the slices of bread (Fig. 2).
Do not use slices which are too large or too thick as that can block the toasting
mechanism.
Select the desired toasting setting (Fig. 3).
For best toasting results, always toast two slice of bread.
Choose between 7 different degrees of browning by setting the selector to the
appropriate position:
Position 1 = lightly toasted
Position 7 = very well toasted
If it still does not t, contact a qualied electrician. Do not attempt to modify
the plug in any way.
SHORT CORD
A A short power-supply cord (or detachable power-supply cord) is to be
provided to reduce the risk resulting from becoming entangled in or tripping
over a longer cord.
B Longer detachable power-supply cords or extension cords are available
and may be used if care is exercised in their use.
C If a long detachable power-supply cord or extension cord is used,
1) The marked electrical rating of the cord or extension cord should be at
least as great as the electrical rating of the appliance, and
2) The cord should be arranged so that it will not drape over the countertop
or tabletop where it can be pulled on by children or tripped over
unintentionally.

4
ADDITIONAL FUNCTIONS
BAGEL function
The toaster has a pre-programmed bagel function.
Insert the bagel as shown (Fig. 7 or Fig. 8), with the cut sides facing inwards.
Select the desired browning setting and push down the toasting lever (see section
USING THE TOASTER).
Press the BAGEL button (Fig. 8).
Only the cancel button will illuminated. No light on Bagel, but we will see the picto
Bagel on the screen.
DEFROST function
The toaster has a pre-programmed defrosting feature. Toasting frozen bread takes
longer than toasting bread which is not frozen.
Insert one or two frozen slices of bread or toast in the toaster (Fig. 9).
Select the desired toasting level and lower the toast lever (please see the USING THE
TOASTER paragraph).
Press the DEFROST button (Fig. 9).
Only the cancel button will illuminated. No light on Defrost, but we will see the picto
Defrost on the screen.
FAVORITE function
There are 2 memory buttons to save your favorite toasting settings to provide one-
touch recall of your programmed favorite settings.
To program the FAV button, choose your desired combination of setting(s) and hold
the FAV button for 2 seconds. The LED display will ash to conrm saved settings.
Simply select your FAV button, push the toasting lever down, and the toasting cycle
programmed will automatically display and toast to your customized setting.
When using with a new bread, you may have to experiment to nd your preferred
toasting setting, as the toasting result depends upon the type of bread and the
degree of moisture. Therefore, if you have a brand new loaf a higher setting will be
needed than when the same loaf looses freshness.
Generally, a higher browning setting is required for darker breads than white breads.
When toasting only 1 slice of bread, lower the browning setting for best result.
Caution:
Relatively dry slices of bread, or bread that has already been toasted once, will brown
much more quickly and may under certain circumstances catch fire. Therefore, set
the heat control to a lower setting and do not leave the toaster unattended.
Fully push down the toasting lever, which will then lock into position (Fig. 4).
The appliance will begin to operate and the CANCEL (STOP) button will illuminate.
The toasting lever will only lock if the toaster is plugged in.
After toasting cylce is complete, the toast will automatically be raised.
To make it easier to remove the bread you can lift the toaster lever up.
To stop the toasting cycle, press the CANCEL (STOP) button (Fig. 6).
Note:
Should a slice of bread become trapped in the toasting well, unplug the power
cord, let the appliance cool down and then carefully free the toast without touching
the heating elements.

5
English
REPAIR SERVICE
CLEANING
Before pulling out the crumb tray, allow the toaster to cool for at least ten
minutes after completion of the preceding toasting operation.
Unplug the toaster before cleaning.
Remove the crumb tray by pulling it out. Clean the toaster regularly (Fig. 10).
Never immerse the appliance in water or put it under running water.
Never use an abrasive sponge to clean the toaster. Clean it with a damp cloth and
wipe it with a soft, dry cloth.
Wipe using a damp cloth then return the crumb tray to its place.
Never use the toaster without the crumb tray.
PROBLEM SOLUTION
The toaster does not work. Ensure the plug is properly connected to the socket.
If the toaster is still not working, take it to an approved
KRUPS service center.
The bread is stuck in the
appliance.
Unplug the appliance and leave it to cool. Remove the
bread carefully. Be careful not to damage the heating
elements when removing the bread. Never use a metallic
object to remove the bread.
The bread is too brown or
not brown enough.
Check the setting level selected. Select a lower level
if your bread is too brown, or a higher level if it is not
brown enough.
Ensure the freezing buttons have not been selected.
The bread pops out almost
immediately and is not
toasted.
Ensure the handle has been lowered to the bottom.
If the bread still does not stay in the toaster, bring your
appliance to an approved KRUPS service center.
Smoke is coming out of
the toaster.
It is possible that the toasting level selected is too high.
Press the CANCEL (STOP) button to stop the toasting
cycle and unplug the appliance.
The cord is damaged. If the cord on the appliance is damaged, it must be
replaced in an approved KRUPS service center.
Other manuals for KH320
1
Table of contents
Other Krups Toaster manuals

Krups
Krups TT934050 User manual

Krups
Krups KH732 User manual

Krups
Krups KH250 User manual

Krups
Krups TT660330 User manual

Krups
Krups PRECISION KH7002 Series User manual

Krups
Krups SAVOY KH311050 User manual

Krups
Krups SAVOY KH31 User manual

Krups
Krups KH311010 User manual

Krups
Krups Savoy KH314050 User manual

Krups
Krups CONTROL LINE KH442 User manual

Krups
Krups TT930030 User manual

Krups
Krups KH411 User manual

Krups
Krups FEMB Series User manual

Krups
Krups FEM3 User manual

Krups
Krups TT934050 User manual

Krups
Krups FEP1 User manual

Krups
Krups FDK3 User manual

Krups
Krups KH442D User manual

Krups
Krups KH734 User manual

Krups
Krups Pro Aroma KH1511 User manual