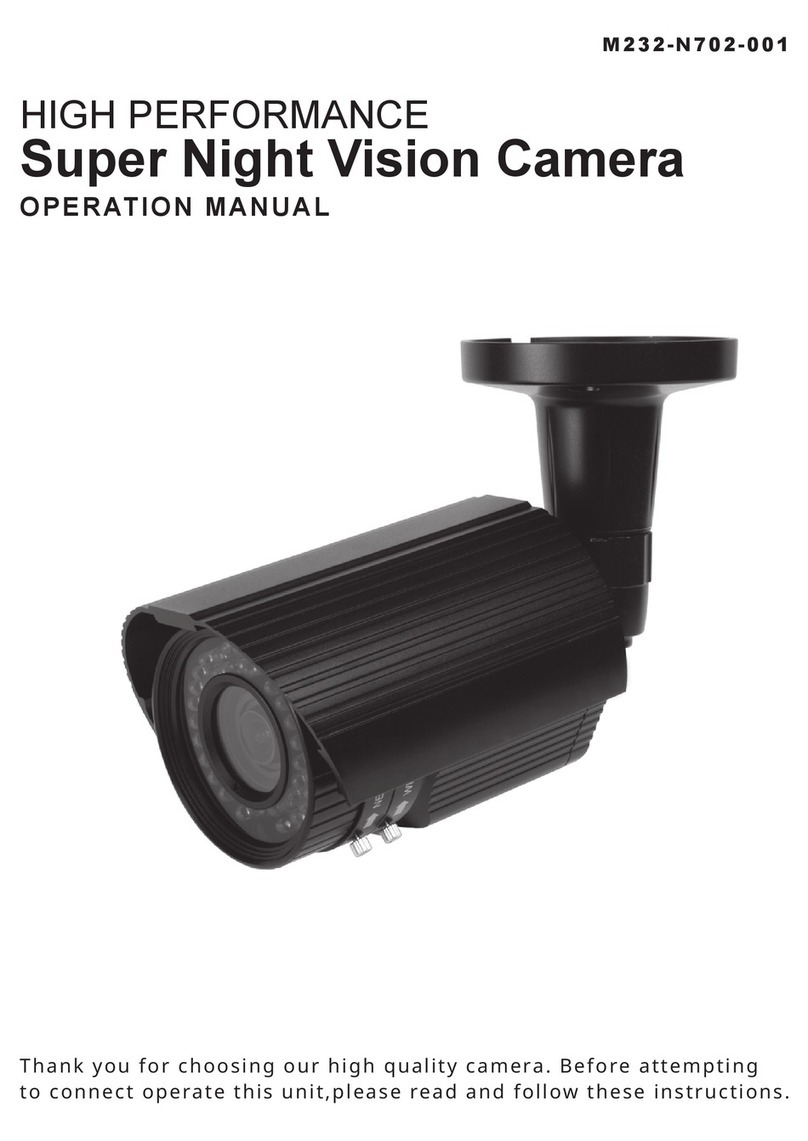
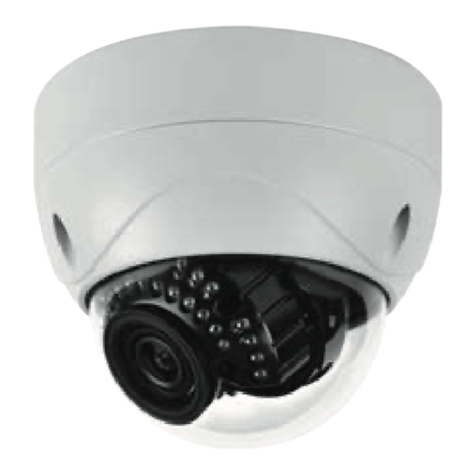
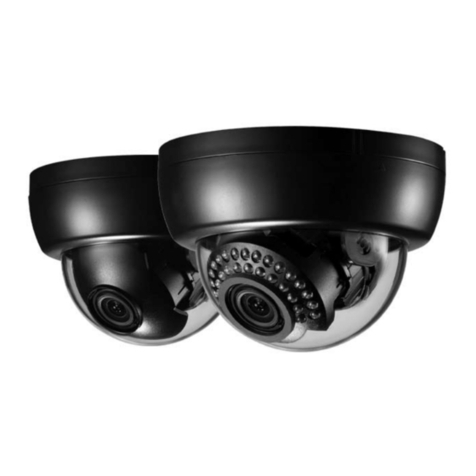
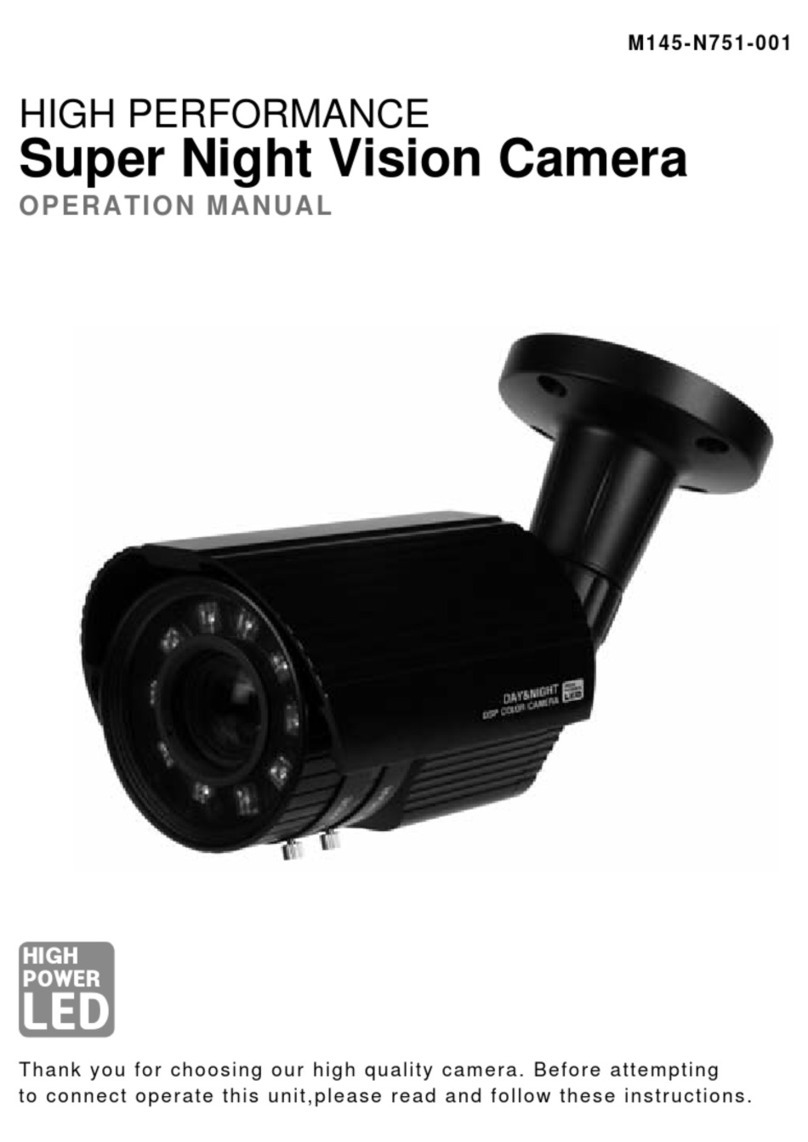
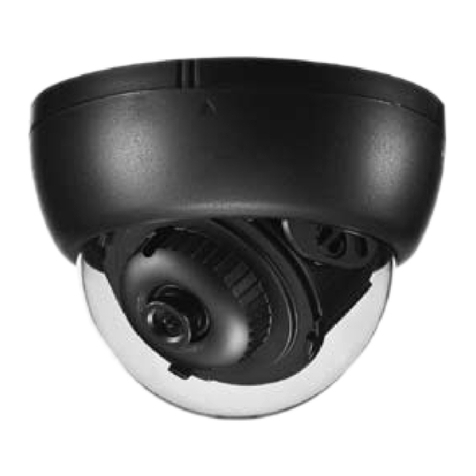
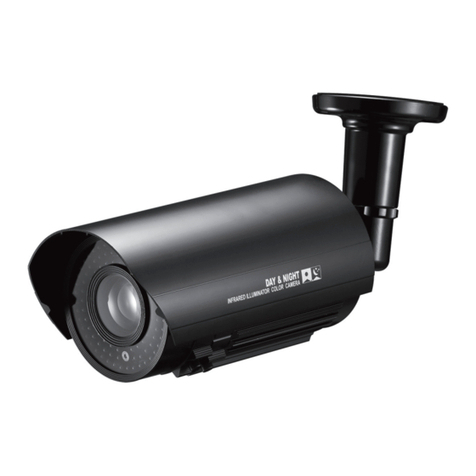
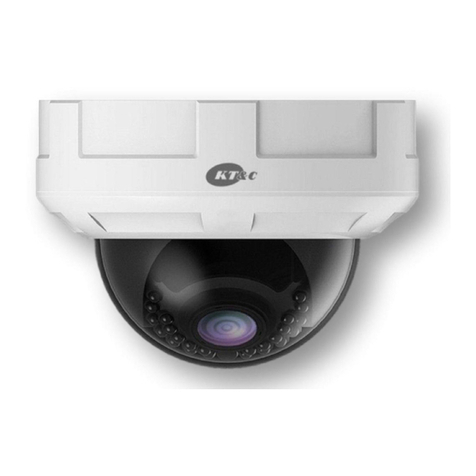
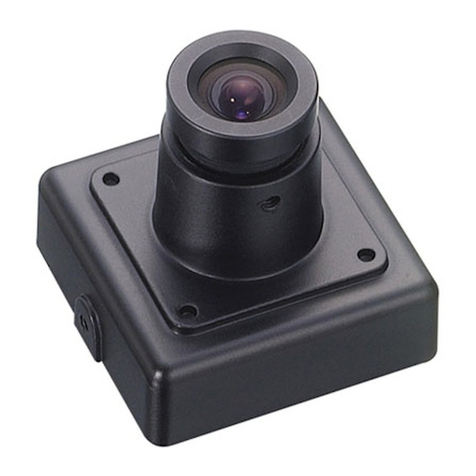
KT&C DR28V12IR User manual

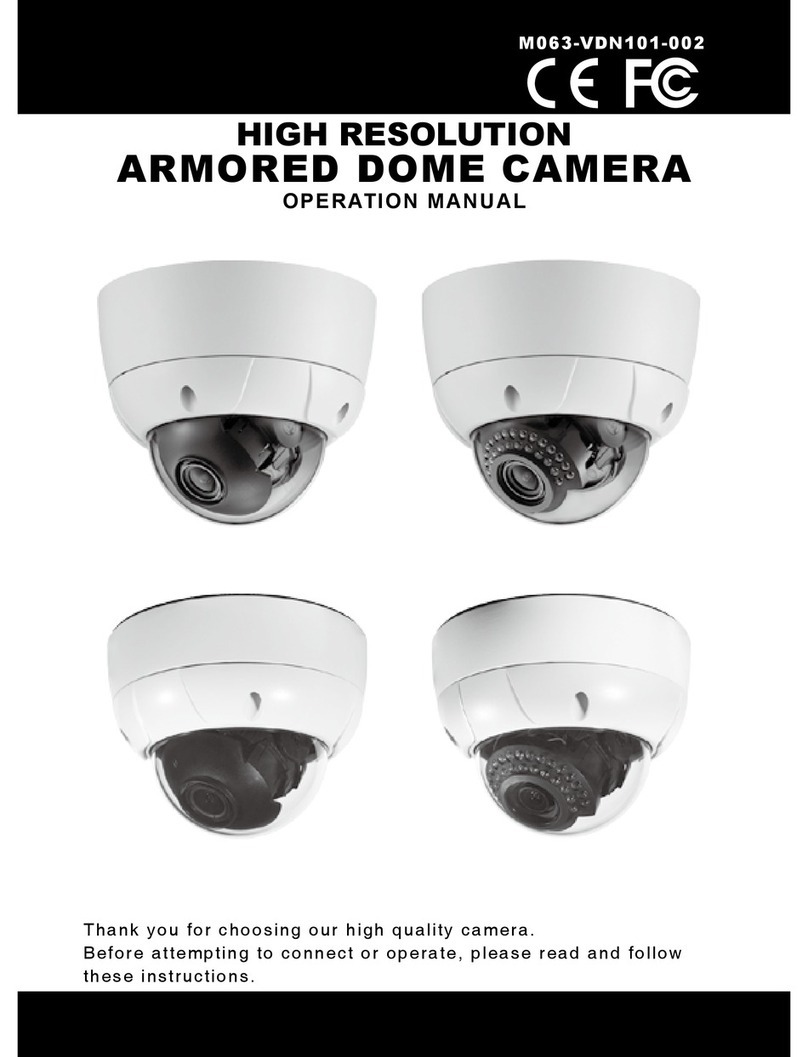
ULTRA HIGH RESOLUTION
VANDAL DOME CAMERA
OPERATION MANUAL
M222-DR28V12-001
Thank you for choosing our high quality camera.
Before attempting to connect or operate, please read and follow these instructions.

CONTENTS
1. NOTICES
2. FOR YOUR SAFETY
3. FEATURES
4. EQUIPMENT AND ACCESSORIES
5. OVERVIEW AND FUNCTION
6. INSTALLATION
7. CONNECTION
8. DIMENSIONS
9. SPECIFICATION
10. OSD MENU STRUCTURE
2
These servicing instructions are for use by qualied service personnel only.
To reduce the risk of electric shock do not perform any servicing other than
that contained in the operating instructions unless you are qualied to do so.
Use Class 2 Power Supply Only
CAUTION

3
1. NOTICES
This device complies with Part 15 of FCC regulations.
Operation is subject to the following two conditions:
1. This device may cause harmful interference.
2. This device may receive interference that can cause affect the operation of this
equipment.
Note
This equipment has been tested and found to comply with the limits for a
Class A digital device, pursuant to Part 15 of the FCC Rules. These limits are
designed to provide reasonable protection against harmful interference when the
equipment is operated in a commercial environment. This equipment generates,
uses, and can radiate radio frequency energy and, if not installed and used
in accordance with the instruction manual, may cause harmful interference to
radio communications. Operation of this equipment in a residential area is likely
to cause harmful interference in which case the user will be required to correct
the interference problems at his or her own expense.
Caution
Alteration or modifications carried out without. appropriate authorization may
invalidate the user's right to operate the equipment.
1. A regulated DC12V 500mA power supply is recommended to ensure the best picture
quality and stable operation.
An unregulated power supply may cause damage to the camera.
Using an unregulated power supply will void the product warranty.
2. It is recommended that the camera is used with a monitor that has a CCTV quality
75 video impedance level.
If your monitor is switched to high impedance, then please adjust accordingly.
3. Do not attempt to disassemble the camera to access internal components.
Refer servicing to your dealer.
4. Never face the camera towards the sun or any bright or reective light, which may
cause smear on the picture and possible damage to the CCD.
5. Do not remove the serial sticker for the warranty service.

1. CAUTIONS
4
WEEE
(Waste Electrical & Electronic Equipment)
This marking shown on the product or its remove, indicates that it should not
be disposed with other household wastes at the end of its working life. To
prevent possible harm to the environment or human health from uncontrolled
waste disposal, please separate this from other types of wastes and recycle it
responsibly to promote the sustainable reuse of material resources. Household
users should contact either the retailer where they purchased this product, or
their local government ofce, for details of where and how to safely recycle the
item.
Business users should contact their supplier and check the terms and
conditions of the purchase contract.
This product should not be mixed with other commercial wastes for disposal.
CAUTION
RISK OF ELECTRIC SHOCK.
DO NOT OPEN
CAUTION: TO REDUCE THE RISK OF ELECTRIC SHOCK, DO NOT
REMOVE COVER (OR BACK). NO USER SERVICEABLE
PARTS INSIDE. REFER SERVICING TO QUALIFIED
SERVICE PERSONNEL.
This symbol is intended to alert the user to the presence
of uninsulated “dangerous voltage” within the product’s
enclosure that may be of sufcient magnitude to constitute a
risk of electric shock.
This symbol is intended to alert the user to the presence of
important operating and maintenance (servicing) instructions
in the literature accompanying the appliance.

2. FOR YOUR SAFETY
1) All warning and instruductions in this manual should be followed.
2) Save this manual for future reference.
3) Heed all warnings.
4) Follow all instructions.
5) Do not use this apparatus near water.
6) Clean only with a dry cloth.
7) Do not block any ventilation openings. Install in accordance
with the manufacturer’s instructions.
8) Do not install near any heat sources such as radiators, heat registers,
stoves, or other apparatus (including ampliers) that produce heat.
9) To help prevent from electric shock, plug the equipment and peripheral power cables
into properly polarized or grounded electrical outlets. These cables are equipped with
the wide blade or the third prong to ensure proper grounding. Do not use adapter
plug or remove the ground prong from a cable. If the provided plug does not t your
outlet, consult an electrician.
10) Ensure that nothing rests on your equipment's cabloe and that the cables are not
located where they can be stpped on, trapped over, or pinched.
11) Only use attachments or accessories as specied.
12) Only use the equipment with the cart, stand, tripod, bracket, or table that is specied
by the manufacturer or sold with the apparatus. When a cart is used, use caution to
prevent the cart from tipping over and to avoid injury.
13) Do not connect or disconnect during lighting storms due to risk of electric shock.
14) If any of the following conditions occur, unplug the equipment from the electrical
outlet and replace the part or contact your trained service provider:
• The power cable, extension cable, or plug is damaged.
• An object has fallen into the equipment.
• The equipment has been exposed to water.
• The equipment has been dropped or damaged.
• The equipment does not operate correctly when you follow the operating
instructions.
5
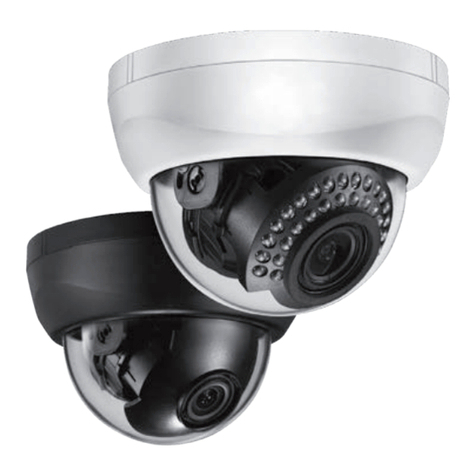
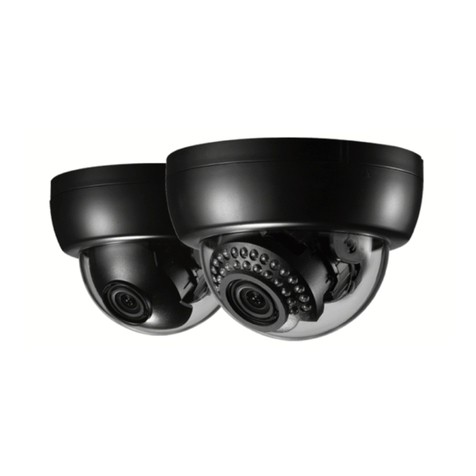
3. FEATURES
• Superlative resolution of over 750 horizontal TV lines for amazing image quality.
• 960H CCD for sensor sensitivity of .001 lux in low light without DSS boost.
960H CCD sensor with high IR sensitivity. (LED Type)
• True Day/Night zero light operating range of 100 feet or more (LED Type)
(depending on scene reflectivity) from 24 IR LEDs with Smart automatic
exposure level adjust to achieve the desired IR brightness in a user defined area.
• Full motion color or digital day/night during low ambient light without ghosting.
• Simple and easy to use OSD setup menu.
- Digital Wide Dynamic Range(DWDR) to properly expose images during unbalanced
light contrast in the scene.
- Anti Color Roll white balance option resists fluorescent light interference.
- Optional Back Light Compensation (BLC) and Highlight Compensation (HLC).
- Adjustable 2D-Noise Reduction to increase picture clarity and improve
utilization of DVR disk storage.
- Privacy image masking for 4 configurable zones.
• Varifocal DC iris lens to capture the desired field of view.
• Dual voltage (12VDC/24VAC) with Anti Color Roll.
• Service Video output for convenient installation, and ease of service.
• 3-Axis gimbal for convenient wall or ceiling mounting.
• Optional junction box plate.
6

7
4. EQUIPMENT AND ACCESSORIES
Camera Manual
Template
Screws(3ea) / Plastic Anchors (3ea)
/ Wrench / Micro Screw (1ea)
Service Video Output Test Cable
Pigtail Cable (12VDC only) Pigtail Jack (Dual)

OPTIONAL ACCESSORIES
-Wall mount bracket :
wall mount bracket with ½” conduit ttings
top and bottom.
8
Box adapter
- Junction box mount adapter for
outdoor dome camera
- Rough-in box adapter ts 1 or 2 gang
or 4" octagonal/square/round boxes

5. OVERVIEW AND FUNCTION
9
• LED Type
• Standard Type
IR LED
OSD Joystick
OSD Joystick
Service Video
Connector
Service Video
Connector

6. INSTALLATION
• LED Type
10
Template
Housing Bottom
Dome Cover
Cover Screws
Shroud
Screws
3-AXIS Gimbal
Plastic Anchors
Lens Zoom Knob
Lens Focus Knob

6. INSTALLATION
• Standard Type
11
Lens Zoom Knob
Lens Focus Knob
Housing Bottom
Dome Cover
Cover Screw
Shroud
Screw
3-AXIS Gimbal
Plastic Anchors
Template

7. CONNECTION
- DC12V
- DC12V/AC24V
- Service Video Connector
When you install the camera, please glue up the end of cable to
keep it stable and to protect the camera.
12
OPEN
COVER
Service Video Connector
BNC FEMALE
VIDEO
VIDEO IN
DC 12V
POWER SUPPLY
VIDEO IN
HANDHELD MONITOR
TEST CABLE
DC 12V / AC 24V
DUAL POWER SUPPLY
PIGTAIL JACK
VIDEO IN
DC12V
(DC Jack)
MONITOR
MONITOR
BNC FEMALE
VIDEO

8. DIMENSIONS
Unit : mm(inch)
13
Ø133 (5.24")
Ø120 (4.72")
3-120˚
Ø80 (3.15")
67.8 (2.67")
111.8 (4.4")

9. SPECIFICATION
Standard type LED type
Imaging Device 1/3" 960H High Sensitivity CCD
Video Format NTSC / PAL
Picture Elements NTSC: 1020(H)x508(V) / PAL: 1020(H) X 596(V)
Effective Picture Elements NTSC: 976(H) x 494(V) / PAL: 976(H) X 582(V)
Horizontal Resolution More than 750 TVL
Sensitivity 0.001 lux native from sensor,
with Lens 0.2 lux
0 lux OR on;
0.001 lux native from sensor
IR LEDs - 24 LEDs with output at 850nm
IR Range* - 100' (*As with all IR cameras, IR range will vary
based on scene IR reectivity and illumination)
Smart IR Exposure Adjust - Off/On; adjustable for gain, size and location of
sensing area
S/N Ratio Over 50dB (AGC off)
Video Output BNC 1.0V p-p 75Ω; video test point inside dome, cable supplied
Gamma Correction 0.45
Lens Type 2 Megapixel Aspheric Varifocal DC Iris 2.8-12mm F=1.6
Lens Positioning 3-axis exible positioning for wall or ceiling mounting
Back/High Light Compensation OFF / BLC / HLC Selectable
Auto Gain Control Off / Low / Middle / High
Electronic Shutter Auto; or 1/60, FLK, 1/250, 1/500, 1/1000, 1/2000, 1/4000, 1/5000, 1/10000, 1/100000
White Balance ATW / AWB / AWC -> SET / Anti-Color Roll / Manual
Sync. Mode Internal (plus Anti-Chroma Crawl White Balance option above)
Day & Night Electronic D/N control;
Choose Auto or B/W
Auto True D/N with motorized ICR;
Controlled by photo sensor
OSD Menu Multiple functions using 3-axis joystick
OSD Languages English, Spanish, Portuguese, German, Russian, Japanese, Chinese, French
2D-DNR On / Off (Level Adjustable)
Digital Wide Dynamic Range On / Off (Level Adjustable)
Mirror Off / On
Motion Detection Off / On for 4 selectable zones (On screen indication)
Privacy Mask Off / On for 8 selectable zones
Lens Shading Correction Off / On with adjustable level and center
Other OSD Functions Camera Title with position, Font Color, Image Contrast / Sharpness,
CRT / LCD display optimization, Negative Image, DPC (Dead Pixel Compensation)
Power Source 12VDC, DUAL (12VDC / 24VAC)
Power
Consumption
DC 12VDC (±10%), 140mA max. 12VDC (±10%), 250mA max.
DUAL 12VDC (±10%), 170mA max.
24VAC (±10%), 2.2W max.
12VDC (±10%), 320mA max.
24VAC (±10%), 3.8W max.
Operating Temperature -40°C ~ 60°C (-40°F ~ 140°F)
Storage Temperature -20°C ~ 60°C (-4°F ~ 140°F)
Environmental IP68 waterproof
Mechanical Three axis, twist-open plastic dome;
choice of black body (B sufx) and white body (W sufx)
Dimensions Bubble Ø80(3.15"), Ø133(5.24") x 111.8(4.4")
Weight 25.40 oz./ 1.59 lb. / 720g 25.93 oz./ 1.62 lb. / 735g
Mounting Options Junction Box Plate
Certications CE / FCC / RoHS
Specications and designs are subject to change for improving the functionality of this product without notice.

10. OSD MENU STRUCTURE
• Menu structure
Main 1st Sub Menu 2nd Sub Menu 3rd Sub Menu
LENS
DC
BRIGHTNESS 0 ~ 255
IRIS SPEED 0 ~ 15
RETURN SAVE&END
MANUAL BRIGHTNESS 0 ~ 255
RETURN SAVE&END
EXPOSURE
SHUTTER
AUTO
1/60(NTSC),1/100(NTSC),FLK,
1/250,1/500,1/1000,1/2000,1/4000
1/5000,1/10000,1/100000
AGC OFF / LOW / MID / HIGH * LED Type is adjustable.
DWDR OFF/ON 0 ~ 63
RETURN SAVE&END
RETURN SAVE&END
WHITE
BALANCE
ATW
AWB
AWC -> SET
ANTI. CRL
MENUAL
COLOR TEMP
MENUAL
INDOOR
OUTDOOR
BLUE 0 ~ 255
RED 0 ~ 255
RETURN SAVE&END
BACKLIGHT
OFF
BLC
AREA SEL. AREA 1
AREA 2
AREA STATE OFF/ON
GAIN 0 ~ 255
HEIGHT 0 ~ 15
WIDTH 0 ~ 15
LEFT/RIGHT 0 ~ 15
TOP/BOTTOM 0 ~ 15
RETURN SAVE&END
HLC
OFF
HLC
LEVEL 0 ~ 255
MODE NIGHT ONLY
ALL DAY
MASK SKIP
OFF / ON
HEIGHT 0 ~ 15
WIDTH 0 ~ 15
LEFT / RIGHT 0 ~ 15
TOP / BOTTOM 0 ~ 15
RETURN SAVE&END
RETURN SAVE&END
15

10. OSD MENU STRUCTURE
Main 1st Sub Menu 2nd Sub Menu 3rd Sub Menu
DAY&NIGHT
* Standard
Type is
adjustable.
COLOR
BW
BURST OFF/ON
IR SMART
OFF/ON
IR GAIN 0 ~ 255
HEIGHT 0 ~ 15
WIDTH 0 ~ 15
LEFT/RIGHT 0 ~ 15
TOP/BOTTOM 0 ~ 15
RETURN SAVE&END
IR LEVEL LOW/MID/HIGH * Disabled
RETURN SAVE&END
D&N EXT
D->N DELAY 1, 3, 5, 10, 15, 20, 25, 30
N->D DELAY 1, 3, 5, 10, 15, 20, 25, 30
RETURN SAVE&END
*IR SMART Feature:
IR SMART feature only works at B/W mode.
IR Smart feature adjusts AE LEVEL to prevent a subject being too bright by the saturation of light.
1.LED Type
After enabling the “IR SMART” function under B/W mode, make sure to switch the DAY&NIGHT mode to “EXT” before
saving the setting.
Leaving the mode under B/W when saving will result in constant B/W mode output.
2.STANDARD Type
After changing the “IR SMART” function under B/W mode, make sure to switch the AUTO mode to “SAVE” before
saving the setting.
Leaving the mode under B/W when saving will result in constant B/W mode output.
SPECIAL
CAM TITLE
OFF/ON
0 1 2 3 4 5 6
7 8 9 A B C D E
F G H I J K L M
N O P Q R S T U
V W X Y Z → ←
↑ ↓ ( ) - _ ■
/ = : " . , ┛
← → CLR POS END
MOTION
OFF/ON
AREA SEL.
AREA1
AREA2
AREA3
AREA4
AREA STATE OFF/ON
HEIGHT 0 ~ 15
WIDTH 0 ~ 15
LEFT/RIGHT 0 ~ 15
TOP/BOTTOM 0 ~ 15
DEGREE 0 ~ 255
VIEW OFF/ON
RETURN SAVE&END
16

10. OSD MENU STRUCTURE
Main 1st Sub Menu 2nd Sub Menu 3rd Sub Menu
SPECIAL
PRIVACY
OFF / ON
AREA SEL. AREA1 / AREA2 / AREA3 / AREA4
AREA5 / AREA6 / AREA7 / AREA8
AREA STATE OFF / ON
HEIGHT 0 ~ 15
WIDTH 0 ~ 15
LEFT / RIGHT 0 ~ 15
TOP / BOTTOM 0 ~ 15
COLOR 0 ~ 15
RETURN SAVE&END
IMAGE ADJ
LENS SHAD.
OFF / ON
LEVEL 0 ~ 255
H-CENTER 0 ~ 255
V-CENTER 0 ~ 255
RETURN SAVE&END
2DNR
OFF / ON
LEVEL 0 ~ 15
RETURN SAVE&END
MIRROR OFF / ON
FONT COLOR
FONT 0 ~ 15
ID&TITLE 0 ~ 15
RETURN SAVE&END
CONTRAST 0 ~ 255
SHARPNESS 0 ~ 31
DISPLAY
CRT
PED LEVEL (0 ~ 63)
COLOR GAIN (0 ~ 255)
RETURN (SAVE&END)
LCD
GMMA (0.3 ~ 1.0)
PED LEVEL (0 ~ 63)
COLOR GAIN (0 ~ 255)
RETURN (SAVE&END)
RETURN SAVE&END
NEG. IMAGE OFF / ON
RETURN SAVE&END
LANGUAGE ENGLISH / CHINESE / SPANISH / RUSSIAN / GERMAN / PORTUGUESE
FRENCH / JAPANESE
DPC
START
DPC VIEW OFF / ON
LS VALUE (0 ~ 63)
DIFF (0 ~ 63)
AREA HS (0 ~ 255)
AREA HE (0 ~ 255)
AREA VS (0 ~ 255)
AREA VE (0 ~ 255)
RETURN SAVE&END
RETURN SAVE / NOT SAVE / RESET
*Important Note:
- Any changes made to the camera settings must be saved prior to exiting the OSD menu.
Else all changes will be discarded.
17
Table of contents
Other KT&C Security Camera manuals

KT&C
KT&C KPC-N551 User manual

KT&C
KT&C KNC-SPDNi120HD User manual

KT&C
KT&C KPC-EW650U User manual

KT&C
KT&C KNC-p3BR28V12IR User guide

KT&C
KT&C KNC-HMB6319-iWX User manual

KT&C
KT&C KPC-VDN101 User manual

KT&C
KT&C Omni-ip User guide

KT&C
KT&C KPC-VNQ100 Installation manual

KT&C
KT&C KPC-LD40NU User manual

KT&C
KT&C DN302U User manual

KT&C
KT&C KNC-p3BR4IR User manual

KT&C
KT&C KPC-N501NUB User manual

KT&C
KT&C KPC HDD122 User manual

KT&C
KT&C KPC-DQ100NHB User manual

KT&C
KT&C KPC-ND521NU User manual

KT&C
KT&C KNC-Xi210HD User manual

KT&C
KT&C KPC-HDX222M User manual

KT&C
KT&C KNC-Xi130HD User manual

KT&C
KT&C KPC-N751NUB User manual

KT&C
KT&C KNC-HDi47 User manual