11 12
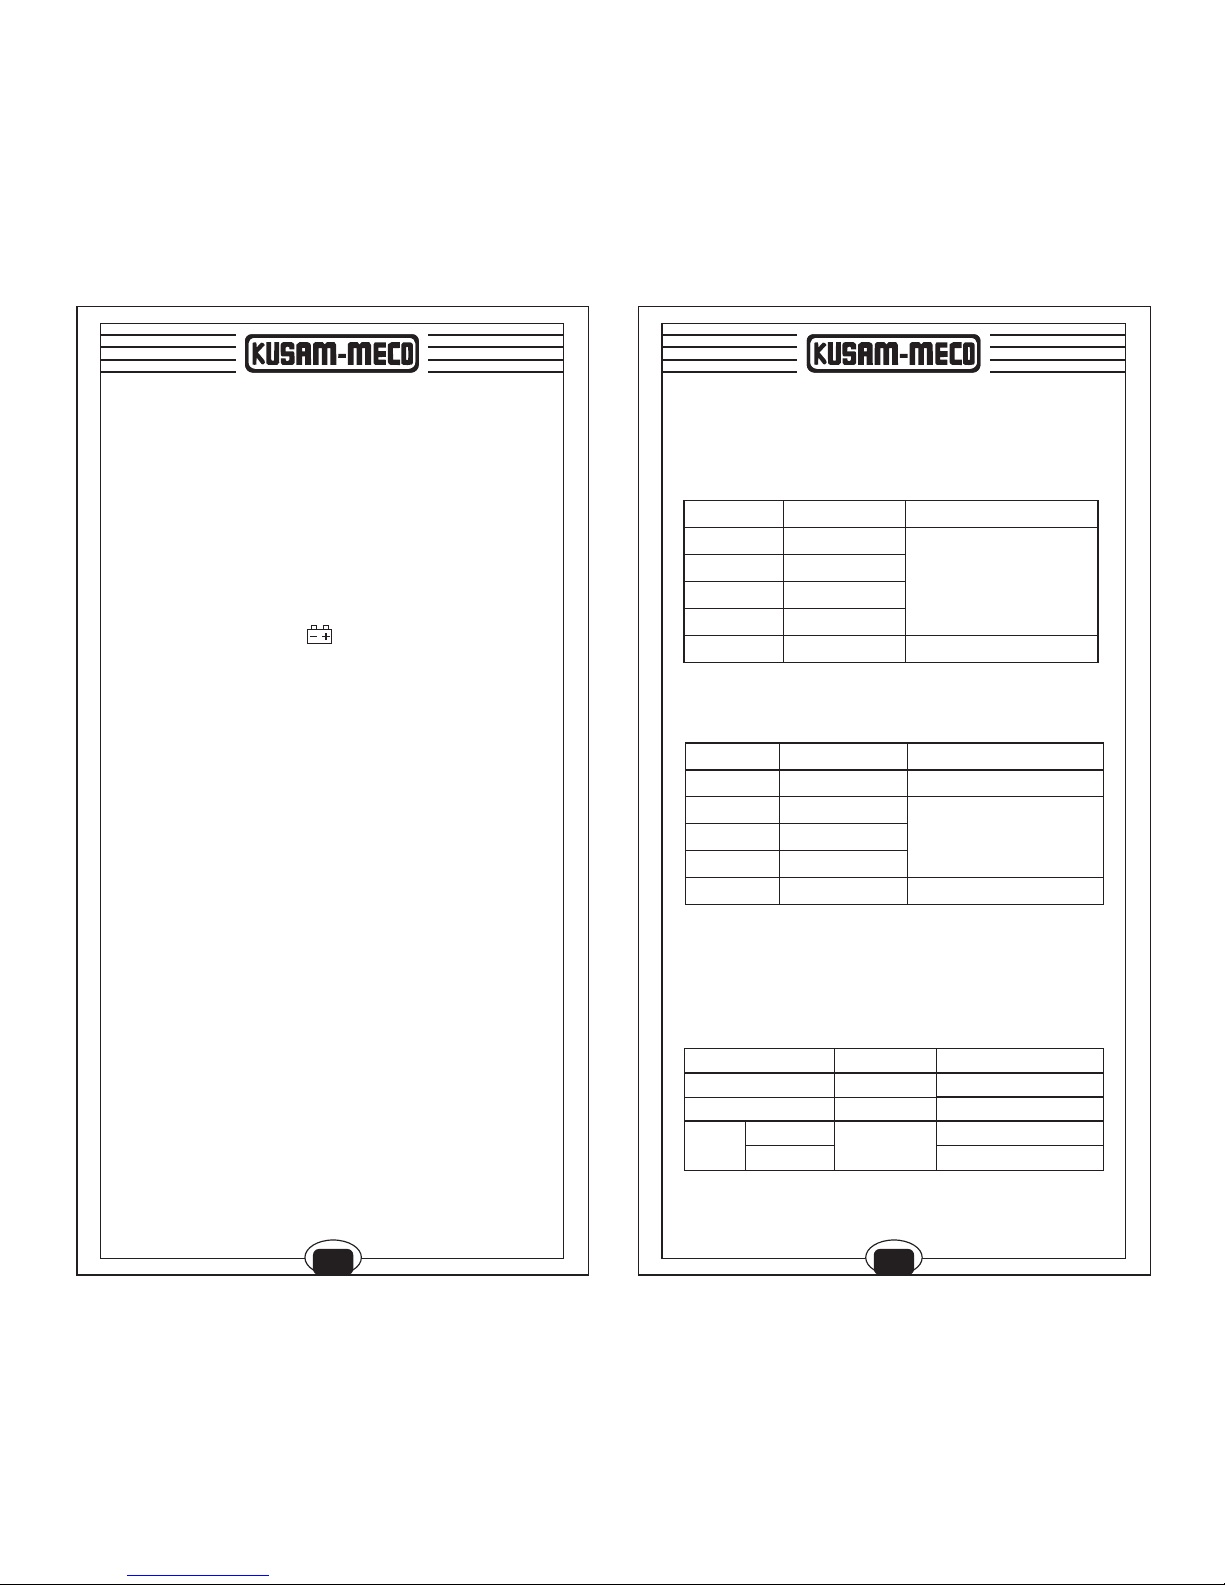
Frequency measurement
1) Connect the black test lead to “COM” socket
and red test lead to the “ ” socket.
2) Set the selector switch to desired “Hz” position.
3) Connect the probes to the point of
measurement and read the frequency from
the display.
Max. Input over-load: 250Vrms< 10sec
Caution :
Ensure that the circuit to be tested is “dead”.
Max. Input Over-load : 250V rms<10Sec
Diode test
1) Connect the black test lead to “COM” socket
and red test lead to the “ ” socket.
2) Set the selector switch to “W” position.
3) Push “SELECT” to select diode test.
4) Connect the black and red test probe to the
cathode (-) and anode (+) ends of diode to be
tested respectively. Read the forward voltage
drop (junction) value from the display. If reverse
connected the probes to diode, display shows
over-load.
Caution :
Ensure the that circuit to be tested is “dead”.
Max. Input over-load : 250V rms<10Sec
1) Connect the black test lead to “COM” socket
and red test lead to the “ ” socket.
2) Set the selector switch to “W” position.
3) Push “SELECT” to select audible continuity test.
4) Connect the probes across circuit to be tested,
the beeper sounds continuously if the
resistance is less than approx. 50Ù.
Audible Continuity test
Temperature measurement
1) Connect the black test lead of the sensor to
“COM” socket and the red test lead to the “ ”
socket.
2) Set the selector switch to “ °C” position.
3) Put the sensor probe into the temperature field
under measurement.
4) Read the result from the LCD panel.
A. The temperature function shows random
number at ordinary times, must insert the
thermocouple in temperature test hole while
examining temperature.
B. This meter inclosure WRNM-010 type contact
thermocouple limit temperature is 250°C
(300°C shortly).
C. Please don't change the thermocouple at will
otherwise we can't guarantee to measure
accuracy.
D. Please don't importing the voltage in the
temperature function.
NOTE :
Max. Input Over-load : 250V rms<10 sec.
The auto range mode is a convenient function, but
it might be faster to manually set the range when
you measure values that you know to be within a
certain range. To select manual range control,
repeatedly press "RANGE" for more than 2
seconds, then it can go to auto range mode. In
Hz/Duty and capacitance measurement, it can not
select manual range mode.
Auto/Manual Range Control
Caution :
While suing the manual range control, if "OL"
appears on the display and you hear an
intermittent tone, immediately set RANGE to a
higher range.