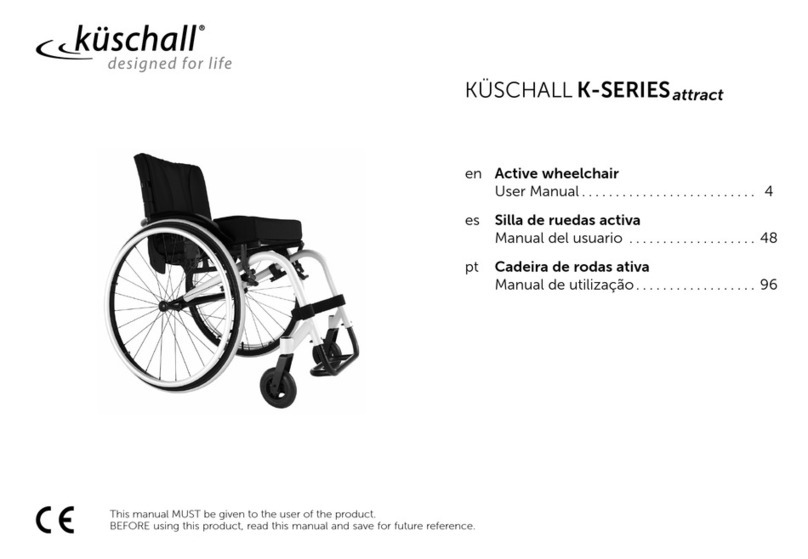
Kuschall CHAMPION User manual

Service Manual
KÜSCHALL CHAMPION
DEALER: Keep this manual.
The procedures in this manual MUST be performed by a
qualified technician.

©2014 Küschall AG
All rights reserved. Republication, duplication or modification in whole or in part is prohibited without prior written
permission from Küschall AG. Trademarks are identified by ™and ®.
All trademarks are owned by or licensed to Küschall AG or its subsidiaries unless otherwise noted.

3
KÜSCHALL CHAMPION
© Küschall AG, Switzerland | 2015-09
Service Manual
TABLE OF CONTENTS
GENERAL...................................................................................................................... 4
Introduction 4
Spare parts and adaptations 4
Tightening Allen screws 4
Torque 5
Checks 5
Identifying and alleviating malfunctions 5
OVERVIEW ....................................................................................................................6
Components 6
Dimensions 6
FRAME............................................................................................................................7
Changing Frame 7
SEAT .............................................................................................................................. 8
Fitting seat cover to frame 8
Front seat height (SHv) 8
Rear seat height (SHh) 9
Checking the folding unit 10
Adjusting the folding unit 10
BACKREST...................................................................................................................11
Tension adjustable backrest 11
Backrest height (RH) 14
Backrest angle (RW) 15
Push handles / backrest telescopes 15
Replacing foldable push handles 17
Stabilisation bar 17
FOOTRESTS ................................................................................................................18
Lower leg length (UL) 18
Footplate 19
SIDE PARTS .................................................................................................................21
Clothes-guard assembly 21
Mud guard assembly 23
Assembling and adjusting the siderest 24
Assembling the tubular armrest 24
FRONT WHEELS ........................................................................................................ 25
Replacing a front wheel 25
Replacing a front wheel fork 25
Checking and adjusting the castor angle 26
Checking and adjusting the drift angle 26
Shift supporter on the frame 27
REAR WHEELS ........................................................................................................... 28
Rear wheels, repositioning 28
Wheel camber, adapter sleeves 28
Adjusting the removable axle 28
Distance sleeves 29
Adapterplate, adjustment to folding unit or assembly of new adapter plate 29
BRAKES ....................................................................................................................... 30
Fitting / adjusting the parking brake 30
Antitipper / Transit wheels 31
Tipper aid / Cane holder 32
Fitting the pelvic belt 32

4
KÜSCHALL CHAMPION
© Küschall AG, Switzerland | 2015-09
Service Manual
GENERAL
Introduction
This service manual is part of the instructions and contains the tech-
nical information for servicing, configuring and repairing a küschall®
wheelchair.
WARNING!
Danger of accident and severe injuries.
If the wheelchair is improperly set it can cause
accidents and severe injuries.
▸Changes to the wheelchair may only be carried out
by the dealer.
To guarantee the required safety and reliability, all wheelchairs must
be comprehensively checked once a year.
In part, assembly and adjustment require extensive experience. For
this reason, the following assembly instructions have been split into
three categories:
Requirement Symbol
Easy – technical understanding required
Intermediate – specialist knowledge required
Dicult – specialist wheelchair assembly knowledge
and experience required
The required tools and their respective sizes are listed above each
instruction. The instructions include information on the torques with
which the respective screw connections must be tightened. Adhering
to the given torques requires the use of a torque spanner.
Tools Symbol
Allen key Ã2x3, 4, 5, 6
Phillips screwdriver Ò2
Straddle spanner 19, 11
Socket spanner/ring spanner 8, 10, 14, 22
Spare parts and adaptations
All spare parts can be purchased from küschall®'s Customer Services.
An electronic spare parts catalog is available by logging onto
www.kuschall.com. Only original spare parts may be used.
Installing additional adaptations to a küschall®wheelchair requires
the prior written approval of Küschall AG.
Tightening Allen screws
Allen keys are not designed for greater forces. When tightening or
loosening an Allen screw, it is therefore advisable to apply force to
the nut to prevent the hexagon socket from being damaged.
Tightening and loosening
Turn the nut with a socket spanner (only use a straddle spanner
if there is insucient space) and merely hold the screw tight with
the Allen key.

5
KÜSCHALL CHAMPION
© Küschall AG, Switzerland | 2015-09
Service Manual
Tightening and loosening if there is no nut
If an Allen screw is directly screwed into a screw thread, the screw must be tightened using an Allen key.
iEnsure that the Allen key is of good quality and
not worn.
Torque
All screw connections must be tightened with the torques specified in the following instructions.
Checks
Visual check
Check all components for cracks, especially the areas around joints and welded seams.
Checking the screw connections
Check all bolts with the torques specified in the instructions regularly, and adjust if required.
CAUTION!
Several screw connections have been secured with thread locking adhesive. If these are opened, they must be
secured again using new thread locking adhesive. Liquid high-strength and low-strength adhesives are available.
For torque entries notice shall be made whether an adhesive and which adhesive needs to be used.
Identifying and alleviating malfunctions
Malfunction Possible cause Measure
The wheelchair will not
move in a straight line
Incorrect tire pressure in a rear wheel Correct tire pressure
One or more spokes broken Replace defective spoke(s)
Spokes unevenly tensioned Tighten excessively loose spokes
Dirty or damaged wheel bearings Clean or replace bearings
Bearing block of castor fork is not vertical Align bearing block vertically
Front wheels not set to the same height Position the front wheels in such a way that they
touch the ground at the same time
Rear wheels not parallel or axes not aligned Adjust the prestress load on the scissor
mechanism and/or the trail
The wheelchair tips
backwards too easily
Rear wheels have been fitted too far forward Fit rear wheels further back
Backrest angle too great Reduce backrest angle
Seat angle too great Mount the adapter plate lower on the side profile
Mount the smaller castor fork
The brakes engage
poorly or asymmetrically
Incorrect tire pressure in one or both rear wheels Correct tire pressure
Brake setting incorrect Correct brake setting
Roll resistance is too
great
Insucient tire pressure in the rear wheels Correct tire pressure
Rear wheels are not parallel Ensure that the rear wheels are parallel
The front wheels
wobble when moving
fast
Insucient tension in the front wheel bearings block Lightly tighten the nut in the bearings block axle
Front wheel is worn flat Replace front wheel
The front wheel is sti
or stuck Dirty or damaged bearings Clean or replace the bearings
The wheelchair is very
dicult to unfold The backrestcover is too tight Loosen the backrestbands a little
Handling seems
imprecise
The scissor mechanism is not closed properly If required, remove dirt from scissor mechanism
The scissor mechanism is misaligned Realign the scissor mechanism

Other manuals for CHAMPION
10
Table of contents
Other Kuschall Wheelchair manuals

Kuschall
Kuschall Wheelchair User manual

Kuschall
Kuschall Compact User manual

Kuschall
Kuschall Advance User manual

Kuschall
Kuschall K-SERIES User manual

Kuschall
Kuschall K-SERIES User manual

Kuschall
Kuschall KSL User manual

Kuschall
Kuschall K-SERIES ATTRACT User manual

Kuschall
Kuschall Ultra-Light User manual

Kuschall
Kuschall KSL User manual