ContentsCONTENTS
3
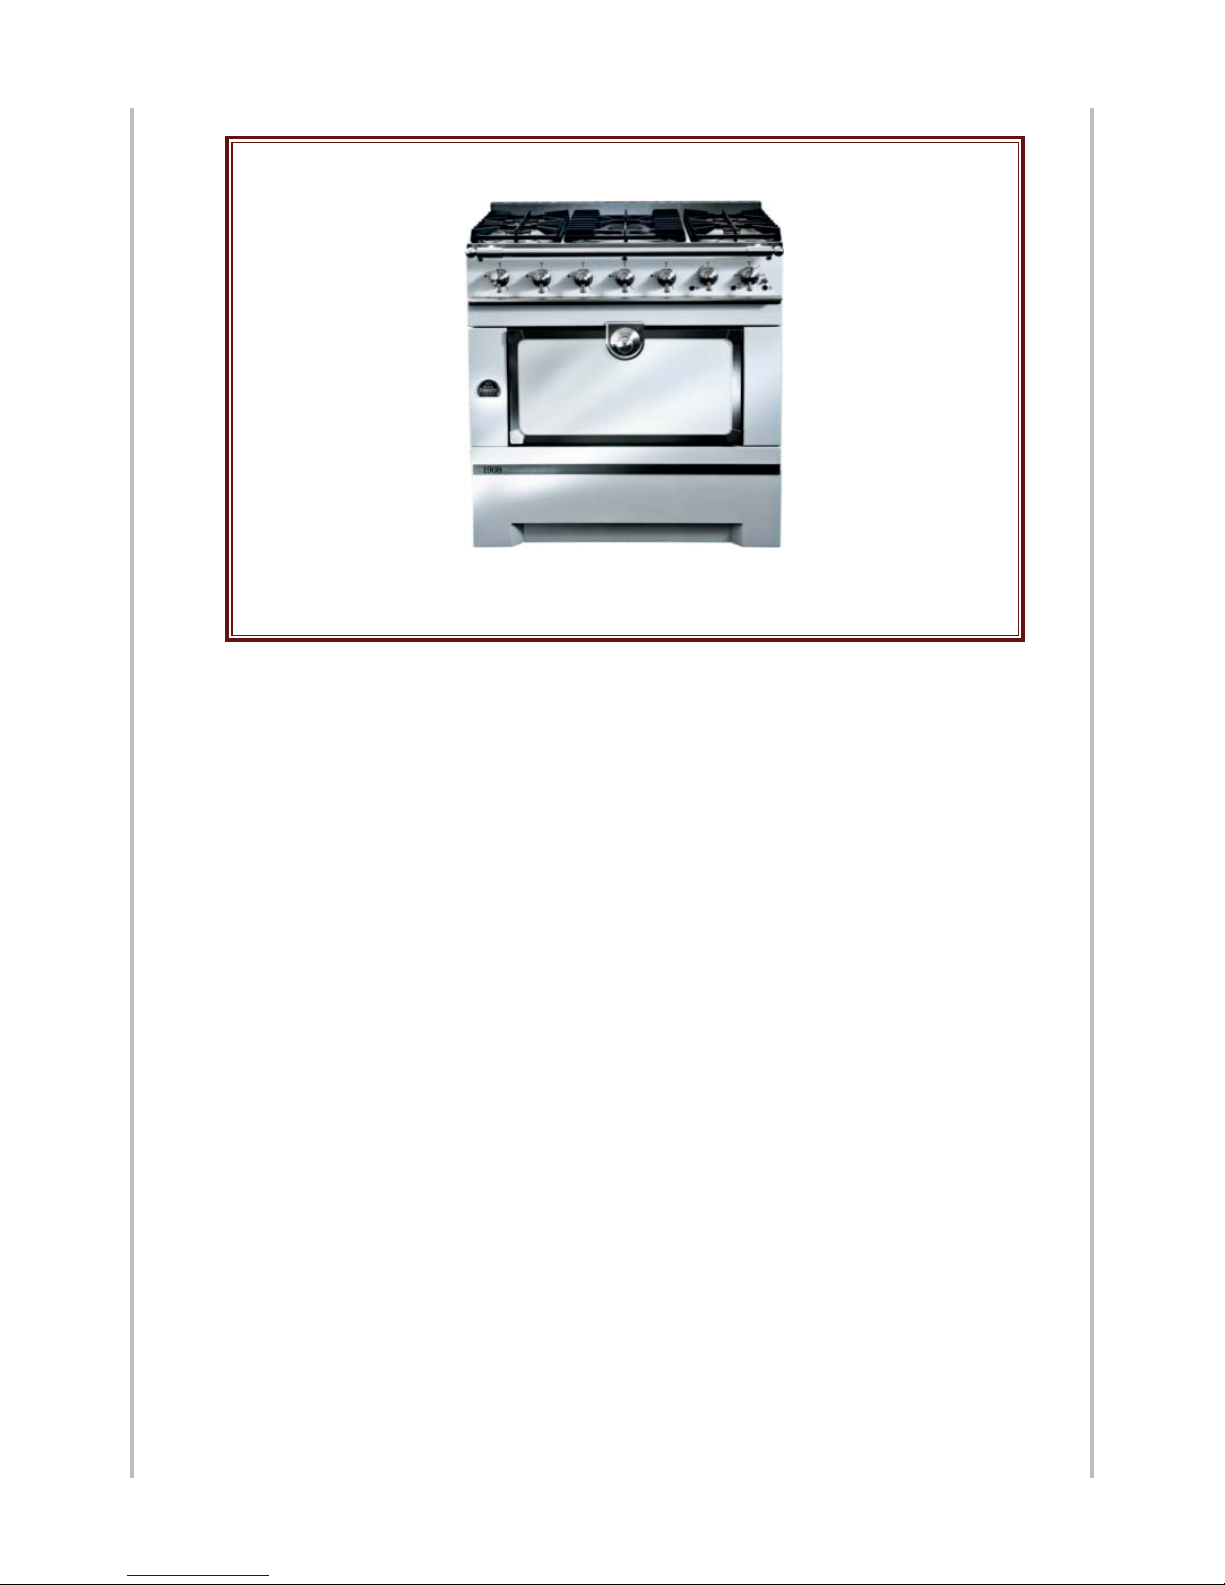
Installation and User Guide GB “CornuFé 1908”
08NOTINSTALFE8/GB-1
CONTENTS
WARNING ................................................................................................................................... 4
DESCRIPTION .......................................................................................................................... 9
1. General description ................................................................................................... 9
2. Dimensions ................................................................................................................. 9
3. Energy power and gas flow rates .......................................................................... 10
4. Power ratings for the electrical elements ........................................................... 10
5. Rating plate ............................................................................................................... 10
BEFORE DELIVERY .............................................................................................................. 11
1. Safety requirements ................................................................................................. 11
2. Electrical supply ...................................................................................................... 12
3. Gas supply ................................................................................................................. 13
HANDLING AND INSTALLATION INSTRUCTIONS ............................................ 14
1. Unpacking the Cooker ............................................................................................ 14
2. Handling instructions ............................................................................................ 14
3. Removing and Refitting the Oven Door ............................................................ 14
4. Fitting the Handrail ................................................................................................ 15
5. Riser / Backsplash installation ............................................................................. 15
6. Gas chimney protection installation ................................................................... 15
7. Height adjustment and positionning the cooker .............................................. 16
CONNECTIONS ..................................................................................................................... 17
1. Electrical connections ............................................................................................. 17
2. Gas connection ......................................................................................................... 17
ADJUSTMENTS ...................................................................................................................... 19
1. Changing the injectors ........................................................................................... 19
2. Injectors table ........................................................................................................... 20
3. Replacing the oven light ........................................................................................ 21
INSTRUCTIONS FOR USE ................................................................................................. 21
1. Starting with the cooktop burners ....................................................................... 21
2. Starting with the oven ............................................................................................ 23
3. The cooking principle ............................................................................................ 25
4. Vaulted oven: advice on use .................................................................................. 26
UPKEEP OF a CornuFé 1908 COOKER ........................................................................... 28
1. Front Panels .............................................................................................................. 28
2. Finishes ...................................................................................................................... 29
3. The cooktop .............................................................................................................. 29
4. The oven .................................................................................................................... 31
COMPLIANCE WITH EUROPEAN DIRECTIVES ................................................... 33
WARRANTY ............................................................................................................................. 34