6
Compartment Number key
Press and release the Number key to select a particular battery compartment for charge modes
and/or display mode adjustment.
MODE key
Hold the MODE key for about 1 second to activate the mode change. Press and release the
MODE key to toggle between the “Charge”, “Discharge”, “Test” and “Refresh” mode. To change
the operating mode for an individual rechargeable battery, first press the corresponding
NUMBER key then press the MODE key.
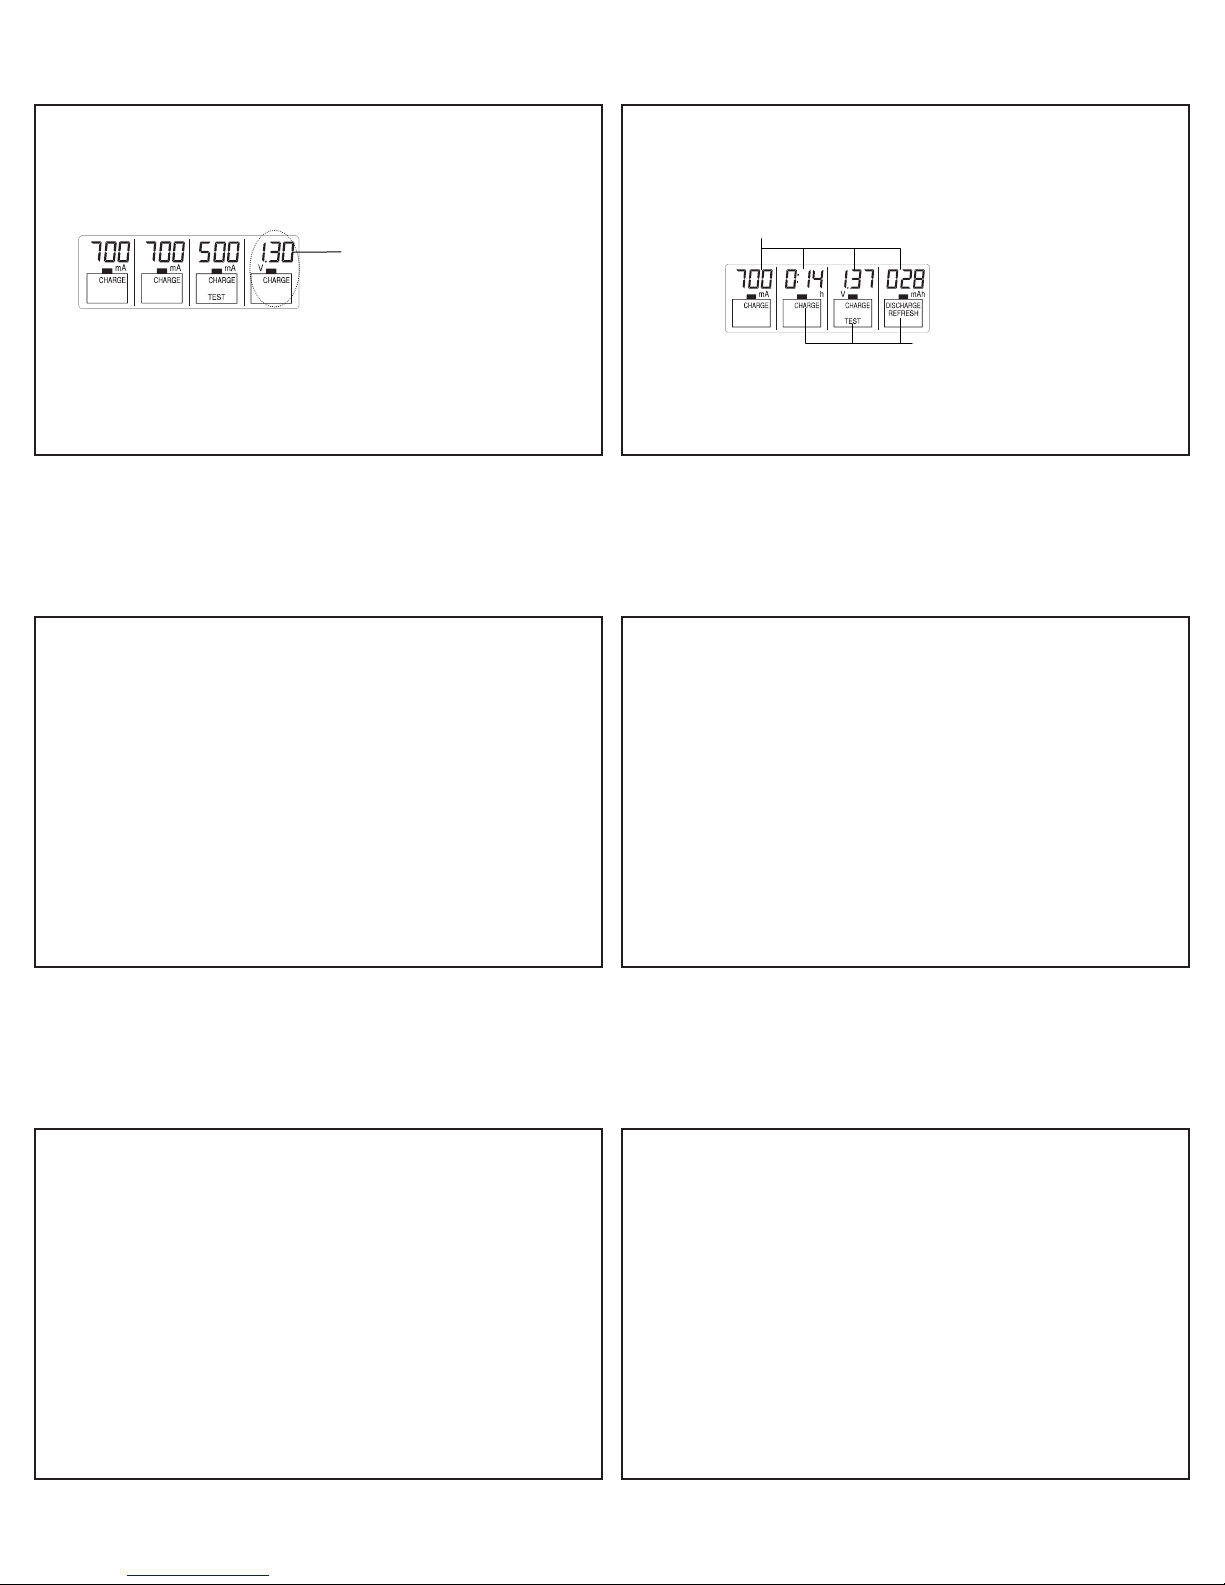
DISPLAY key
Press and release the DISPLAY key to view: Charging current (in mA), Time elapsed (in hh:mm),
the Terminal voltage (in V) and Accumulated capacities (in mAh or Ah) during the charging or
discharging process. To change the display content of an individual rechargeable battery, first
press the corresponding NUMBER key then press the DISPLAY key.
CURRENT key
Press and release the CURRENT key to select the amount of current to be applied (within the
first 8 seconds after batteries are inserted) in different operating modes (also see “Start
7
charging the rechargeable batteries” below). To change the charging current of an individual
rechargeable battery, first press the corresponding NUMBER key then press the CURRENT key
(within the first 8 seconds after batteries are inserted).
OPERATING MODES OF THE CHARGING UNIT
This powerful charging unit provides the following operating modes:
a. Charge the rechargeable battery (CHARGE) – to charge the rechargeable battery,
automatically switches to trickle charge after the rechargeable battery is full.
b. Discharge then charge the rechargeable battery (DISCHARGE) – to discharge the
rechargeable battery then charge it to minimize the memory effect.
c. Refresh the rechargeable battery (REFRESH) – to refresh the rechargeable battery to its
maximum capacity by charging and discharging the rechargeable battery repeatedly until
no further increase in the capacity is estimated. For old rechargeable batteries or those
have not been used for a long time, refreshing may bring the rechargeable battery back
to the optimum condition.
d. Check the rechargeable battery capacity in mAh/ Ah (TEST)
8
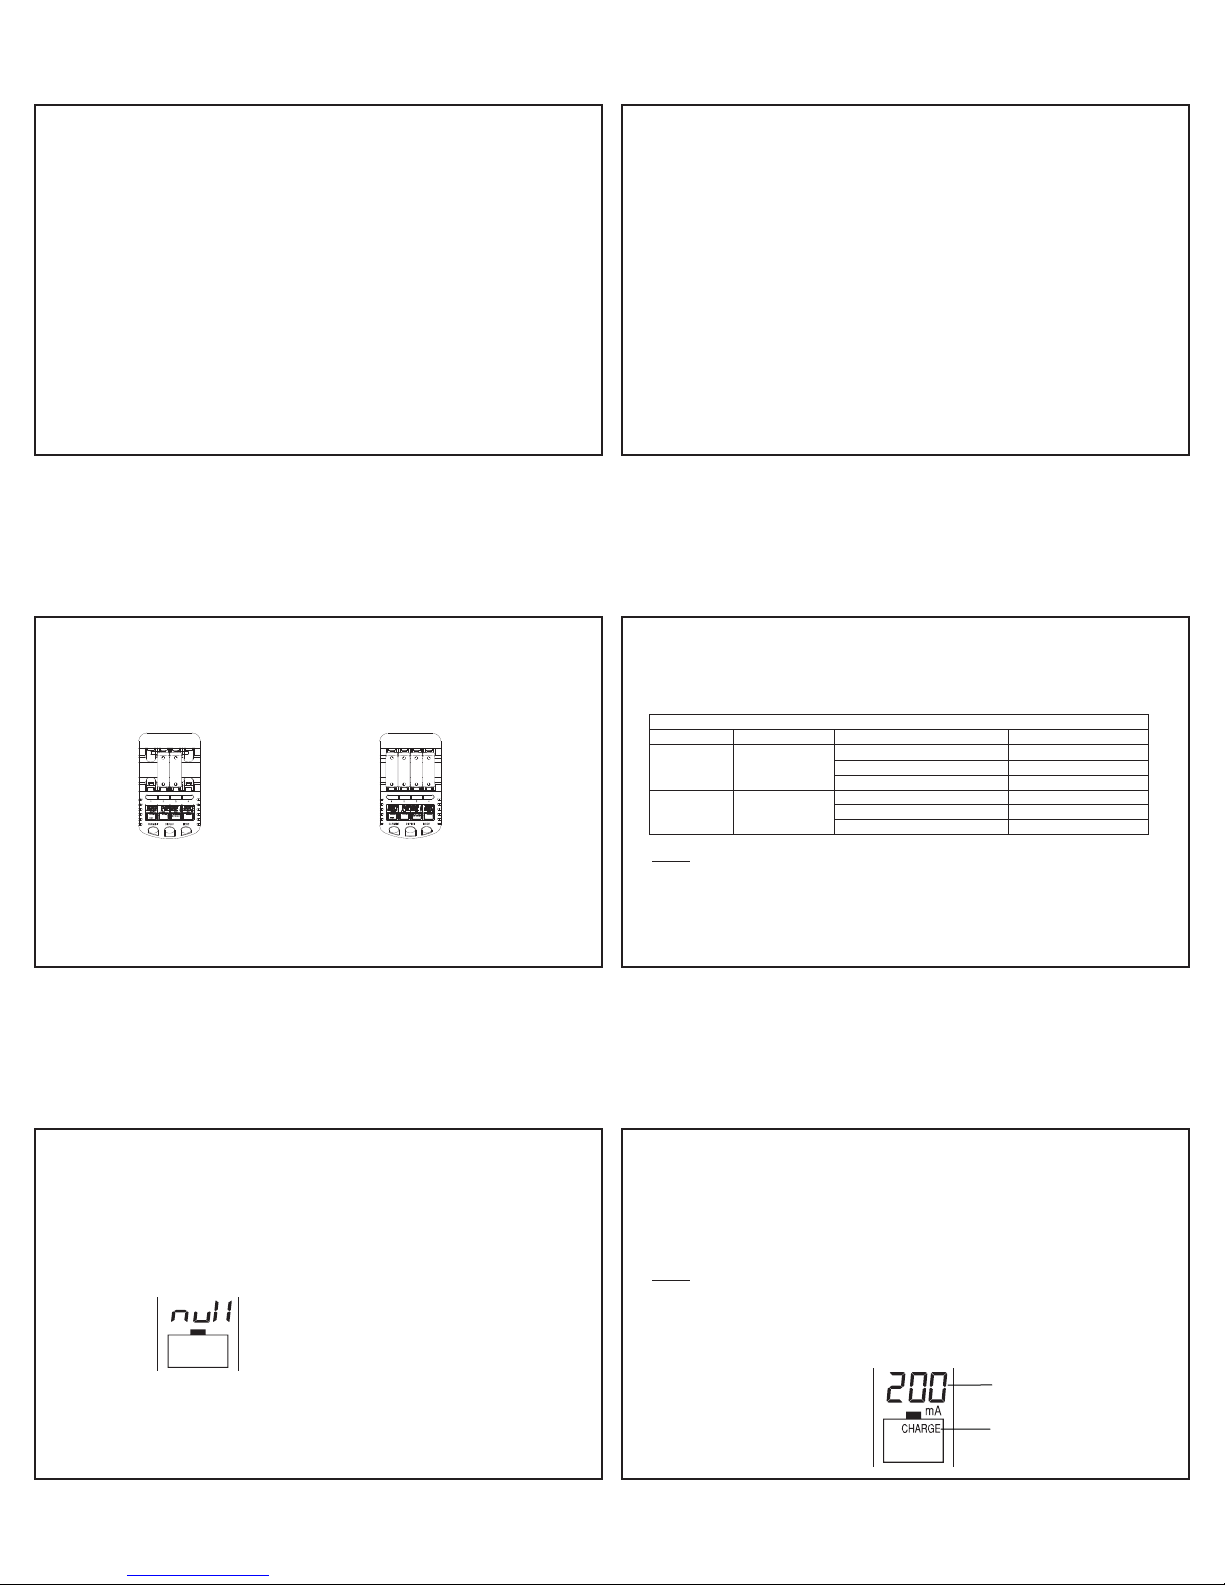
CHARGE MODE
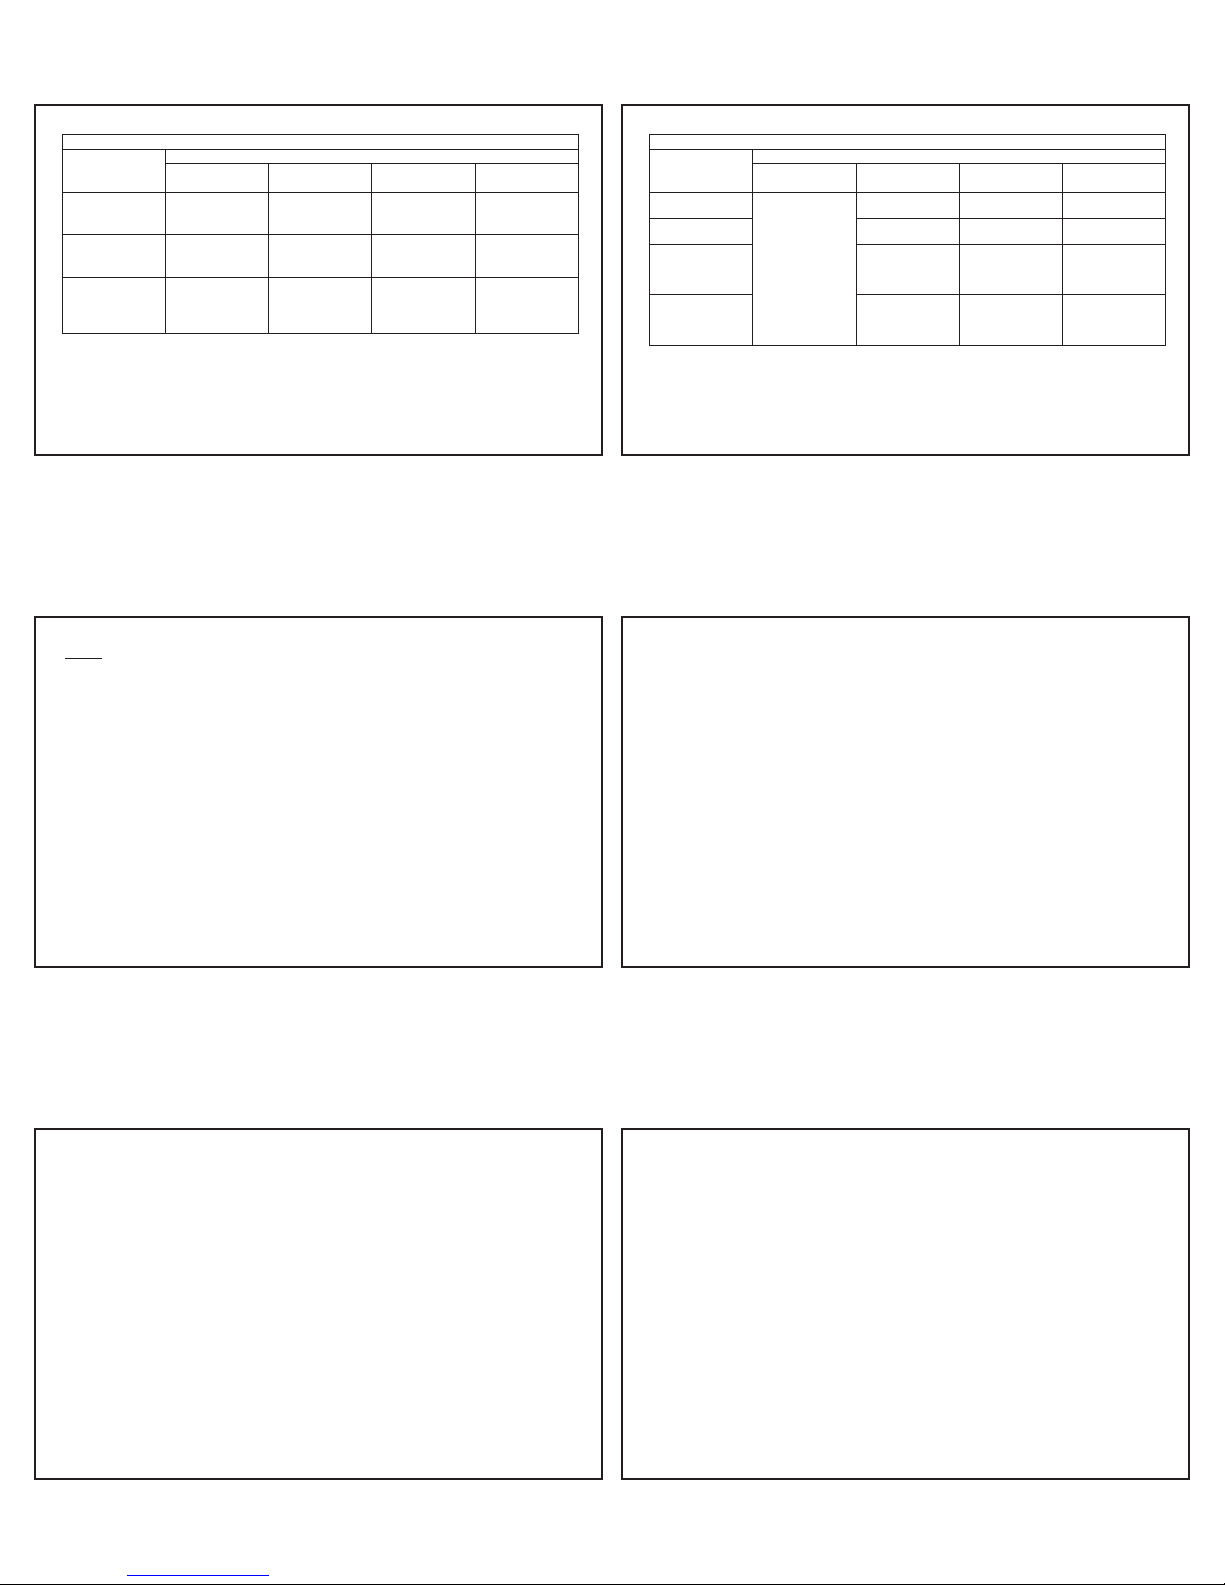
Charging at 200 mA is the default-operating mode of the charging unit.
NOTE: The highest charging current will be in compartment 1. The other compartments cannot
be higher.
Example:
When charging four batteries –
max. charging current: 700 mA
When charging two batteries at
compartment 2 & 3 – max.
charging current: 700 mA
9
The estimated time of charging by various charging current is tabulated in Table 1.
NOTE: It is acceptable to charge AA and AAA batteries at the same time.
Table 1. Charging Time with various charging current
Size of battery Battery Capacity Charging current selected (mA) Estimated charging time
AA 2500 mAh
700 ~3 hr 35 min
500 ~5 hr
200 ~13 hr
AAA 700 mAh
700 ~60 min
500 ~84 min
200 ~3 hr 30 min
NOTE:
zAlways observe the recommended maximum charging current of the rechargeable
batteries. In general, 200 mA is a recommended charging current if rapid charging is not
necessary. It is definitely safe and optimum to the life of the rechargeable batteries.
10
zIt may be necessary to charge and discharge new rechargeable batteries several times in
the beginning before the optimum capacity of the rechargeable batteries can be
obtained. Use the "Refresh" mode after new rechargeable batteries have been used
under load and charged several times in order to achieve the optimum battery capacity.
zWhen the transformer has been plugged into the power source, the version number of
the charger (for example “35”) will be displayed first. Then all the segments will light up
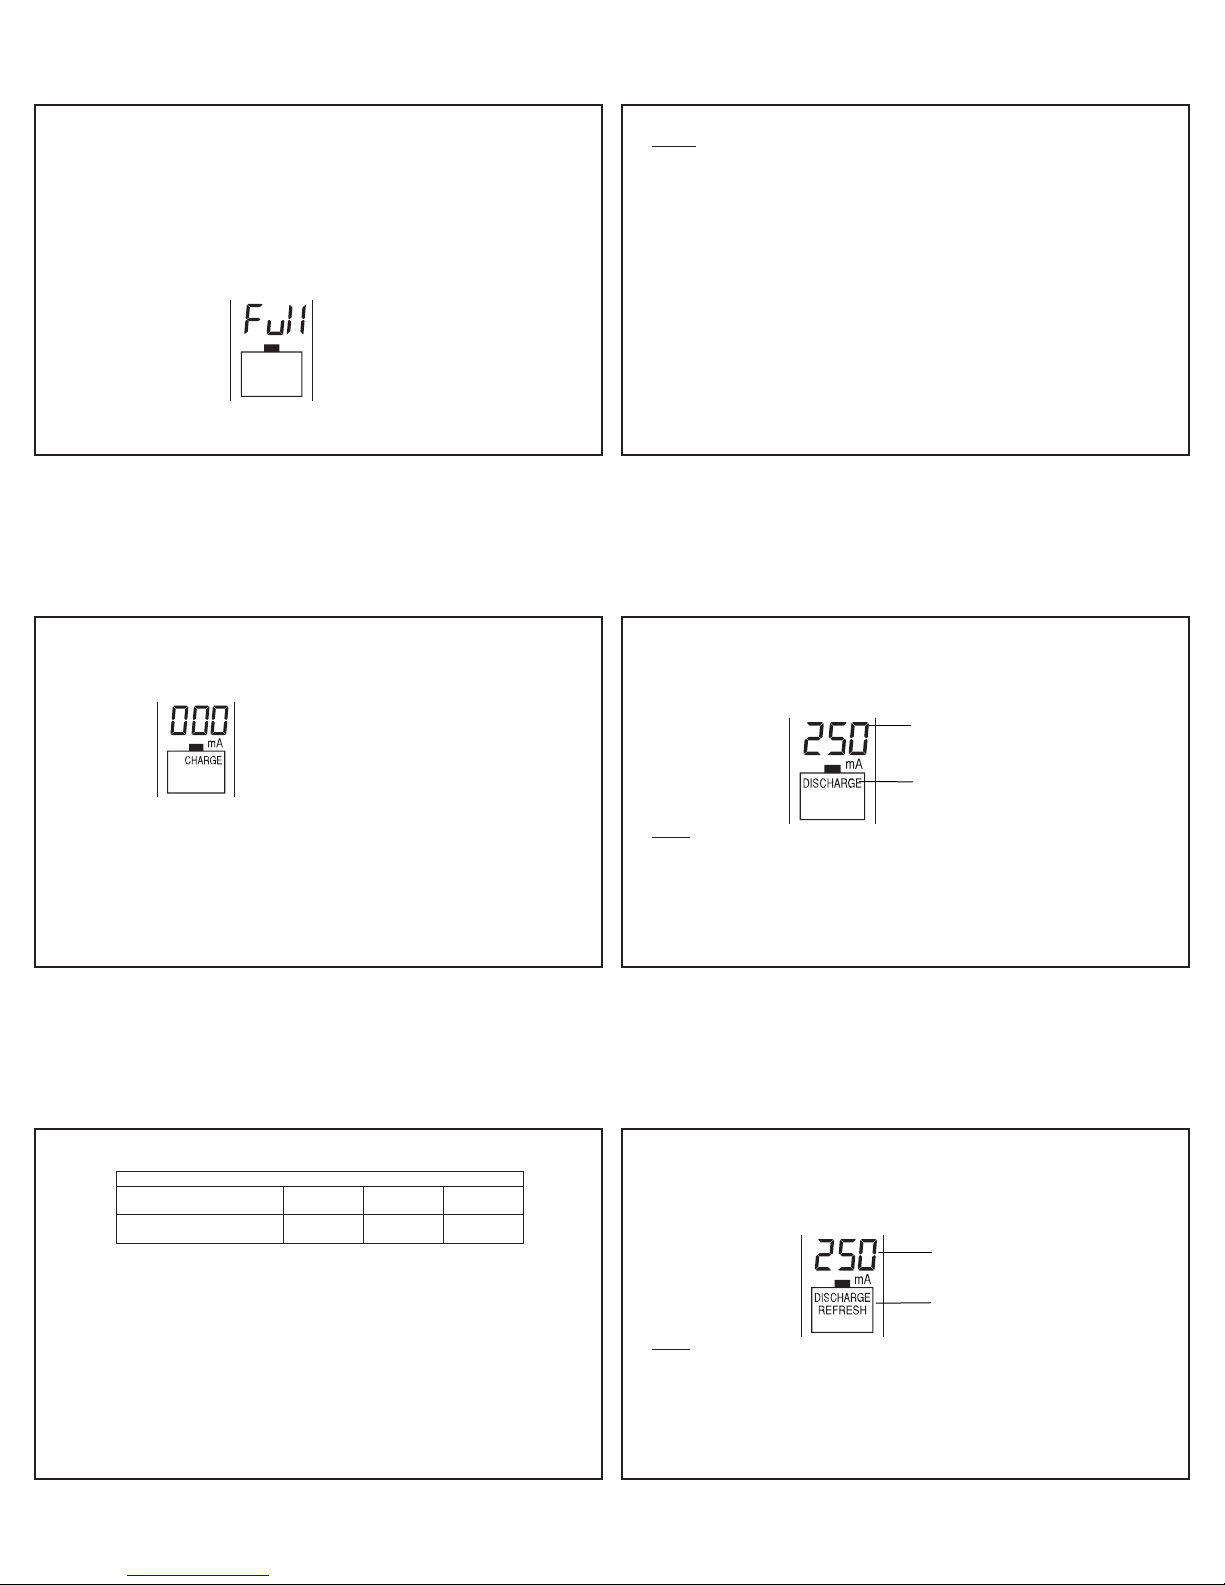
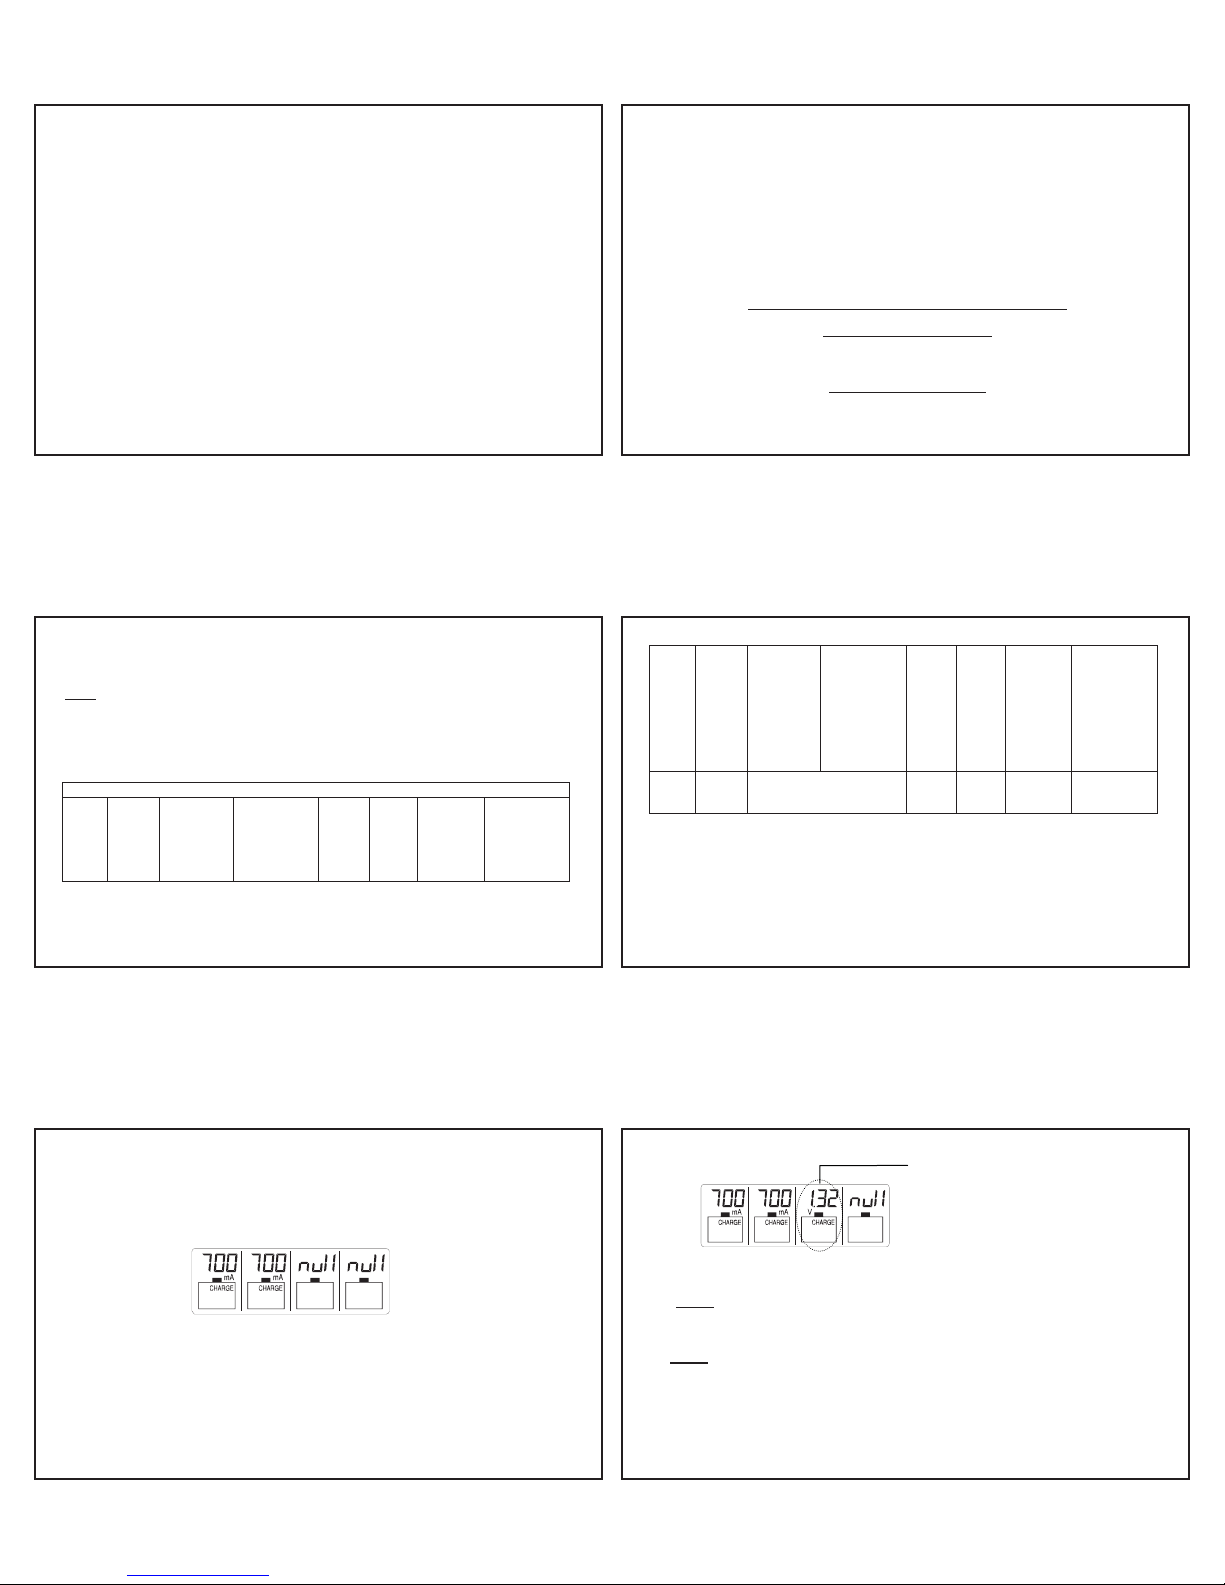
momentarily and the “null” sign will be shown before batteries are placed. If damaged
batteries or batteries below 0.9V, are placed into the charging unit, the charger will also
show “null” on LCD.
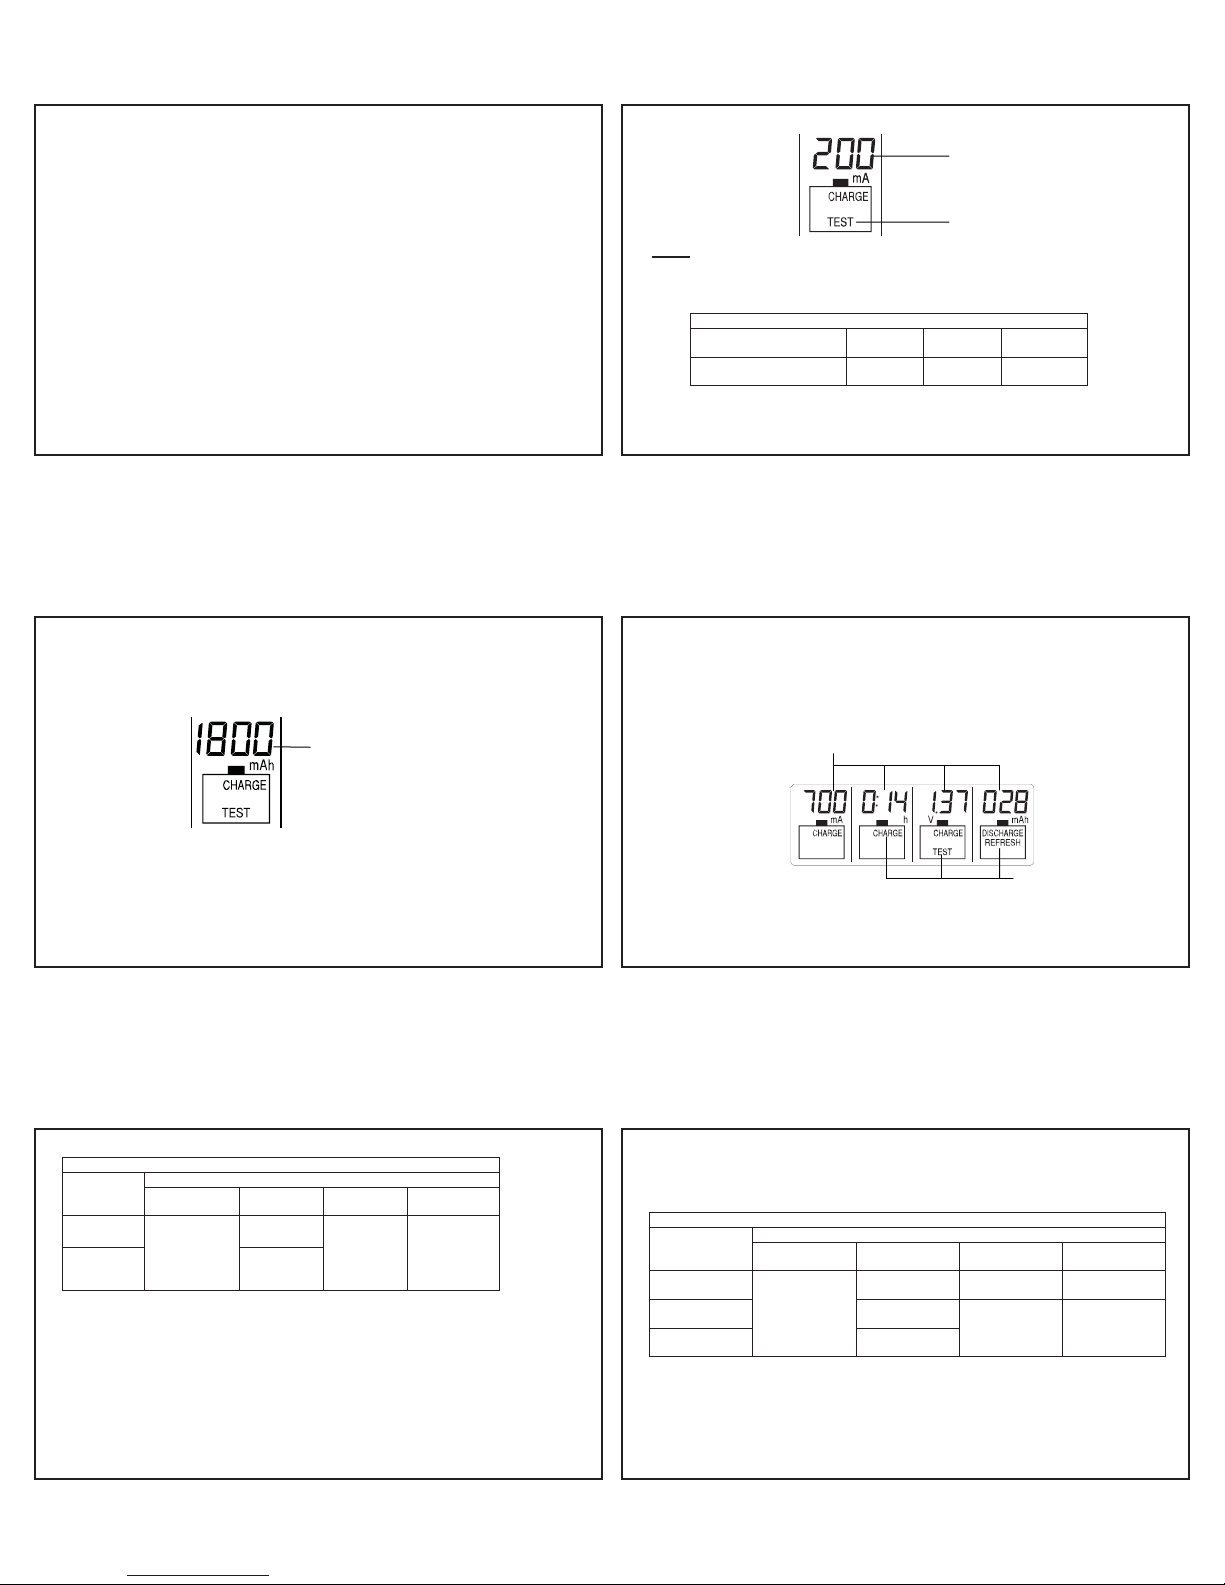
START CHARGING THE RECHARGEABLE BATTERIES
Once a rechargeable battery is inserted after the transformer has been plugged into the power
source, the battery voltage (for example, “1.39V”) will be displayed for 4 seconds. Then “200 mA
“null” displayed - No battery or damaged battery
is
laced to the char
in
unit
11
Charge” (default mode) will be shown on LCD for another 4 seconds, indicating that charging
with 200 mA is to be started if no alteration in setting is made.
Select the operating mode by the MODE key. “Charge”, “Discharge”, “Refresh” and
“Test” mode may be chosen within this 8-second time after inserting the batteries.
Then within 8 seconds from pressing the last key, select the charging/discharging
current by pressing the CURRENT key.
NOTE:
zHold the MODE key for about 1 second to activate the mode change. Press and release
the MODE key to select between the “Charge”, “Discharge”, “Test” and “Refresh” mode.
zThere is an 8-second time allowed for choosing further functions after each key pressing.
If no keys are pressed, the LCD will blink one time to indicate the end of setting. The
current can no longer be changed during the process and the selected mode will begin.
Charging current: 200 mA
Charge Mode
fter 8 seconds from the last key
ress, the LCD will blink once to
indicate the setting is confirmed and
the selected mode is activated