Labomed Pixel Pro 3.2 User manual

R
Pixel Pro 3.2
User Manual
To ensure proper use of this instrument as well as to avoid injury while operating instrument, understanding this manual completely
before use is highly recommended.

PixelPro 3.2 Instruction Manual
R
1
Content
General Introduction ........................................................................................................ 4
1. Starting Interface ....................................................................................................... 5
2. Windows.................................................................................................................... 6
3. Capture .................................................................................................................... 11
3.1 Capture......................................................................................................... 11
3.2 Resolution..................................................................................................... 11
3.3 Binning.......................................................................................................... 12
3.4 Exposure Control .......................................................................................... 12
3.5 White Balance .............................................................................................. 13
3.6 Bit Depth (only for Monochrome Cooling camera)...................................... 14
3.7 Image Adjust................................................................................................. 14
3.8 Histogram ..................................................................................................... 16
3.9 Temperature Control (only for Cooling camera) .......................................... 17
3.10 File Save........................................................................................................ 18
3.11 ROI ................................................................................................................ 19
3.12 Mask ............................................................................................................. 20
3.13 Image Stitching (Live) ................................................................................... 21
3.14 EDF (Live)...................................................................................................... 22
3.15 Realtime Dye ................................................................................................ 23
3.16 Video Record ................................................................................................ 24
3.17 Delay Capture ............................................................................................... 25
3.18 Trigger (only for Monochrome Cooling camera).......................................... 26
3.19 Image Process (only for Monochrome Cooling camera).............................. 27
3.20 Save Settings................................................................................................. 28
3.21 Light Frequency ............................................................................................ 29
3.22 Other Settings............................................................................................... 30
3.23 Auto Focus (only for Auto Focus camera) .................................................... 30
4. Image ....................................................................................................................... 30
4.1 Image Adjust................................................................................................. 31

PixelPro 3.2 Instruction Manual
R
2
4.2 Image Dye..................................................................................................... 32
4.3 Fluorescence................................................................................................. 33
4.4 Advanced Computational Imaging ............................................................... 35
4.5 Binarization................................................................................................... 36
4.6 Histogram ..................................................................................................... 36
4.7 Smooth ......................................................................................................... 37
4.8 Filter/Extract/Inverse Color.......................................................................... 38
4.9 Deconvolution .............................................................................................. 38
4.10 Automatic Counting ..................................................................................... 39
4.11 Automatic Counting Property ...................................................................... 42
5. Measure................................................................................................................... 42
5.1 Measure Tool................................................................................................ 43
5.2 Calibration .................................................................................................... 45
5.3 Measure Layer.............................................................................................. 47
5.4 Metrics Flow................................................................................................. 48
5.5 Graphics Properties ...................................................................................... 50
5.6 Manual Class Counting................................................................................. 51
5.7 Scale Property .............................................................................................. 52
5.8 Ruler Property .............................................................................................. 54
5.9 Grid Property................................................................................................ 54
5.10 Save Settings................................................................................................. 55
5.11 Fluorescence Intensity.................................................................................. 56
5.12 Cursor Property ............................................................................................ 57
6. Report ...................................................................................................................... 57
6.1 Template Report........................................................................................... 57
6.2 Report........................................................................................................... 59
7. Display...................................................................................................................... 60
8. Config....................................................................................................................... 61
8.1 Capture/Image/Measure.............................................................................. 61
8.2 Jpeg............................................................................................................... 62
9. Info........................................................................................................................... 62

PixelPro 3.2 Instruction Manual
3
R
9.1 Preferences................................................................................................... 62
9.2 Help .............................................................................................................. 63
9.3 About............................................................................................................ 63
10. Customer Service................................................................................................. 64

PixelPro 3.2 Instruction Manual
4
R
General Introduction
PixelPro is a powerful software package integrating controls for micro-imaging cameras,
imaging calculation, image processing, and a measuring and counting work flow,
allowing the user to enjoy an improved operating experience.
PixelPro can drive and control cameras installed on microscopes from different
manufacturers, helping to bring the user the best performance for micro-imaging tasks.
When a user needs to make the best use of a microscope and its cameras’ potential,
PixelPro can accurately adjust all the parameters you select, and optimizes the settings
of these parameters through its user-friendly interface.
PixelPro enables the user to set up customized configurations according to their actual
applications. When a user combines customized configurations with customized work
flows, the software presents a personalized working layout, ensuring accuracy for the
user’s experiment results whether the software is being used for multiple tasks or by
multiple users.
PixelPro achieves superior quality images due to its powerful real-time calculating engine.
The real-time image stitching function helps the user to obtain a super wide FOV image
from the mechanical motion of the microscope. Real-time extended-depth-focusing
(EDF) functions can offer the user a combined picture in less than one second.
In order to achieve the best operating procedures from a user’s point of view, the
developers of PixelPro have refined the all-new camera operating work flow as Efficient
image acquisition->Image edition->Measurement->Report by modularizing designs. This
workflow acts in concert with the latest image processing algorithms, greatly saves the
user operation time, and improves working efficiency.

PixelPro 3.2 Instruction Manual
R
5
1. Starting Interface
When installing and starting up the software for the first time, the biological or industrial
application option box will pop up. The software will automatically optimize parameter
settings based on user choice. While using the software, the application option can also
be switched through [Information] - [Options] - [Microscope] on the right upper part of
the menu bar.
[Biological]: At software installation, automatic white balance defaults to a gamma value
of 2.10 and the exposure mode to the right.
[Industrial]: At software installation, the default color temperature value is 6500K, area
white balance defaults to auto, sets the gamma value to 1.80 and exposure mode to
middle.
It normally takes around 10 seconds for the software to start up. Some cameras will take
longer to start up, such as the FL-20BW, which will generally take about 20 seconds to
start up.
If no camera is connected, or an unsupported camera is connected, an error dialog pops
up when the software is started. Clicking “OK” or closing the prompt automatically exits
the program.

PixelPro 3.2 Instruction Manual
R
6
2. Windows
The program home screen consists of five parts - status bar, control bar, preview
window, data bar, picture bar:
① Status Bar
There are seven main modules in the status bar: Capture / Image / Measure / Report /
Camera List / Display / Config / Info. Clicking on a module switches the program to
related interface.

PixelPro 3.2 Instruction Manual
R
7
Multi-camera connection and hot-plug functions are supported on Windows systems
only. Using USB3.0 ports for hot swap is strongly recommended, and do not connect or
disconnect cameras while the camera list is being refreshed.
In the camera list, all recognized camera models are displayed. Click a camera name to
switch to that camera.
When the current camera is removed, it will automatically switch to another camera, or
display no camera.
Note: Hot swap is not supported in the Mac version.
② Control Bar
All function modules supported by the camera are displayed on the left side. Click on a
module’s status bar button to check detailed functions.
Click the
Click the
button to display all functions.
button to collapse all functions.
③Preview Window
1) Displays a real-time view and captured images.
2) Mouse wheel to zoom out/zoom in on pictures; the cursor always appears at the
center of the picture.
3) Hold down the left button / right button / scroll wheel of mouse to drag the image
display area.
4) Click the control button at the edge of the window. Left, right, and down expands or
contracts the corresponding operating bar.
5) Click the button to save the currently selected picture. The following window

PixelPro 3.2 Instruction Manual
R
8
will appear. The software supports four image formats for saving or saving as: [JPG]
[TIF] [PNG] [DICOM].
④ Data Bar
Shows measurement and statistics tables.
The measurement table supports exporting custom templates. For specific operations,
please refer to the report chapter.
⑤Image Bar
Thumbnails of pictures and videos captured or opened from other locations are
displayed on the right side of the main window. Thumbnails are listed in descending
order by time from top to bottom. Clicking any image switches to its [Image] page in
order to adjust the parameter settings. The specific operation is as follows:
1) Click the button to locate a file to import or open. Navigate to the location where
the desired image is saved in the interface below.
Double clicking selected pictures adds them to the preview window on the right side.

PixelPro 3.2 Instruction Manual
R
9
2) Right click on an image. The context menu of possible operations will appear as
shown below.
Available commands are [Select All (A)], [Cancel All], [Open], [New Folder (F)], [Copy
(C)], [Paste (V)], [Delete (D)] and [Rename (M)]; the user can use ctrl+c shortcut keys
to copy images, ctrl+v to paste it to the current folder. Select the file save location
on the left side. Click the button to close the window.
The save location and all the images under this path will display on the right side
of the window .
Click the button to add the current save location to the favorites folder for
quick access .
Click the button to return to the next higher directory. Select a picture view
mode with the following options .
3) Right-click on an image or on an empty area of the interface to pop up the operation
menu, under which the [Rename], [Close], [Close All], [Delete All], [Delete],
[Compare], and [Save Compare] operations are available.

PixelPro 3.2 Instruction Manual
R
10
There are two contrast mode: dynamic contrast and static contrast.
Dynamic contrast: Contrast between a preview image and a saved picture. In
preview status, right-click the picture bar to pop up the operation menu, then
select [Contrast]. A dynamic preview picture will appear on the left side of the
page; any saved picture selected in the picture bar will appear on the right side,
and the pictures on the right side can be replaced at any time. Click on the upper
right corner to exit contrast.
Static contrast: Contrast between two saved pictures. Select an image, then
right-click the picture bar to pop up the operation menu; select [Contrast] to
open the selected picture on the left side of the page. Clicking another picture
on the right side of picture bar will open it on the right side. During static
contrast, the picture on either side can be replaced at any time: first, click the
picture which needs to be replaced, and then click the new picture.
Save contrast saves the pictures being contrasted. The contrast effect is as
follows .
⑥Shortcut Key
For the user’s convenience, the software provides shortcut key functions. Specific
functions are as follows :
Function Key Remarks

PixelPro 3.2 Instruction Manual
R
11
Capture F10 Takes pictures and automatically saves the pictures taken.
Record videos F11 Press once to record. Press again to stop recording.
Close all F9
Stops displaying thumbnails on the right side. A prompt
dialog appears asking whether to close all pictures. Click
[Yes] to confirm.
Save image as F8 Change the picture format or picture save path.
Pause F7
Pause/ Resume the preview. When the preview is paused, a
pause state prompt appears on the interface, as shown
below.
3. Capture
3.1 Capture
Click the button to capture the image shown in the preview interface. Supports rapid-
fire capture.
3.2 Resolution
Resolution: Selects the preview image resolution.
Note:
The High Speed binning resolution of the Monochrome Cooling camera can increase
the frame rate.
The compressed resolution of the HDMI series will increase the frame rate, but will
also increase CPU usage.

PixelPro 3.2 Instruction Manual
R
12
3.3 Binning
Binning: Binning mode can improve image sensitivity. Increasing the value increases the
sensitivity.
Note: This function performs sum binning based on the original data; the amount of data
does not change, so the frame rate does not change.
3.4 Exposure Control
Set the exposure time of the camera. The value of real-time frames per second (FPS) is
displayed.
Target Value: The adjustment target value can change the automatic exposure
brightness of the image. The target value range for USB3.0 series is from 10 to 245; for
USB2.0 series and HDMI series, from 0 to 15.
Auto Exposure: When the [Auto Exposure] box is checked, the software automatically
adjusts exposure time to obtain an image with appropriate brightness.
Area Exposure: When the [Area Exposure] box is checked, the software automatically
adjusts the exposure time according to the image brightness in the area.
Manual Exposure: If the [Auto Exposure] box is not checked, the system switches to
[Manual Exposure] mode, where the user can manually input the exposure time
according to image requirements. Click the [OK] button to apply, or manually adjust the
exposure time with the slider.
Gain: The user can select the most suitable amount of gain according to specific
applications and needs upon previewing images. Higher gain improves image brightness,
but also increases noise.
Default: Click the [Default] button to restore this module's parameters to factory settings.

PixelPro 3.2 Instruction Manual
R
13
The default setting for exposure is [Auto Exposure ].
3.5 White Balance
The user can adjust white balance parameters according to the current light source to
obtain better image effects .
White Balance: By adjusting the ratio of the three individual components of red, green
and blue, the camera is able to reflect the true image color under various illumination
conditions. The default setting for camera white balance of the camera is Auto-white
balance. The user can uncheck [Lock White Balance] for environments with stable
illuminating conditions, or check [Lock White Balance] to lock the current white balance
setting for use in variable illuminating conditions.
Area white balance: In biology mode, when opening white balance options, and [Area
White Balance] is selected, the area white balance box will appear for the preview
pictures. In industrial mode, when opening white balance options, the area white
balance box will appear for preview pictures. The size of the area white balance box is
adjustable. Under stable lighting conditions, move the area white balance box to any
white part of the picture, then adjust its size, and check [Lock White Balance] to lock in
the current white balance, which will make white balance calibration more accurate.
Gray: Check to convert a color image to a monochrome (grayscale) image.
Red, Green, and Blue (Gain): Manually adjust the gain values of the red, green, and blue
channels for a suitable white balance effect. Values range from 0 to 683.
Close Color Temperature (CCT): The current close color temperature can be achieved by
adjusting the three gains above for Red, Green and Blue channels. It can also be manually
adjusted and matched to the close color temperature according to the current
illuminating environment. The method detailed above of calibrating white balance will
allow the user to achieve the correct color temperature more accurately. Setting ranges
from 2000K to 15000K.
Default: Click the [Default] button to restore this module's parameters to factory

PixelPro 3.2 Instruction Manual
R
14
settings. The default setting for white balance is [Auto-white balance].
3.6 Bit Depth (only for Monochrome Cooling camera)
The preview image displayed by default is an 8-bit data image. PixelPro allows the user
to select 8 or 16-bit data as required by the user’s specific needs .
Notes:
The default bit depth of Monochrome Cooling camera is 16 bits.
The default bit depth of USB3.0 color camera is 8 bits.
The bit depth of USB2.0 camera is 8 bits only; 16 bits is not supported.
3.7 Image Adjust
Conduct real-time dynamic adjustment of pictures by changing parameters to achieve
ideal picture effects. Specific functions are as follows:
Hue: The shade of the color. Adjustment ranges from 0 to 360.
Saturation: The purity of the color. Higher saturation yields more vivid colors; lower
saturation yields grayer colors. Setting ranges from 0 to 255.
Light: The brightness and darkness of the image. Setting ranges from 0 to 255.

PixelPro 3.2 Instruction Manual
R
15
Contrast: Higher contrast yields a clearer picture with brighter colors. Setting ranges
from 0 to 63.
Sharpness: Improves clarity of picture edges.
DPC: Reduces image bad points. Ranges from 0 to 3. 3 is default for FL-20.
Black level: Adjusts gray value of dark field backgrounds. Ranges from 0 to 255. Default
value is 12, for Monochrome Cooling camera only.
3D noise reduction: Takes the average from adjacent frames of a picture and
automatically filters out non-overlapping information, so as to obtain a cleaner and
clearer picture. The number of frames can be customized. Ranges from 0 to 5 for Fl-20.
Defaults to 3.
Flat Field Calibration: In current microscope applications, images captured by the
camera may be uneven or show color patches, due to problems in microscope light
sources, optical path systems, or dirty spots on the microscope eyepieces and objectives.
With flat field calibration, those types of defects can be effectively reduced, imaging
effects will be more uniform, and color reproduction of the images is smoother and more
realistic.
Operations:
1) Click [Flat Field Calibration Wizard]. Move the viewing field of the camera to a blank
background, as shown in the right figure (1). Click [Next].
2) Move the first background to a new blank background. Click [OK] to apply the Flat
Field Calibration function, as shown in the right figure (2).
3) Click [ ] to uncheck and exit the flat field correction mode. Check the box to re-
apply flat field corrections without repeating the wizard procedure.
Notes:
1) Flat Field Calibration requires manually setting the exposure time, such that the
image is not too bright or too dark, and all the pixel values are within the range of
64DN to 254DN.
2) The brightness of the two reference backgrounds for calibration should be almost
the same except for some variable spots. These two backgrounds should not be
“significantly inconsistent.”

PixelPro 3.2 Instruction Manual
R
16
3) To standardize the background for flat field correction, it is recommended to use
plastic, ceramic or professional white balance paper as the standard samples.
4) Flat Field Calibration requires that the background it uses as reference to be blank
and illumination on it to be uniform. Calibration should be run again if the camera
lens or the microscope objective is changed.
Default: Settings will restore to default values when [Default] is clicked. Color tune
default is 180, contrast default is 33, saturation default is 64, image enhancement save
defaults to unchecked, detail enhancement default is 1, and noise reduction default is 1.
3.8 Histogram
The user may perform adjustments to color levels to obtain more realistic images for
observation and analysis.
Color level adjustment means redefining the R/G/B color levels in each channel and then
re-allocating pixel values. Adjust color levels (gradations) to increase or decrease the
range of the selected area in the image, tuning it to brighter or darker values. The user
can also adjust the individual components of the three RGB channels separately to
change the image color via the corresponding channel(s).
Manual Color Level: The user can manually adjust the image's dark tone (left gradation),
gamma. and highlight brightness level (right color gradation) on the histogram to
regulate the image's tones, such as contrast, shading and image layers, to obtain the
correct balance for the whole image.
Auto Color Level: Check [Auto Min] and [Auto Max] to automatically set the brightest
and darkest pixels in each channel to white and black, and proportionally re-allocate
pixel values between them.

PixelPro 3.2 Instruction Manual
R
17
Gamma: Adjusts the median of color levels. Setting ranges from 0.64 to 2.55.
Histogram display: Histogram supports linear or logarithmic mode.
Default: Click the [Default] button to restore the module's parameters to factory defaults.
Color level adjusting defaults to manual, and the default gamma value is 2.10.
Notes:
1) Calculating and displaying the histogram curve takes up some system resources, due
to running data statistics in real time. When this module is applied, camera frame
rate may drop slightly. Once the module finishes working, data statistics calculation
resources are freed up and the camera rate can reach its maximum again.
2) After canceling automatic color level adjusting, level values will be set to defaults (0
and max).
3.9 Temperature Control (only for Cooling camera)
The software supports temperature adjustments by cooling cameras; noise reduction
can be achieved by reducing the working temperature of the picture sensor .
Current: Displays the current camera temperature.
Refrigeration: Three options – normal temperature, 0°, and low temperature – are
available.
Fan Speed: Controls the fan speed. Monochrome Cooling camera supports three speeds:
High (default), Medium and Low. Color Cooling camera supports six speeds; default is 3.
Low speeds can reduce noise, but heat dissipation is slightly less effective.
Default: Resets current parameters to factory defaults. “Low temperature” refrigeration
is default.
Note: If the camera (Monochrome Cooling camera only) supports the high temperature
warning function and the external environment temperature is too high, the program
will display the following temperature warning prompt message and the indicator light
on the camera will begin flashing red.

PixelPro 3.2 Instruction Manual
R
18
3.10 File Save
PixelPro takes data from the real-time video data stream and records it in image format
for later development and analysis.
Click the button to capture a live preview image.
Save Dialog Window: The file save window appears when the Capture button is clicked.
Five file formats for saving pictures are supported: JPG, TIF, PNG, DICOM, and MPTIF.
MPTIFF is only supported on Dhyana 400DC. DICOM and MPTIF are not supported in the
Mac version.
File name: The file to be saved is named "TS” by default, but the user can give the file
any desired name. The file name cannot contain the following special characters:
\/:*?"<>|. If the user attempts to enter any of these special characters, an error message
will appear, as shown below.
The program supports custom time stamps for automatic naming. Time stamps can be
formatted in the following five ways.
Format: The image may be saved as JPG, TIF, PNG, or DICOM files. The default format is
TIF. These four image formats can be checked individually or simultaneously. The
captured images saved in different formats will be displayed together when multiple

PixelPro 3.2 Instruction Manual
R
19
formats are selected simultaneously.
1) JPG: A lossy, compressed image format. Its image size is small, but the final quality
of the image is low compared with the original captured image.
2) TIF: A lossless image format, which can save all the data transmitted from camera to
saving device without losing data. This format is good for saving and converting
images with high image quality requirements.
3) PNG: Portable Network Graphics is a lossless but compressed bit-image format that
uses a lossless data compression algorithm derived from LZ77 with a high
compression ratio and a small file size.
4) DICOM: Digital Imaging and Communications in Medicine, an international standard
format for medical images and related information. It defines a medical image
format that can be used for data exchange and meets the requirements of clinical
practices and applications.
Path: Save image files to a particular folder. The user can click the [Browse] button to
change save paths. The default save location is C:/Users/Administrator/Desktop/Image.
The path cannot contain the following special characters: \/:*?"<>|. If the user attempts
to enter special characters, an error message will appear.
Save with time format: The capture time will be displayed in the lower right corner of
the picture.
3D Denoise Save: Obtains low-noise images by acquiring and comparing image data
from several consecutive frames, and filtering out non-overlapping information. The
number of frames can be customized. The range is from 1 to 99; the default is 10.
Notes:
Saving a 3D denoise image will take longer than saving a normal image.
3D Denoise Save is only suitable for capturing static images.
3D noise reduction has no effect on video recording.
3.11 ROI
ROI (Region of Interest) is a function that allows the user to define a specific area in a
window within the effective and sensitive detecting field of the camera sensor, and
restrict image information within this defined window to be read out and displayed. A
smaller ROI reduces the amount of information and tasks of image transferring and
computer processing, which results in an increased frame rate for the camera.
Table of contents
Other Labomed Medical Equipment manuals

Labomed
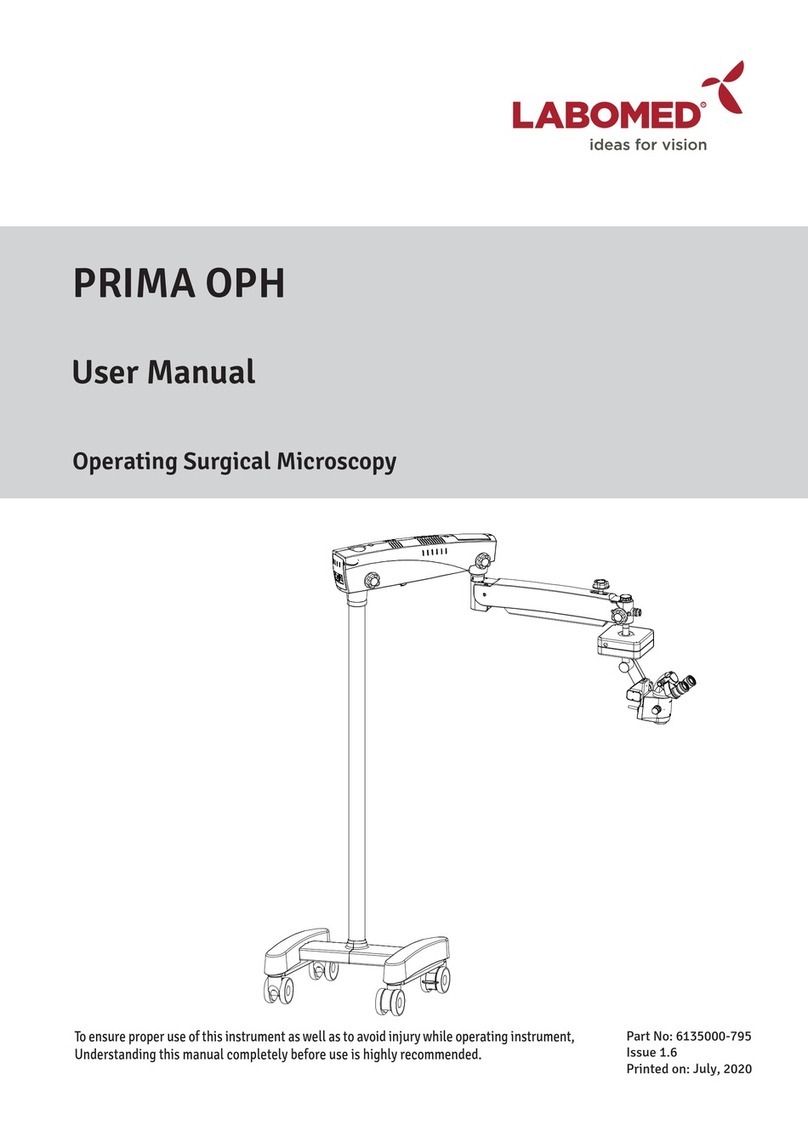
Labomed PRIMA ENT User manual

Labomed
Labomed PRIMA WALL MOUNT Guide

Labomed
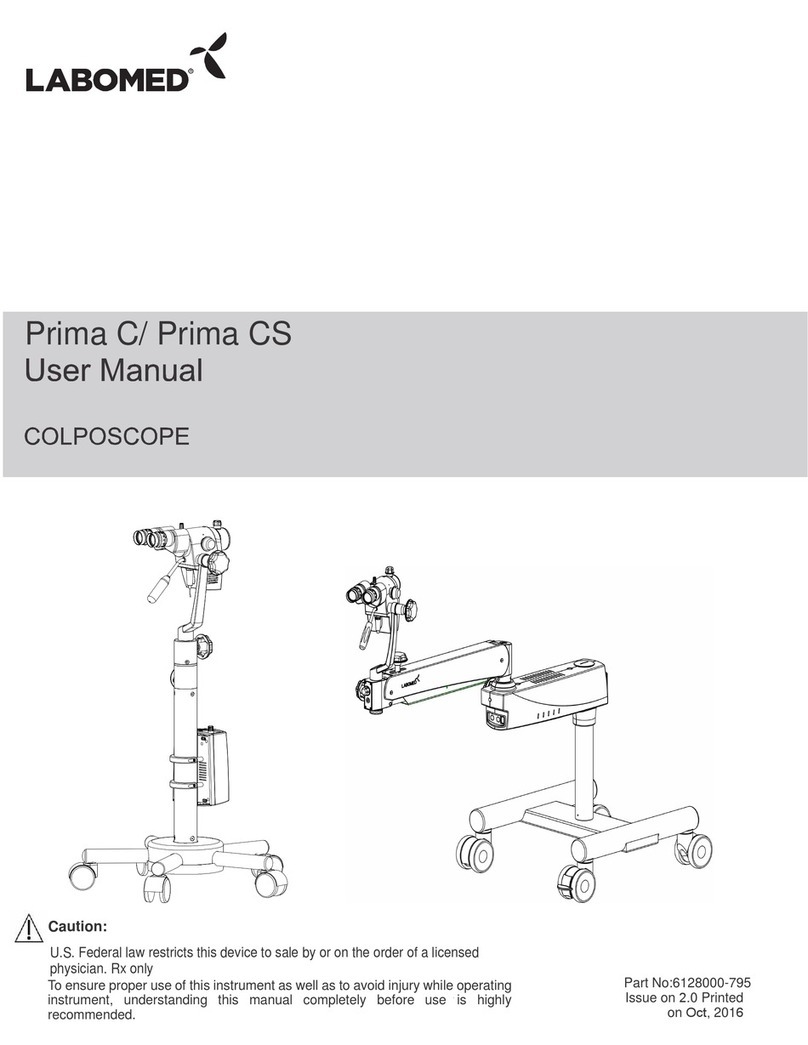
Labomed Prima C User manual

Labomed
Labomed AXIUS User manual

Labomed
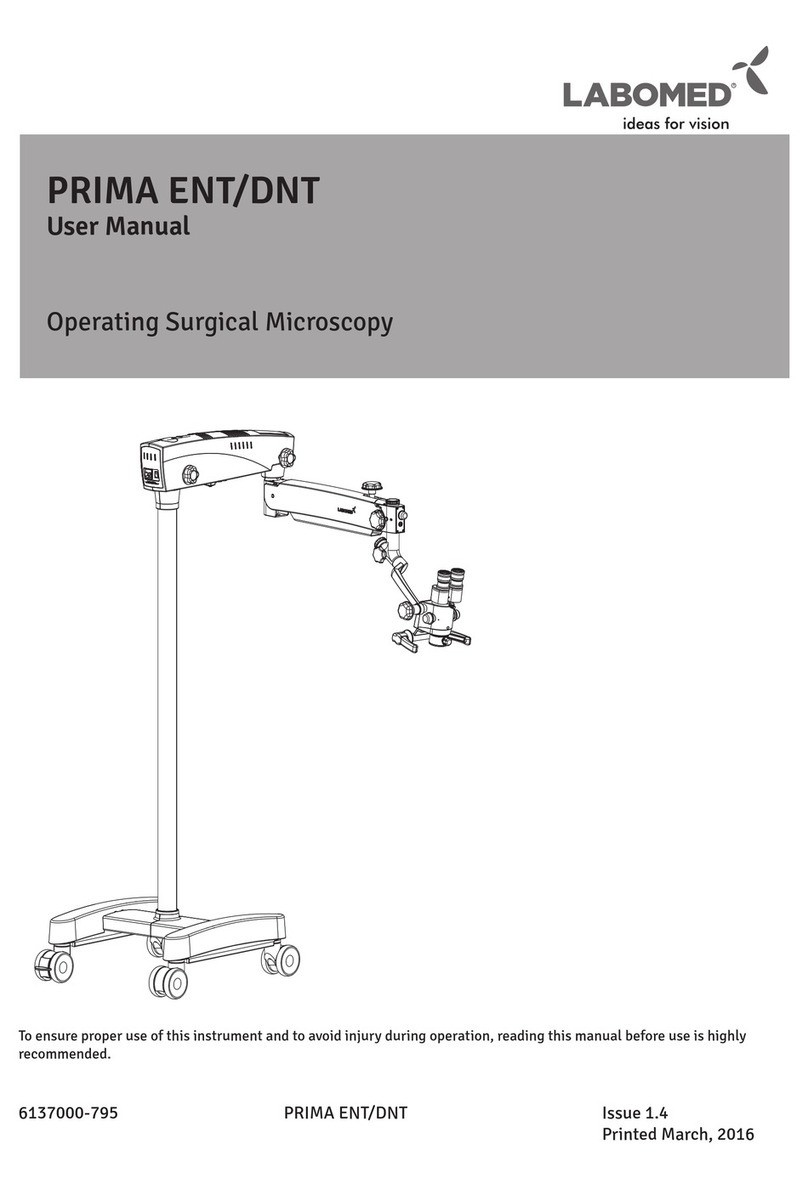
Labomed PRIMA DNT User manual

Labomed
Labomed Prima C User manual

Labomed
Labomed eVO 350 User manual

Labomed
Labomed PRIMA GN User manual

Labomed
Labomed eVO 300 User manual

Labomed
Labomed eVA 500 User manual