1 - Safety . . . . . . . . . . . . . . . . . . . . . . . . . .7
1.1 General rules . . . . . . . . . . . . . . . . . . . . . . . . .7
1.2 Fire prevention . . . . . . . . . . . . . . . . . . . . . . . .8
1.3 In case of fire . . . . . . . . . . . . . . . . . . . . . . . . .8
1.4 Regulations for supplying electricity . . . . . .8
1.4.1 During connection . . . . . . . . . . . . . . . . . . . . .8
1.4.2 During disconnection . . . . . . . . . . . . . . . . . . .8
1.4.3 Additional inspections . . . . . . . . . . . . . . . . . .9
1.5 Technically permissible maximum masses .9
1.5.1 How to load the vehicle correctly . . . . . . . . .9
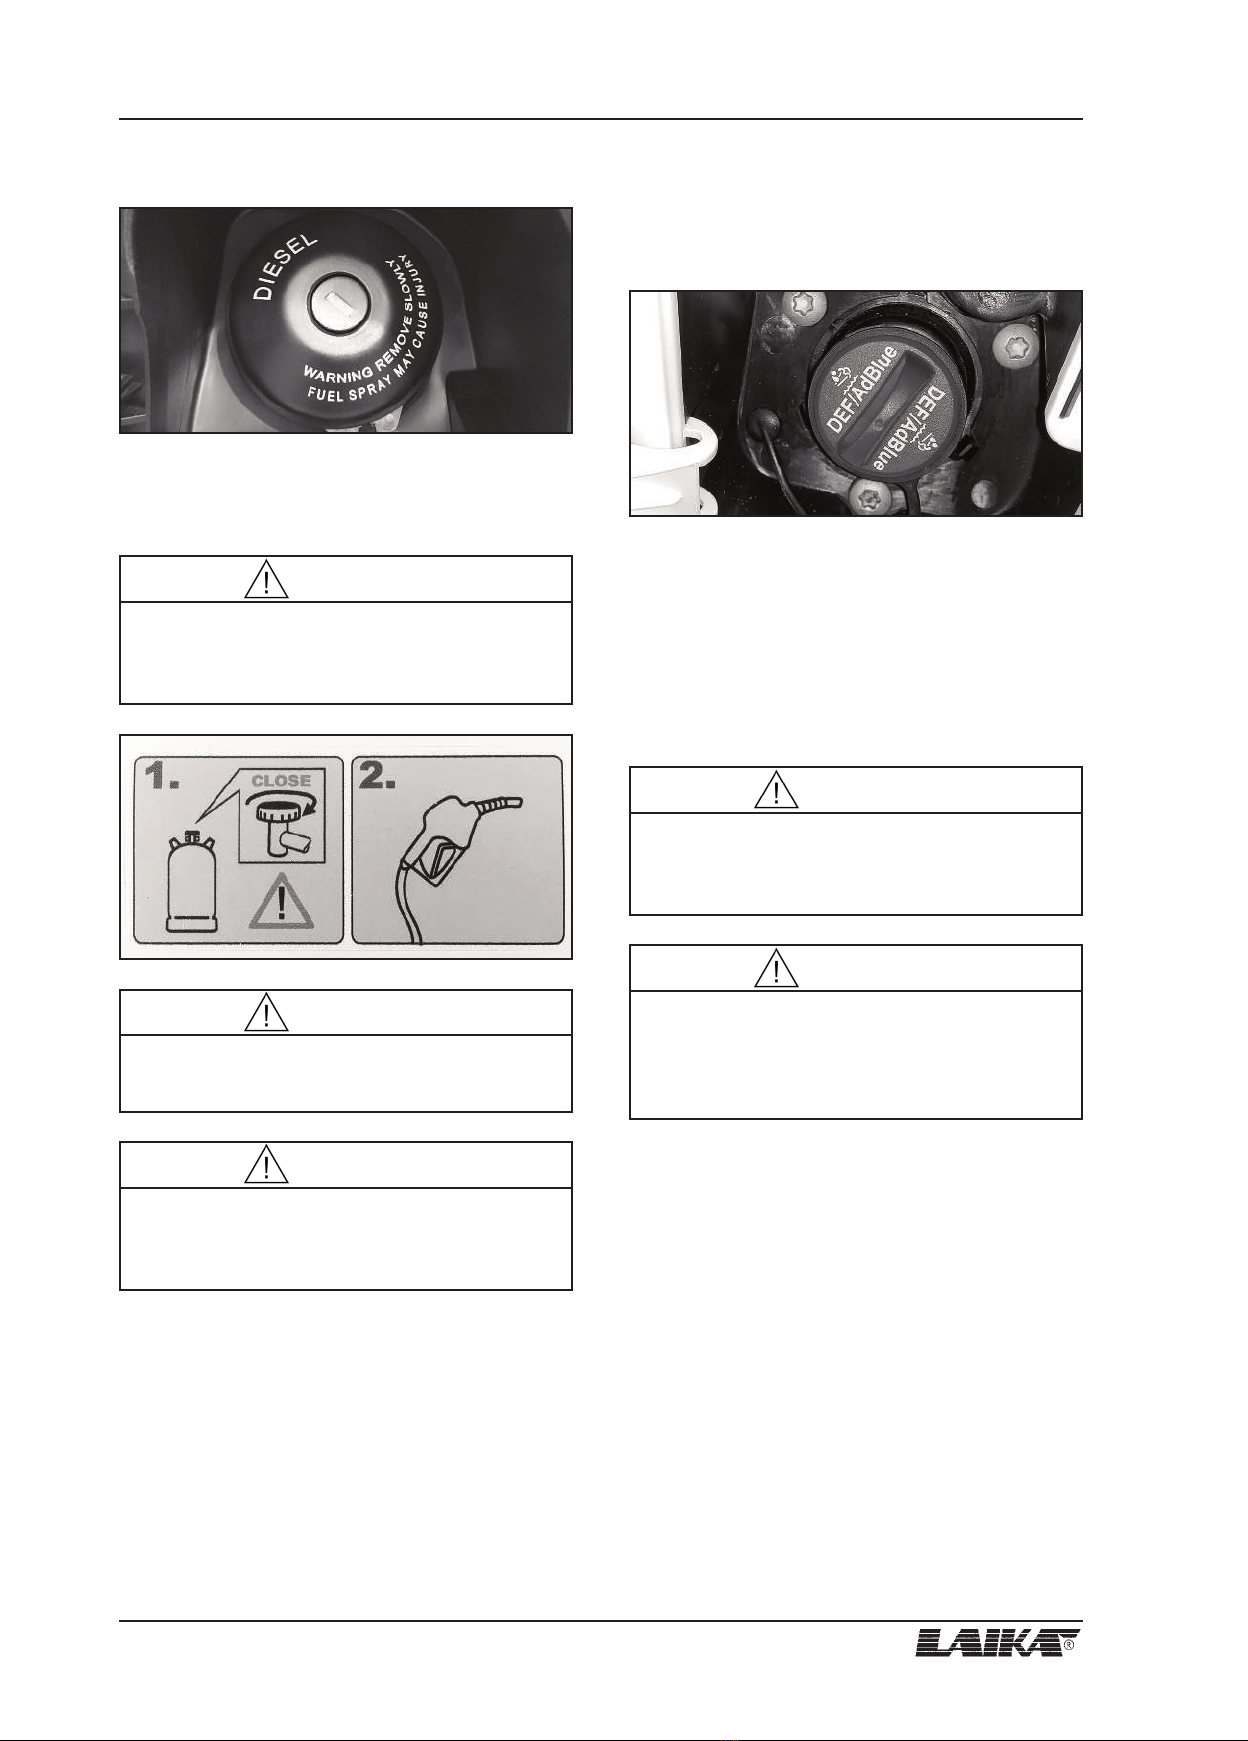
1.6 Refuelling . . . . . . . . . . . . . . . . . . . . . . . . . . .10
1.7 Removable inside ladder . . . . . . . . . . . . . .11
1.8 Inside steps . . . . . . . . . . . . . . . . . . . . . . . . .11
1.9 Furniture doors . . . . . . . . . . . . . . . . . . . . . . .11
1.10 Cab blinds . . . . . . . . . . . . . . . . . . . . . . . . . . .11
1.11 Cab carpeting . . . . . . . . . . . . . . . . . . . . . . . .11
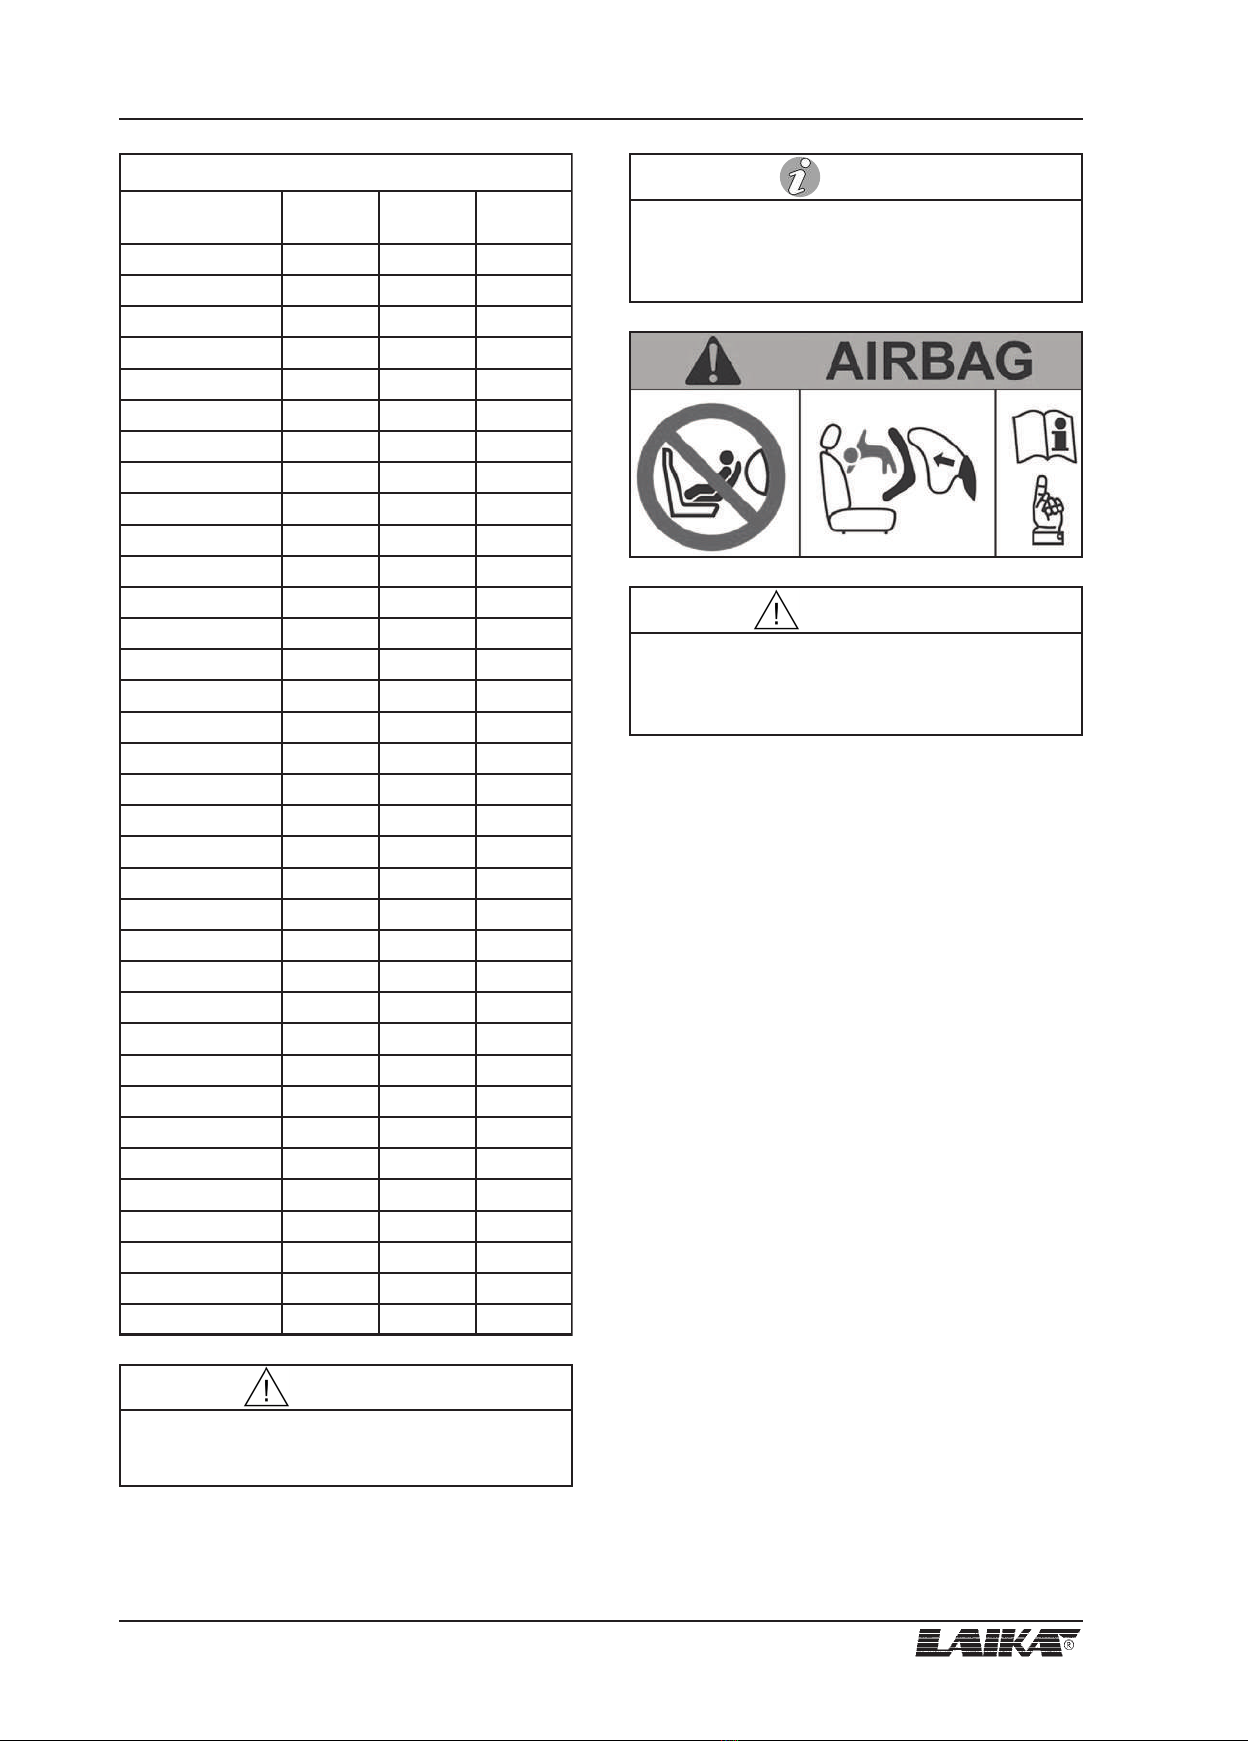
1.12 Front passenger side airbag and child
restraint systems . . . . . . . . . . . . . . . . . . . . .12
1.13 Automatic transmission manual
unlocking (Iveco) . . . . . . . . . . . . . . . . . . . . .12
2 - General advice . . . . . . . . . . . . . . . . .13
2.1 Warning . . . . . . . . . . . . . . . . . . . . . . . . . . . . .13
2.2 Departure . . . . . . . . . . . . . . . . . . . . . . . . . . .13
2.3 Driving . . . . . . . . . . . . . . . . . . . . . . . . . . . . . .14
2.4 Stops . . . . . . . . . . . . . . . . . . . . . . . . . . . . . . .14
3 - Seatbelts . . . . . . . . . . . . . . . . . . . . . .15
3.1 Use and maintenance . . . . . . . . . . . . . . . . .15
3.1.1 How to use the seatbelts . . . . . . . . . . . . . . .15
3.1.2 Maintenance and cleaning of the belts . . .16
3.2 Vehicles equipped with Isofix attachment
for transporting children (optional) . . . . . .16
3.2.1 Kosmo F510 . . . . . . . . . . . . . . . . . . . . . . . . .16
3.2.2 Ecovip L 2009, L 3009, L 3010, L 3019,
L 4009, L 4012, H 2109, H 3109, H 3110,
H 3119, H 4109, H 4112 . . . . . . . . . . . . . . .17
4 - Doors and hatches . . . . . . . . . . . . . .19
4.1 Key equipment . . . . . . . . . . . . . . . . . . . . . . .19
4.1.1 Central locking and alarm . . . . . . . . . . . . .19
4.1.2 Disabling the volumetric protection of
the alarm . . . . . . . . . . . . . . . . . . . . . . . . . . . .19
4.1.3 Vehicles fitted on Fiat/Citroën chassis:
manual use of key . . . . . . . . . . . . . . . . . . . .20
4.2 Living quarters door . . . . . . . . . . . . . . . . . .20
4.2.1 Kosmo Compact 5 and Compact 9 . . . . . .20
4.2.2 Ecovip, Kreos and Kosmo series (except
for Kosmo Compact 5 and Compact 9). . .21
4.3 Hatches . . . . . . . . . . . . . . . . . . . . . . . . . . . . .21
4.3.1 Kreos and Kosmo series . . . . . . . . . . . . . . .21
4.3.2 Ecovip series . . . . . . . . . . . . . . . . . . . . . . . . .22
5 - Windows and roof lights . . . . . . . . . .23
5.1 Windows . . . . . . . . . . . . . . . . . . . . . . . . . . . .23
5.1.1 Dometic windows
(Ecovip and Kreos series) . . . . . . . . . . . . . .23
5.1.2 Polyplastic windows (Kosmo series) . . . . .24
5.1.3 Roman blinds . . . . . . . . . . . . . . . . . . . . . . . .24
5.2 Cab windows . . . . . . . . . . . . . . . . . . . . . . . . .24
5.2.1 Kreos A-class . . . . . . . . . . . . . . . . . . . . . . . .25
5.2.2 Ecovip A-class . . . . . . . . . . . . . . . . . . . . . . .26
5.2.3 Kosmo A-class . . . . . . . . . . . . . . . . . . . . . . .26
5.3 Roof lights . . . . . . . . . . . . . . . . . . . . . . . . . . .27
5.3.1 Dometic Micro/Mini/Midi Heki . . . . . . . . .27
5.3.2 Dometic Heki 3 . . . . . . . . . . . . . . . . . . . . . .28
5.3.3 Dometic SkyView . . . . . . . . . . . . . . . . . . . . .28
5.3.4 MPK 40 X 40 . . . . . . . . . . . . . . . . . . . . . . . .28
5.3.5 MPK 28 X 28 . . . . . . . . . . . . . . . . . . . . . . . .28
5.3.6 Fiamma Turbo Vent 40 X 40 . . . . . . . . . . . .29
5.3.7 Fiamma Turbo Vent 28 X 28 . . . . . . . . . . . .29
5.3.8 Polyplastic StarView . . . . . . . . . . . . . . . . . .30
5.3.9 Vehicles with electric drop-down bed
over the dinette (optional) . . . . . . . . . . . . .30
6 - Entrance steps . . . . . . . . . . . . . . . . . .31
6.1 Living quarters entrance step . . . . . . . . . . .31
6.1.1 In case of malfunction . . . . . . . . . . . . . . . . .32
6.1.2 Function automatic opening of the
entrance step (only Kreos A-class) . . . . . .32
6.2 Cab access steps
(Kreos 8002, 8009, 8012) . . . . . . . . . . . . .33
6.2.1 In case of malfunction . . . . . . . . . . . . . . . . .33
7 - Electric system (Ecovip - Kreos) . . .35
7.1 Introduction . . . . . . . . . . . . . . . . . . . . . . . . .35
7.2 Batteries . . . . . . . . . . . . . . . . . . . . . . . . . . . .36
7.2.1 Engine battery . . . . . . . . . . . . . . . . . . . . . . .36
7.2.2 Auxiliary battery . . . . . . . . . . . . . . . . . . . . . .36
7.3 Power supply - Battery charger . . . . . . . . .38
7.4 Other components . . . . . . . . . . . . . . . . . . . .39
7.5 Vehicles with smart alternator . . . . . . . . . .40
8 - Electric system (Kosmo) . . . . . . . . . .43
8.1 Introduction . . . . . . . . . . . . . . . . . . . . . . . . .43
8.2 Batteries . . . . . . . . . . . . . . . . . . . . . . . . . . . .43
8.2.1 Engine battery . . . . . . . . . . . . . . . . . . . . . . .43
8.2.2 Auxiliary battery . . . . . . . . . . . . . . . . . . . . . .43
8.3 Power supply - Battery charger . . . . . . . . .44
8.4 Other components . . . . . . . . . . . . . . . . . . . .45
8.5 Vehicles with smart alternator . . . . . . . . . .46
TABLE OF CONTENTS
USER’S GUIDE 3