manuals.online logo
Brands
  1. Home
  2. •
  3. Brands
  4. •
  5. LANZINI
  6. •
  7. Lighting Equipment
  8. •
  9. LANZINI Gm User manual

LANZINI Gm User manual

ISTRUZIONI
DI INSTALLAZIONE, USO E MANUTENZIONE
- Attenzione! La sicurezza del proiettore è garantita solo con l’uso appropriato delle
seguenti istruzioni: pertanto è necessario conservarle.
- Attenzione! Prima di eseguire le connessioni di rete, durante il montaggio o
sostituzione del prodotto, assicurarsi di aver tolto la tensione.
- Attenzione! L’apparecchio è riparabile solo da personale esperto o dall’azienda
produttrice.
- Durante l’installazione del sistema rispettare scrupolosamente le norme
impiantistiche vigenti.
- L’apparecchio deve essere utilizzato solo se completo del suo schermo di
protezione; trattasi di vetro temprato spessore 5 mm)
- Per qualsiasi sostituzione contattare l’azienda produttrice.
- L’apparecchio deve essere installato da un elettricista professionista.
- L’apparecchio non può essere in alcun modo modificato o manomesso, ogni
modifica ne può compromettere la sicurezza rendendo lo stesso pericoloso.
L’azienda produttrice declina ogni responsabilità per i prodotti modificati.
- Gli apparecchi in classe I devono essere collegati al circuito di terra dell’impianto
elettrico.
- Mantenere almeno 1 m tra l’apparecchio e la superficie illuminata.
- Apparecchio idoneo al funzionamento in esterni. Grado di protezione IP66.
- Apparecchio idoneo al montaggio diretto su superfici normalmente infiammabili.
- Seguire la procedura illustrata per una corretta installazione.
- Per l’uso in ambienti in cui può essere previsto un accumulo di polvere non
conduttrice
- Attenzione! Rischio di scossa elettrica
IT
P06139000 www.lanzini.it
1 m
EP s.p.a. Via del Commercio 1 - 25039 - Travagliato (BS) - ITALY
Tensione di alimentazione: 220-240 V 
Potenza Peso Superfice esposta al vento
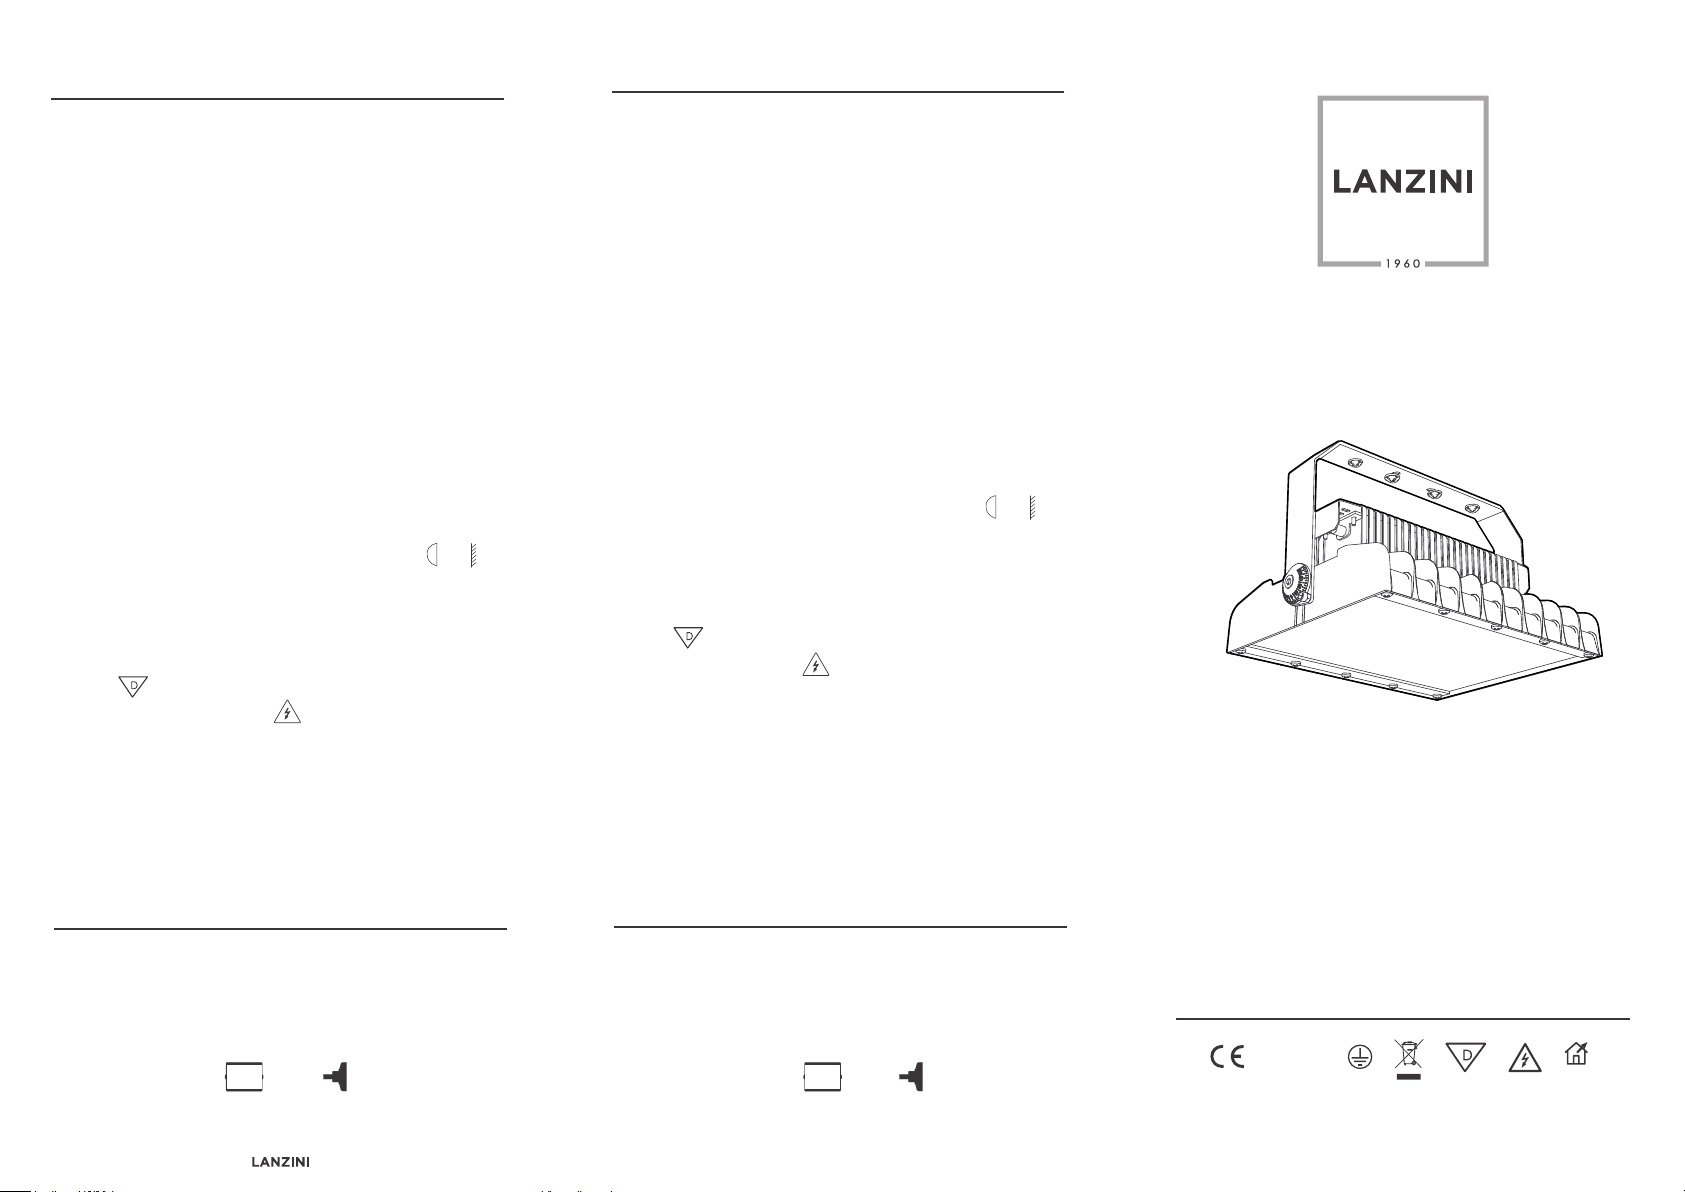
Dimensioni: 329×248×198 mm
MODEL
Gm
IP66 OUTDOOR
120 W 5,7 Kg 0,08 m² 0,05 m²
165 W 5,7 Kg 0,08 m² 0,05 m²
EN
INSTRUCTIONS
1 m
INSTALLATION, USE AND MAINTENANCE
- Warning! Security of the fitting is guaranteed only with the appropriate use of the
following instructions: therefore it is necessary to preserve them.
- Warning! Before connecting to the main network, during assembly or
replacement of the product, make sure to disconnect the tension.
- Warning! The product has to be repaired only by professional technicians or by the
manufacturer.
- During product installation respect carefully the plant rules.
- The fitting should be used only if complete with its protection screen; This is a 5 mm
thick tempered glass.
- For any replacement contact the manufacturing company.
- The fitting must be installed by a professional electrician.
- The fitting cannot be modified or tampered with in any way, any modification may
compromise security by making it dangerous. The manufacturer declines any
responsibility for the modified products.
- Class I fitting must be connected to the ground circuit of the electrical plant.
- Keep at least 1 m between the fitting and the illuminated surface.
- Fitting suitable for outdoor applications. Protection degree IP66.
- Fitting suitable for direct mounting on normally inflammable surfaces.
- Follow the illustrated procedure for a correct installation.
- For use in environments where an accumulation of non-conductive dust on the
luminaire
- Warning! Risk of electric shock
Power supply: 220-240 V 
Power Weight Surface exposed to the wind
Dimensions: 329×248×198 mm
120 W 5,7 Kg 0,08 m² 0,05 m²
165 W 5,7 Kg 0,08 m² 0,05 m²
IT-Questo prodotto contiene una sorgente luminosa di efficienza energetica classe
EN-This product contains a light source of energy efficiency class D
fig. B fig. D
fig. A fig. C

OFF
Installare la flangia di fissaggio a parete mediante le N°4 viti. Utilizzare opportuni
ancoraggi calcolati in base al peso del prodotto, alla superficie d’appoggio ed ai
cogenti coefficienti di sicurezza.
Install the wall mounting flange using the 4 screws. Use appropriate anchors
calculated on the basis of the weight of the product, of the surface support and of the
cogent safety coefficients.
Posizionare il proiettore all’interno della flangia, avvitando nell’ordine: viti M8,
goniometro, flangia e dado interno.
Position the floodlight inside the flange, screwing in order: M8 screws, goniometer,
flange and internal nut.
15 Nm +90°
- 90°
N.B. i dadi M8 sono da inserire all’interno della sede apposita.
Attention! the M8 nuts have to be inserted inside the appropriate seat.
Ruotare il faro come desiderato.
Turn the floodlight as desired.
Serrare le n° 2 viti M8 con i relativi dadi M8 per bloccare e assicurare il faro in posizione.
Tighten the 2 M8 screws with the corresponding M8 nuts to lock and secure the
floodlight in place.
fig. E
fig. F
ON
Collegare i cavi di alimentazione utilizzando un connettore IP 3 poli (optional
LKITA00000000003) e riallacciare la tensione di alimentazione.
Connect the power cables using a 3-pole IP connector (optional LKITA00000000003) and
reconnect the supply voltage.
2 Nm
1
2 Nm
2

Other LANZINI Lighting Equipment manuals

LANZINI EVO XL TORREFARO User manual

LANZINI

LANZINI EVO XL TORREFARO User manual

LANZINI Evo M User manual

LANZINI

LANZINI Evo M User manual

LANZINI Pitagora User manual

LANZINI

LANZINI Pitagora User manual

LANZINI TORRE FARO R2 DOUBLE User manual

LANZINI

LANZINI TORRE FARO R2 DOUBLE User manual

LANZINI Gm User manual

LANZINI

LANZINI Gm User manual

LANZINI R2 DOUBLE TORRE FARO EXTRA User manual

LANZINI

LANZINI R2 DOUBLE TORRE FARO EXTRA User manual

Popular Lighting Equipment manuals by other brands

Lightmybricks 75969 installation guide

Lightmybricks

Lightmybricks 75969 installation guide

LIVARNO LUX 321923_1901 Assembly, operating and safety instructions

LIVARNO LUX

LIVARNO LUX 321923_1901 Assembly, operating and safety instructions

HQ Power HQLE10037 user manual

HQ Power

HQ Power HQLE10037 user manual

Show Tec LED Music Tube Controller user guide

Show Tec

Show Tec LED Music Tube Controller user guide

MegaLite DECO TENTACLE user manual

MegaLite

MegaLite DECO TENTACLE user manual

ledscom LC-L-221-CC Assembly instructions

ledscom

ledscom LC-L-221-CC Assembly instructions

Abus JC8670 quick start guide

Abus

Abus JC8670 quick start guide

LIVARNO LUX 277907 Assembly, operating and safety instructions

LIVARNO LUX

LIVARNO LUX 277907 Assembly, operating and safety instructions

North Light WX-P-31VLED44-200WW-1 instructions

North Light

North Light WX-P-31VLED44-200WW-1 instructions

superbrightleds EPLL Series user manual

superbrightleds

superbrightleds EPLL Series user manual

Show Tec XS-1W V1 manual

Show Tec

Show Tec XS-1W V1 manual

HQ Power VDL360RL2 user manual

HQ Power

HQ Power VDL360RL2 user manual

superbrightleds HLV8 Series user manual

superbrightleds

superbrightleds HLV8 Series user manual

Show Tec Performer Cyc Q6 user manual

Show Tec

Show Tec Performer Cyc Q6 user manual

Lightmybricks LEGO Mos Eisley Cantina 75290 installation guide

Lightmybricks

Lightmybricks LEGO Mos Eisley Cantina 75290 installation guide

Lightmybricks 75336 installation guide

Lightmybricks

Lightmybricks 75336 installation guide

PRO Light CYBER4 user manual

PRO Light

PRO Light CYBER4 user manual

Mac Mah MACBEAM1R user manual

Mac Mah

Mac Mah MACBEAM1R user manual

manuals.online logo
manuals.online logoBrands
  • About & Mission
  • Contact us
  • Privacy Policy
  • Terms and Conditions

Copyright 2025 Manuals.Online. All Rights Reserved.