manuals.online logo
Brands
  1. Home
  2. •
  3. Brands
  4. •
  5. Larson Electronics
  6. •
  7. Flashlight
  8. •
  9. Larson Electronics EXP-LED-FX2R-2M Guide

Larson Electronics EXP-LED-FX2R-2M Guide

Other Larson Electronics Flashlight manuals
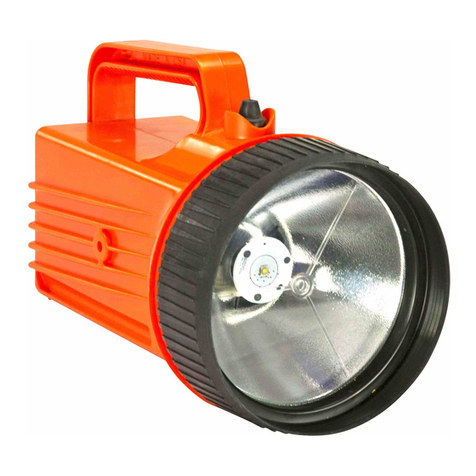
Larson Electronics LE-2206-LED User manual

Larson Electronics

Larson Electronics LE-2206-LED User manual

Larson Electronics SLEDB-110V-M User manual

Larson Electronics

Larson Electronics SLEDB-110V-M User manual

Larson Electronics EXPFL-31 User manual

Larson Electronics

Larson Electronics EXPFL-31 User manual

Larson Electronics EXP-TP-RL-1XFX5R User manual

Larson Electronics

Larson Electronics EXP-TP-RL-1XFX5R User manual

Larson Electronics LE-224 User manual

Larson Electronics

Larson Electronics LE-224 User manual

Larson Electronics ATX-20-SE User manual

Larson Electronics

Larson Electronics ATX-20-SE User manual

Larson Electronics EXP-LED-RL-FX5R User manual

Larson Electronics

Larson Electronics EXP-LED-RL-FX5R User manual

Larson Electronics NSR-9850 User manual

Larson Electronics

Larson Electronics NSR-9850 User manual

Larson Electronics ATX-20-S User manual

Larson Electronics

Larson Electronics ATX-20-S User manual

Larson Electronics EXP-LED-HL-MSHA User manual

Larson Electronics

Larson Electronics EXP-LED-HL-MSHA User manual

Larson Electronics ATX-20-SA User manual

Larson Electronics

Larson Electronics ATX-20-SA User manual

Larson Electronics LE-2317C User manual

Larson Electronics

Larson Electronics LE-2317C User manual

Larson Electronics EXP-LED-51 User manual

Larson Electronics

Larson Electronics EXP-LED-51 User manual

Larson Electronics EPL-UV-20W User manual

Larson Electronics

Larson Electronics EPL-UV-20W User manual

Larson Electronics FL-LED-STR-51 User manual

Larson Electronics

Larson Electronics FL-LED-STR-51 User manual

Larson Electronics RL-11-LED User manual

Larson Electronics

Larson Electronics RL-11-LED User manual

Larson Electronics EPL-UV-20W-G2 User manual

Larson Electronics

Larson Electronics EPL-UV-20W-G2 User manual

Larson Electronics EXP-LED-FX2-2M Guide

Larson Electronics

Larson Electronics EXP-LED-FX2-2M Guide

Larson Electronics HUL-LED25WRE-CPR-NC User manual

Larson Electronics

Larson Electronics HUL-LED25WRE-CPR-NC User manual

Larson Electronics EXP-LED-F4W-R2 User manual

Larson Electronics

Larson Electronics EXP-LED-F4W-R2 User manual

Larson Electronics AEX-20-LED-SA User manual

Larson Electronics

Larson Electronics AEX-20-LED-SA User manual

Larson Electronics HIDH-3550 User manual

Larson Electronics

Larson Electronics HIDH-3550 User manual

Larson Electronics EXP-LED-RL-FX5R-199 User manual

Larson Electronics

Larson Electronics EXP-LED-RL-FX5R-199 User manual

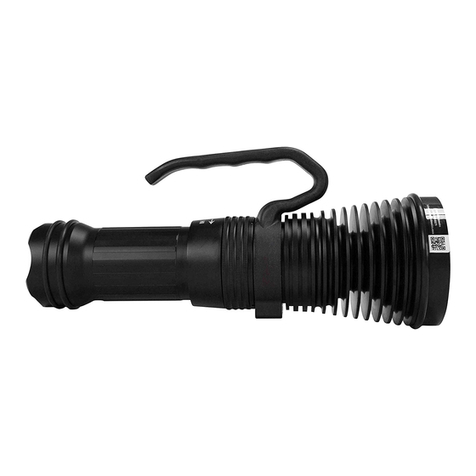
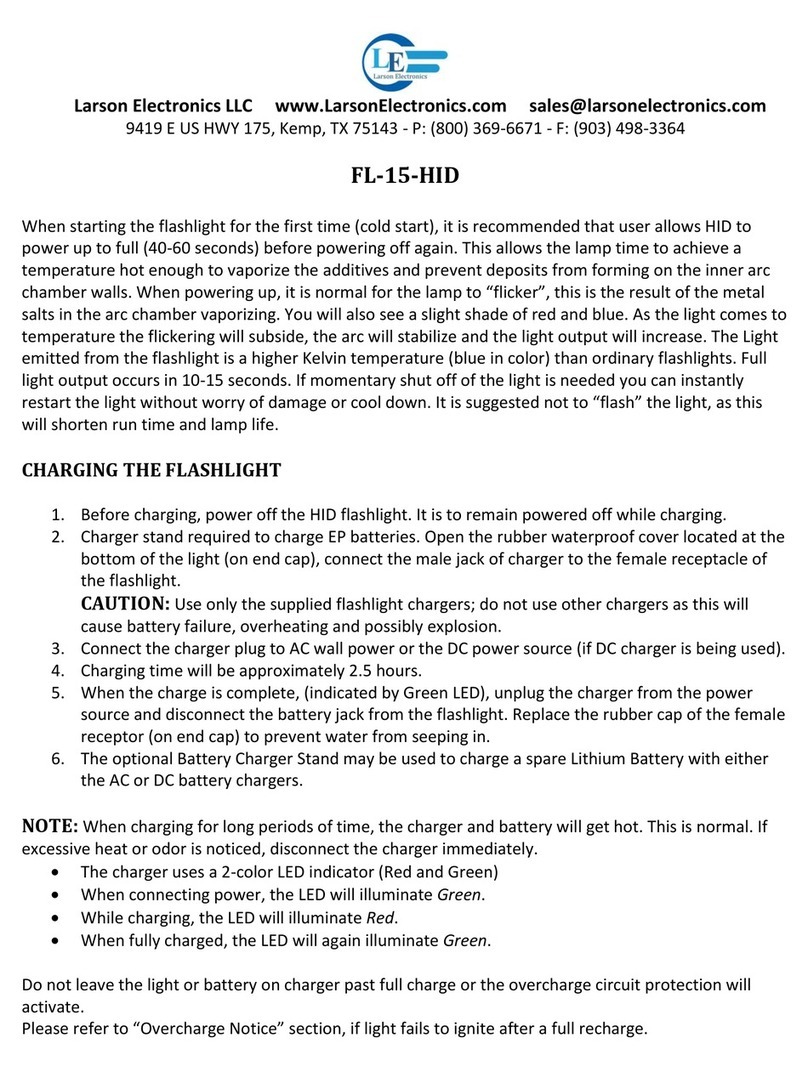
Larson Electronics FL-15-HID User manual
Larson Electronics

Larson Electronics FL-15-HID User manual

Popular Flashlight manuals by other brands

LIVARNO LUX LAH 55 A2 operating instructions

LIVARNO

LIVARNO LUX LAH 55 A2 operating instructions

Gama Sonic 23i60065 instruction manual

Gama Sonic

Gama Sonic 23i60065 instruction manual

Avacom AVACOM Ain user manual

Avacom

Avacom AVACOM Ain user manual

Ryobi RFL180M Original instructions

Ryobi

Ryobi RFL180M Original instructions

RIB SPARK ACG7061 quick start guide

RIB

RIB SPARK ACG7061 quick start guide

Abicor Binzel MB EVO PRO Series operating instructions

Abicor Binzel

Abicor Binzel MB EVO PRO Series operating instructions

PELI 7610 instruction manual

PELI

PELI 7610 instruction manual

Black & Decker FSL18 manual

Black & Decker

Black & Decker FSL18 manual

Black & Decker 9506 instruction manual

Black & Decker

Black & Decker 9506 instruction manual

Berner 341709 instruction manual

Berner

Berner 341709 instruction manual

PELI 3415 Zone 0 operating instructions

PELI

PELI 3415 Zone 0 operating instructions

ADC Adlite Pro Use, Care and Maintenance

ADC

ADC Adlite Pro Use, Care and Maintenance

tiki Cabos Warnings and Instructions

tiki

tiki Cabos Warnings and Instructions

Fervi 0338 Operation and maintenance manual

Fervi

Fervi 0338 Operation and maintenance manual

Milwaukee M18 IL Original instructions

Milwaukee

Milwaukee M18 IL Original instructions

Spectronics Spectroline LeakTracker SPI-LT instruction manual

Spectronics

Spectronics Spectroline LeakTracker SPI-LT instruction manual

vulta hurricane 262 lumen fg-e15 user manual
vulta

vulta hurricane 262 lumen fg-e15 user manual

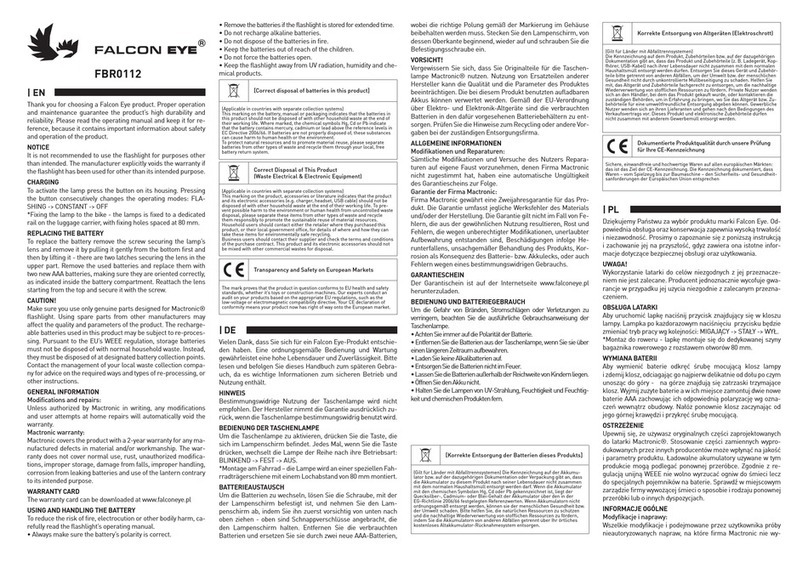
FALCON EYE FBR0112 quick start guide

FALCON EYE

FALCON EYE FBR0112 quick start guide
manuals.online logo
manuals.online logoBrands
  • About & Mission
  • Contact us
  • Privacy Policy
  • Terms and Conditions

Copyright 2025 Manuals.Online. All Rights Reserved.

I. Installation & Operation - EXP-LED-FX2R-2M
I. Operation
Momentary Mode:
Lightly press the top body switch for
momentary operation. Release the switch to
turn the light off.
Constant-On Mode:
Press the top body switch until it clicks and
then release for constant-on mode. Press
and release the top body switch again to turn
the light off.
Floodlight Mode:
Press the bottom body switch until it clicks
and then release for oodlight mode. Press
and release the bottom body switch again to
turn the light off.
Dual-Light Mode:
Dual-Light allows the user to turn on both the
ashlight and the oodlight, at the same time.
Press the top body switch until it clicks and
then release for constant-on mode ashlight
Mode. Next press and release the bottom
switch to activate the oodlight. Both the
ashlight and the oodlight are now running.
Press and release both the top and bottom
body switches to turn the lights off.
1
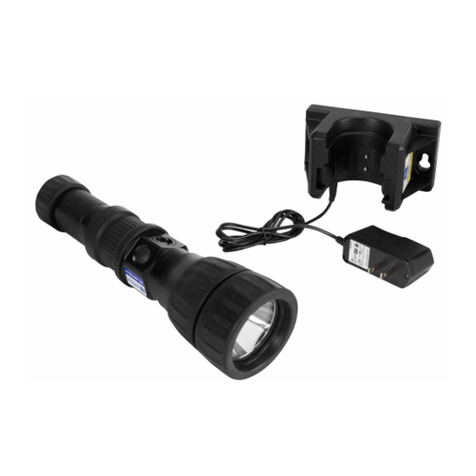
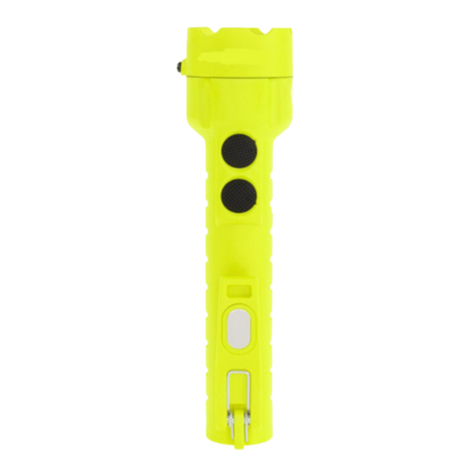
On/Off Button for
Flashlight
On/Off Button for
Floodlight
Charging
Station
Belt Clip with
Magnet
II. Rechargeable Battery Replacement
2
I. Battery Replacement
1. Loosen the locking screw located on the
side of the lens cap. CAUTION: Do NOT
attempt to completely remove the locking
screw. Doing so is not necessary and may
damage the threads. The screw simply needs
to be loosened enough to allow the lens bezel
to unscrew.
2. Unscrew the lens bezel from the housing in
a counter-clockwise direction.
3. Loosen each of the two Charger Contact
Pins located below the Floodlight Lens.
These two Screws should be loosened until
approximately 1/8” of thread is visible.
CAUTION: Do NOT attempt to completely
remove either of these two screws.
Doing so is not necessary and will potentially
damage the light’s ability to charge.
The two screws simply need to be loosened
enough (approximately 1/8”) to allow the
reector / circuit assembly to be removed.
4. Turn the light upside down and carefully
shake the light in order to remove the reector
/ circuit assembly. Allow the reector / circuit
assembly to slide into your hand. CAUTION:
Do NOT touch the reector surface with your
nger. Doing so may damage the reector
surface.
5. Next, allow the rechargeable battery pack
to slide out of the light paying close attention
to the battery pack’s orientation within the
handle.
6. Using only the approved replacement
rechargeable battery pack, slide the new
battery pack into the handle of the light using
the directional arrow marked on the side of the
pack to be a guide to proper battery orientation.
7. Align the reector / circuit assembly so that
the switches on the assembly are aligned with
the switches on the housing. Carefully insert
the assembly back into the ashlight housing
until it is fully seated in the housing. CAUTION:
Be careful to not touch the reector surface with
your nger. Doing so may damage the reector
surface.
8. Tighten both of the Charger Contact Screws
until they are fully seated. CAUTION: Do NOT
over-tighten these two screws. Doing so may
damage the threads and impair the light’s ability
to properly charge.
9. Replace the lens bezel by screwing it onto
the housing in a clockwise direction.
10. Tighten locking screw. CAUTION: Do NOT
over-tighten. Doing so may damage the threads
and impact the light’s Intrinsic Safety.
II. Warnings and Safety Ratings
3
I. Warnings
Use only the approved non-rechargeable
batteries listed below.
Do NOT attempt to use rechargeable AA
batteries with this light.
To prevent ignition of hazardous atmosphere,
do not open the lens bezel in the hazardous
environment. This task must ONLY be
performed in an area known to be non-
hazardous.
To prevent ignition of a hazardous atmosphere,
the AA batteries must only be exchanged in an
area known to be non-hazardous.
To reduce the risk of explosion, do not
mix new non-rechargeable batteries with
used non-rechargeable batteries, or mix
non-rechargeable batteries from different
manufacturers.
Substitution of components may impair
intrinsic safety.
For personal safety, always conrm the
rating of any known hazardous or potentially
hazardous location where the light is to be
used.
DoNOT attemptto useany typeofrechargeable
AA batteries with this light.
To prevent ignition of a hazardous atmosphere,
do NOT remove the lens bezel in the hazardous
environment. This task must ONLY be done in
an area known to be non-hazardous.
II. Ratings
Listed for United States, Canada, Europe
Class I, Division 1 & 2, Groups A,B,C,D
Class II, Division 1 & 2, Groups E,F,G
Class I, Zone 0, AEx ia IIC T3 Ga
Zone 20 Group IIIC T165°C
ATEX II 1 G Ex ia IIC T3 Ga
IECEx Ex ia I Ma
Ex ia op is IIC T3 Ga
MSHA Rated
T3 Temperature Rating
2 Meter Drop Rating