manuals.online logo
Brands
  1. Home
  2. •
  3. Brands
  4. •
  5. Larson Electronics
  6. •
  7. Spotlight
  8. •
  9. Larson Electronics Golight Radioray GL-2051GT User manual

Larson Electronics Golight Radioray GL-2051GT User manual

GL-2051GT
Larson Electronics, LLC Phone: (800) 369-6671 Fax: (903) 498-3364 www.larsonelectronics.com
1 of 3
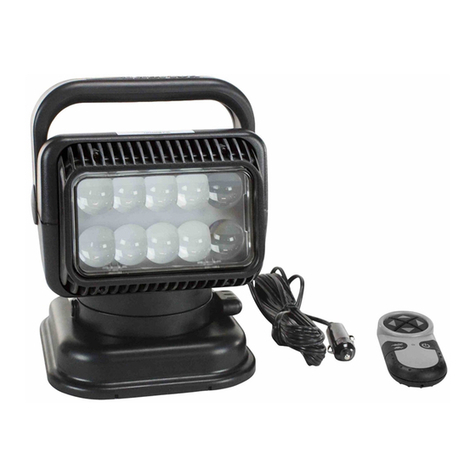
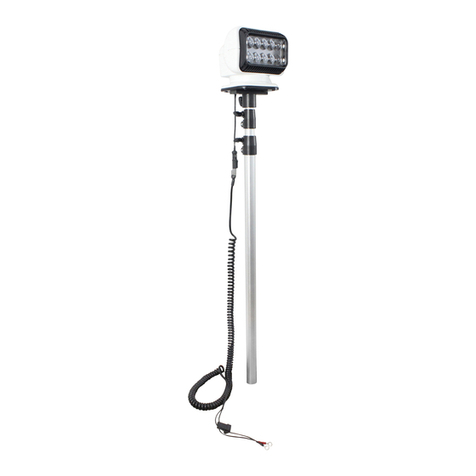
65W Golight Radioray Motorized Halogen Spotlight,
225,000 Candela, (1) Wireless Handheld Remote, Black
Instruction Manual
Congratulations
You are now the owner of one of the finest remote control searchlights available today. Thank you for letting Larson Electronics
assist you in your lighting
application needs. We’re proud of our products and the technology that we’ve developed to
ensure our customers the most durable, versatile and
powerful searchlights in the lighting industry.
Please read these instructions before using your new Golight Radioray.
The Golight RadioRay Mod
el
2000, 2051, 9000, 9051
are designed to be permanently
attached to a vehicle. The 2-Speed Searchlight with Directional Flexibility is controlled by
a wireless remote, which gives the operator a full 370°horizontal rotation and a 135°
vertical tilt with fingertip control.
The RadioRay provides superior light penetration in a halogen configuration or with
The RadioRay® Includes:
•RadioRay® Searchlight
•Wireless Remote Control
•2 A23 12V Batteries
•Permanent Mounting Gasket
•Rockguard (not Available with LED units)
MOUNTING INSTRUCTIONS
Determine the location for the light on your vehicle or boat. The small arrow on the base
indicates the normal forward direction of the light. The light will rotate to the left of this
arrow approximately 185 and to the right approximately 185. The beam will angle down about 45 and angles up to 90. The location should take into
consideration this beam movement to ensure optimum usability.
Once the position and orientation are decided upon—use the black rubber gasket as a footprint to mark the mounting of base to vehicle. Drill 1/4
inch hole though mounting surface in the middle of the footprint for passage of the power cord. Use silicone sealant to fill opening around power
cord.
IMPORTANT: Allow 3” of cord to remain under the light to ensure full 370 rotation.
You should choose screw or bolt fasteners appropriate to the surface to which you intend to attach the light. If you intend to use the four small
plastic caps provided to cover the screw heads once installed, a #8 round head is recommended.
The black gasket should be installed on the lamp base prior to attachment to the vehicle surface. NOTE: The small drain hole in the edge of the
gasket should normally face opposite the forward direction of the vehicle—opposite the arrow molded in the front of the base. Silicone or other like
sealants should not be used around the base gasket as it will limit the light’s ability to drain excess water properly.
The 12 Volt DC power wire should be joined to the leads under the lamp with
appropriate automotive wire attachments. The light is not polarity sensitive. Power
should be fused at 10 Amps and be on a dedicated circuit, or wired to an appropriate
automotive relay system.
PROGRAMMABLE REMOTE INSTRUCTIONS
The Golight RadioRay is controlled with a programmable remote with 2187 different
channels. This feature allows you the freedom to change the channel selection,
and the receiver relearns the new selection.
PROGRAMMING THE TRANSMITTER.
This light has been pre-programmed at the factory, and it is not necessary to re-
program the transmitter, unless you experience outside interference.
1. IMPORTANT: Disconnect power by removing fuse or
disconnecting vehicle battery.
2. Remove battery cover from remote control.
3. Set the 7 dip switches to a selection of your choice. There are 3
positions on each; positive, negative and neutral. Use a small
screwdriver and select a position for each dip switch. *Please
note that the orientation of the +/– switch positions may vary
among different models of wireless remote controls.
4. Insert both A23 12V batteries with the +/– in the same direction.
Be sure batteries have adequate charge.
5. Replace battery cover.
a. Depress the on/off button and hold it down. Red LED
will light.
b.
While holding the on/off button down, reinstall the
power (replace fuse or connect vehicle battery).
c.
Keep your finger on the on/off button for 5-6 seconds.
and then release. The light should now be programmed.
GL-2051GT
Larson Electronics, LLC Phone: (800) 369-6671 Fax: (903) 498-3364 www.larsonelectronics.com
2 of 3
OPERATION OF GOLIGHT® RADIORAY®
1. Using the remote control, turn on the light by depressing the on/off button.
2. With the 4-way arrows on the remote control, rotate your light to the desired location. Depending upon conditions, the wireless remote may be
used up to 80 feet from the RadioRay.
3. The speed of the light rotation can be controlled by depressing the tortoise/hare button one time and by depressing it again to restore the original
speed.
4. The spotlight should not be turned on when the snap on lens cover (rockguard) is attached. (Not applicapble for LED)
BATTERY INSTALLATION AND DISPOSAL
• Remove Battery Cover: remove the phillips head screw securing the battery cover then remove the cover. With thebattery compartment now
exposed, insert batteries according to correct polarity. Remove the batteries by gripping the positive end of each battery and lifting.
For information regarding the proper disposal/recycling of the batteries contact Larson Electronics at (800) 369-6671
Use only 12v-A23 batteries in the Golight remote control
USAGE:
» This light is intended for off-road and utility use only
» This light is intended to be mounted outside the vehicle while in use
» This light may only be disassembled and repaired by an authorized representative
MISUSE:
» This light is not approved for road or highway use
» This light is not approved for underwater use
» This light is not approved for inverted mounting
» This light is not approved for use inside a vehicle or enclosure and power should be removed prior to placing the light in such circumstance
» This light may be damaged if operated in icing conditions
» This light may only be dismantled by an authorized Golight representative
»Any violation of the above referenced misuses will be considered grounds for warranty refusal
IMPORTANT SAFETY INFORMATION
This symbol is to alert you to important operating or servicing instructions that appear in your instructions. Always follow basic safety
precautions when using this product to reduce the risk of injury, fire or electric shock.
This light is for off road and utility use only. It is not de-signed for road use as a driving light.
The RadioRay® complies with Part. 15 of the FCC Rules. Operation is subject to the following two conditions: (1) This light and remote may
not cause harmful interference, and (2) this light and remote must accept any interference received, including interference that may cause
undesired operation.
 FCC RULE Part. 15.21 - Changes or modifications made by the user not expressly approved by Golight, Inc. for compliance could void the
user’s authority to operate the equipment.
For safe and efficient operation of your Golight RadioRay, observe these guidelines:
Using your RadioRay in icing conditions could damage the gear motors.
The remote must be kept clean and dry to avoid damage to the internal circuitry.
Your Golight RadioRay is a radio transmitter and receiver operating at 433MHz. Whenever the light is on, the internally mounted antenna sends
out and receives radio frequency (RF) energy.
GL-2051GT
Larson Electronics, LLC Phone: (800) 369-6671 Fax: (903) 498-3364 www.larsonelectronics.com 3 of 3
• Modern electronic equipment, i.e. Personal medical devices such as pacemakers, hearing aids, etc., are shielded from RF energy. However, RF
energy may affect some electronic equipment.
•Vehicle electronic systems may be affected by RF energy. Check with your vehicle manufacturer representative to be sure that your RadioRay will
not affect the electronic system of your vehicle.
HALOGEN BULB REPLACEMENT / PARTS / ACCESSORIES
The Golight RadioRay utilizes a Philips H-9 bulb, which may
be purchased through Golight, Inc. along with other parts and accessories. Visit our web store at: https://www.larsonelectronics.com/ or contact us at
(800) 369-6671.
THREE YEAR LIMITED WARRANTY
Golight, Inc. warrants the RadioRay against any deemed defects that are due to workmanship for parts or faulty materials, except halogen lamps, for
three years from the date of the original purchase. This warranty to the RadioRay does not cover damage resulting from unreasonable use or
misuse, unreasonable maintenance or loss, or labor costs.
Mounting the light upside down will void the warranty.
Warranty information must be filled out within 30 days of purchase at: https://www.larsonelectronics.com, for warranty
protection.
Any consequential damages to person or property are excluded from this warranty. Some states do not allow the exclusion and limitation of
incidental or consequential damages, therefore the above limitations or exclusions may not apply to you. This warranty gives you specific legal rights
and you may also have other rights.
THESE INSTRUCTIONS MAY NOT COVER ALL DETAILS OR VARIATIONS OF THIS PRODUCT FOR YOUR EQUIPMENT OR INSTALLATION REQUIREMENTS.
SHOULD FURTHER INFORMATION NOT COVERED BY THESE INSTRUCTIONS BE REQUIRED, PLEASE CONTACT LARSON ELECTRONICS BY EMAIL AT
SALES@LARSONELECTRONICS.COM OR BY PHONE AT 1-800-369-6671 FOR FURTHER ASSISTANCE.
PLEASE VISIT LARSONELECTRONICS.COM FOR WARRANTY AND RETURN INFORMATION.

Other Larson Electronics Spotlight manuals
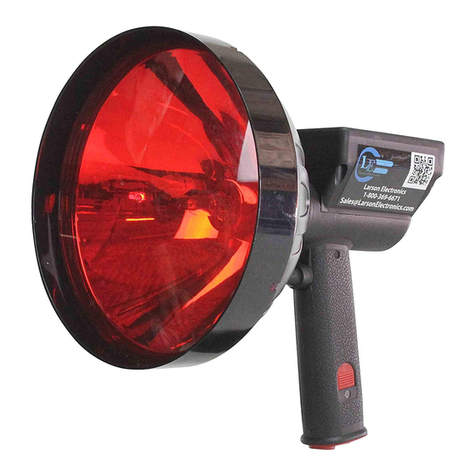
Larson Electronics RL-85-3W1 User manual

Larson Electronics

Larson Electronics RL-85-3W1 User manual

Larson Electronics LEDWL 1227 Series Manual

Larson Electronics

Larson Electronics LEDWL 1227 Series Manual

Larson Electronics HL-85-CPR-MS User manual

Larson Electronics

Larson Electronics HL-85-CPR-MS User manual

Larson Electronics GL-9951 Manual

Larson Electronics

Larson Electronics GL-9951 Manual

Larson Electronics LED10W-LT User manual

Larson Electronics

Larson Electronics LED10W-LT User manual

Larson Electronics GL-9950 Manual

Larson Electronics

Larson Electronics GL-9950 Manual

Larson Electronics RL-20 User manual

Larson Electronics

Larson Electronics RL-20 User manual

Larson Electronics GL-52893 Manual

Larson Electronics

Larson Electronics GL-52893 Manual

Larson Electronics GL-2100-E-F Manual

Larson Electronics

Larson Electronics GL-2100-E-F Manual

Larson Electronics HL.RL-85-LED-36W-CPR User manual

Larson Electronics

Larson Electronics HL.RL-85-LED-36W-CPR User manual

Larson Electronics HML-5M-RC User manual

Larson Electronics

Larson Electronics HML-5M-RC User manual

Larson Electronics GL5150-12IR Manual

Larson Electronics

Larson Electronics GL5150-12IR Manual

Larson Electronics 2000-M Manual

Larson Electronics

Larson Electronics 2000-M Manual

Larson Electronics RL-14 User manual

Larson Electronics

Larson Electronics RL-14 User manual
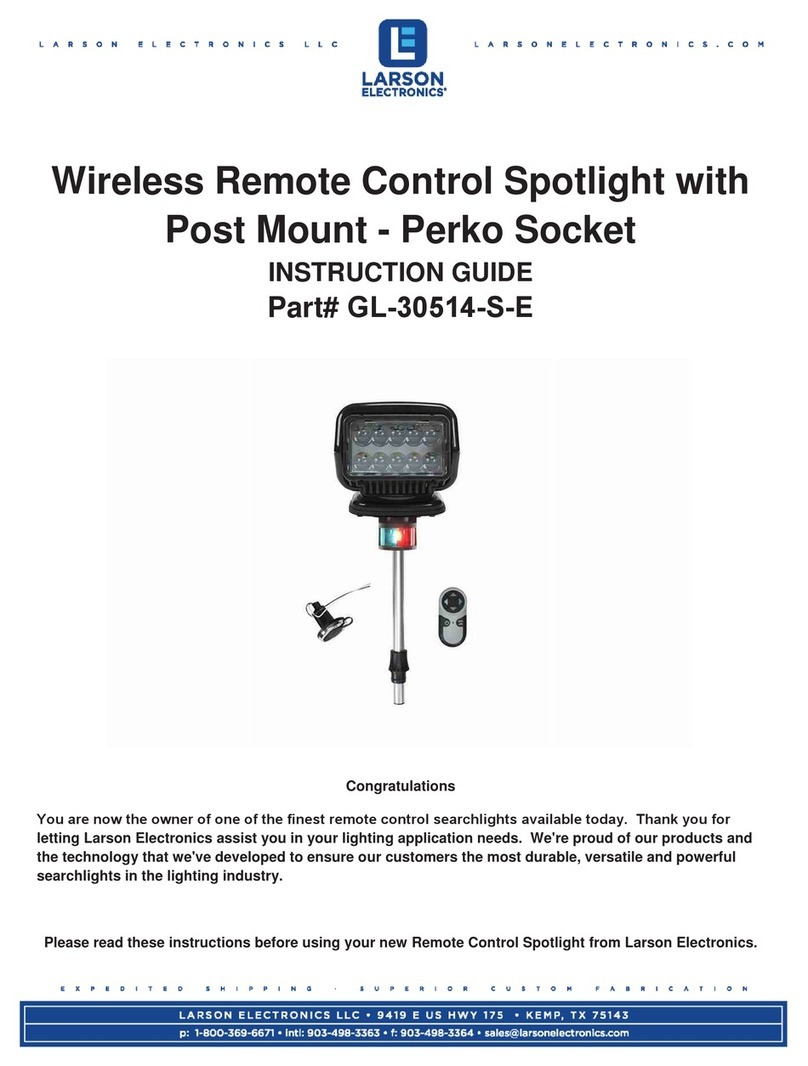
Larson Electronics Golight Stryker GL-30064ST User manual

Larson Electronics

Larson Electronics Golight Stryker GL-30064ST User manual

Larson Electronics RML-8 User manual

Larson Electronics

Larson Electronics RML-8 User manual

Larson Electronics GL-2000-24 Manual

Larson Electronics

Larson Electronics GL-2000-24 Manual

Larson Electronics HALSS-24-2L-LED-HBL User manual

Larson Electronics

Larson Electronics HALSS-24-2L-LED-HBL User manual

Larson Electronics GL-3610-S-E Manual

Larson Electronics

Larson Electronics GL-3610-S-E Manual

Larson Electronics HUL-LED25WRE-CPR-TRP User manual

Larson Electronics

Larson Electronics HUL-LED25WRE-CPR-TRP User manual

Larson Electronics LED3W-LT-IR User manual

Larson Electronics

Larson Electronics LED3W-LT-IR User manual

Larson Electronics HL-85-LED-CPR User manual

Larson Electronics

Larson Electronics HL-85-LED-CPR User manual

Larson Electronics GVP-48-2L-LED-D-V2 User manual
Larson Electronics

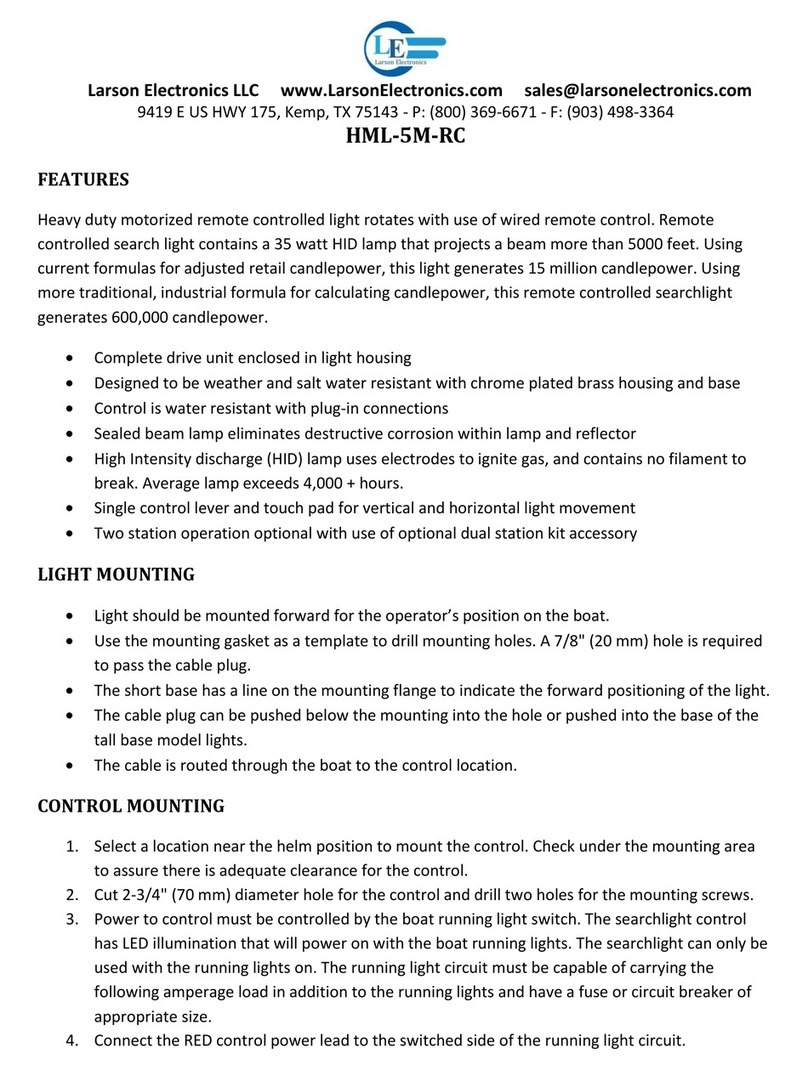
Larson Electronics GVP-48-2L-LED-D-V2 User manual

Larson Electronics GL-9901 Manual

Larson Electronics

Larson Electronics GL-9901 Manual

Popular Spotlight manuals by other brands

Cameo TS 200 FC user manual

Cameo

Cameo TS 200 FC user manual

thomann VARYTEC BAT.PAR 3 RGBW user manual

thomann

thomann VARYTEC BAT.PAR 3 RGBW user manual

Robe PATT 2013 User instructions

Robe

Robe PATT 2013 User instructions

Silicon Solar PatioPal-GS-SpotLight-36 operating instructions

Silicon Solar

Silicon Solar PatioPal-GS-SpotLight-36 operating instructions

Anslut 019951 operating instructions

Anslut

Anslut 019951 operating instructions

Tungsram DLR G1 Install Instruction Guide

Tungsram

Tungsram DLR G1 Install Instruction Guide

Elation Platinum Beam 5R Extreme user manual

Elation

Elation Platinum Beam 5R Extreme user manual

Elumen8 ELUM041 user manual

Elumen8

Elumen8 ELUM041 user manual

Unilamp Mini SONIC OD-5932 manual

Unilamp

Unilamp Mini SONIC OD-5932 manual

ALS AUD501H user manual

ALS

ALS AUD501H user manual

SGM IDEA SPOT 250 user manual

SGM

SGM IDEA SPOT 250 user manual

Prilux Kenia 504775 quick start guide

Prilux

Prilux Kenia 504775 quick start guide

LIVARNO home 898-S-2 manual

LIVARNO home

LIVARNO home 898-S-2 manual

OMEZ LIGHTING TitanPar 3W-Par64 User instruction

OMEZ LIGHTING

OMEZ LIGHTING TitanPar 3W-Par64 User instruction

RUSTA 307512260101 manual

RUSTA

RUSTA 307512260101 manual

Vector 000 Power Series user manual

Vector

Vector 000 Power Series user manual

Vivint ML01 user manual

Vivint

Vivint ML01 user manual

ProLights RA2000PROFILEHB user manual

ProLights

ProLights RA2000PROFILEHB user manual

manuals.online logo
manuals.online logoBrands
  • About & Mission
  • Contact us
  • Privacy Policy
  • Terms and Conditions

Copyright 2025 Manuals.Online. All Rights Reserved.