Laser MID-1071 User guide

QUICK OPERATION GUIDE MID-1071
1

QUICK OPERATION GUIDE MID-1071
2
INDEX
IMPORTANTSAFETY INSTRUCTIONS AND PRECAUTIONS...................................................................................3
APPEARANCEAND BUTTONS............................................................................................................................4
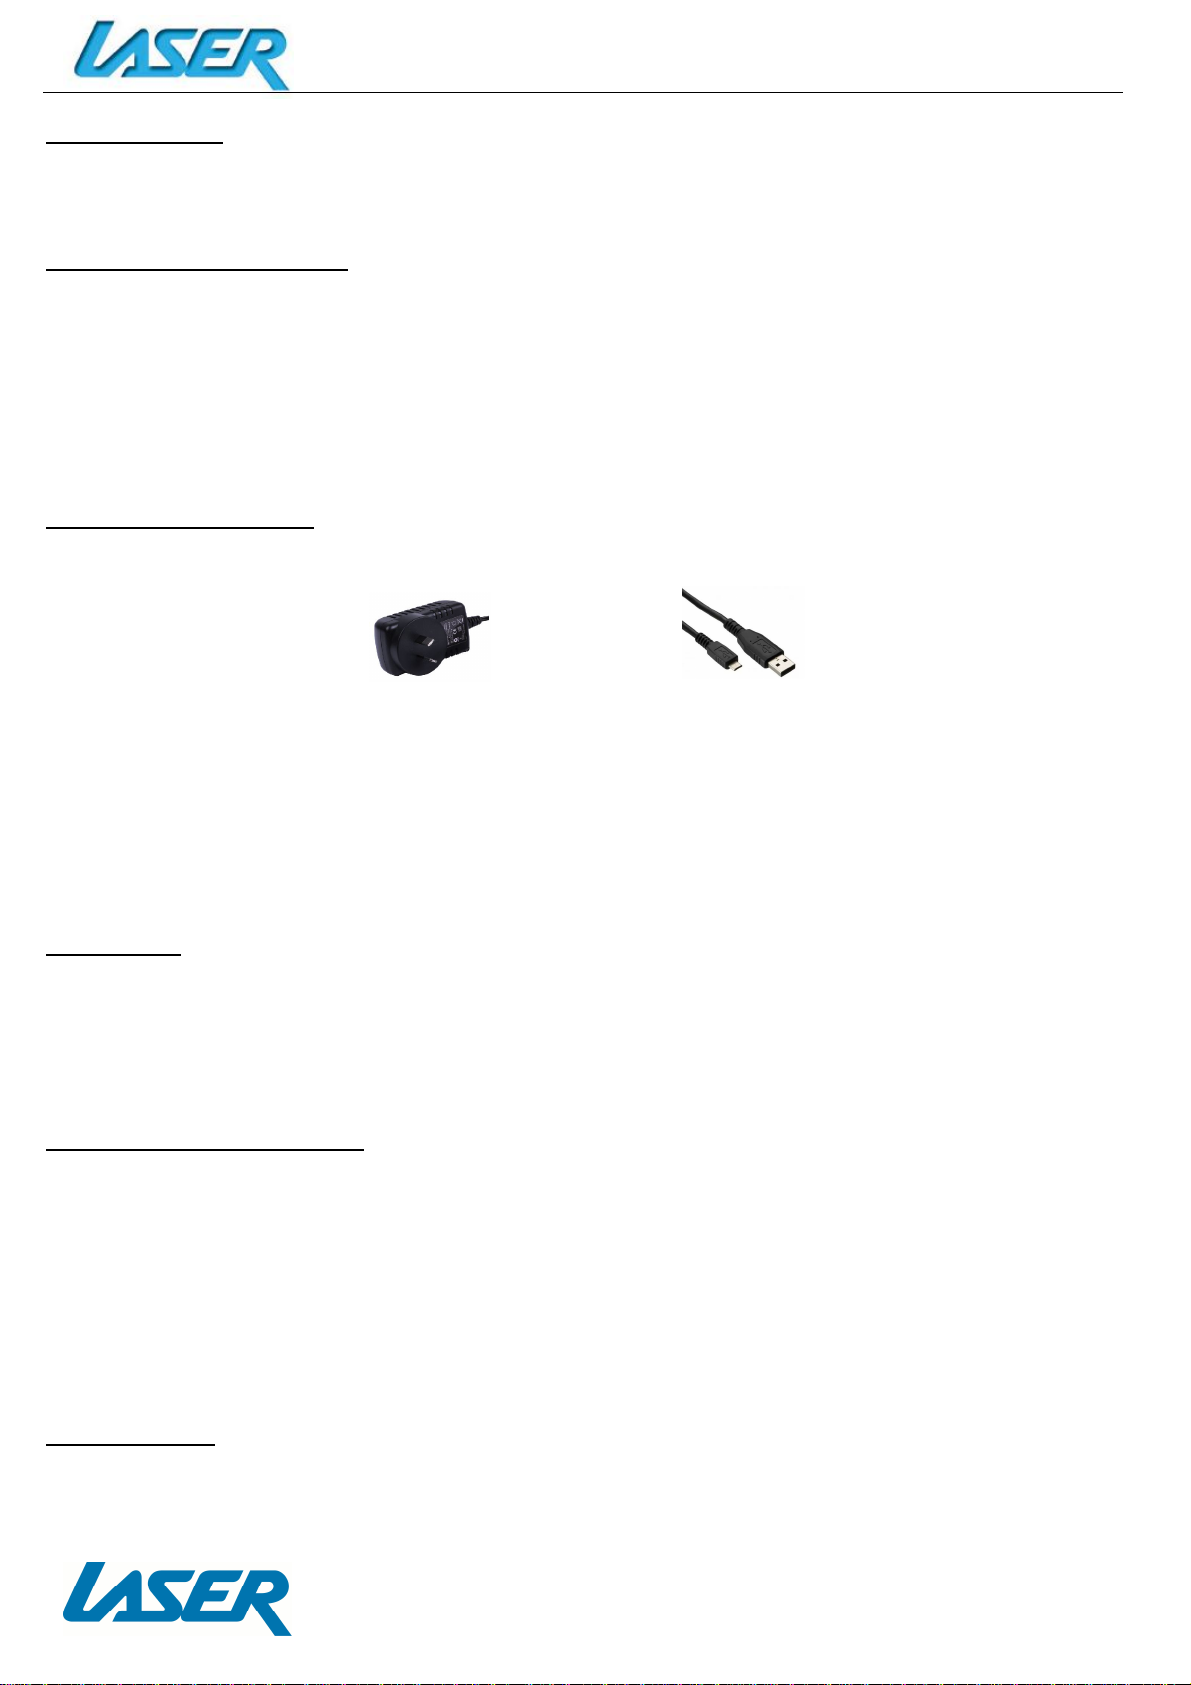
ACCESSORIES....................................................................................................................................................5
TURNING ONAND OFF......................................................................................................................................5
BATTERY CHARGING..........................................................................................................................................5
RUNTIME.........................................................................................................................................................5
5POINTTOUCH SCREEN....................................................................................................................................5
SLEEP MODE.....................................................................................................................................................5
LOCK/UNLOCK...................................................................................................................................................6
CHANGING WALLPAPER....................................................................................................................................6
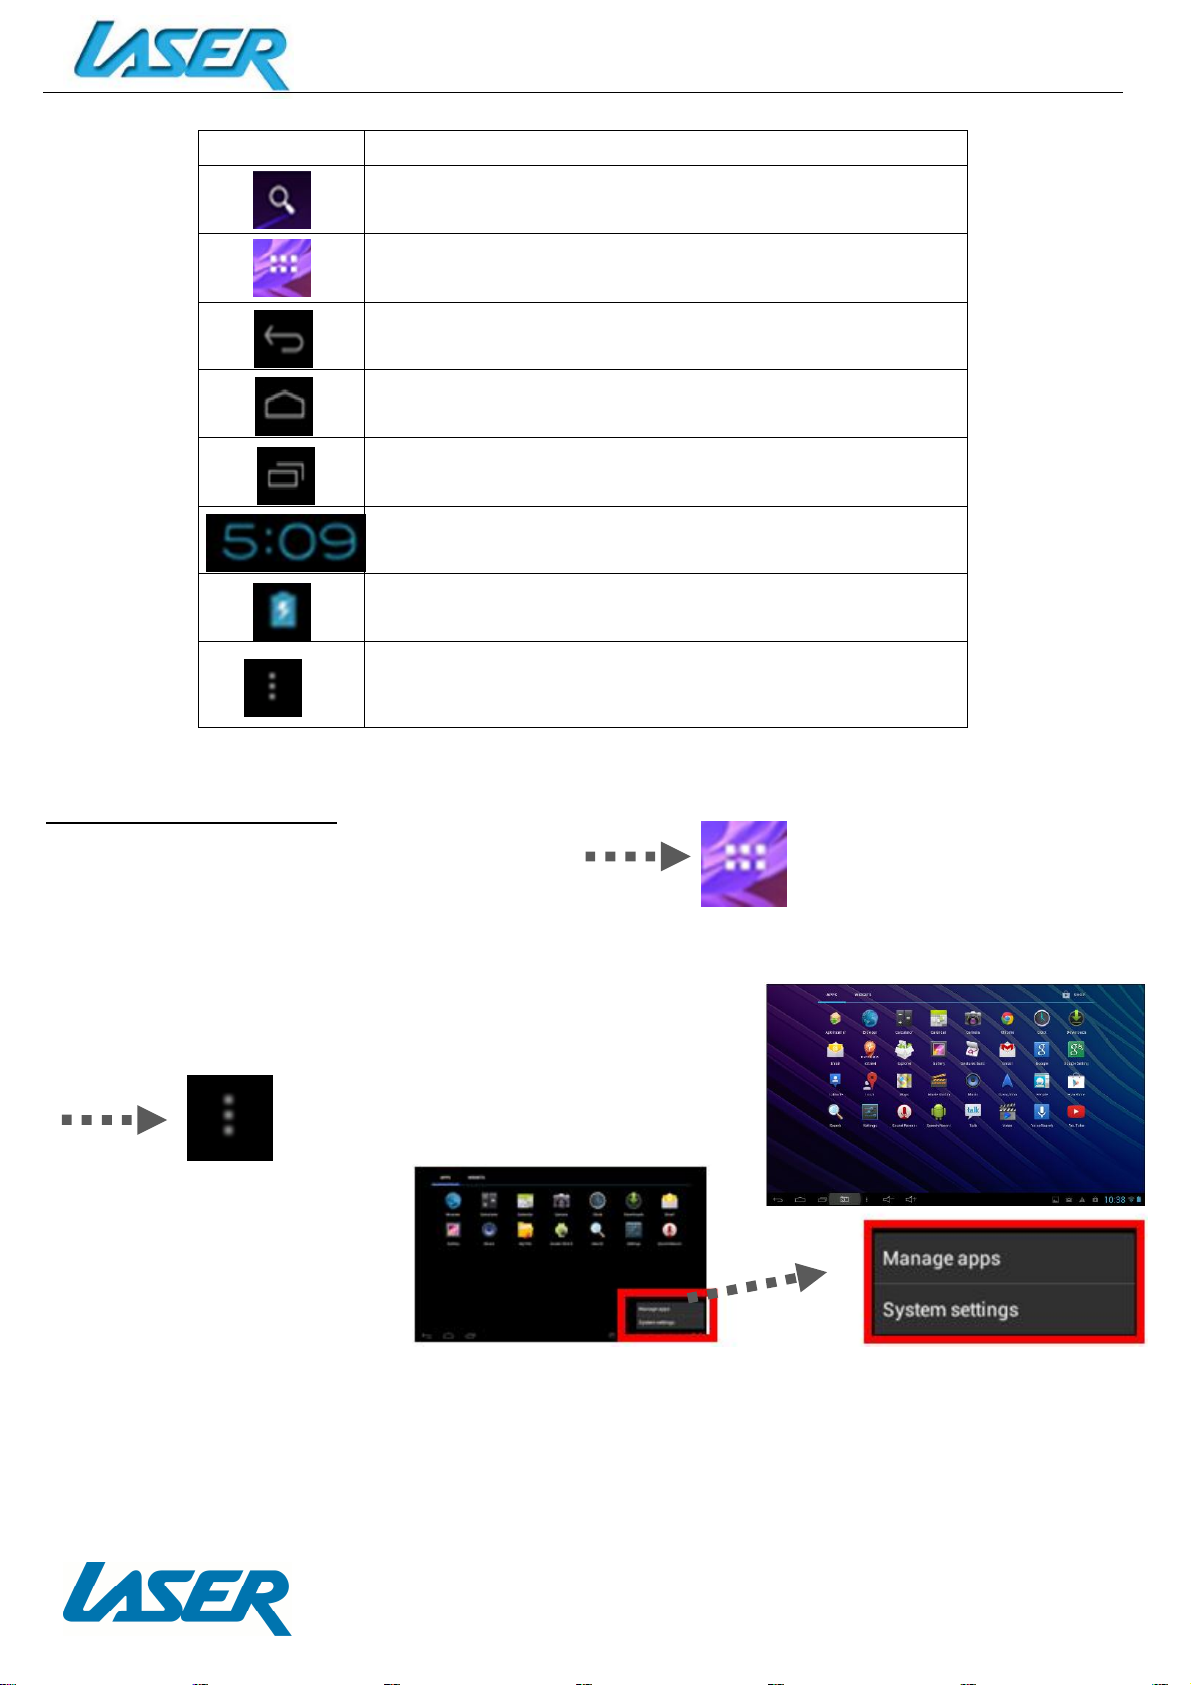
HOME SCREENICONS .......................................................................................................................................6
DESKTOP MENU BARS.......................................................................................................................................7
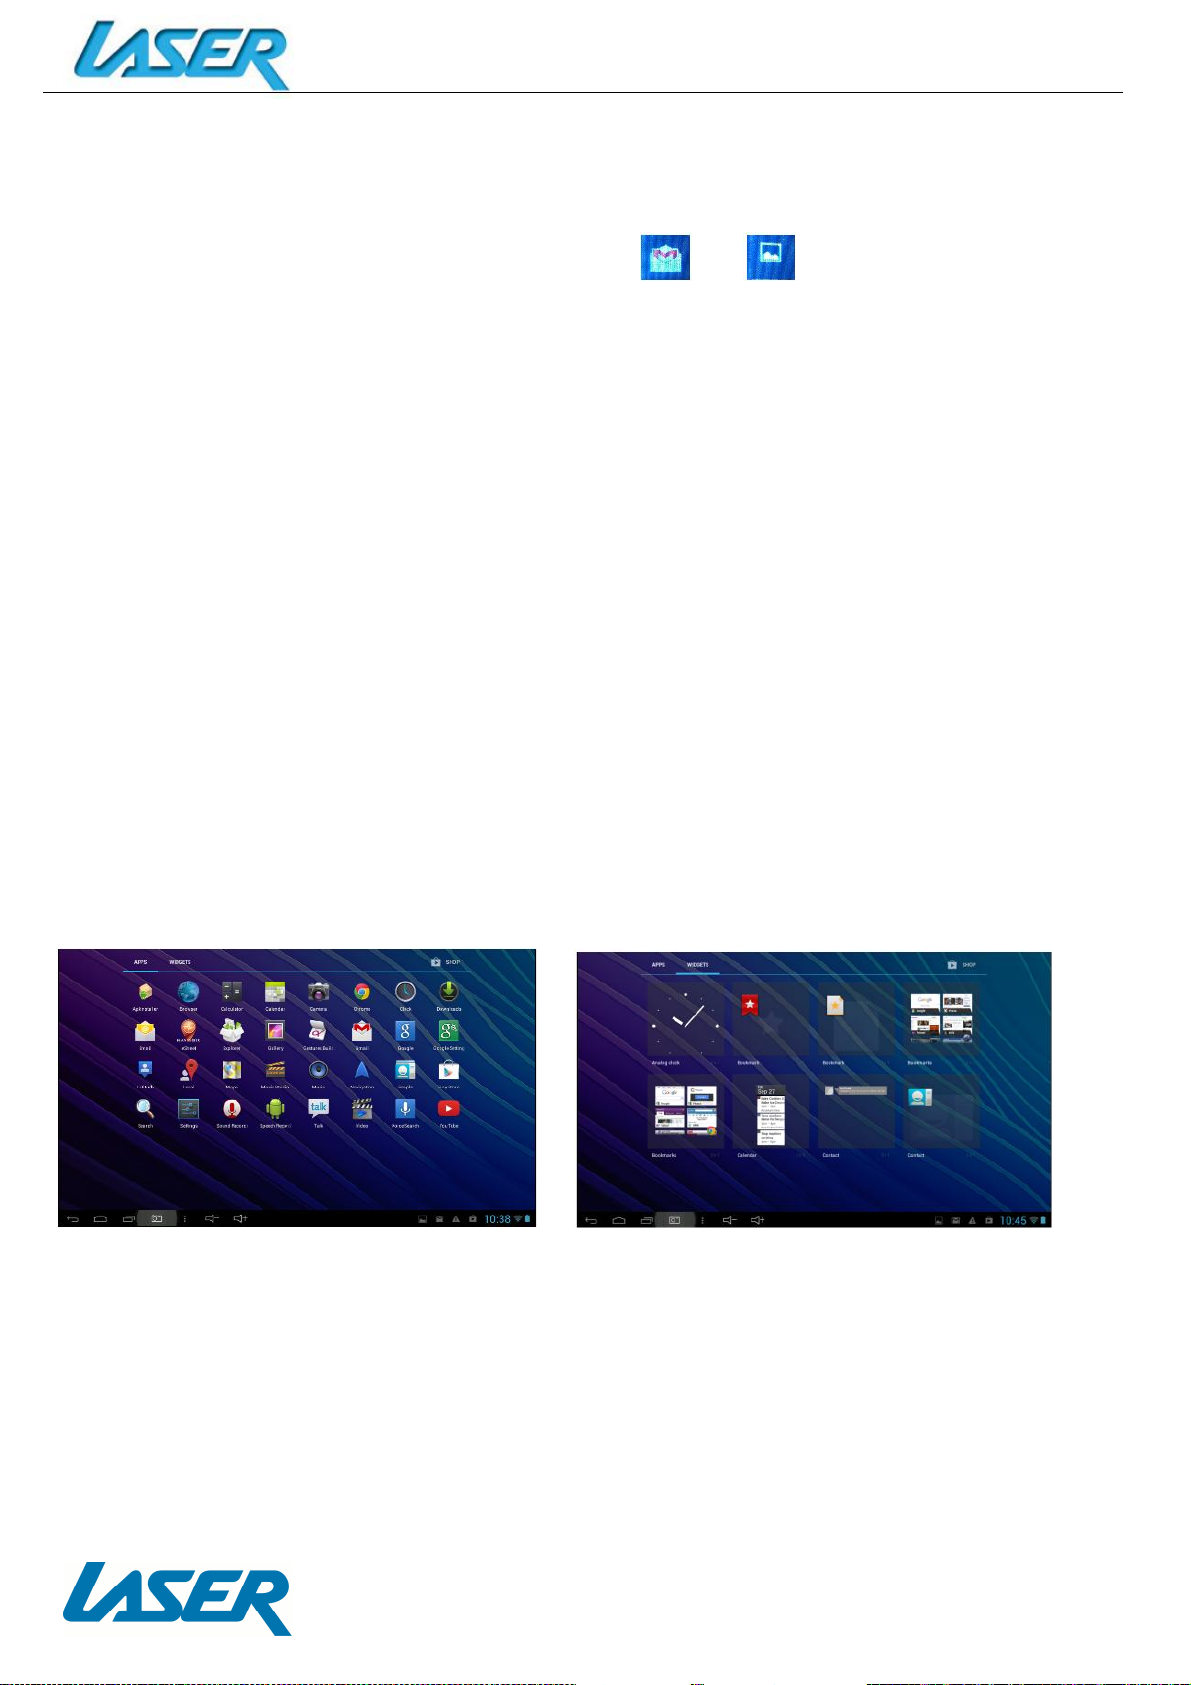
APPS AND WIDGETS..........................................................................................................................................8
FURTHER APP INFORMATION............................................................................................................................9
SETTINGS........................................................................................................................................................11
CONNECTING TO A PC/MAC VIA USB ..............................................................................................................12
EBOOK DRM (ALDIKO).....................................................................................................................................13
WHY CREATE A GOOGLE ACCOUNT.................................................................................................................14
SPECIFICATIONS..............................................................................................................................................14
FAQ.................................................................................................................................................................17
WARRANTY AGAINSTDEFECTS........................................................................................................................18

QUICK OPERATION GUIDE MID-1071
3
IMPORTANT SAFETY INSTRUCTIONS AND PRECAUTIONS
- Read all instructions carefully before use.
- Retain this manual for future reference.
- Use this product only in the manner described.
- Only use a water-dampened soft-cloth to clean the surface of this product.
- The following will damage this product: water or moisture ingress, exposure to prolonged
extreme heat or cold; excessive humidity, dust or sandy.
- It is recommended to thoroughly charge the device for the first time overnight. Subsequent
charges can be as needed. During charging, or extended use, the product may become warm.
- There are no user serviceable parts in this product.
- Unauthorised attempts to dismantle or repair this product will void product warranty and
may result in a dangerous electric shock.
- Remove data cable by pulling it from the plug and not the cord.

QUICK OPERATION GUIDE MID-1071
4
APPEARANCE AND BUTTONS
Front View:
Rear View:
Number Description
1
ON/OFF
Power Button
2
Stereo Earphone Socket (3.5mm Jack)
3
OTG
(Host)
Only
(Connect flash drive and other peripherals)
4
USB interface (Data Transfer, Charging
and USB
Storage flash drive).
5
Factory Reset Button
6
Charging Socket (DC 5V 2.5 amp)
7
Micro
SD card slot
(
s
upports cards up to 32GB)
8
Front Camera Lens
9
External Speaker
1
0
Rear Camera Lens
1
1
Microphone
1
2
Volume button
–
Increase Volume (+)
1
3
Volume button
–
Decrease Volume (
-
)
1
2
3
4
5
6
7
8
9
10
11 12 13

QUICK OPERATION GUIDE MID-1071
5
OR
ACCESSORIES
1 x 10” MID-1071, 1 x Mains Power Adaptor, 1 x USB cable, 1 x User Guide
TURNING ON AND OFF
To turn ON, PRESS and HOLD the POWER button until the screen turns ON.
To turn OFF, PRESS and HOLD the POWER button until the powerscreen appears. Then select
turn OFF.
Note:At any time you can press the POWER BUTTON to enter Snooze mode or to wake from Snooze
mode.
BATTERY CHARGING
You can charge your MID-1071 using the supplied Mains Power Adaptor or USB cable.
You will be alerted when the battery charge falls below 15%. If the battery is completely
depleted the MID-1071 will automatically turn off.
Note:If the battery has been completelyexhausted, it may take a few minutes to switch the MID-1071
on once charging has begun. The MID-1071 can be used during charging however this may increase the
time needed to fully charge the battery.
RUN TIME
Run time of portable devices such as this MID-1071 can be extended by reducing the screen
brightness, turning off Wi-Fi when not in use, turning off Apps that are not required and
manually turning the screen off using the power button when not in use.
5 POINT TOUCH SCREEN
The MID-1071 has 5 different touch screen behaviours.
1 - TAP Tap once to select or start a function, option or application
2 - TAP and HOLD Tap and hold to select or start a function
3 - DRAG and DROP Tap then drag an item and drop it to a location
4 - DOUBLE TAP Double Tap an item twice to select or start a function
5 - SLIDE/SWIPE Tap then slide an item up, down, left or right
SLEEP MODE
During prolonged inactive use where no buttons have been pressed, the screen will turn off
automatically to conserve power. Press the POWER button to wake the MID-1071.

QUICK OPERATION GUIDE MID-1071
6
LOCK/UNLOCK
When the MID-1071 is in sleep mode, press the POWER button to open the unlock screen. TAP
and HOLD the LOCKED padlock icon, drag it to the UNLOCKED padlock icon, then release.
Note:some of the following images may be differentfrom the actual product supplied.
CHANGING WALLPAPER
TAP and HOLD the current wallpaper
from the main screen. The
wallpaper option window will
appear. Choose between GALLERY
(select from all stored), LIVE
WALLPAPER (wallpaper that moves
or which you can interact with by
touching the screen) or WALLPAPERS (select from a standard list of wallpapers).
HOME SCREEN ICONS

QUICK OPERATION GUIDE MID-1071
7
Icon Function
Open web browser
Open App and widget menu
Return back to the previous screen
Return to the home screen
Open a list of recently used applications
(Time display)
(Battery status)
Enter “Wallpaper”, “Manage Applications”, “System
Settings” shortcut
DESKTOP MENU BARS
The desktop includes two separate menu-bars.
1) APPS MENU BAR - Top right of screen
When pressed, the following screen is shown. Note: Scroll across to access WIDGETS
2) SHORTCUT MENU BAR - Bottom middle of screen
When pressed the following
screen is shown. Select
between either MANAGE
APPS (SETTINGS SECTION) or
SYSTEM SETTINGS.

QUICK OPERATION GUIDE MID-1071
8
APPS AND WIDGETS
Note: Some of the following images may be different from the actual product supplied.
Icon
Function
Browser: Internet browser
Calculator
Calendar: Create and manage daily, weekly and monthly events, set alarm
clocks. Note: A GOOGLE account is required
Camera: Take and view pictures and video
Clock: Access alarm clock settings and time display
Downloads: Manage downloaded content
E-mail: Setup e-mail accounts
File Manager: Access allpictures, video, music, sound clips and other files saved
on the device and SD card
Navig8r eStreet Directory (GPS Navigation)
Music: Music player
Search: Open web browser search bar
Settings: View main settings menu
Sound Recorder: Recordsound using the microphone
Video: Used to play pictures and video

QUICK OPERATION GUIDE MID-1071
9
FURTHER APP INFORMATION
Calendar
Tap this icon to open the calendar feature. Enter your Google account E-mailaddress and
passwordinformation (note: If you do not yet have a Google account, you can create a new
account for free from Google.com).
Note:Double check your account information and repeat the above steps if you are experiencing
connection issues.
Once complete, your settings will be saved and the application will automatically close.
Re-open the application then set the current date and time where required.
Note: The first email setting will be saved as default and cannot be deleted. However subsequent email
settings can be deleted. To remove all email settings a factory default must be completed.
Camera
Tap this icon to open the camera feature. Choose between camera and video recording. Tap the
BLUE CIRCLE shutter icon to take a photo or to start recording a video from video mode.

QUICK OPERATION GUIDE MID-1071
10
To enter the photo playback mode and photo tools, tap the TOGGLE image at the top right
corner of the screen. This button is used to toggle between image capture mode and the
playback screen.
To connect through to your GOOGLE account, press or to continue through to the
main image preview screen. Alternatively tap the image on the screen.
From the main image preview screen, SWIPE the screen left or right to review images or use
the thumbnail images at the bottom of the screen to see the previous image.
Note:Tap the screen if the image tools icon disappears.
To delete an image, press the rubbish bin icon at the top of the screen. To access the menu
screen tap the menu shortcut button. Choose between the options: slideshow, edit, rotate left,
rotate right, crop, set picture as, details.
File Manager
File manager provides an overview of all files on your MID-1071 or an external storage device.
Use the tabs at the top of the screen to view files on your MID-1071; built-in memory, SD card
or USB.
Note:The last two tabs (developer tabs) may not be visible depending on your user settings.
App and Widget icons
Users can add or remove App and Widget program icons (shortcuts) from the desktop as well as
move them to different desktop screens. The icons can be dragged within the desktop or
between the desktop and the shortcut bar.
To add an icon tap and hold the App or Widget, then drag and drop it to the desired position on
the desktop.
To delete an icon, press and hold the icon until the trash bin icon appears at the top of the
screen. Then drag the icon on top of the bin icon and release.

QUICK OPERATION GUIDE MID-1071
11
SETTINGS
Wi-Fi
Note:A Wi-Fi connection is required if connecting to the internet for email, Play Store or web browsing.
When Wi-Fi is turned on it will automatically scan for all available Wi-Fi networks
Note: If your device was not detected, press the SCAN button to conduct anew scan search.
Tap the desired NETWORK
name. If this NETWORK
connects successfully,
“Connected” (1) will
appear. If the NETWORK is
encrypted, enter the
password then tap
“Connect”.
Your MID-1071 will
indicate when the
NETWORK connection is
ready for use when the
Wi-Fi icon appears on the
lower right notification
bar (2).
For training videos visit: http://www.laserco.net/products/e-readers/MID-1071
1
2

QUICK OPERATION GUIDE MID-1071
12
CONNECTING TO A PC/MAC VIA USB
Connect the USB cable to your MID-1071 and PC, making sure you are using the correct MICRO
USB cable supplied. The “USB connected” icon (1) will then appear. TAP the icon to show the
connection window, and then TAP “USB connected” (2) to enter the final connection screen.
TAP “Turn on USB storage” (3) to access the device.
Note:In USB mode, you can copy, cut or delete files directly from the device.
1
3
2

QUICK OPERATION GUIDE MID-1071
13
EBOOK DRM (ALDIKO)
Note:Aldiko supports purchased and borrowed eBooks.
Download Adobe Digital Editions (ADE) to your PC and set up your FREE account. Upon
purchasing or borrowing an eBook using ADE, it will then need to be transferred to your
MID-1071. FromAdobeDigital Editions, right click the eBook you wish to transfer and select
“Show File in Explorer”.
View this YouTube video on purchasing eBooks. https://www.youtube.com/watch?v=AieWzAbpmjs
Then right click on the file and select “Copy”.

QUICK OPERATION GUIDE MID-1071
14
Connect your MID-1071 to the same PC you have loaded ADE on and open Windows Explorer. If
connectedcorrectly your MID-1071 will be visible. Select the MID-1071 by double-clicking it.
Then contents will appear on the right side of the Windows Explorer screen. Right click this
section and select paste. The file has now been transferred.Disconnected the MID-1071, open
the ALDIKO App on your MID-1071 and select the top right “Settings” option.
Select ADOBE DRM then enter your username and
password and select “Sign in”.
Finally, locate the “File” which was just transferred, then click “Import”.

QUICK OPERATION GUIDE MID-1071
15
WHY CREATE A GOOGLE ACCOUNT
Creating a Google account allows you to talk, chat, share, schedule, store, organise, collaborate,
discover and create online. A Google account also provides user level access to Gmail, Google+
and YouTube which are all backed up online and accessible online via the cloud.
GOOGLE PLAY APP
Open the GOOGLE PLAY STORE App and set up your account. If you have an existing
account (including non Gmail accounts) select EXISTING, otherwise choose NEW to
create a new account and follow the set-up steps.
View our product training videos at: http://www.laserco.net/products/e-readers/MID-1071
SPECIFICATIONS
Operation System: Android 4.2.2
Size: 163 x 11 x 260mm
CPU: Quad Core 1.5GHZ
Memory: 8GB
RAM: DDR3 1GB
TF card: 128M-32G
Display screen: 10.1”(Capacitive multi-touch) TFT capacitive touch
Resolution: 1024*600
Battery and capacity: Rechargeable Built-in type polymer battery, 4000Mah
Screen auto orientation: G-sensor 3D
Voice Recording Built-in microphone
Supported file types:
Video containers: MOV, MKV, AVI, RMVB, RM, TS, TP,
M2TS, MPEG, MP4, PMP, 3GP, FLV WMV, ASF
Video formats: H.264, MPEG4, RMVB, Xvid, Divx, H.263,
VP8, WMV, HTML5, Flash10.2
Audio formats: MP3, WMA, WAV, (APE, FLAC, AAC,
OGG)

QUICK OPERATION GUIDE MID-1071
16
FAQ
I can’t turn my MID-1071
on?
1. Ensure your MID-1071 is charged.
2. Connect the power adaptor and then check again in 10 minutes.
3. Reset the device using the reset button.
Afterthe startup screen, the
device just shuts off. Ensure your MID-1071 is charged.
I can’t hear anything
through my headset or the
sound quality is very bad.
1. Please check the volume is correct.
2. Check the music file on another device to make sure it is not damaged.
3. Try using another pair of headphones.
I can’t copy files or play
music.
1. Please check the connection to you computer.
2. Ensure there is enough sparememory.
3. Check the USB cable is not damagedby testing it onanother device.
4. Check the USB connection is correct.
5. Ensure the USB function has been turned on correctly (Page 12).
My MID-1071 displays a
network or service error
message.
1. Check the strength of the Wi-Fi signal.
2. Check that the Wi-Fi service is available and operating correctly.
3. Rescan for Wi-Fi signals using the SCAN button.
My touch screen is slow and
is not working correctly.
1. Make sure theprotective film has been removed from the screen.
2. Ensure that your fingers are dry and clean.
3. Restart your MID-1071.
4. Ensure the touch screen is not scratched or damaged.
I cannot connect to my
Bluetooth device. 1. Try the SCAN button to conduct a new scan, if your device has not been
detectedduring the first default scan.
My MID-1071 is frozen or a
severe error has occurred.
1. Try closing Apps or resetting.
2. Restore or reset the MID-1071to factory default settings using the reset
button.
My MID-1071 becomes hot
when in use or while it’s
charging.
1. Someapplications can consume more powerthan others causing the
MID-1071 to become warm while in use or if used for extended amounts
of time. This is normal and won’t affect the life or performanceof your
MID-1071.
An error occurs when I start
the camera.
1. The camera application requires sufficient storage space and battery
voltage. If an error occurs, please try:
a. Charging the battery, or
b. Removing some files to make more storage space.
An error occurs when I open
my music files.
1. Remove some files to make more storage space.
2. Make sure the music files aren’t protectedby digitalrights management
(DRM). If the files have DRM protection, make sure that you have the
license or key.
3. Make sure that the file type is compatible.
My MID-1071 takes about
45 seconds to turn on/boot
up. Is this normal?
Yes. This is common withall tablet devices. Like with most computers, they
need time to “boot up”. Note:Once more apps and programs are loaded,
boot up times may increase.
The available memory on
my MID1040 is far less than
8GB. Why is that so?
Some of this space is required for the preloaded Apps and other software.
Space is required for the OS (Operating System). Apps can be changed and
removedif required to suit your memory space requirements.
For further product information and instructions please visit our product web page at www.laserco.net or email support@laserco.com.au. Please
note: As continual improvements are made to this product, slight operational differences may occur. For the most up-to-date user manual, please
visit ourwebsite.

QUICK OPERATION GUIDE MID-1071
17
WARRANTY AGAINST DEFECTS
Laser Corporation Pty Ltd (“Laser”) warrants your new product to be free from defects in materials and
workmanship for 12 months, from the date of purchase, provided that the product is used in
accordance with accompanying recommendations or instructions where provided. The benefit of this
warranty is in addition to your rights under the Australian Consumer Law and to other rights and
remedies of the consumer under a law in relation to the goods or services to which the warranty
relates.
Through a network of retailers and resellers, Laser will provide you with your choice of a refund, repair
or exchange (where possible) for this product if it becomes defective within the warranty period. This
warranty will no longer apply where the defect is a result of alteration, accident, misuse, abuse, normal
wear and tear, neglect or improper storage.
Please retain your receipt as proof of purchase.
How to make a product warranty claim:
Step 1: Find your receipt which proves the date of purchase. Where the date of purchase cannot
be verified, your place of purchase or Laser will make an assessment based on the date of manufacture,
the condition of the Laser product and the type of defect.
Step 2a): Contact your place of purchase. They will assess the nature of the fault and refund or
replace the product as per their store refund or warranty policy.
Step 2b): If your place of purchase cannot be contacted, then you can contact Laser Customer
Service with details of your defective Laser ProductPhone (02) 9870 3388; or Email:
support@laserco.com.au or online www.laserco.com.au/support/warranty (click on “Apply RA
Number). Our business address is at 1/6-8 ByfieldStreet, North Ryde, NSW 2113
Step 3: Laser will issue youwith a Return Authorisation (RA) number within 48 hours.When
requested, send us the defective product and a copy of your receipt. Laser will cover the cost of the
return delivery.
Step 4: Wait for us to contact you. Once we have received your defective Laser product for
inspection, we will inform youof our assessment of your claim within 7 days. When we contact you,
we will firstly let you know whether you have a valid claim under this Warranty, and if so, we will
inform you whether your defective Laser product will be replaced or repaired, together with the
number of days you can expect towait to receive your replaced or repaired Laser product.
Our goods come with guarantees that cannot be excluded under the Australian Consumer Law. You
are entitled to a replacement or refund for a major failure and compensation for any other reasonably
foreseeable loss or damage. Youare also entitledto have the goods repaired or replaced if the goods
fail to be of acceptable quality and the failure does not amount to a major failure.
Table of contents
Other Laser Tablet manuals

Laser
Laser MID-790IPS User guide

Laser
Laser MID-777 User guide

Laser
Laser MID-1060 User guide

Laser
Laser MID-799IPS User manual

Laser
Laser MID-743 User guide

Laser
Laser MID-735 User guide

Laser
Laser MID-784 User guide

Laser
Laser MID-773 User guide

Laser
Laser MID-899IPS User manual

Laser
Laser MID-785 User guide

Laser
Laser MID-1040 User guide

Laser
Laser MID-740KID User guide

Laser
Laser MID-771 User guide

Laser
Laser MID-782 User guide

Laser
Laser MID-1028 User guide

Laser
Laser MID-787 User guide

Laser
Laser MID-789IPS User guide

Laser
Laser MID-787 User guide

Laser
Laser MID-741KID User guide

Laser
Laser MID-742 User guide