LATNEX SPA-50K User manual

User Manual
SPA-50K (50KHz - 960MHz)
SPA-3G (15MHz - 2700 MHz)
SPA-6G (15MHz - 2700MHz and 4850MHz - 6100MHz)
www.latnex.com/spa
www.emrss.com/latnex-analyzers
Toll-free number 1(855)267-2582
1

SPA-3G or SPA-6G Models
The LATNEX Spectrum Analyzer SPA-3G or SPA-6G includes 7 functional buttons in the front side. The unit
also includes 2 RF connector 50 ohm impedance standard SMA format.
SPA-50K Model
The LATNEX Spectrum Analyzer SPA-50K includes 9 functional buttons in the front side, including context
sensitive HELP and easy preset handling with SET button, and a silicone rubber protector. The unit also
includes one RF connector 50 ohm impedance standard SMA format.
Important: The internal battery power switch must be in the ON position for the battery to charge when the
USB cable is connected. The internal battery will not charge when the power switch is in the OFF position.
The unit will automatically start running on USB power when a compatible mini-USB cable is connected.
www.latnex.com/spa
www.emrss.com/latnex-analyzers
Toll-free number 1(855)267-2582
2

Spectrum Analyzer mode - Main Screen
Upon start, LATNEX Spectrum Analyzer goes to Spectrum Analyzer mode automatically.
The X axis represents frequency in MHZ and Y axis display actual received power in dBm or dBuV (selectable).
In this example above, the frequency span goes from 2390 MHz to 2450 MHz (that is a 60MHz range), and
the visual amplitude goes from -1 dBm to -110 dBm.
Configuration settings such as amplitude reference and frequency span are preserved between sessions,
stored in internal FLASH memory.
The main screen automatically displays a small marker with a triangle shape. This will indicate the peak
amplitude found in the current frequency span, being the first text line the frequency in MHZ and the second
line the amplitude at that particular point.
The main screen has a number of additional indicators:
www.latnex.com/spa
www.emrss.com/latnex-analyzers
Toll-free number 1(855)267-2582
3

The available indicators are:
•USB / battery status: this indicator will display USB1when a valid 5V USB connection is available.
This will be true even if the connection is through a wall wart charger, so it does not actually means a
data connection but a power bus connection. Alternatively, a battery icon with charge level indicator
will display when the Spectrum Analyzer unit power switch is set to ON. If both connections are
enabled, then USB and Battery will alternate and, in this case, the battery will be charging.
•Sweeps per second: this is an approximate value of the number of full screen sweeps happening
every second. In the example above, there are 5 sweeps per second or, in equivalent terms, one
sweep every 200ms.
•Calculator mode: this indicator may have different values as specified by the Calculator mode in the
frequency menu. Please check the section Frequency Menu in page 15.
•DSP mode: this indicator shows the actual value being used by the Analyzer. The
DSP:Auto
is the
recommended setting in the Frequency Menu. The spectrum analyzer will select the best possible
option as per below:
oFST: Fast mode. This is the standard mode available in all models.
oFIR: Filter mode. This is available in the 15-2700MHZ and Plus modules only, and is the
recommended one for those models.
•Marker: There are different operational modes for the marker, see Configuration Menu in page 21.
The analyzer screen can be turned into advanced mode using the [Return] key:
Note the frequency axis indicators changes at the bottom.
1
USB refers to Universal Serial Bus, the standard connectivity bus in all modern computers. Our fellow HAM
users should not confuse this with Upper Side Band communication, even though uses the same mnemonic.
www.latnex.com/spa
www.emrss.com/latnex-analyzers
Toll-free number 1(855)267-2582
4

Using menus
There are several menus in the SPA Spectrum Analyzer. They are organized on different screens, which you
can iterate through by using the [Menu] key. If you click [Menu] button multiple times, you will visit every
one of them:
Optionally, you can use the [Left] and [Right] keys to go from one screen to another.
You can exit from a menu anytime by using the [Return] key.
The first time you click on [Menu] button, Frequency Menu will open. This may change as we will see
later, so every time you click on [Menu] from Spectrum Analyzer main screen, you
actually re-open the last menu you were working with. In this way you save time by not having to
navigate through all the menus to go the same place you were before.
www.latnex.com/spa
www.emrss.com/latnex-analyzers
Toll-free number 1(855)267-2582
5

Operational Mode menu
The menu display different functional modes available in your Analyzer.
Use [Up] and [Down] arrow keys to select the desired mode and click on [Enter] to activate it immediately.
•Spectrum Analyzer mode is the default mode, available in all LATNEX SPA models
•WiFi Analyzer is available om the SPA-6G and SPA-3G Modules
•RF Connections enumerates the installed RF modules and how each one is connected to each SMA
RF port. This example below shows a standard SPA-3G with a 240-960MHz connection on the left
port, and 15-2700MHz on the right port. Click on any key to get out of this screen.
Battery includes details on internal battery charge level, and assist you on charging the unit when
connected to USB. For more details read section
Charging the internal battery
in page 27.
www.latnex.com/spa
www.emrss.com/latnex-analyzers
Toll-free number 1(855)267-2582
6

Frequency Menu
Center Freq: Center frequency in MHZ
Freq Span: Frequency span (or range) to display on screen in MHZ
Start Freq: Lower frequency range to display on screen in MHZ
Stop Freq: Higher frequency range to display on screen in MHZ
Module: Active selected RF module. When an expansion module is installed, click [Enter] key to
enable the module you need.
The selected frequency band to display can be specified in two different but complementary ways:
Center/Span: This is the traditional Spectrum Analyzer format all engineers are used to. You
basically select the Center frequency at which the band will be displayed, and then a Frequency Span.
Start/Stop: This alternative mode is very useful to select frequency range between two frequencies
of interest, with no need to manually calculate the Center or the Span.
The valid values for Frequency and Span are defined based on LATNEX SPA model and operational mode.
As you edit Center/Span or Start/Stop, the other values are updated accordingly, so feel free to use the
method you prefer. In general, you will use Center/Span more frequently when you know the frequency you
want to look at, and probably Start/Stop when you just want to look at a larger span to see what is
happening in a specific range.
To navigate through the menu, just use [Up] and [Down] keys to go to the option you want, then click on
[Enter] to edit that option, [Left] or [Right] to go to the digit you want to change, and [Enter] to confirm or
[Return] to cancel.
www.latnex.com/spa
www.emrss.com/latnex-analyzers
Toll-free number 1(855)267-2582
7

As an example, a center frequency of 430MHz with a 20MHz span:
A click on [Menu] button will open the Frequency Menu:
Selecting a span of 10MHz, the Start/Stop frequency changes accordingly:
A click on [Return] button will close the menu and go back to Spectrum Analyzer main screen.
Note: While SPA Spectrum Analyzer screen is enabled, the [Left] and [Right] buttons can be used to
increase
or decrease the Start/Stop frequency, virtually moving the visible spectrum to the left or the
right
25% on every key press. This is
helpful in order to offset the visual range without need to specify a new
numeric range.
www.latnex.com/spa
www.emrss.com/latnex-analyzers
Toll-free number 1(855)267-2582
8

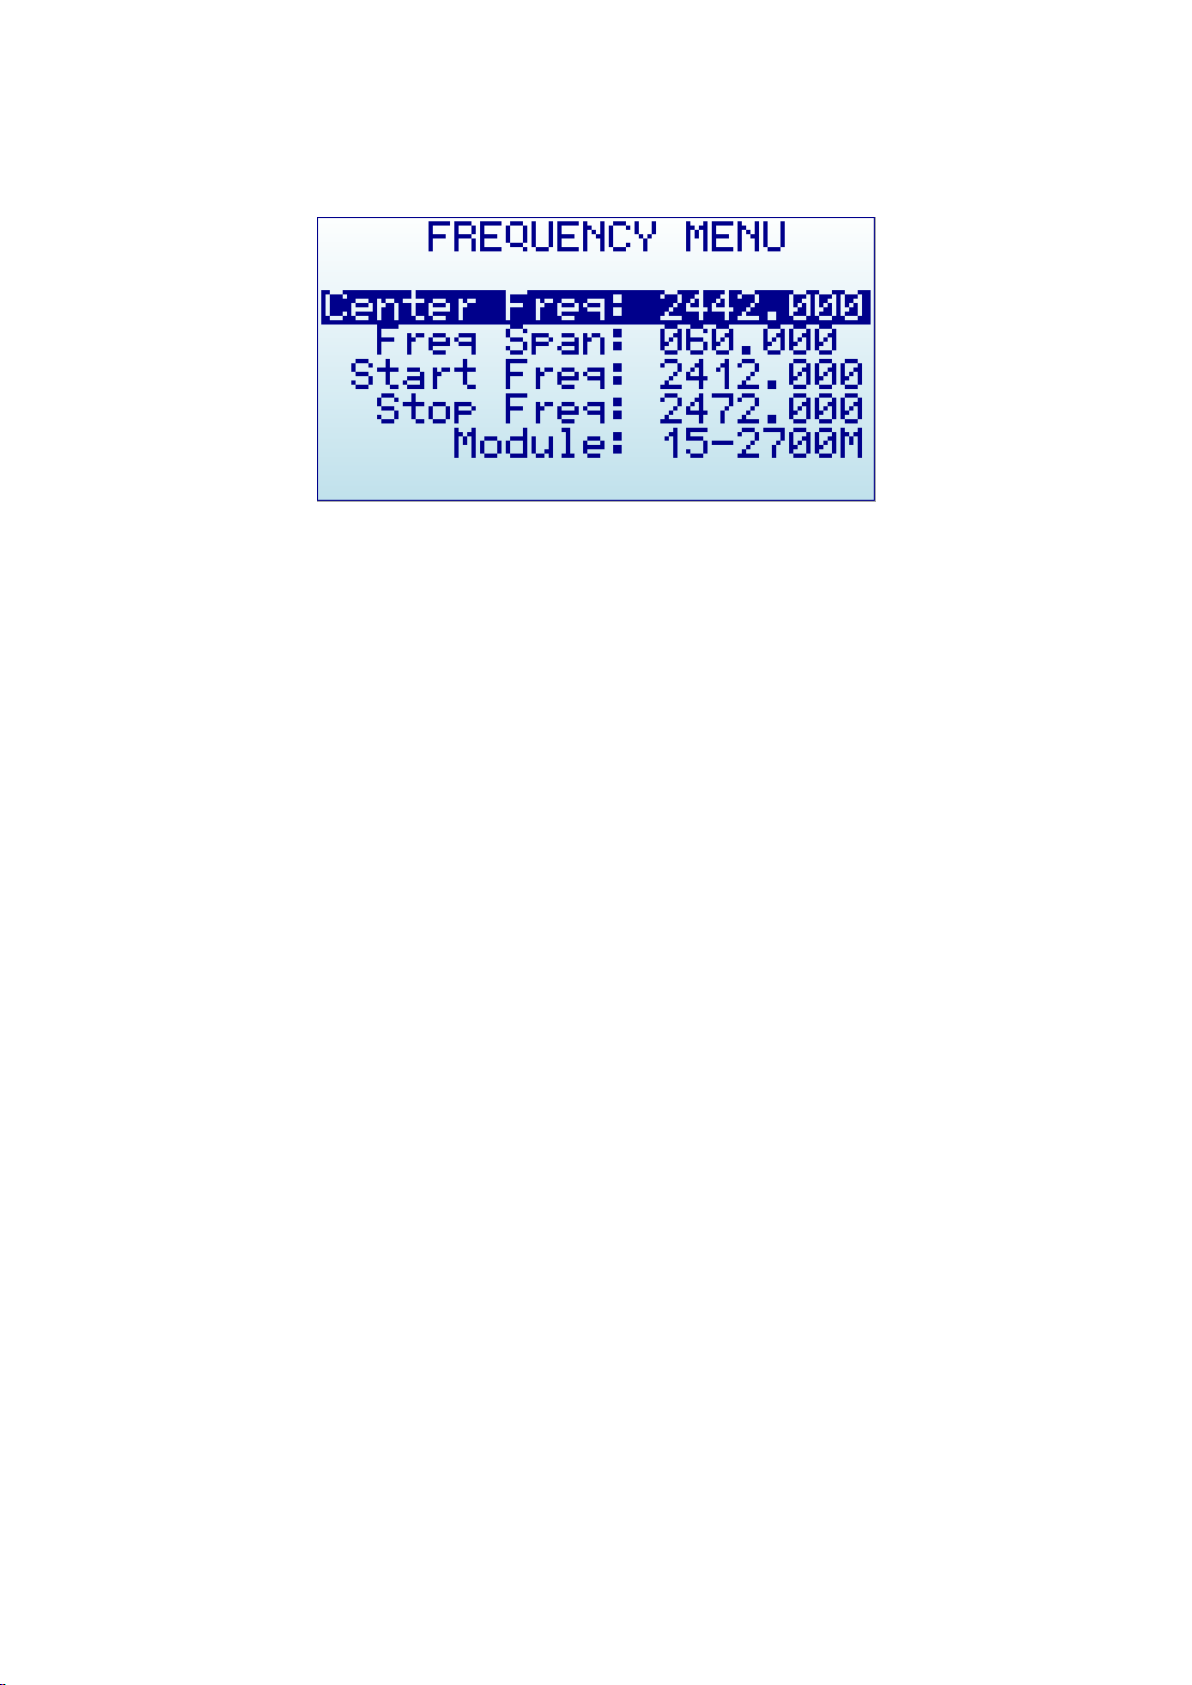
Analyzer screen in Advanced Mode
Alternatively, there is a simpler way to increase and decrease frequency span while keeping the center
frequency. As this is a usual workflow, the LATNEX Spectrum Analyzer screen enables the [Return] key to
switch between standard visualization mode and advanced mode.
In this screen above, the frequency reading at the bottom changed from Start/Center/Stop frequency to
Span/Center/RBW. When this mode is enabled, a key press on [Left] or [Right] button will increase or
decrease to double and half frequency span respectively.
As an example, to increase the span from 10MHz to 20MHz, a single click to the [Left] button is enough, no
need to go back to the Frequency Menu.
Advanced: Understanding RBW
The advanced mode displays the currently selected RBW (Resolution Band Width). This is an important
concept for advanced users.
The RBW references the internal filter used to discriminate the bandwidth of each sweep step. In the
frequency spectrum analyzer, each measurement dot represents a range of frequencies, and there are exactly
112 steps on each sweep. As an example, in a 10MHz span, each of the 112 measurement steps represents
10MHz/112=0.089MHz or, in other words, 89KHz2.
The range of frequencies represented on each sweep step is a level of uncertainty; screen resolution is limited
to that RBW. With a resolution of 89KHz on screen (for a 10MHz span), the best accuracy expected is exactly
that value. In other words, a frequency reading of 430.100MHz on screen may mean a range of +-44.5KHz
each side, as the filter will not discriminate further than that for a 10MHz span.
In addition to that, RBW has an important impact on the sensitivity of the Spectrum Analyzer. The wider the
filter bandwidth, the higher the spectral noise and therefore the lower the sensitivity. This is visible by an
increasing noise floor as the RBW is larger, and lower noise floor as the RBW is narrower. Based on this, the
narrowest RBW would look like the better choice for all measurements but as you get a narrower RBW you
also decrease the scan speed notably, due to the slower nature of narrow filter as well as the need to
measure more sweep points to cover the full span.
2
Note the actual value used by the device may differ from the value calculated, due to finite tabulated
choices.
www.latnex.com/spa
www.emrss.com/latnex-analyzers
Toll-free number 1(855)267-2582
9

To put it simple: Selecting the best combination of RBW, scan speed and sensitivity requires significant
experience. In most RF Spectrum Analyzers, operator needs to fully understand and select RBW for each
measurement, being this one of the most challenging aspects of proper Spectrum Analyzer usage.
Fortunately, this is not the case with the RF analyzer: The design of the internal DSP includes
sophisticated internal tables and algorithms to make the best possible choice at all times automatically.
No user intervention is required to get the best compromise between scan speed, noise floor and
sensitivity every time.
In all cases, the internal RBW can be checked anytime on the advanced screen mode.
www.latnex.com/spa
www.emrss.com/latnex-analyzers
Toll-free number 1(855)267-2582
10

Attenuator Menu
Calculator: internal DSP calculator mode.
Input: select input stage to enable LNA or Attenuator -
only in PLUS models
Top dBm: Visual max amplitude on screen.
Bottom dBm: Visual min amplitude on screen.
Iterations: Internal DSP calculator iterations.
Offset dB: external dB attenuation or gain value to compensate for external devices, such as
attenuators or amplifiers.
Units: dBm or dBuV.
Note you may need to navigate all the way to the bottom for the menu to show
this last option on screen
.
The selected Top and Bottom dBm are visual limits, not real internal limits.
The internal DSP optionally performs advanced calculations in order to configure the analyzer for the required
measurement:
Calculator offers multiple modes to display data, to change mode click on [Enter] key:
oMax: Peak values are used from the last sweep Iterations (see menu option at the bottom).
This is the standard mode you will want to use to detect rapidly changing DSS signals or find
for worst case channel occupancy.
oMax Hold: Capture all activity in the band including the Max signal envelope mode with
vector graphics and real-time activity with vertical bars. Use this mode anytime you want to
detect activity for a long period of time. It is a very powerful mode to detect activity in busy
bands such as 2.4 GHz. As this is a cumulative mode, while on Spectrum Analyzer screen you
can clear the spectrum anytime with the RETURN button.
oAverage: Arithmetic media average is calculated over the last sweep Iterations. This is the
best possible choice to remove unwanted white noise from screen, particularly useful in
constant wave (CW) and channel signals display.
oNormal: No calculation is done, just raw data as result of the realtime sweep.
oOverwrite: Useful to track unlimited activity in the band. Darker areas will point to high
activity signal. You can clear the spectrum anytime with the RETURN button.
Iterations: The number of sweep data iterations to perform calculations on. It goes from 1 to 16. As
an example, a value of 5 with Calculator: Average means the DSP will use 5 complete accumulated
sweeps to average data.
Note: Selecting a higher or lower Top dBm value
is a very frequent workflow, as you typically want to zoom
in
or out based on signal power being measured. The handheld Spectrum Analyzer main screen offers two
keyboard shortcuts: [Up] and [Down] arrow keys can be used to increase
or decrease Top dBm respectively
www.latnex.com/spa
www.emrss.com/latnex-analyzers
Toll-free number 1(855)267-2582
11

by 5dBm each time. This shortcut, together with [Left] and [Right] for moving Center Frequency or Span as
described before, are very convenient to make configuration changes real-time with no need to visit the
Menu.
Included in LATNEX SP-50K Plus models is a selectable input stage with three possible signal paths:
50 RFΩ
INPUT
Attenuator
30dB
LNA
pre-amplifier
25dB
Tonext
RF stage
Direct: low loss signal path to standard sensitivity, use for linear measurements up to -25dBm
Attenuator: 30dB nominal wideband attenuator, use for linear measurement up to 0dBm
LNA: low noise wideband preamplifier, use for linear measurements up to -40dBm. Note this option
requires more battery power than other modes. When using LNA and an antenna, it is recommended
using band pass filters to limit the wideband noise detected, otherwise degraded signal/noise
reception may limit or even cancel the benefit of the amplifier.
The selection is defined by using the
Input
option in the
Attenuator Menu
. High performance RF switches
drives signal path into the selected option instantly.
www.latnex.com/spa
www.emrss.com/latnex-analyzers
Toll-free number 1(855)267-2582
12

Configuration Menu
•Backlight: Several levels of display backlight. The level of backlight should be the appropriate for
each condition, and you may want to limit backlight brightness to preserve battery capacity.
•Contrast: There are 10 different display contrast levels to choose from.
•USB Bauds: Default is 500Kbps, which is also the recommended setting. In the rare case you
experience a problem when connecting with the PC, you may want to change this to 2400bps slower
speed. However, this is not recommended as the connection will go really slow, so do this only if there
is a good reason to. The port speed in the portable spectrum analyzer and PC Client settings must
match to properly establish a connection.
•Draw mode: Vectors is the standard mode, and Fill can be specified if additional contrast is required
by filling the area behind the signal.
•Marker: There are three different modes available for the Marker on the Spectrum Analyzer screen:
oPeak: The marker will automatically detect the peak value on screen.
oManual: The marker can be manually moved anywhere on screen by using [Left] and [Right]
buttons. When this mode is selected, the standard functions to move Center Frequency or
Span are disabled.
oNone: The marker is not displayed.
•DSP: The DSP (Digital Signal Processor) can be configured in different ways in order to select the best
possible choice of noise reduction, image rejection and scan speed.
oAuto: This is the recommended option for all users. When Auto mode is enabled, the internal
configuration tables will select the best possible algorithm. The Spectrum Analyzer screen will
display a FIR (Filter) or FST (Fast) mode to indicate the actual DSP mode being used.
oFilter: This mode is currently functional in the 15-2700MHz module and Plus models only, but
other modules may implement it in the future. When Filter mode is enabled, the DSP will scan
the spectrum several times in order to reject unwanted spurs and image frequency out of the
screen. As result of that, the scan speed is slower than compared with Fast mode.
oFast: This mode is recommended for advanced users only. When it is selected on the
15-2700MHz or Plus module, the DSP will not process spurs and therefore unwanted signals
may display on screen.
www.latnex.com/spa
www.emrss.com/latnex-analyzers
Toll-free number 1(855)267-2582
13

Preset Menu
Preset is a convenient facility to store multiple configurations which can be easily recovered.
•Identifier: Numerical index of the preset valid from 1-100 (SPA-50K) or 1-30 (SPA-3G, SPA-6G)
•Description: Descriptive text up to 12 characters long. An asterisk at the end is automatically added
when the preset has actually some data stored. In Plus model, this field is editable and can be
changed in the device. In Combo models, this field is read only and can only be updated with the
external Preset Manager tool.
•Load: Action option to load stored preset values into current configuration, the menu screen is
automatically closed
•Save: Action option to save current configuration into the selected preset –this option cannot be
undone, care should be taken to not overwrite another valid preset
•Reset: Action option to remove all values from selected preset and reset to unused state - this option
cannot be undone, care should be taken to not reset a valid preset
•Frequency range: when an active preset with data stored is selected, the last line of the screen
shows the Start/Stop frequency range of the preset, to help on determining the specific preset
configuration before using it. This line will be blank when an empty preset is selected.
Easy Preset restore:
This menu has a very convenient shortcut for easy selection and restore of any pre-defined preset:
•SPA-50K model: press SET button from any
Analyzer
mode screen. By pressing SET button, this
menu becomes active and cursor is preselected in
Load
action option. Pressing SET button inside this
menu will iterate through all predefined Presets with valid data one by one. This shortcut is faster
than manually changing
Identifier
numbers one by one when you are looking to load a preset.
•SPA-3G and SPA-6G models: These models do not have a dedicated SET button, but an
equivalent function is available by clicking ENTER button on
Desc:
line, the menu will iterate through
all predefined Presets with valid data one by one. This shortcut is faster than manually changing
Identifier
numbers one by one when you are looking to load a preset.
www.latnex.com/spa
www.emrss.com/latnex-analyzers
Toll-free number 1(855)267-2582
14

HELP button (SPA-50K model only)
SPA-50K model includes HELP button for easy, intuitive context-sensitive help.
The HELP text can be displayed in all functional screens, effectively complementing this User Manual with
handy information, always available with a simple click.
Use the following keys to interact with Help screen:
Scroll text up and down: The bottom of screen shows “…” when additional text is available for
scroll. Use UP and DOWN arrow key buttons to scroll text one line at a time, or LEFT and RIGHT
arrow key buttons to scroll text full page at a time.
Help on Help: This special screen offers description of how to interact with Help screen itself. Use
HELP button within a Help screen to activate
Help on Help
.
Close help screen: use RETURN or ENTER key, both will close the help screen and return to
previous device state.
www.latnex.com/spa
www.emrss.com/latnex-analyzers
Toll-free number 1(855)267-2582
15

Except you need full power for a range test, we suggest always use the lowest power level to minimize
battery consumption and EMI radiation. Note local regulations must be observed, so double check you are not
radiating a tone with power or frequency that may interfere with other equipment.
IMPORTANT
You must have connected a 50 ohm antenna or RF load before you switch
your transmitter ON.
If you switch the transmitter ON without a proper antenna, you may damage the RF
module of your SPA Spectrum Analyzer, as the power amplifier will not have a load
to feed. Think of the equivalent to an audio amplifier running at full power with no
speakers connected: you are likely damaging the power transistors.
You can use any kind of RF 50 ohm load, including a dummy load, a coaxial with a
50 ohm termination, etc. If you use a load different than 50 ohm, the reflected wave
may also damage the power amplifier.
www.latnex.com/spa
www.emrss.com/latnex-analyzers
Toll-free number 1(855)267-2582
16

SPA Spectrum Analyzer internal battery
The internal battery is a high capacity Lithium-ion polymer 1000mAh. This is the same battery technology
used in cell phones and modern laptops and tablet computers.
The power switch is a
true hard switch
connecting the battery in ON position, fully isolating the battery in the
OFF position. As the battery is fully disconnected in the OFF position, you can keep your RF Spectrum
analyzer stored for months and the battery will keep the charge intact, as opposed to cell phones or laptops
which typically implement a
soft switch
which slowly discharge the battery by drawing a microamperes
continuously from it. This doesn't happen in your LATNEX hand-held RF analyzer device.
Note there is actually a self-discharge effect in the battery but it is so negligible that you can store your
device for a year or more and a battery will not be depleted.
Charging the internal battery
To charge the internal battery, plug it in to a powered USB port or USB wall-wart charger via the USB mini
socket. For the internal charger to access the battery, you must set the power switch to ON position,
otherwise the device will be running from USB but will not use or charge the internal battery.
The RF signal analyzer may draw up to 500mA according to USB standard, and may take up to 3hs max to
charge a fully discharged battery in normal conditions. We recommend the first time to be charged for up to
8hs.
IMPORTANT
Never charge your device unattended or in any place where there is a risk of fire.
Never store the SPA Spectrum Analyzer in a place where temperature may go
beyond 50ºC (122F).
A car can heat up incredibly quickly in the
sun
, especially in the summer, and
damage or reduce the lifetime of your battery if stored in such an environment.
If your battery doesn't seem to hold a charge or work properly, or if the unit gets
hot when charging, switch the power button OFF immediately and review and/or
replace your battery.
Never use any of the LATNEX Spectrum Analyzer models with a damaged battery or
with a Lithium Ion battery different than the one officially supplied by technical
service, which includes a
protection circuit for safety. Contact EMR Shielding Solutions if you have any
question on any matter related with your battery or if you need a replacement.
www.latnex.com/spa
www.emrss.com/latnex-analyzers
Toll-free number 1(855)267-2582
17

It is ok having the battery connected forever to the USB port, the internal charger will stop and start the
charge when needed.
If your USB port is unpowered it may not be capable of delivering more than 100mA; the battery may not be
charged at all. If you have no other option available than a 100mA USB port, set the LCD backlight to OFF in
the OPTIONS MENU and keep charging for as long as needed (it may take up to 24hs in these conditions so
you should use a powered USB port whenever possible).
Using the Battery dedicated screen
In latest firmware versions, you can use the specific Battery menu option for better battery charge control.
Note: As long as the USB is connected and the power switch is in the ON position, the battery will charge.
However, you can get additional information when using the Battery specific menu.
Inside this INTERNAL BATTERY charger screen, it is easier to realize if the battery is being charged. In this
case below, it clearly indicates the power switch is not in the ON position and, therefore, battery is not being
charged.
As soon as the power switch is set to the correct position, the screen will display correct charging status.
At this point you can close this screen pressing ENTER or RETURN. If you keep it active for more than 15
seconds, it automatically sets the device in SLEEP MODE - all internal circuits and LCD backlight go off, except
for charging and minimal CPU monitoring - This is the recommended procedure to charge the device
www.latnex.com/spa
www.emrss.com/latnex-analyzers
Toll-free number 1(855)267-2582
18

overnight. Note: for the sake of clarity, below black/white screen images are depicted when LCD backlight is
OFF.
In this mode you can stop charging whenever the device reaches 99% or 100%, which may take up to 2 or 3
hours under normal condition and depending on initial battery charge level. When the charging algorithm
detects the battery fully charged and a minimum of 2hs connected, it will suggest disconnecting the USB
cable.
Calibrating the battery capacity
The INTERNAL BATTERY screen, at this point, can re-calibrate the available battery power level. This is a
useful feature to adjust what reference voltage the internal charger considers 100% capacity. This reference
is subject to change over time as the internal battery reduces total capacity over many charge cycles. As a
reference, 500 charge cycles will typically reduce the total battery capacity about 30% - in order for this new
capacity to be consistent with the battery icon on screen, you can easily recalibrate after the charge process
completed.
In the previous example screen, if the battery charge remains at 99% (or any other level) after the internal
charger timer completes 3hs charge process, it will keep asking to DISCONNECT USB.
By doing so, the firmware adjust for a few seconds the new charge level and save in internal ROM for future
use.
www.latnex.com/spa
www.emrss.com/latnex-analyzers
Toll-free number 1(855)267-2582
19

After the device recalibrates the internal battery charge reference level, it will automatically restart and you
should see the Battery icon (on Spectrum Analyzer screen) showing full charge.
Charging a fully depleted battery
The firmware includes a protection mechanism to shutdown everything if the battery goes too low, in the
range of 3.3V or less. However, this state will still keep drawing about 1mA from the battery. If you keep the
power switch to ON forever the battery will be depleted but limited to a safe 3V level where battery protection
circuitry will reduce the leakage to about 50uA.
In any case, the internal battery charger will take care of the battery conditions once it gets powered back
from the USB and will charge the battery using an internal efficient algorithm. For that to work properly when
the battery was fully depleted, you should use the Battery menu option as described.
Automatic idle mode with battery charge
As described in previous section, you should enable the Battery screen and keep it charging for the device to
automatically set internal circuits to Sleep for overnight charge.
Note: A more limited, equivalent functionality was available in old firmware versions prior to v1.16 in the
About screen, it has now moved to the new Battery screen. The About screen no longer sets the device to
sleep.
www.latnex.com/spa
www.emrss.com/latnex-analyzers
Toll-free number 1(855)267-2582
20
This manual suits for next models
2
Table of contents
Other LATNEX Measuring Instrument manuals