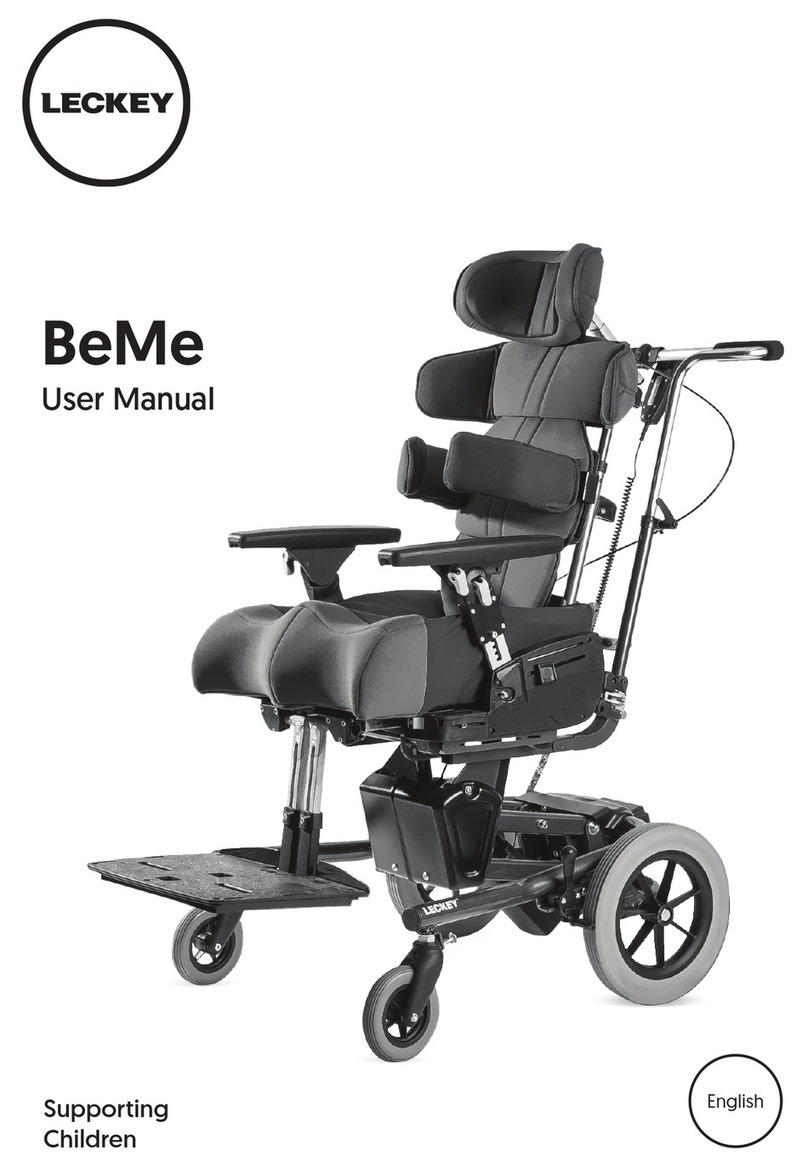
Leckey Kidwalk User manual

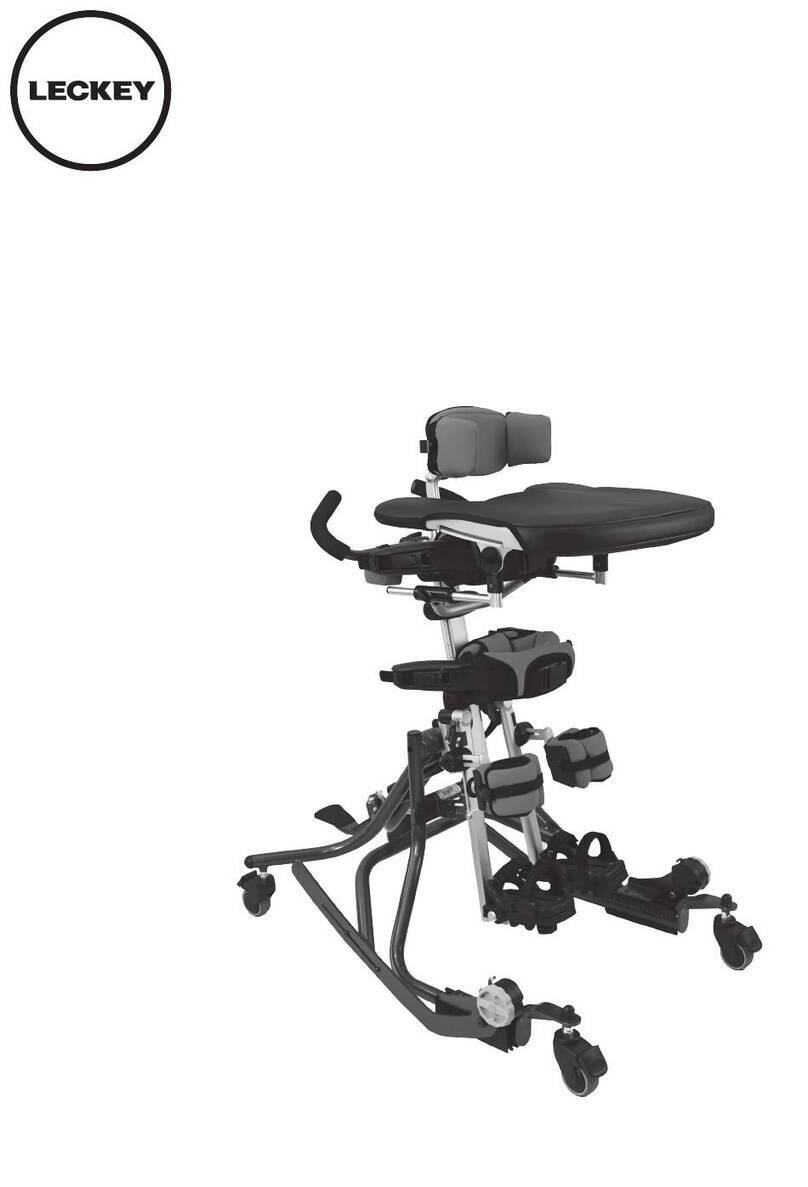
Kidwalk Seating System
User Instructions


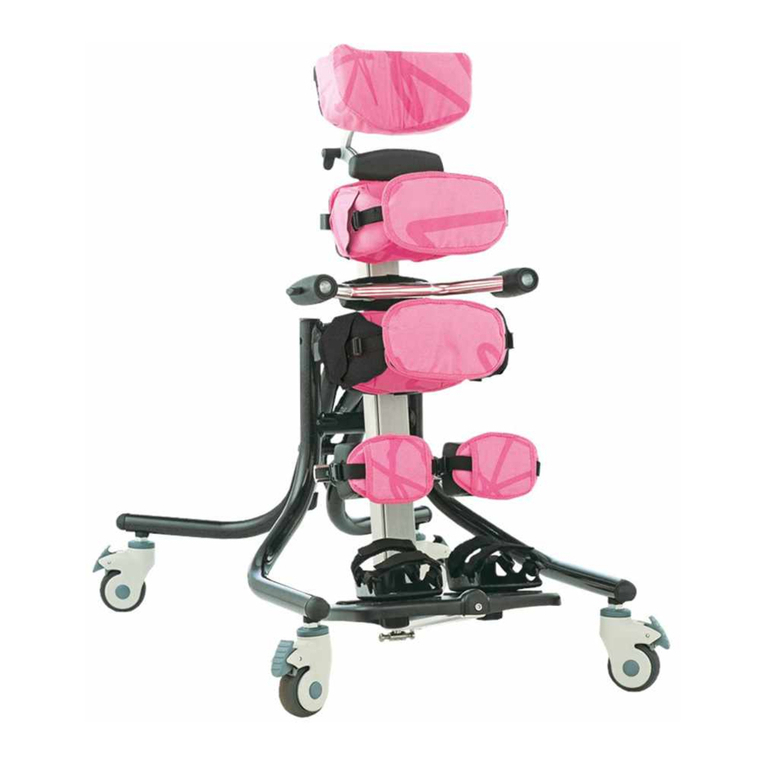
The Kidwalk has been designed as a
posturally supportive mobility system
that moves with the child giving them
the freedom to move and walk while
keeping their hands free to explore
their surroundings. This manual shows
you how you can quickly and easily
make use of all of the functions.
The instructions on the safety and
maintenance of the product will ensure
that you will enjoy the use of this
product for a long time.
Contents
01 Intended use
02 Declaration of conformity
03 Terms of warranty
04 Product history record
05 Product training record
06 Safety information
07 How to unpack and assemble
08 Clinical setup for postural management
09 Frequent adjustments for daily use
10 Cleaning & care information
11 Daily product inspection
12 Annual product inspection
13 Reissuing Leckey products
14 Product servicing
15 Technical information

1. Intended Use
The Kidwalk is the first partial weight
bearing, posturally supportive mobility
system that is designed to move with the
child, giving them the freedom to move
and walk while keeping their hands free
explore their surroundings. The Kidwalk
is available in two sizes. Size 1 caters for
children aged 1-7 years and Size 2 for
children aged 5-12 years, the size one
having a maximum user weight of 30kgs
(65lbs) and the size two 50kgs (110lbs).
2. Declaration of Conformity
James Leckey Design Ltd. as authorised
representative for Axiom Industries Inc.
(Prime Engineering) declares that the
Kidwalk conforms to the requirements of
the 93/42/ EEC Guidelines and EN12182
Technical aids for disabled persons
general requirements and test methods.
3. Terms of Warranty
The warranty applies only when the
product is used according to the
specified conditions and for the intended
purposes, following all manufacturers’
recommendations (also see general terms
of sales, delivery and payment). A two
year warranty is provided on all Leckey
products and components.
4. Product History Record
Your Leckey product is classified as
a Class 1 Medical device and as such
should only be prescribed, set up
or reissued for use by a technically
competent person who has been trained
in the use of this product. Leckey
recommend that a written record is
maintained to provide details of all set
ups, reissue inspections and annual
inspections of this product.
5. Product Training Record
(Parents, Teachers & Carers)
Your Leckey product is a prescribed Class
1 Medical Device and as such Leckey
recommend that parents, teachers and
carers using the equipment should be
made aware of the following sections
of this user manual by a technically
competent person:
Section 6
Safety Information
Section 9
Frequent Adjustments for Daily use
Section 10
Cleaning and Care
Section 11
Daily Product Inspection
Leckey recommend that a written record
is maintained of all those who have been
trained in the correct use of this product.

6.1 Always read instructions fully before use.
6.2 Users should not be left unattended at any
time whilst using Leckey equipment.
6.3 Only use Leckey approved components
with your product. Never modify the product in
any way. Failure to follow instructions may put
the user or carer at risk and will invalidate the
warranty on
the product.
6.4 If in any doubt to the continued safe use of
your Leckey product or if any parts should fail,
please cease using the product and contact
our customer services department or your local
dealer as soon as possible.
6.5 We would recommend that users are never
transferred straight from seating to standing or
walking without preparation and stretching. This
is best done whilst lying on a mat but can be
carried out in a wheelchair or seating system if
required.
6.6 Carry out all positional adjustments and
ensure that they are securely fastened before
you put the user into this product.
6.7 Whilst the user is in the frame all safety straps
must be fastened securely.
6.8 Never leave the product on a sloping surface,
greater than 5 degrees.
6.9 The product contains components which
could present a choking hazard to small
children. Always check that locking knobs and
bolts within the child’s reach are tightened and
secure at all times.
6.10 Leckey products comply with fire safety
regulations in accordance with EN12182.
However the product contains plastic
components and therefore should be kept away
from all direct sources of heat including naked
flames, cigarettes, electric and gas heaters.
6.11 Clean the product regularly.
Do not use abrasive cleaners. Carry out
maintenance checks on a regular
basis to ensure your product is in good
working condition.
6.12 The product is designed for indoor and
outdoor use and when not in use should be
stored in a dry place that is not subjected to
extremes of temperature. The safe operating
temperature range of the product is +5 to +40
deg Celsius.
6 Safety Information

How to
unpack and
assemble
the Kidwalk
7

Check parts
Congratulations on purchasing your
Kidwalk. Your Kidwalk comes as standard
with a base assembly, mast assembly, two
wheels, two axles and two axle spacers
(Size 1 only). The axles and axle spacers will
be in a sealed plastic bag. Other optional
accessories that you may have ordered
will also be packed in the box in separate
plastic bags. Carefully remove all the
parcels from the box and check you have
all the parts you have ordered.
Safety First
Keep polythene bags away from children.
Assembling the Kidwalk
To assemble your Kidwalk firstly open
the box and remove and identify the
following parts:
1 Base Frame assembly with anti tippers
2 Mast assemblies
3 Wheels
4 Plastic bag containing axles and spacers
5 Any other optional accessories ordered

First press the button at the end of the axle
and remove the spacer (A) (Size 1 only).
Push the button (B) at the end of the axle
to allow the axle to slide through the wheel
bearings. The axle should be inserted
from the recessed side of the wheel. Once
inserted, release the button and the wheel
is secure. For size 1 the spacer should
then be replaced onto the axle. Repeat this
procedure on the other wheel.
There are three mounting positions (C) for the
large wheels. While pressing the axle button,
insert the axle into one of these positions.
Make sure that the axle has fully engaged
and release button.
To remove the wheels, press the axle button
and slide the wheel and axle off the frame.
7.1 Attaching and
Removing the wheels
A
B
C

7.2 Changing the
wheel position
Move the wheel lock before changing the
wheel position.
The wheel lock is pre-set to the centre wheel
position. To change the position of the wheel
lock, remove the thumb screw (A). Move the
wheel lock forward or rearward to coincide
with the new wheel position. Align the
threaded hole for the for the thumb screw with
the front or the rear hole. Attach the thumb
screw and tighten securely.
There are three mounting positions (B) for
the large wheels. To move the wheels to a
new location pull outward on the wheel while
pressing the axle pin button and remove the
wheel from the frame. While pressing the
axle button, insert into a new location. After
locating the wheel make sure that the axle has
fully engaged.
Safety first
Make sure the wheel locks are adjusted
and able to be locked properly prior to use.
A
B

Locate the mast release pin (A) on the base
frame. Pull the pin outward and twist until the
pin is in the locked out position.
Place the mast assembly over the locator
pins (B) on the base assembly. Rotate the
locking pin until it engages into the mast
assembly. Ensure that the mast pin is fully
engaged and holding the mast firmly to the
base. If the mast lifts up from the base, twist
the retaining pin again until it snaps securely
into the mast.
You must ensure that the locking pin
is secured before the user is placed in
the frame.
7.3 Attaching the Mast
assembly
B
A

To attach the lateral chest system, slide
the extension tube at the back of the lateral
chest system into the top of the receiver
tube (A) on the mast assembly. Set the
pads at the required height and tighten both
adjustment screws (B).
7.4 Attaching the lateral
chest system
A
B

Insert the extension tube into the receiver
tube on the lateral chest system, set at the
required height and secure with screw (A),
then insert the headpad into the extension
tube with the pad facing forward and tighten
the adjustment screw (B) securely.
7.5 Attaching the headpad
B
A

7.6 Attaching the
cruiser wheels
Remove the anti-tip levers from the base
frame by depressing the push button and
sliding forward as far as possible. Press
the push button (A) at the end of the anti-
tipper and slide out of the base frame
completely. Repeat this process to remove
the other anti-tipper.
Insert the cruiser wheels and slide into the
base frame receiver until it is through the
receiver tube. Press the button (A) and slide
the tube in until the second button (B)
snaps into the correct hole in the frame
receiver tube. The correct hole is the one
which corresponds to the position of the
large wheels.
The Kidwalk must be used with its
anti-tippers or cruiser wheels at all times.
Please ensure you replace the anti-
tippers into the frame when not using
the cruiser wheels.
AB
A

Clinical
set up for
postural
management
8
The clinical setup of the product should be
completed by a technically and clinically
competent person who has been trained in
the use of the product. Leckey recommend a
written record is maintained of all clinical set
ups for this product.
We recommend you set up the Kidwalk in the
following order:
1. Take child’s measurements
2. Adjust seat height
3. Adjust hip support width
4. Adjust lateral chest system
5. Place child into Kidwalk
6. Fine tune hip width
7. Fine tune seat height
8. Adjust mast angle
9. Adjust seat depth

8.1 Measurements and
Initial Set Up
8.2 Adjusting the
Seat Height
To set up the Kidwalk effectively the following
measurements should be taken and recorded:
1. Inside leg
2. Hip Width
3. Chest Width
4. Thoracic Height
5. Head Height (to eye level)
The thoracic height and head height should
be taken from the top of the inside leg.
These dimensions are needed to set up
the Lateral chest system and the various
headrests available.
Using the lift/release handle (A) or the
fine tune adjustment handle (B) adjust the
seat height to 1” lower than the inside leg
measurement. The height can then be fine
tuned with the child in the seat.
To raise the seat assembly with the lift/release
handle (A) press down on the top of the mast
while lifting up on the lift/release handle.
To raise the seat assembly using the fine
adjustment, place your hand in the handle
and squeeze the lower fine tune handle (B).
Each time you squeeze the fine tune handle,
the seat will rise up ½”.
To lower the seat assembly simply press
slightly downward on the lift release handle.
Minimal pressure is required to slide
the seat down the mast. Do not push
too hard. Removing downward pressure
from the lift release handle will stop the
seat from lowering.
B
A

Flip the front hip support pads upward and
outward. Set the hip pad width to allow the
child’s hips to be easily placed between
the hip pads by turning the knob (A) located
on the outside of the hip pad assembly.
Turning the knob clockwise makes the
assembly wider while anti-clockwise narrows
the hip pad width.
Loosen the knobs (B) on the back side of the
upper body pads. Slide the pads outward
enough to allow the child to fit between
them. Slide all flip up pads forward to allow
for child placement and tighten adjustment
knobs to temporarily hold them in place.
8.3 Adjusting the hip
support width
8.4 Adjusting the Lateral
Chest System
A
B

8.5 Placing the child
into the Kidwalk
8.6 Fine tuning the
hip width
Firstly lock the wheels then ensure that all
hip and lateral supports are high enough and
opened wide enough to allow the child to fit
between them. Adjust all depth adjustable
pads forward far enough to be able to fit the
child into the unit when they are flipped down.
Place the child into the unit. Ensure that the
child’s hips are as far back as possible into
the Kidwalk. Once the child is all the way back
on the seat, flip the front hip pads towards the
child until they are snug and holding their hips
in place. Tighten the depth adjustment knobs
(A) at the side securely.
Tighten the pelvic supports with the width
adjustment knob (A) until the width required is
achieved. Snap the buckles together and the
strap until tightened. Ensure that the child’s
hips are positioned as far back onto the seat
as possible.
A
A
A

Use the fine tune adjustment handle (A)
to move the seat to a height at which the
child’s feet touch the ground but they are not
encouraged to sit on the seat.
Once the child has been placed in the
Kidwalk and all support surfaces are
adjusted properly, it may be necessary
to adjust the mast angle. The Kidwalk
provides forward and rearward prompting
angle adjustment. Move the mast in small
increments to assist in positioning the child
or facilitate better gait. Turn the Mast angle
knob (B) clockwise for more forward angle
and anti-clockwise for rearward angle.
8.7 Fine tuning the seat height 8.8 Mast angle adjustment
A
B

The seat has been pre-set to align with
the centre axle position on the frame. If it
is necessary to alter the depth of the seat,
loosen the two adjustment screws (A).
Slide the seat forwards or rearward as
required and tighten the screws, ensuring
that both screws that hold the seat are
secure.
8.9 Seat depth adjustment 8.10 Removing the child
To remove the child from the Kidwalk,
first lock the wheels, unfasten the buckles of
the forward pads on the hip assembly
and lateral chest assembly. Rotate the
forward pads upwards and outward to allow
clearance to exit and lift the child forward and
off the seat.
A

Frequent
adjustment
for daily use
9
Parents and carers should be
shown how to make frequent
adjustments and made aware of
the safety checks in section 6 by a
technically and clinically competent
person who has been trained in
the use of the product. Leckey
recommend that a written record is
maintained of all parents and
carers who have been trained in the
use of this product.
Other manuals for Kidwalk
1
Table of contents
Other Leckey Mobility Aid manuals

Leckey
Leckey BeMe User manual

Leckey
Leckey MyWay+ User manual

Leckey
Leckey Everyday Activity Seat User manual

Leckey
Leckey Freestander User manual

Leckey
Leckey Squiggles Stander User manual

Leckey
Leckey Pronestander User manual

Leckey
Leckey Kidwalk User manual

Leckey
Leckey MyWay User manual

Leckey
Leckey fire fly upsee User manual

Leckey
Leckey Mygo Seat User manual
Popular Mobility Aid manuals by other brands

Drive
Drive Aluminium Triwalker Steel Triwalker Owner's handbook

Handicare
Handicare SystemRoMedic EvaDrive Instructions for use

Invacare
Invacare Ocea user manual

Drive DeVilbiss
Drive DeVilbiss GoLite 200 operating instructions

Vermeiren
Vermeiren Paris instruction manual

Excel
Excel Entice 'Universe' user manual