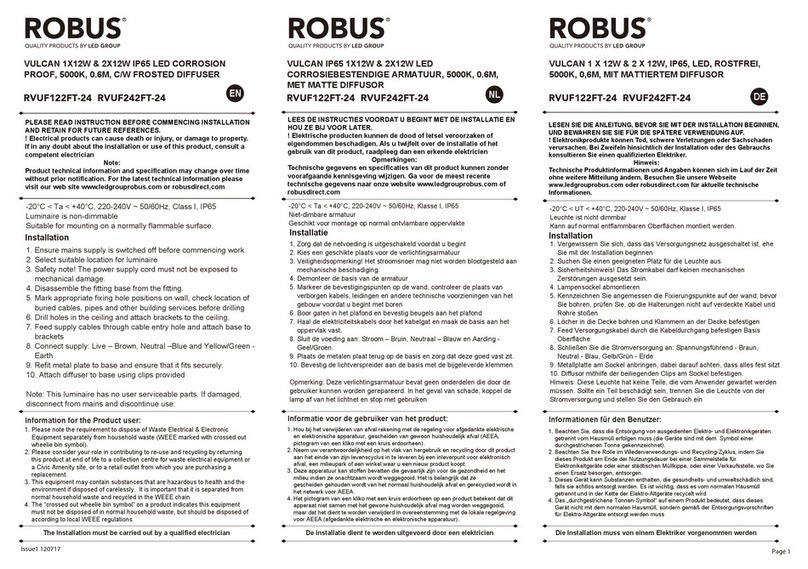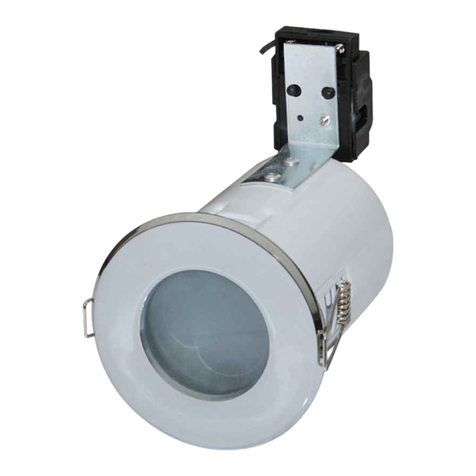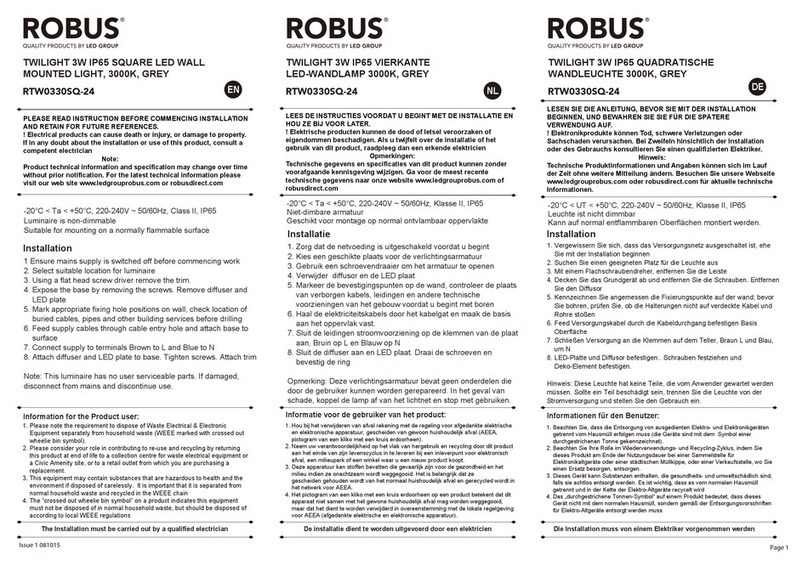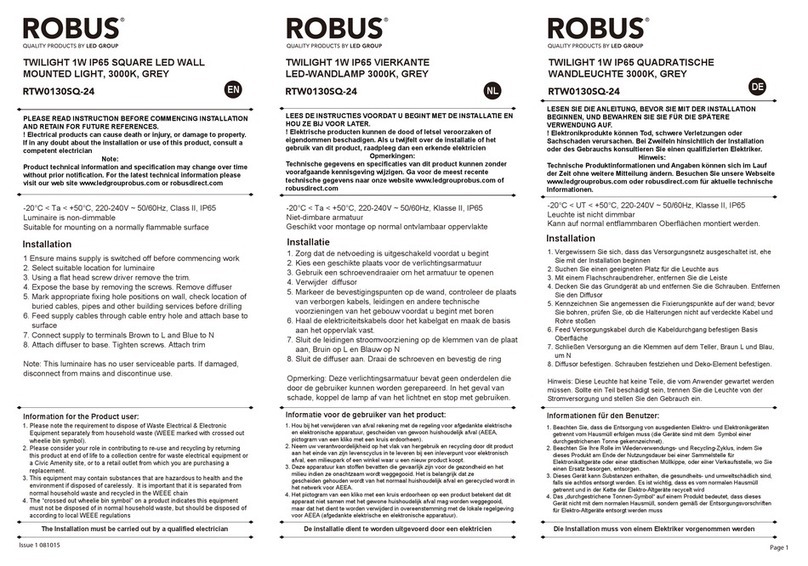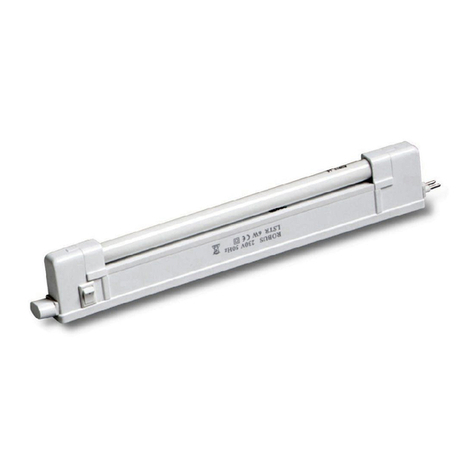
Installation:
Recess mounting
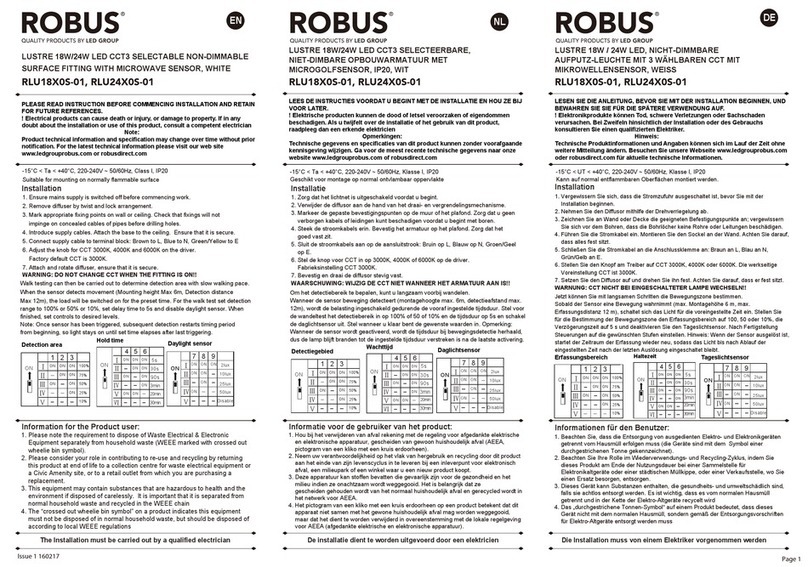
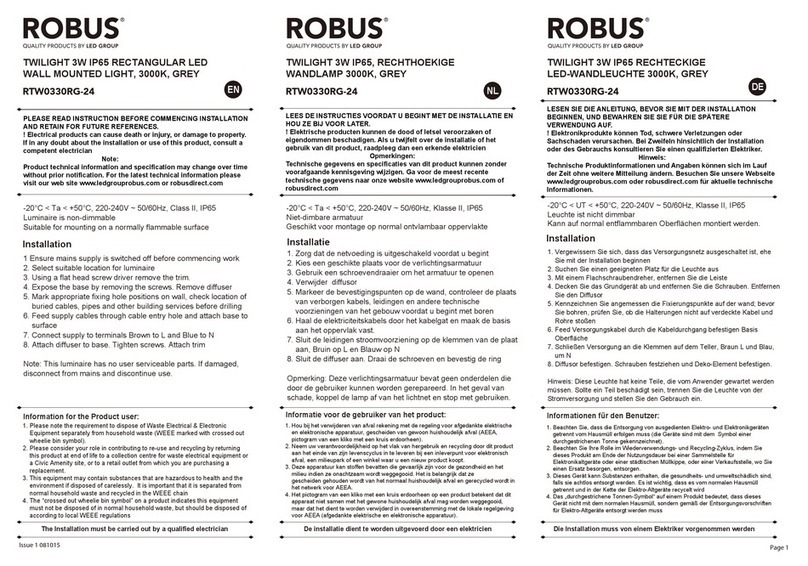
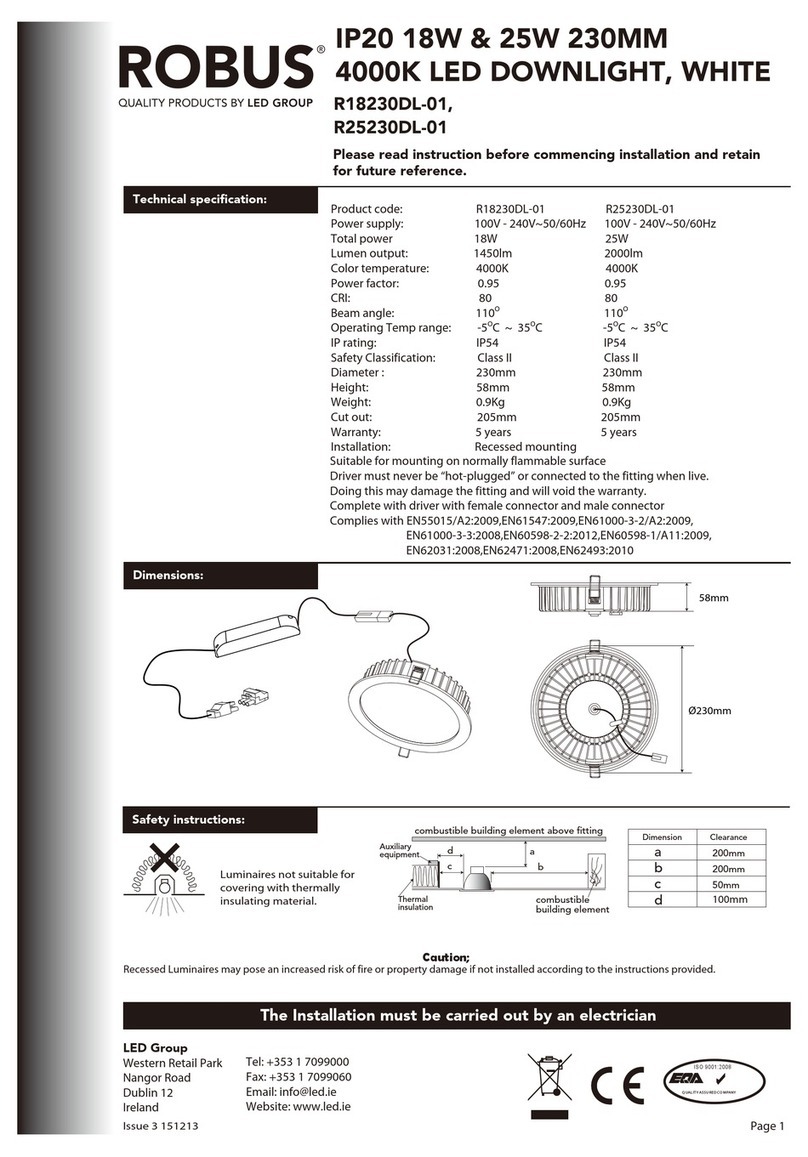
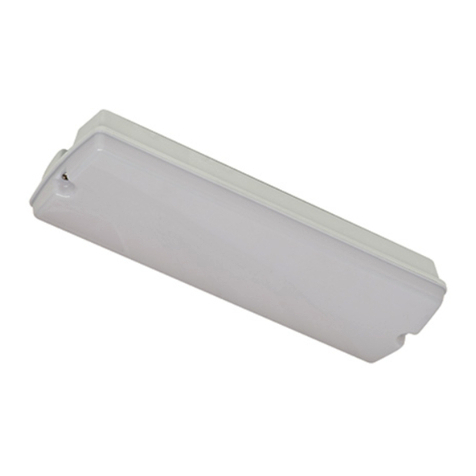
1. Remove diffuser by pressing the latch in the side of the fitting and sliding the cover
off.
2. Using a screw driver remove the 2 screws and pull the gear tray away from the fitting.
3. Mark the appropriate cut-out for the fitting on the wall or ceiling; check that fixings
will not impinge on concealed cables of pipes before drilling holes.
4. Cut-out the required area to recess the fitting into the wall or ceiling.
5. Remove the two recess covers from the sides.
6. Drill out cable entry hole and introduce supply cable.
7. Insert the fitting into the cut-out and screw the latches until tight, making sure the
latches has a ferm grip to the under-side of the ceiling or wall.
8. Write installation date on battery and connect battery to the gear tray.
9. Connect wires from un-switched supply to terminals on gear tray, brown to PL (or P
on non-maintained), Blue to N and green/yellow to earth: In the maintained
emergency unit.
10. For lamp always on, link terminal “SL” to terminal marked “PL” for lamp switched,
connect switched live wire to terminal “SL” Note: if “SL” terminal not connected,
fitting works as non-maintained.
11. Fix gear tray in position again using the 2 screws
12. Insert lamp and rotate 90deg to install.
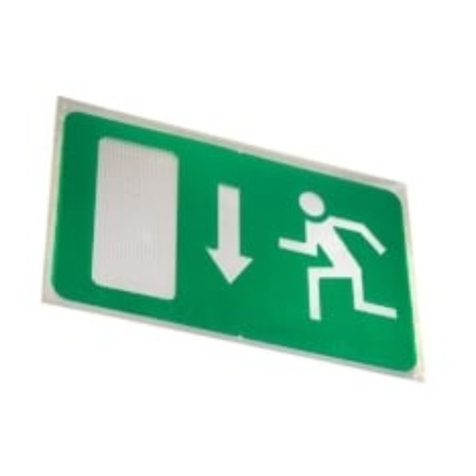
13. If a legend is required, using the clips in the diffuser insert the legend ensuring it is
secure.
R8MUST non-maintained procedure:
14. In order for the R8MUST to operate correctly in non-maintained operation the
batteries must be fully depleted until the Yellow is on continuously. Once the Yellow
LED is on the manual test button must be pressed and held for over 5 seconds. When
button is released the Yellow LEDs will turn off. This process must be repeated for all
R8MUST non-maintained fittings.
Normal R8MUST Operation
15. During self-test or manual test mode, the fitting will the check the lamp status, once
the lamp is defective or inserted incorrectly, the Red LED will be on. Change lamp or
insert correctly. In order to reset the fitting after lamp failure the manual test button
must be pressed and held for 5 seconds.
16. After installation and the Yellow LED is continually on. This indicates that the battery
will not hold sufficient charge and needs to be replaced.
17. The RED LED will be on when the battery is healthy but depleted after normal
emergency discharge. Connect the 240V supply power to PL terminal and the fitting
will reset automatically.
18. During Normal Emergency discharge, the fitting will check the lamp status, once the
lamp is defective or inserted incorrectly, the Red LED is on. Once the lamp is
changed or insert correctly, Connect the 240V supply power to PL terminal and the
fitting will reset automatically.
19. Switch on supply: Green LED will come on indicating correct battery charging has
started. The green LED will remain on until main power is lost to PL.
20. When supply to PL is lost, battery will operate lamp in emergency mode (24%
normal light output).
The Installation must be carried out by an electrician
Manual testing for R8MU:
Page 2
The manual version emergency lighting must be inspected and tested regularly in
accordance with local codes of practice: note: for safety reasons tests should be carried
out during daylight hours.
The minimum recommended test schedule is as follows:
After installation, allow 36 hours to ensure full battery charge and then interrupt the
supply; check after 3 hours that tube is still lighting.
1. Daily check that charge indicator LEDs are working
2. Monthly, interrupt mains for a short period and check tubes light
3. Six-monthly, check 1 hour duration
4. Yearly, check 3 hour duration: batteries must be replaced when they can no
longer support 3 hour operation.
5. Complete record sheet on installation and retain in maintenance file.
6. Update file with ongoing test records for inspection by fire officer or other
duly authorised person
Important guide to use:
This fitting is not suitable for installation where ambient air temperature is
above 25°C.
ISO 9001:2008
Q UAL IT Y ASS U RED C O MPANY
LED Group
Western Retail Park
Nangor Road
Dublin 12
Ireland
Tel: +353 1 7099000
Fax: +353 1 7099060
Website: www.led.ie
