manuals.online logo
Brands
  1. Home
  2. •
  3. Brands
  4. •
  5. LED Group
  6. •
  7. Lighting Equipment
  8. •
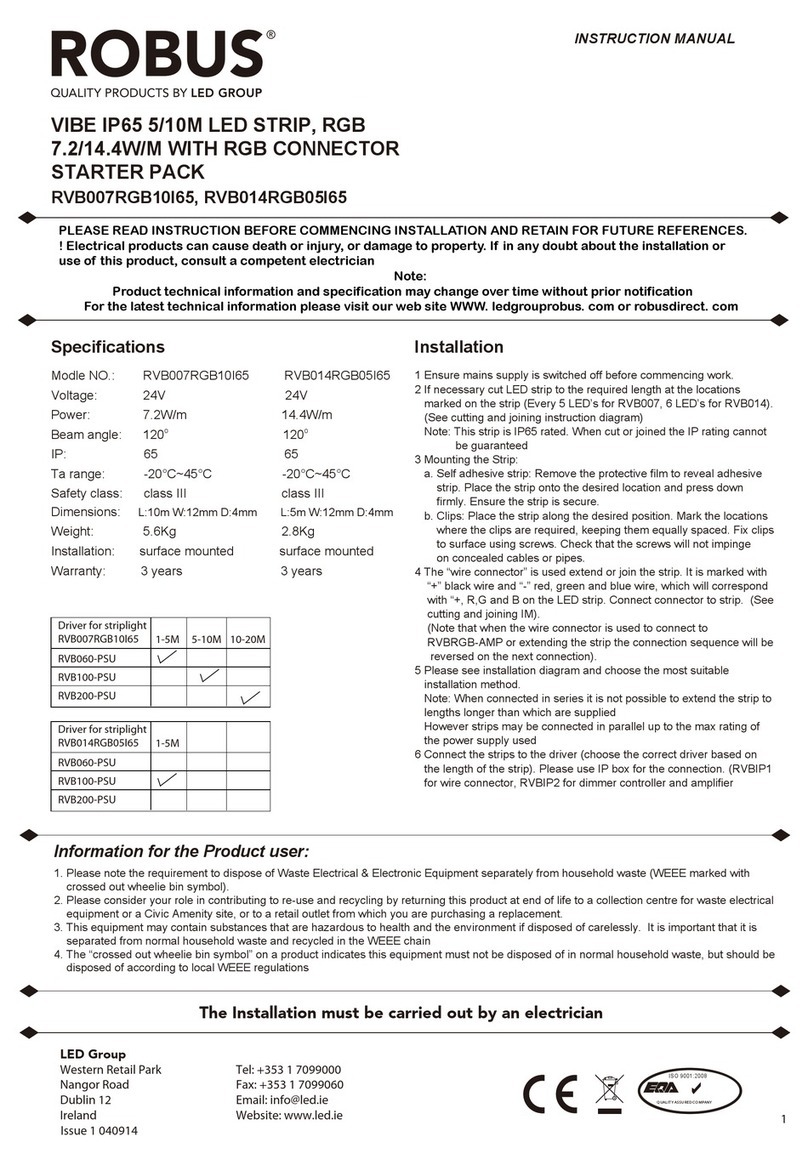
  9. LED Group ROBUS R2WLEDNMEAU-01 User manual

LED Group ROBUS R2WLEDNMEAU-01 User manual

Specication:
Issue 1 130913
2W LED NON MAINTAINED
RECESSED EMERGENCY LIGHT
R2WLEDNMEAU-01
Please read instruction before commencing installation and
retain for future reference.
Model No. R2WLEDNMEAU-01
Supply Voltage: 220-240V~50/60Hz
Power Consumption : 2W
Lumen Output : 190lm
Colour Temperature:
6000-7000K
CRI: 75
Beam angle : 120o
Operating temp Range :
0°C ~ +40°C
Battery 3.6V/3.0Ah Ni-Cd
Discharge Duration >3 hours after minimum 24Hr charge
Safety Classification:
Class I, Must be earthed
IP Rating: 20
Overall Diameter: 130mm
Depth: 65mm
Weight: 0.7Kg
Warranty: 2 year
Installation:
Recessed
Suitable for mounting on a normally flammable surface
Complete with flex and plug
Complies with EN60598-1;EN60598-2-22;EN55015;EN61000-3-2;
EN61000-3-3;EN61547
ISO 9001:2008
Q UAL IT Y ASSU RE DCO MPAN Y
Dimensions:
Information for the Product user
1. Please note the requirement to dispose of Waste Electrical & Electronic Equipment separately from household waste
(WEEE marked with crossed out wheelie bin symbol).
2. Please consider your role in contributing to re-use and recycling by returning this product at end of life to a collection
centre for waste electrical equipment or a Civic Amenity site, or to a retail outlet from which you are purchasing a
replacement.
3. This equipment may contain substances that are hazardous to health and the environment if disposed of carelessly.
It is important that it is separated from normal household waste and recycled in the WEEE chain
4. The “crossed out wheelie bin symbol” on a product indicates this equipment must not be disposed of in normal household
waste, but should be disposed of according to local WEEE regulations
The Installation must be carried out by an electrician
LED Group
Western Retail Park Tel: +353 1 7099000
Nangor Road Fax: +353 1 7099060
Dublin 12 Email: [email protected]
Ireland Website: www.led.ie
Page 1
Ø85mm
Cutout 75mm
Ø130mm
Cutout 75-110mm
65mm
Battery 3.6V3.0Ah
2W Energency LED
ISO 9001:2008
Q UAL IT Y ASSU RE DCO MPAN Y
The Installation must be carried out by an electrician
Testing:
Installation and Maintenance Record:
LED Group
Western Retail Park Tel: +353 1 7099000
Nangor Road Fax: +353 1 7099060
Dublin 12 Email: [email protected]
Ireland Website: www.led.ie
Page 2
The emergency lighting must be inspected and tested regularly in accordance
with local codes of practice: note: for safety reasons tests should be carried
out during daylight hours.
The minimum recommended test schedule is as follows:
After installation, allow 24 hours to ensure full battery charge and then
interrupt the supply; check after 3 hours that LED is still lighting.
1. Daily check that charge indicator led is working
2. Monthly, interrupt mains for a short period and check LED lights
3. Six-monthly, check 1 hour duration
4.At the end of year 3 and subsequently every year, check 3 hour duration:
batteries must be replaced when they can no longer support 3 hour operation.
5. Complete record sheet on installation and retain in maintenance file.
6. Update file with ongoing test records for inspection by fire officer or
Installer
Installation Type
Installation test duration & Date
Signed
Month Test
Short
Short
Short
Short
Short
Short
Short
Short
Short
1Hr.
1Hr.
3Hr.
Short
1
2
3
4
5
6
7
8
9
10
11
12
Date
xxxxx xxxxx xxxxx xxxxx
xxxxx xxxxx xxxxx xxxxx xxxxx xxxxx
1st Year
Signed Date Signed Date Signed Date Signed Date
2st Year 3st Year 4st Year 5st Year
! Electrical products can cause death or injury, or damage to property. If in any
doubt about the installation or use of this product, consult a competent
ISO 9001:2008
Q UAL IT Y ASSU RE DCO MPAN Y
The Installation must be carried out by an electrician
LED Group
Western Retail Park Tel: +353 1 7099000
Nangor Road Fax: +353 1 7099060
Dublin 12 Email: [email protected]
Ireland Website: www.led.ie
Page 3
Installation:
1. Ensure mains supply is switched off before commencing work
2. Before cutting, ensure that the hole does not impinge on joists, pipe work,
cables or other building services
Fig 2. Connect the plug with the power supply
Fig 1. This luminaire requires a round hole
Ø75-110mm to be cut into the ceiling for
correct installation.
Fig 3. Offer the luminaire up to cut-out with the springs
being held vertically.
Put the driver and battery on the top of insulation.
Cutout Ø75-110mm with
the white strim
no use the white strim
use the white strim
Battery 3.6V3.0Ah
2W Energency LED
Fig 4.Manual Test Switch: When power is connected the green
LED should come on indicating correct battery charge has
started. When manual test switch is pressed the emergency
lamp will come on and the green LED will turn off
Information for the Product user
1. Please note the requirement to dispose of Waste Electrical & Electronic Equipment separately from household waste (WEEE
marked with crossed out wheelie bin symbol).
2. Please consider your role in contributing to re-use and recycling by returning this product at end of life to a collection centre for
waste electrical equipment or a Civic Amenity site, or to a retail outlet from which you are purchasing a replacement.
3. This equipment may contain substances that are hazardous to health and the environment if disposed of carelessly. It is important
that it is separated from normal household waste and recycled in the WEEE chain
4. The “crossed out wheelie bin symbol” on a product indicates this equipment must not be disposed of in normal household waste,
but should be disposed of according to local WEEE regulations

Other LED Group Lighting Equipment manuals
LED Group ROBUS R3011LED240CW-13 User manual

LED Group

LED Group ROBUS R3011LED240CW-13 User manual

LED Group ROBUS LSTR6W User manual

LED Group

LED Group ROBUS LSTR6W User manual

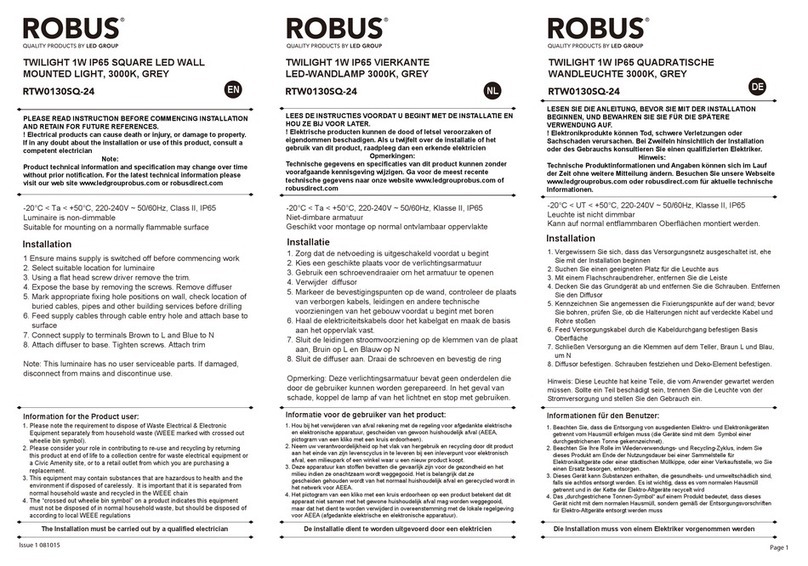
LED Group ROBUS TWILIGHT RTW0130SQ-24 User manual

LED Group

LED Group ROBUS TWILIGHT RTW0130SQ-24 User manual

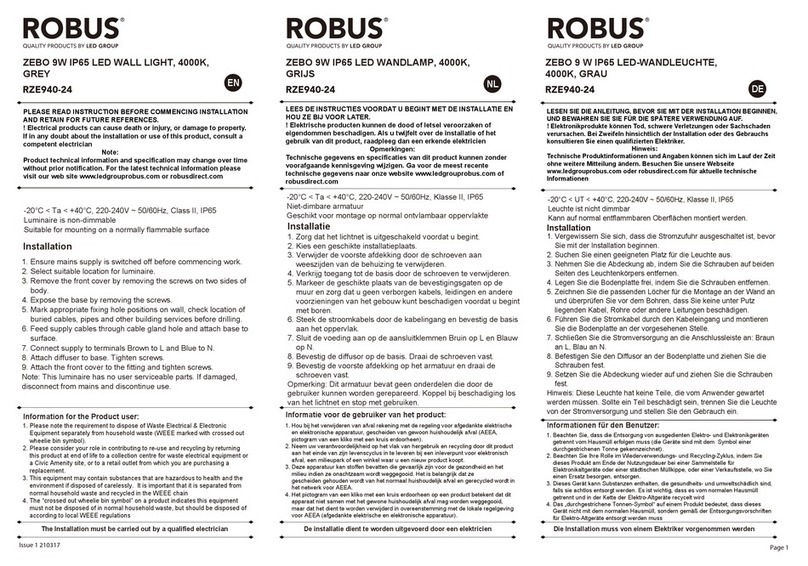
LED Group ROBUS RZE940-24 User manual

LED Group

LED Group ROBUS RZE940-24 User manual

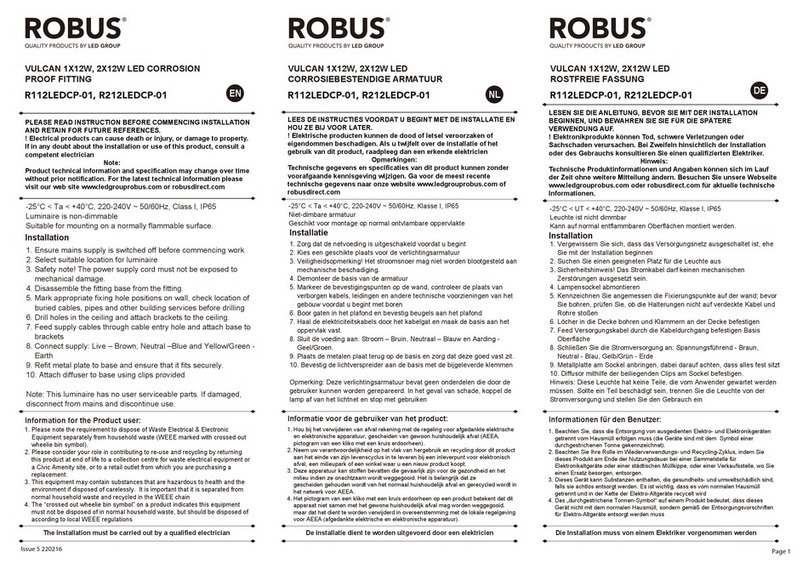
LED Group Robus R112LEDCP-01 User manual

LED Group

LED Group Robus R112LEDCP-01 User manual

LED Group Robus RLU18X0S-01 User manual

LED Group

LED Group Robus RLU18X0S-01 User manual

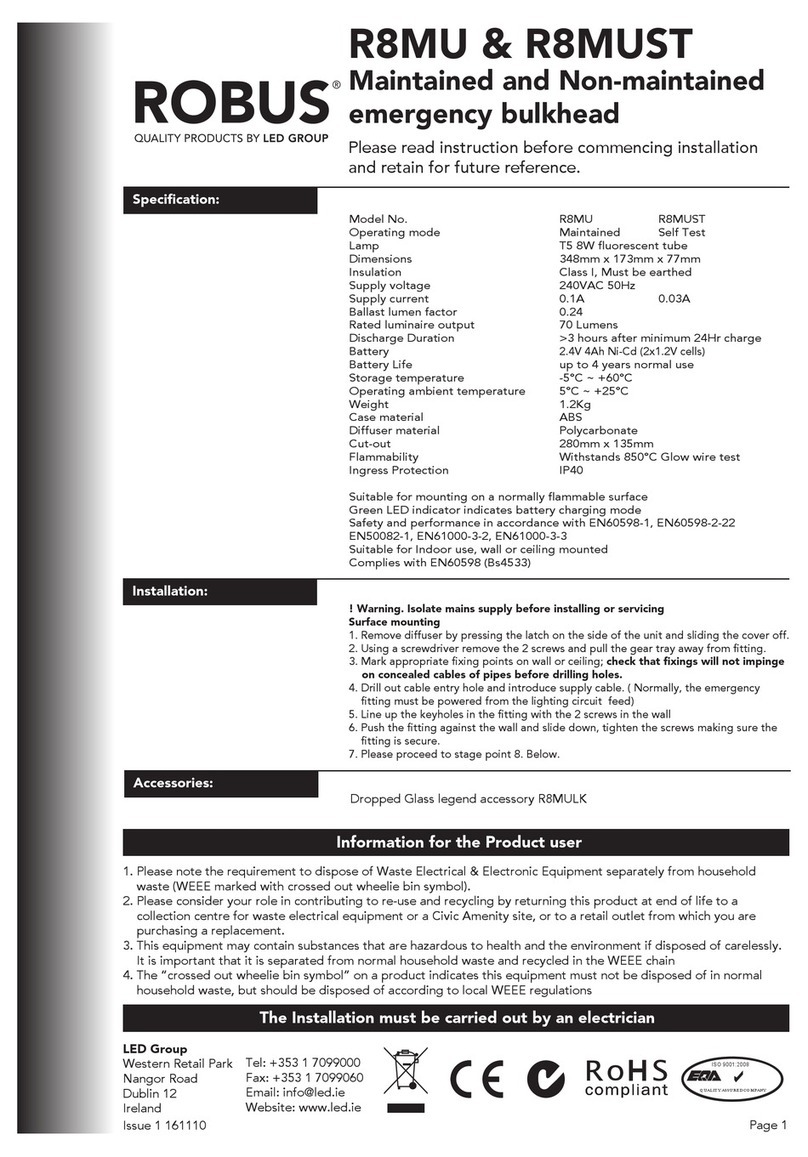
LED Group ROBUS R8MU User manual

LED Group

LED Group ROBUS R8MU User manual

LED Group ROBUS RVE01440DME-01 User manual
LED Group

LED Group ROBUS RVE01440DME-01 User manual

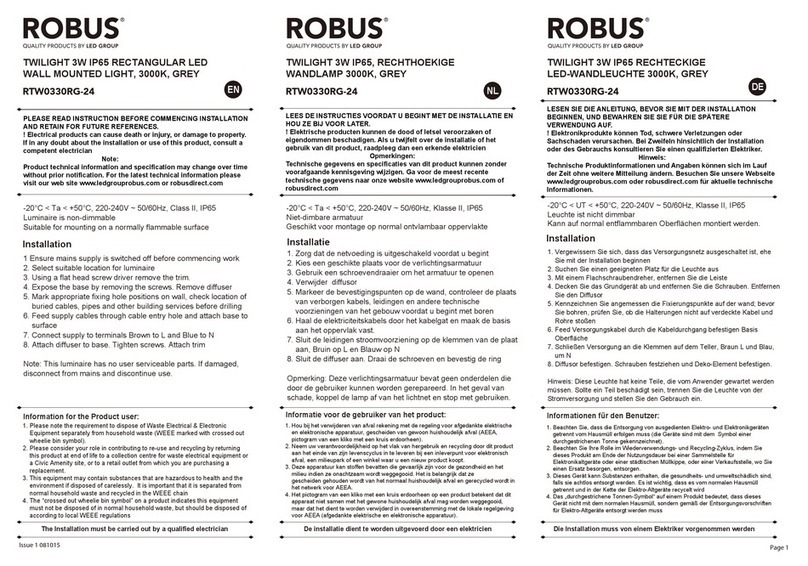
LED Group ROBUS TWILIGHT RTW0330RG-24 User manual

LED Group

LED Group ROBUS TWILIGHT RTW0330RG-24 User manual

LED Group ROBUS RTW0130RG-24 User manual

LED Group

LED Group ROBUS RTW0130RG-24 User manual

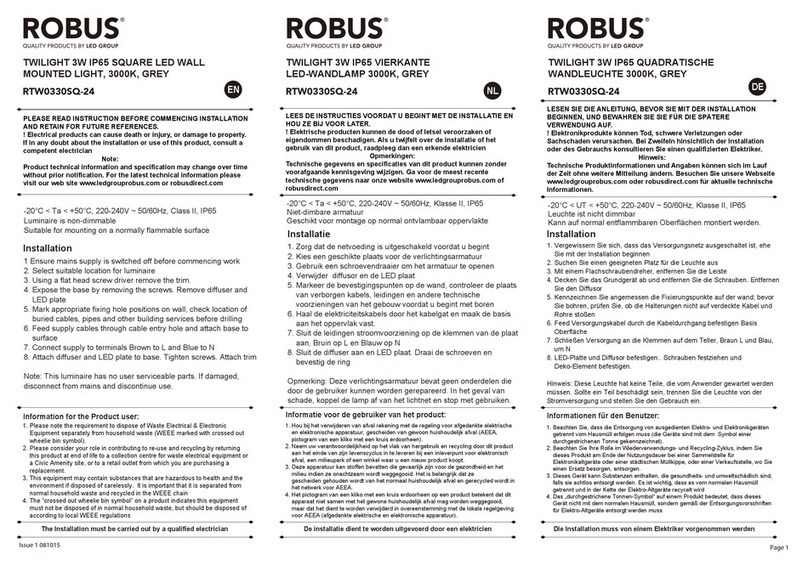
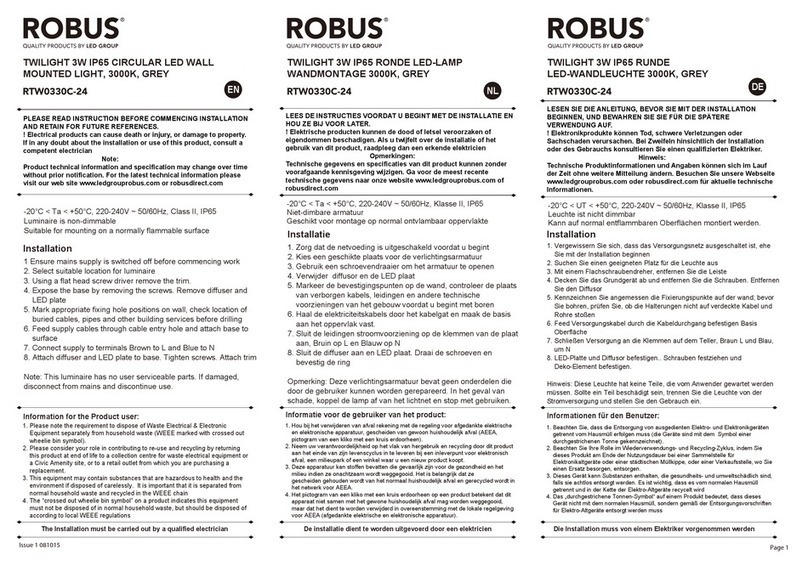
LED Group ROBUS TWILIGHT RTW0330SQ-24 User manual

LED Group

LED Group ROBUS TWILIGHT RTW0330SQ-24 User manual

LED Group Robus RVB007RGB10I65 User manual

LED Group

LED Group Robus RVB007RGB10I65 User manual

LED Group Robus RTK1240-01 User manual

LED Group

LED Group Robus RTK1240-01 User manual

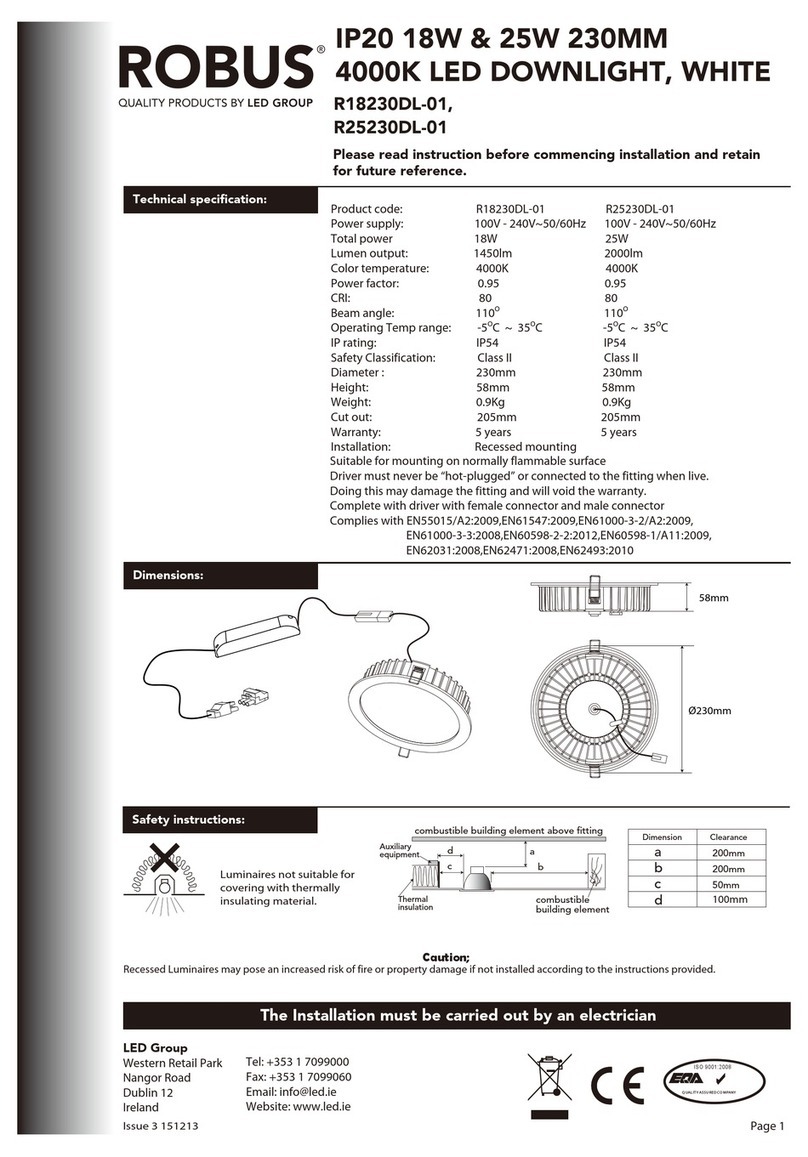
LED Group ROBUS R18230DL-01 User manual

LED Group

LED Group ROBUS R18230DL-01 User manual

LED Group Robus R8MTS User manual

LED Group

LED Group Robus R8MTS User manual

LED Group ROBUS SPACEMAN R405MK-WW User manual

LED Group

LED Group ROBUS SPACEMAN R405MK-WW User manual

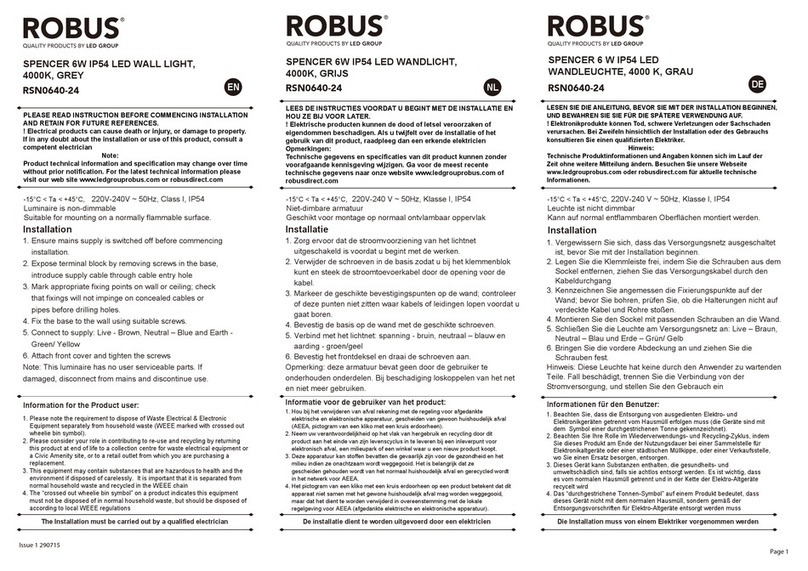
LED Group ROBUS SPENCER RSN0640-24 User manual

LED Group

LED Group ROBUS SPENCER RSN0640-24 User manual

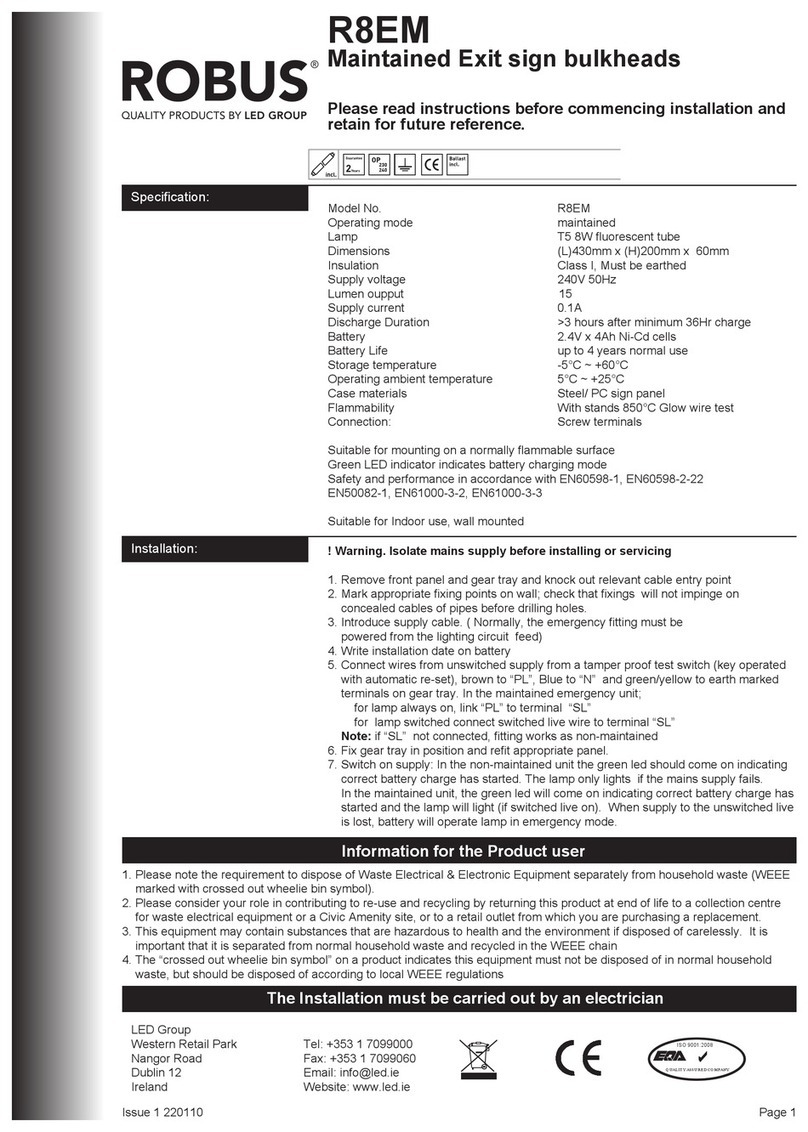
LED Group Robus R8EM User manual

LED Group

LED Group Robus R8EM User manual

LED Group ROBUS RAML7P53038-25 User manual

LED Group

LED Group ROBUS RAML7P53038-25 User manual

LED Group ROBUS TWILIGHT RTW0230C-24 User manual

LED Group

LED Group ROBUS TWILIGHT RTW0230C-24 User manual

LED Group ROBUS R8EMLED User manual

LED Group

LED Group ROBUS R8EMLED User manual
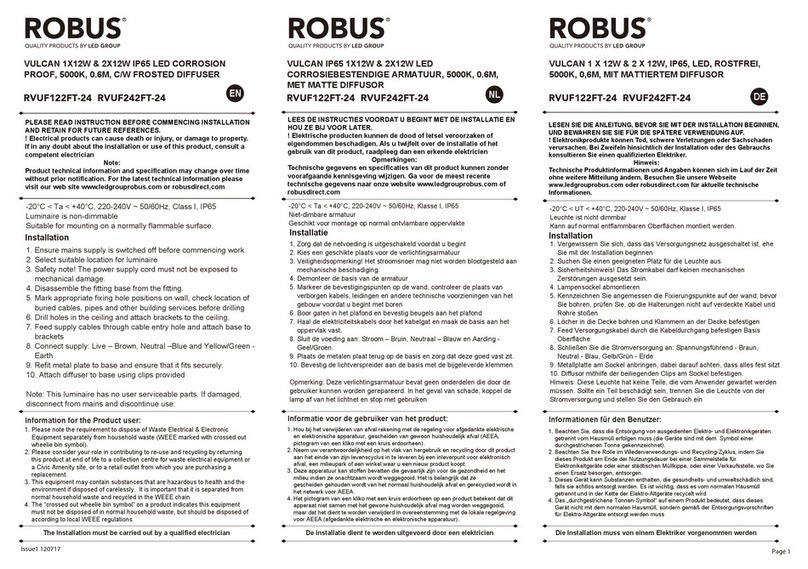
LED Group Robus RVUF122FT-24 User manual

LED Group

LED Group Robus RVUF122FT-24 User manual

LED Group ROBUS ROBIN RFS10165GZ-01 User manual

LED Group

LED Group ROBUS ROBIN RFS10165GZ-01 User manual

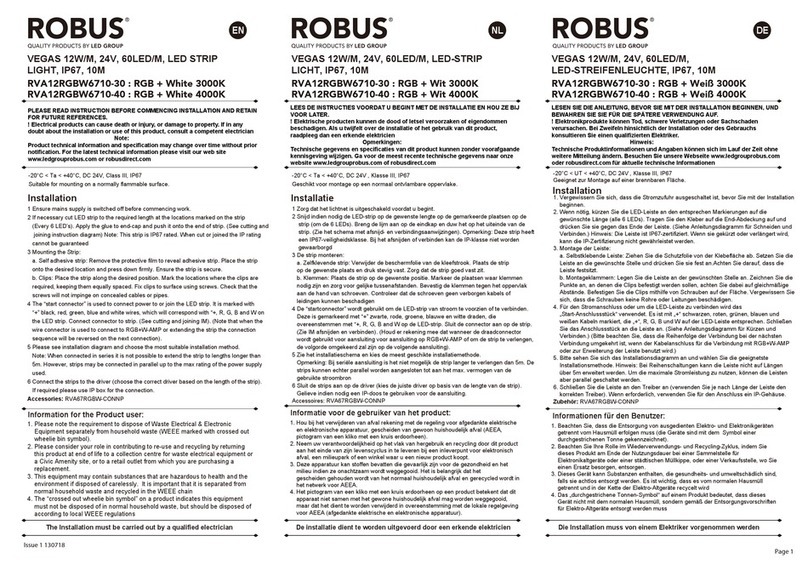
LED Group ROBUS VEGAS RVA12RGBW6710-30 User manual
LED Group

LED Group ROBUS VEGAS RVA12RGBW6710-30 User manual

Popular Lighting Equipment manuals by other brands

THOR RIDGE user guide

THOR

THOR RIDGE user guide

Aquacal AutoPilot WS03 Operation and installation manual

Aquacal

Aquacal AutoPilot WS03 Operation and installation manual

Lithonia Lighting CUC8 installation instructions

Lithonia Lighting

Lithonia Lighting CUC8 installation instructions

Gama Sonic 81i90010 instruction manual

Gama Sonic

Gama Sonic 81i90010 instruction manual

Lena Lighting UV-C STERILON BASIC user manual

Lena Lighting

Lena Lighting UV-C STERILON BASIC user manual

ccei Brio PK10R400 Technical instructions

ccei

ccei Brio PK10R400 Technical instructions

Spitzer LIGHTING STR-22-25W-CCT installation manual

Spitzer LIGHTING

Spitzer LIGHTING STR-22-25W-CCT installation manual

Eaton Streetworks Caretaker installation instructions

Eaton

Eaton Streetworks Caretaker installation instructions

EuroLite LED Space Ball 20 user manual

EuroLite

EuroLite LED Space Ball 20 user manual

vonado P134 Installation instruction

vonado

vonado P134 Installation instruction

NANGUANG CN-1200DCHS instruction sheet

NANGUANG

NANGUANG CN-1200DCHS instruction sheet

SCANGRIP NOVA 2 CONNECT quick start guide

SCANGRIP

SCANGRIP NOVA 2 CONNECT quick start guide

Briteq BT-BEAM70 Operation manual

Briteq

Briteq BT-BEAM70 Operation manual

Generac Mobile V20 owner's manual

Generac Mobile

Generac Mobile V20 owner's manual

Eaton Metalux OHB Series installation instructions

Eaton

Eaton Metalux OHB Series installation instructions

Tranberg TEF 2850 user manual

Tranberg

Tranberg TEF 2850 user manual

Vision & Control LDLF60x420-R633/UDC Instructions for use

Vision & Control

Vision & Control LDLF60x420-R633/UDC Instructions for use

Future light DMB-60 user manual

Future light

Future light DMB-60 user manual

manuals.online logo
manuals.online logoBrands
  • About & Mission
  • Contact us
  • Privacy Policy
  • Terms and Conditions

Copyright 2025 Manuals.Online. All Rights Reserved.